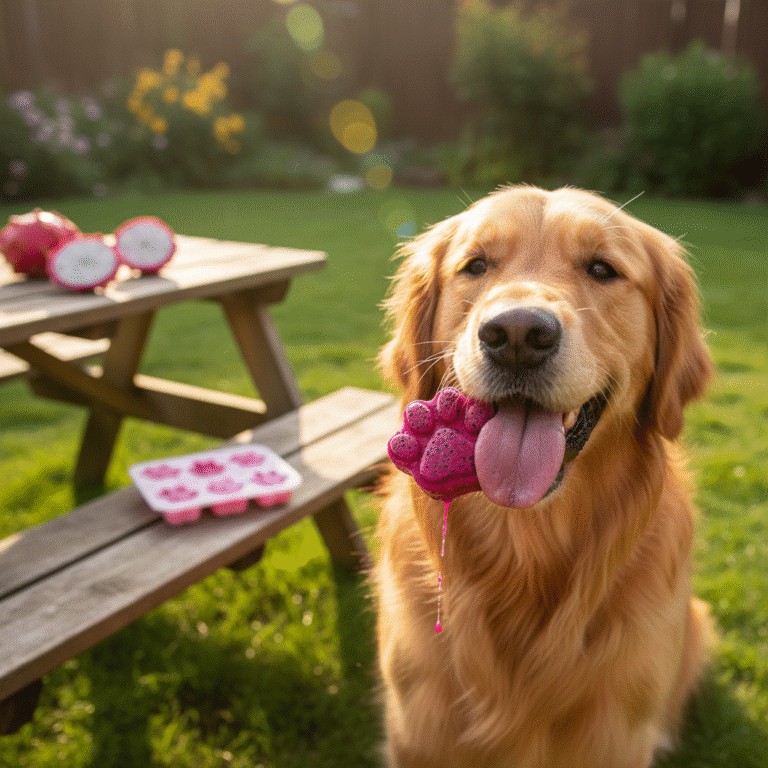
How to Make Gelatin-Free Dog Jellies with Agar Agar
Have you ever seen those fun, jiggly Jell-O treats and wondered if your dog could join in on the fun? While traditional gelatin is often animal-based, there’s a fantastic, plant-powered alternative that lets you whip up wobbly wonders for your furry best friend: agar-agar! It might sound like a strange ingredient, but this seaweed-derived powder is your secret weapon for creating healthy, homemade, and completely dog-safe jellies.
Whether you’re looking for a vegan option, trying to avoid certain animal products, or just want to experiment with a new kind of treat, you’ve come to the right place. Get ready to learn everything you need to know to become a master of canine confections. Let’s get started!
What’s the Big Deal with Agar-Agar Anyway?

Before we dive into the recipe, let’s talk about our star ingredient. What exactly is agar-agar and why is it a better choice than gelatin for your pup’s jellies? Simply put, agar-agar is a gelling agent derived from red seaweed. It’s been used for centuries in Asian cuisine and is a staple in many vegan and vegetarian kitchens.
Unlike traditional gelatin, which is made from animal collagen (usually from pork or beef), agar-agar is 100% plant-based. This makes it a perfect choice for dogs with sensitivities or allergies to certain animal proteins. But the benefits don’t stop there!
Key Benefits of Agar-Agar for Dogs:
- Rich in Fiber: Agar-agar is a great source of dietary fiber, which can help support healthy digestion and promote regular bowel movements.
- Low in Calories: It’s virtually calorie-free, making it an excellent ingredient for treats if you’re watching your dog’s weight.
- Tasteless & Odorless: It won’t affect the flavor of your other ingredients, letting the taste of real fruit, vegetables, or broth shine through.
- Packed with Minerals: It contains trace amounts of beneficial minerals like manganese, magnesium, and iron.
- Sets at Room Temperature: Unlike gelatin, which needs to be chilled to set, agar-agar will firm up right on your counter, making the process quicker and easier.
Expert Tip: Always use plain, unflavored agar-agar powder. Avoid any products with added sugars, sweeteners (especially xylitol, which is toxic to dogs), or artificial flavors.
Your Jelly-Making Toolkit: Ingredients & Supplies
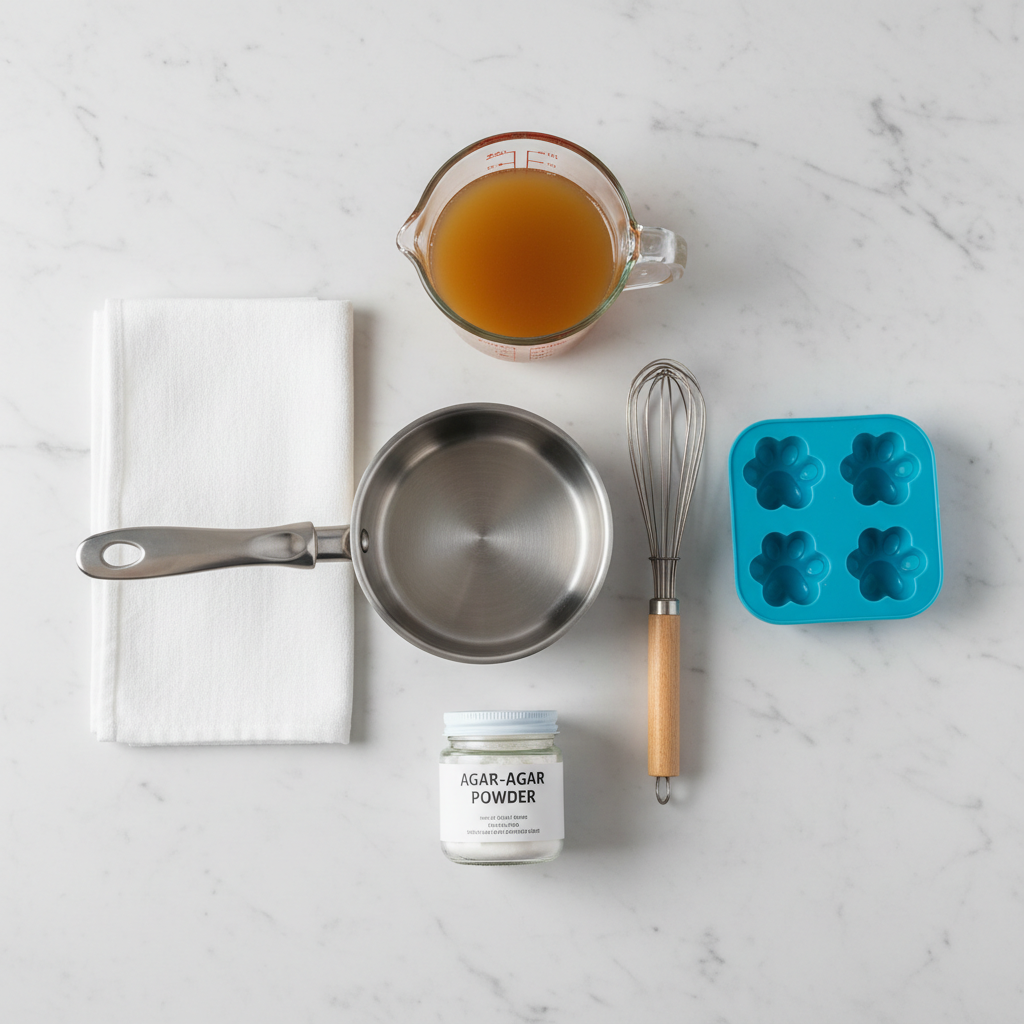
The beauty of this recipe is its simplicity. You only need a few key items to get started, and you probably have most of the tools in your kitchen already. Here’s your checklist for success:
Basic Ingredients:
- 1 teaspoon Agar-Agar Powder: This is the gelling agent. You can find it in the baking or international aisle of most grocery stores, or online.
- 1 cup of Liquid: This is your base. You can use plain water, but for extra flavor and nutrients, try a low-sodium chicken or beef bone broth. Make sure it’s free of onions and garlic.
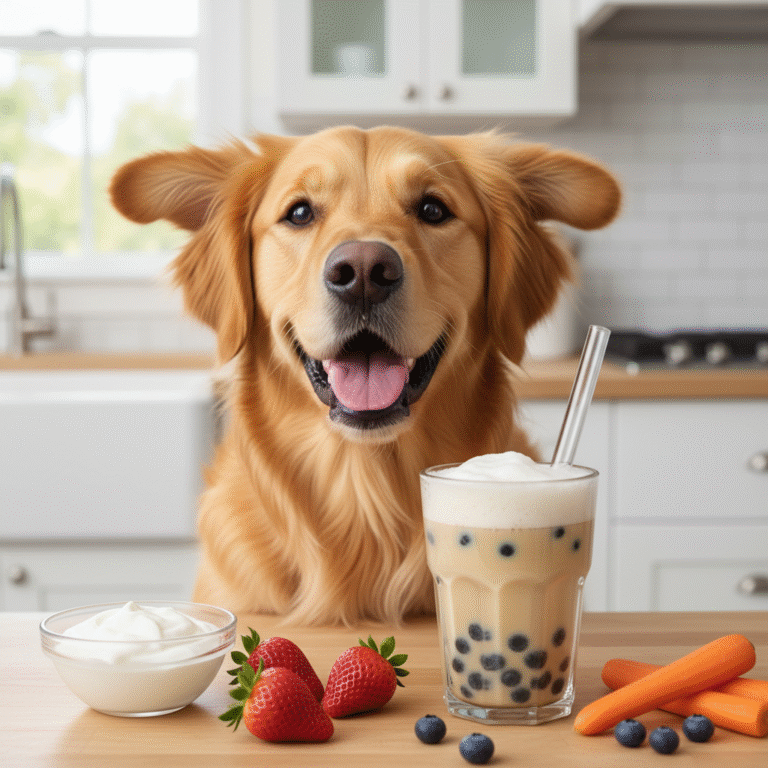
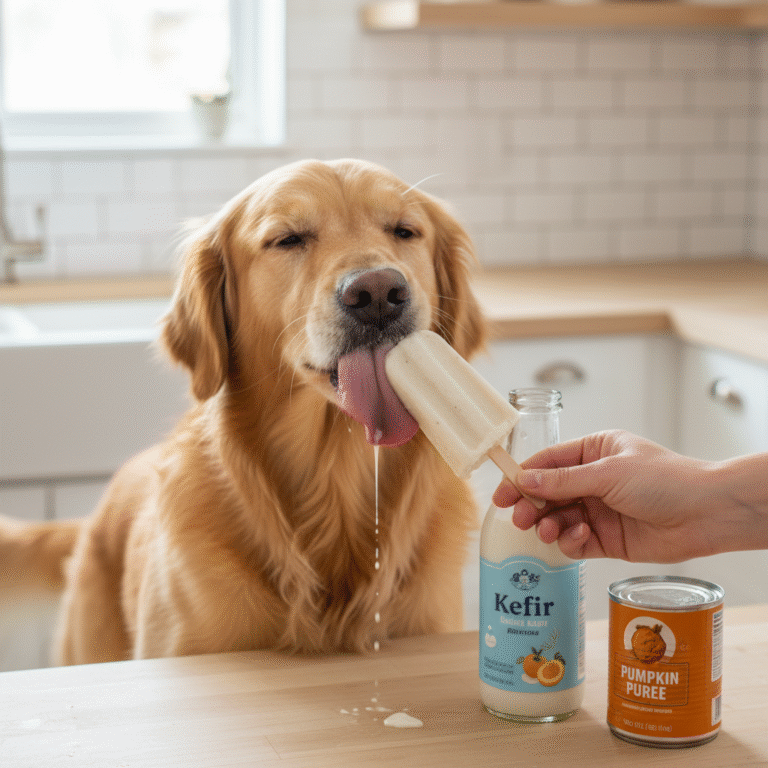
- 1/4 cup of Dog-Safe Flavoring: This is where you can get creative! Plain pumpkin purée (not pie filling), unsweetened applesauce, or finely puréed blueberries are all fantastic options to start with.
Essential Tools:
- Small Saucepan: For heating your mixture.
- Whisk: Crucial for dissolving the agar-agar powder without clumps.
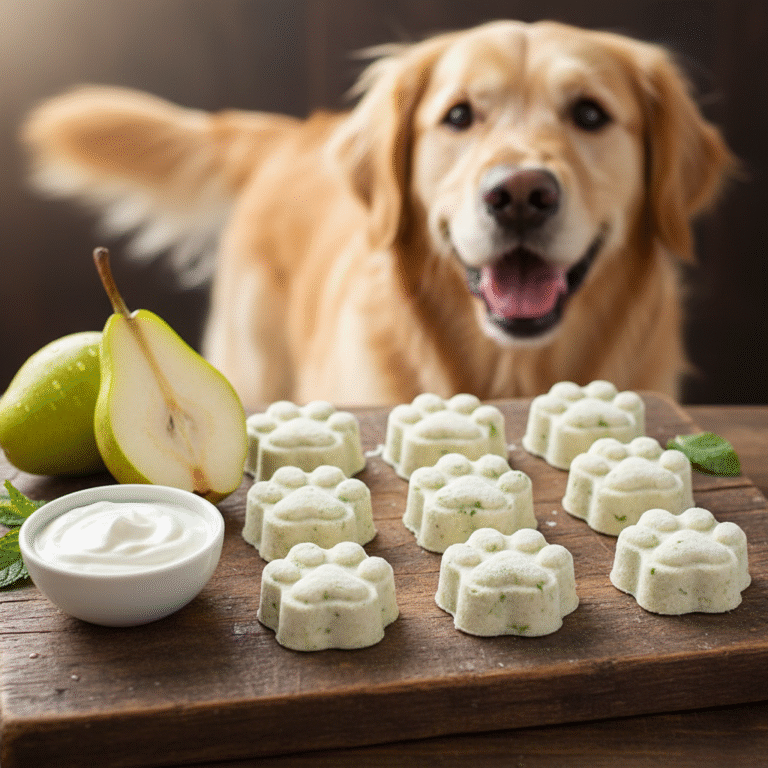
- Silicone Molds: Fun shapes like paw prints, bones, or even simple ice cube trays work perfectly. Silicone makes it super easy to pop the finished jellies out.
- Measuring Cups and Spoons: For accurate proportions.
Let’s Get Jiggly: Your Step-by-Step Guide
Ready to make some magic? This process is quick, easy, and almost foolproof. Just follow these simple steps, and you’ll have perfect dog jellies in no time.
- Combine and Dissolve: Pour your chosen liquid (broth or water) into the small saucepan. Sprinkle the agar-agar powder over the top of the cold liquid. Use your whisk to stir it thoroughly until the powder is fully dissolved. Letting it sit for 5 minutes can help it dissolve even better.
- Bring to a Boil: Place the saucepan on the stove over medium-high heat. Continue to whisk gently as the mixture heats up. Bring it to a rolling boil.
- Simmer and Activate: Once it’s boiling, reduce the heat to low and let it simmer for 2-3 minutes. Keep whisking occasionally. This step is essential to fully activate the gelling power of the agar-agar.
- Add Your Flavor: Remove the saucepan from the heat. Now is the time to stir in your flavoring, like pumpkin purée or blended berries. Whisk until it’s smooth and completely incorporated into the hot liquid.
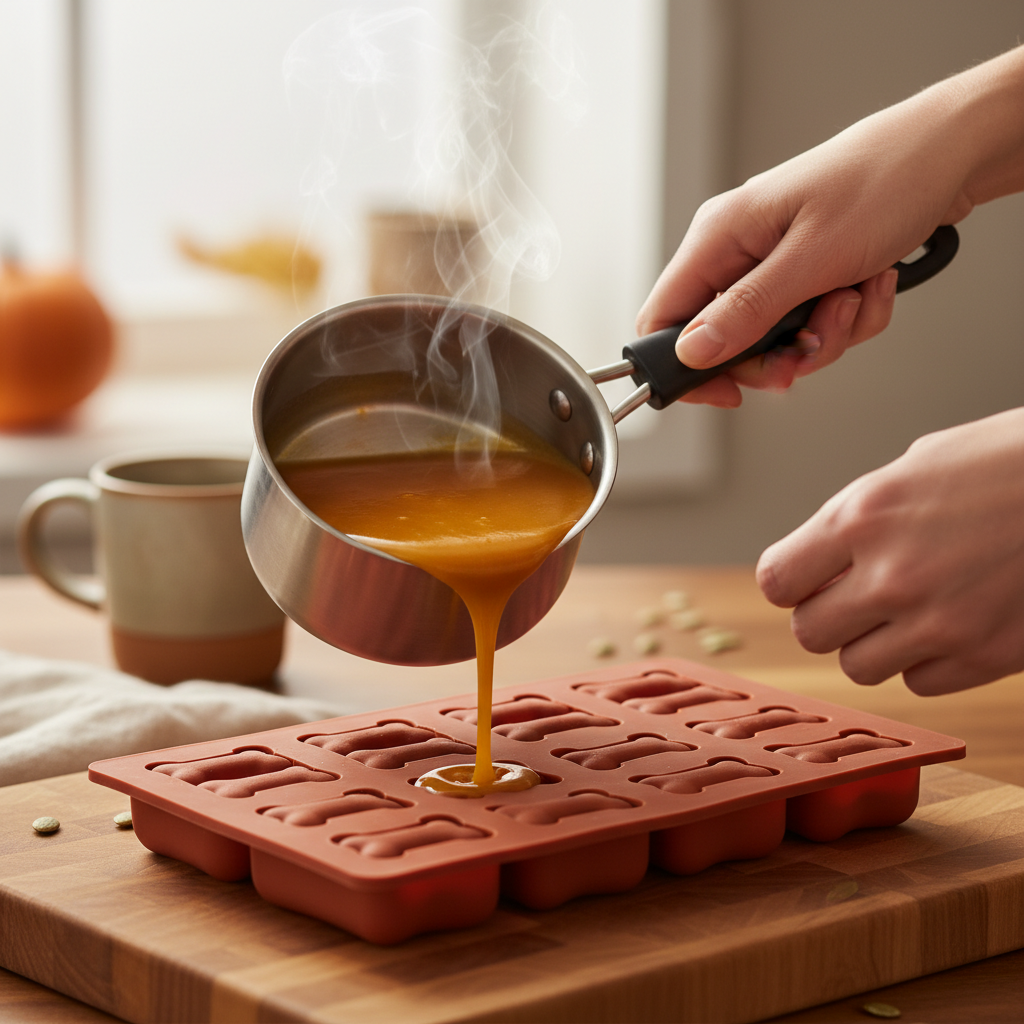
- Pour into Molds: Carefully pour the warm mixture into your silicone molds. Be careful as the liquid will be hot.
- Let Them Set: This is the easiest part! Just leave the molds on the counter at room temperature. The jellies will start to set in about 30-60 minutes. For a firmer, cooler treat, you can pop them in the refrigerator once they’ve cooled down a bit.
Once they are firm to the touch, simply pop them out of the molds. That’s it! You’ve successfully made your first batch of gelatin-free dog jellies.
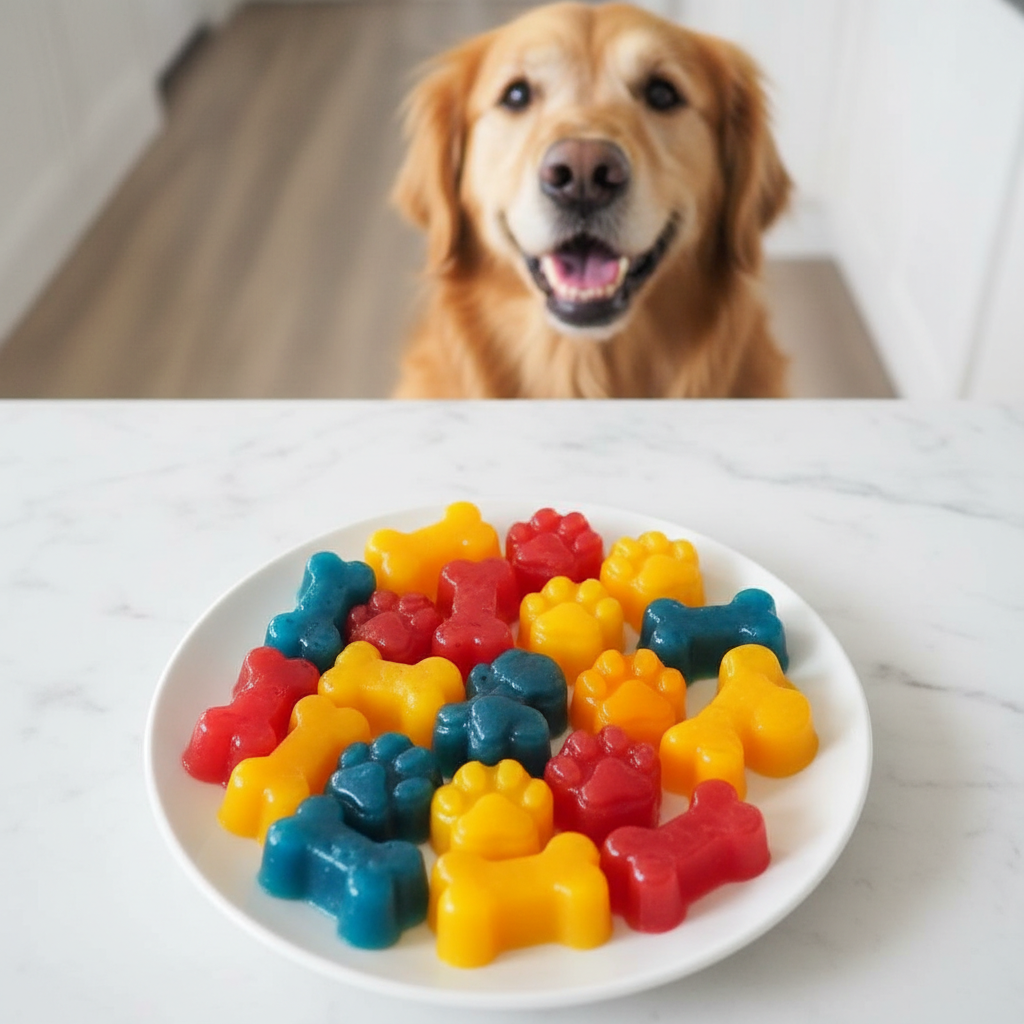
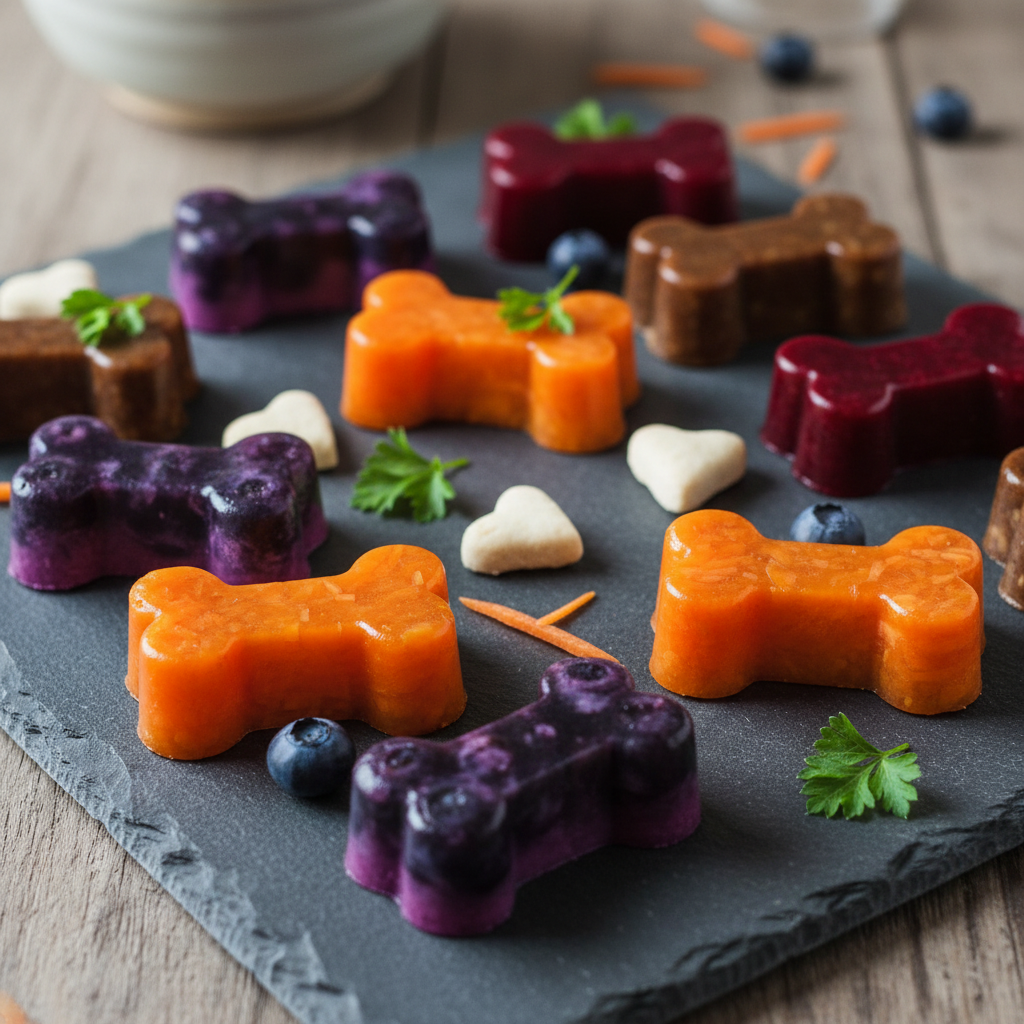
Become a Canine Confectioner: Fun Flavor Combos
Once you’ve mastered the basic recipe, you can start experimenting with all sorts of delicious and healthy flavor combinations. Just remember to always use dog-safe ingredients and avoid anything with added sugar, salt, or artificial sweeteners.
Fruity Fun
- Blueberry Blast: Use water as your liquid and add puréed blueberries.
- Strawberry Swirl: Use puréed strawberries. You can even drop a tiny piece of a strawberry into the mold before pouring for a fun surprise inside.
- Watermelon Wonder: Use seedless watermelon purée for a hydrating summer treat.
Veggie Vibes
- Carrot & Ginger: Use puréed cooked carrots with a tiny pinch of ginger powder (which is great for digestion).
- Green Goodness: Blend a small amount of spinach or kale with water for a nutrient-packed green jelly.
- Beetroot Beauty: Use a small amount of puréed cooked beetroot for a stunningly vibrant, deep red treat.
Savory Sensations
- Chicken Dinner: Use low-sodium chicken broth and stir in some tiny, finely shredded pieces of cooked chicken after removing from the heat.
- Fishy Favorite: Use water as the base and stir in a small amount of canned sardines or salmon (packed in water, no salt added).
Foods to ALWAYS Avoid: Grapes, raisins, onions, garlic, chocolate, macadamia nuts, and anything containing the sweetener xylitol.
Serving and Storing Your Homemade Treats
You’ve made a beautiful batch of jellies, and your dog is giving you those irresistible puppy-dog eyes. Here’s how to store them properly and serve them safely.
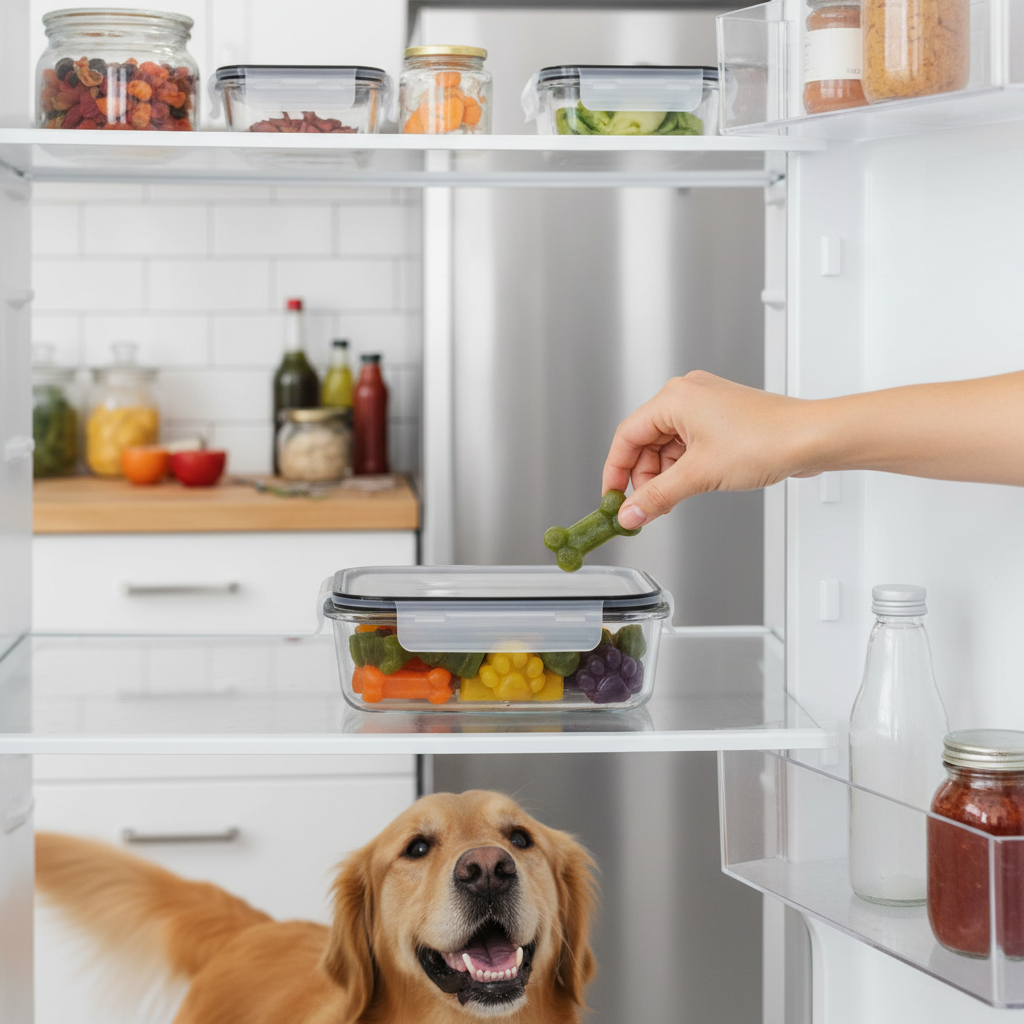
Storage Instructions
Your homemade dog jellies should be stored in an airtight container in the refrigerator. Because they don’t contain any preservatives, they are best enjoyed fresh. They will typically last for about 5 to 7 days when stored correctly.
Serving Suggestions
These jellies are incredibly versatile. You can serve them as:
- A special reward for good behavior.
- A fun training treat that’s easy to handle.
- A low-calorie snack between meals.
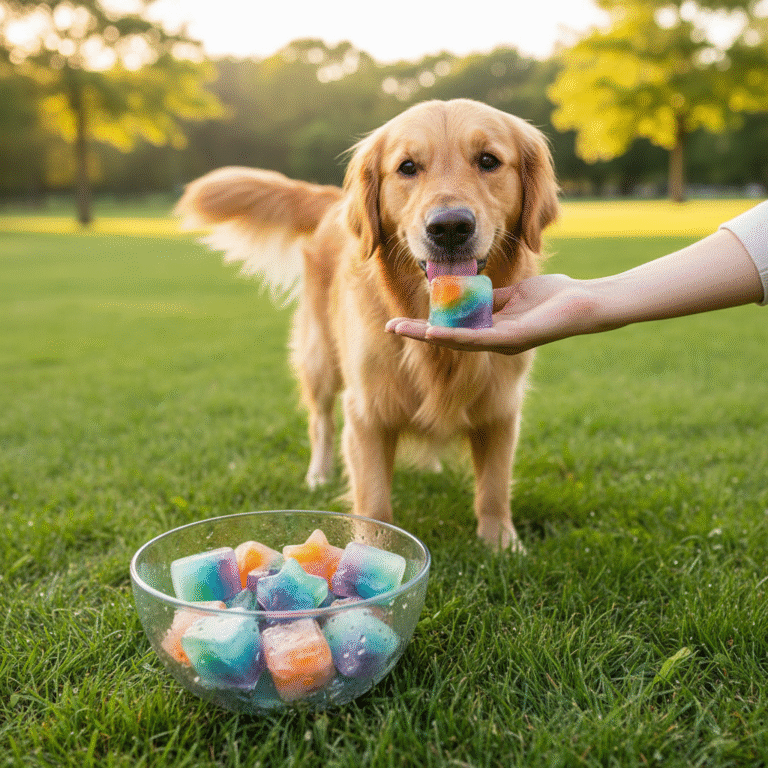
- A cooling treat on a hot day (especially if served straight from the fridge).
- A tasty food topper to entice picky eaters.
Remember Moderation: As with any treat, these jellies should be given in moderation. They should make up no more than 10% of your dog’s daily caloric intake. Always introduce new foods slowly to make sure they agree with your dog’s digestive system.
Conclusion
And there you have it! Making gelatin-free dog jellies with agar-agar is not only incredibly simple but also a wonderfully rewarding way to show your pup some love. You get to control every single ingredient, ensuring your dog gets a healthy, wholesome, and delicious snack without any of the weird stuff.
So next time you’re in the kitchen, why not whip up a batch of these jiggly delights? Have fun experimenting with different flavors and watch your dog wiggle with excitement. Happy treat-making!