The Joint Miracle: DIY Turmeric Coconut Oil Gummies For Senior Dogs
Welcome back to the lab, savvy dog owners! It is your resident Canine Nutrition Hacker here, and today we are tackling a subject that hits incredibly close to home for anyone with an aging furry best friend: joint health and mobility. If you have a senior dog, you already know the absolute heartbreak of watching them struggle to stand up after a long afternoon nap, or seeing them hesitate before jumping onto the couch they used to clear with effortless grace. It is a natural part of aging, but that does not mean we have to sit back and watch them suffer. But here is the insider secret the big pet pharma companies and commercial treat manufacturers absolutely do not want you to know: you do not need to spend fifty to eighty bucks a month on commercial joint chews that are mostly made of potato starch, cheap binders, and artificial flavorings.
Hacker Tip: The most powerful, scientifically-backed anti-inflammatory compounds for your dog’s joints are likely sitting in your kitchen pantry right now. By combining them correctly, you unlock a biological cheat code for mobility!
SAFETY DISCLAIMER: I am a savvy dog owner and a relentless nutrition hacker, but I am not a veterinarian. This guide is for educational purposes. Always consult your trusted vet before introducing new supplements, especially if your senior dog is on prescription medications like NSAIDs, as turmeric can interact with certain drugs and alter blood clotting.
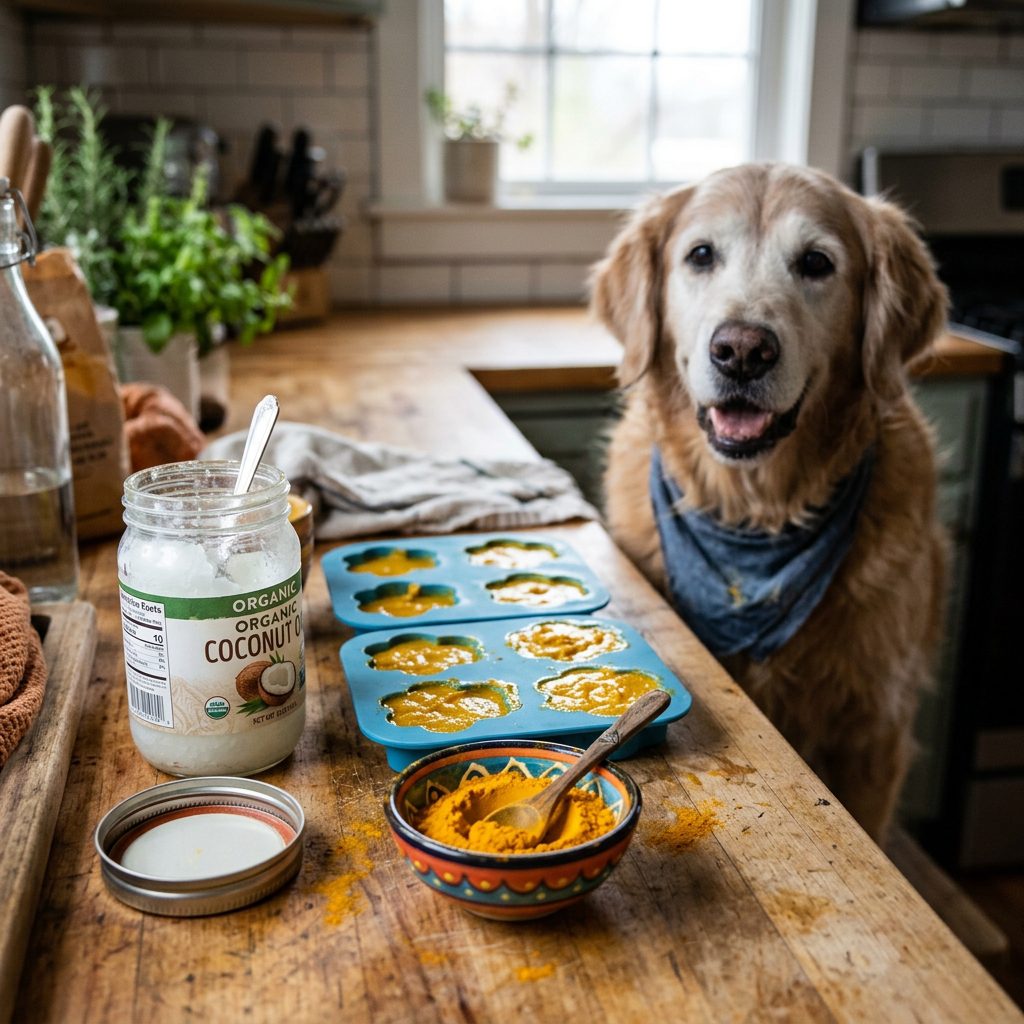
Today, we are going to bypass the overpriced, heavily marketed supplement aisle entirely. I am going to show you exactly how to formulate your very own Joint Miracle: DIY Turmeric and Coconut Oil Gummies. These homemade powerhouses are incredibly cheap to make, phenomenally effective, and completely free of the nasty fillers that clog up commercial ingredient labels. We are going to look at the science of absorption, the truth about commercial binders, and give you a foolproof, step-by-step recipe to get your dog moving like a puppy again. Grab your silicone paw molds, put on your apron, and let us get to hacking your dog’s health!
The Expensive Supplement Scam: Store-Bought vs. The DIY Hack
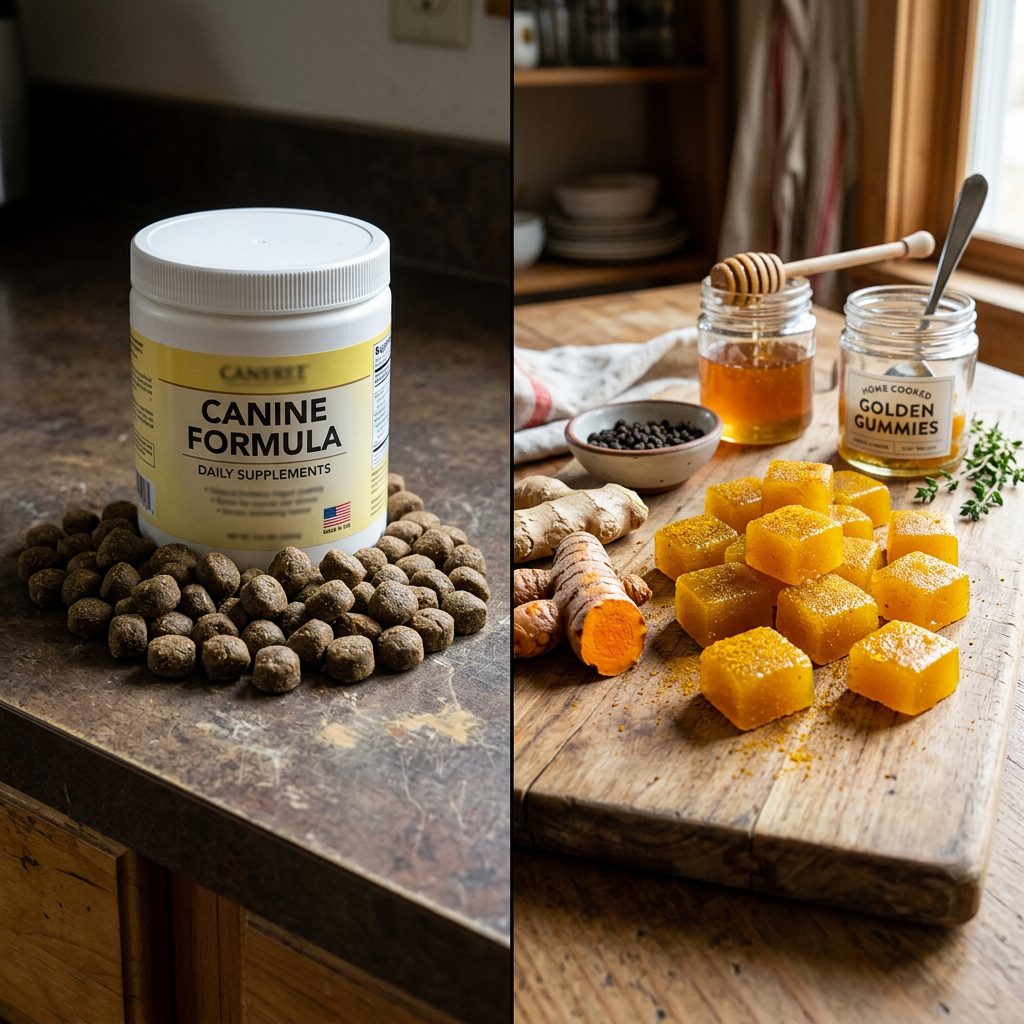
Before we dive into the kitchen, we need to put on our forensic scientist hats and look at why we are doing this in the first place. Have you ever actually flipped over a container of premium joint chews and read the First 5 Ingredients? You might expect to see glucosamine, chondroitin, or turmeric right at the top. Instead, what you usually find is a masterclass in cheap manufacturing. You will see ingredients like oat flour, chickpea flour, maltodextrin, vegetable glycerin, and artificial bacon flavor. These are fillers. They do absolutely nothing for your dog’s joints; their only job is to hold the chew together and make it shelf-stable for three years.
When you buy commercial joint supplements, you are paying a massive premium for convenience and packaging, while your dog gets a degraded, heat-processed version of the active ingredients. Heat processing can severely diminish the efficacy of delicate compounds. By making these gummies at home, we bypass the heat degradation, eliminate the useless carbohydrates, and save a small fortune in the process. Let us look at the hard data.
| Metric | Premium Store-Bought Chews | DIY Turmeric Gummies |
|---|---|---|
| Primary Binder | Chickpea Flour / Maltodextrin | Grass-Fed Gelatin (Joint friendly!) |
| Cost Per Month (50lb Dog) | $45.00 – $60.00 | $4.50 – $6.00 |
| Active Ingredient Control | Questionable (Degraded by extreme heat) | 100% Controlled, Raw & Fresh |
| Artificial Additives | Synthetic flavors and preservatives | Zero artificial ingredients |
As you can see, the numbers do not lie. By switching to this DIY hack, you are saving roughly $40.00 a month while simultaneously upgrading the quality of the ingredients your senior dog is consuming. That is money you can put toward high-quality proteins, unexpected vet bills, or just spoiling them with new toys.
The Hero Ingredients: A Forensic Breakdown
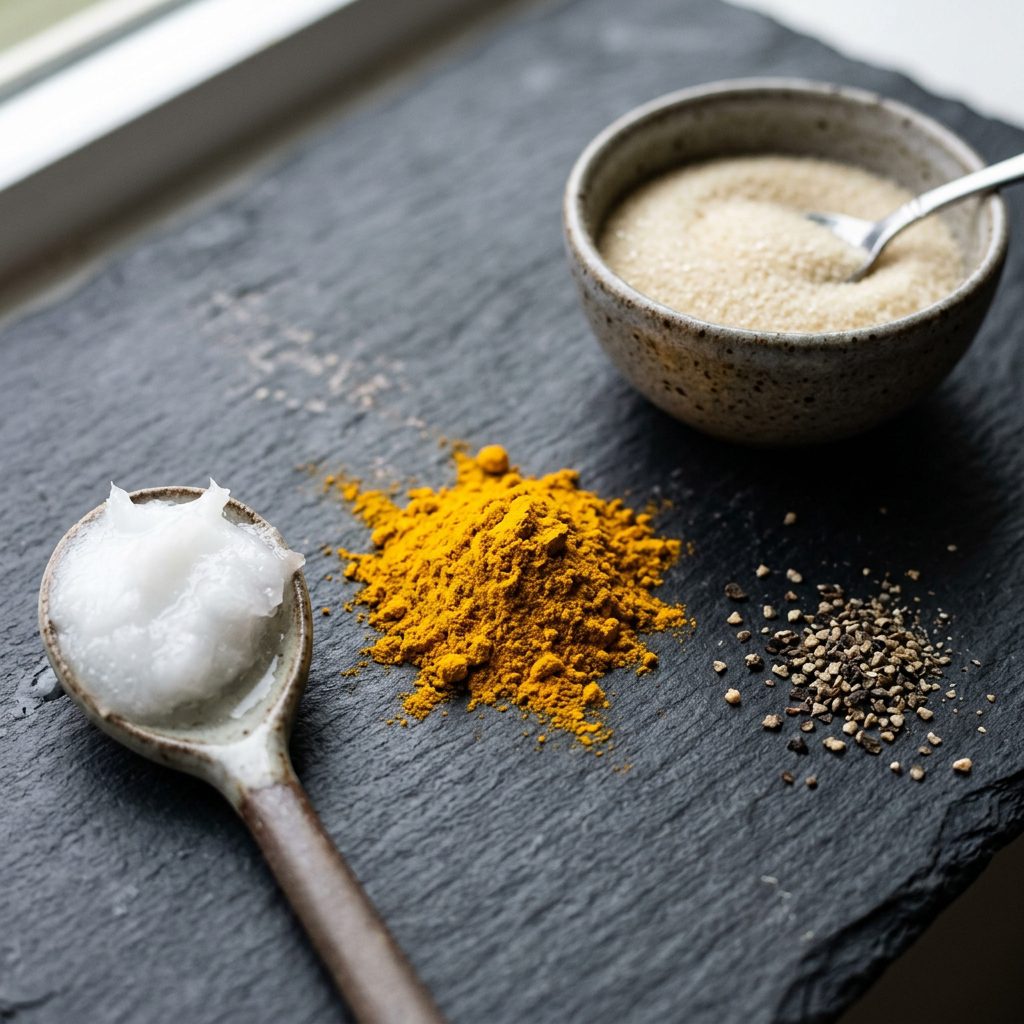
To understand why this specific gummy recipe is a “Joint Miracle,” we have to look at the biological mechanics of our hero ingredients. We are not just throwing things into a bowl; we are engineering a highly bioavailable supplement matrix. Here is the forensic breakdown of what goes into our gummies and exactly why they work.
1. Organic Turmeric (The Curcumin Powerhouse)
Turmeric is the golden star of this recipe. The active compound in turmeric is called curcumin. Curcumin is one of the most potent natural anti-inflammatories on the planet. It works by inhibiting enzymes and cytokines that drive inflammation in the body, specifically targeting the joint inflammation that causes osteoarthritis pain in senior dogs. However, curcumin has a massive flaw: it has terrible bioavailability. If you just sprinkle turmeric powder on your dog’s food, it passes right through their digestive tract without being absorbed. That is why we need the next two ingredients.
2. Cold-Pressed Virgin Coconut Oil (The Lipid Carrier)
Curcumin is fat-soluble. This means it must bind to a fat molecule to be absorbed through the intestinal wall and into your dog’s bloodstream. Enter coconut oil. Not only does coconut oil provide the perfect lipid carrier to unlock the turmeric, but it is also packed with Medium Chain Triglycerides (MCTs). MCTs provide an instant source of brain energy for senior dogs, helping to combat cognitive decline. Plus, it gives the gummies a delicious flavor that dogs go crazy for.
3. Freshly Ground Black Pepper (The Bioavailability Hacker)
This is the insider secret that most amateur DIYers miss. Black pepper contains a compound called piperine. When piperine is combined with curcumin, it inhibits the liver’s ability to quickly metabolize the curcumin, effectively increasing the absorption rate of the turmeric by up to 2,000%. Yes, you read that correctly. A tiny pinch of black pepper transforms turmeric from a useless yellow powder into a systemic joint-healing miracle.
4. Grass-Fed Unflavored Gelatin (The Structural Support)
While commercial chews use maltodextrin to hold their shape, we use pure, unflavored grass-fed gelatin. Gelatin is essentially cooked collagen. What are your dog’s joints, ligaments, and tendons made of? Collagen! By using gelatin as our gummy base, we are providing the exact amino acids (glycine and proline) that your dog’s body needs to repair degraded joint cartilage. It is a binder that actually heals.
The Safe Chef Guide: The Joint Miracle Recipe
Now that we understand the science, it is time to hit the kitchen. This recipe is incredibly straightforward, but you must follow the ratios exactly to ensure the gummies set properly and deliver the correct dosage of active ingredients. Do not substitute the gelatin for anything else, and make sure your coconut oil is melted but not boiling hot.
Equipment Needed:
- A medium-sized mixing bowl
- A whisk
- A measuring cup with a pour spout
- Silicone molds (paw prints or bones work perfectly for portion control)
- A baking sheet (to keep the molds stable when moving them to the fridge)
The Ingredient Ratios:
- 1/2 cup hot (not boiling) filtered water
- 2 tablespoons unflavored, unsweetened grass-fed gelatin (Ensure it contains NO xylitol or artificial sweeteners)
- 1/2 cup organic cold-pressed virgin coconut oil (melted to liquid form)
- 1 tablespoon high-quality organic turmeric powder
- 1/4 teaspoon freshly ground black pepper
Step-by-Step Actionable Instructions:
- Bloom the Gelatin: Pour the 1/2 cup of hot water into your mixing bowl. Slowly sprinkle the 2 tablespoons of gelatin over the surface of the water. Do not dump it all at once or it will clump. Whisk briskly until the gelatin is completely dissolved and the liquid is slightly frothy.
- Create the Golden Paste: In a separate small cup, mix the melted coconut oil, turmeric powder, and black pepper. Stir this vigorously until the turmeric is completely suspended in the oil. This step ensures the curcumin binds to the fat molecules before it hits the water.
- Combine and Emulsify: Pour the golden oil mixture into the dissolved gelatin water. Whisk continuously. Because oil and water naturally separate, you need to whisk them together until they form a smooth, uniform, opaque golden liquid.
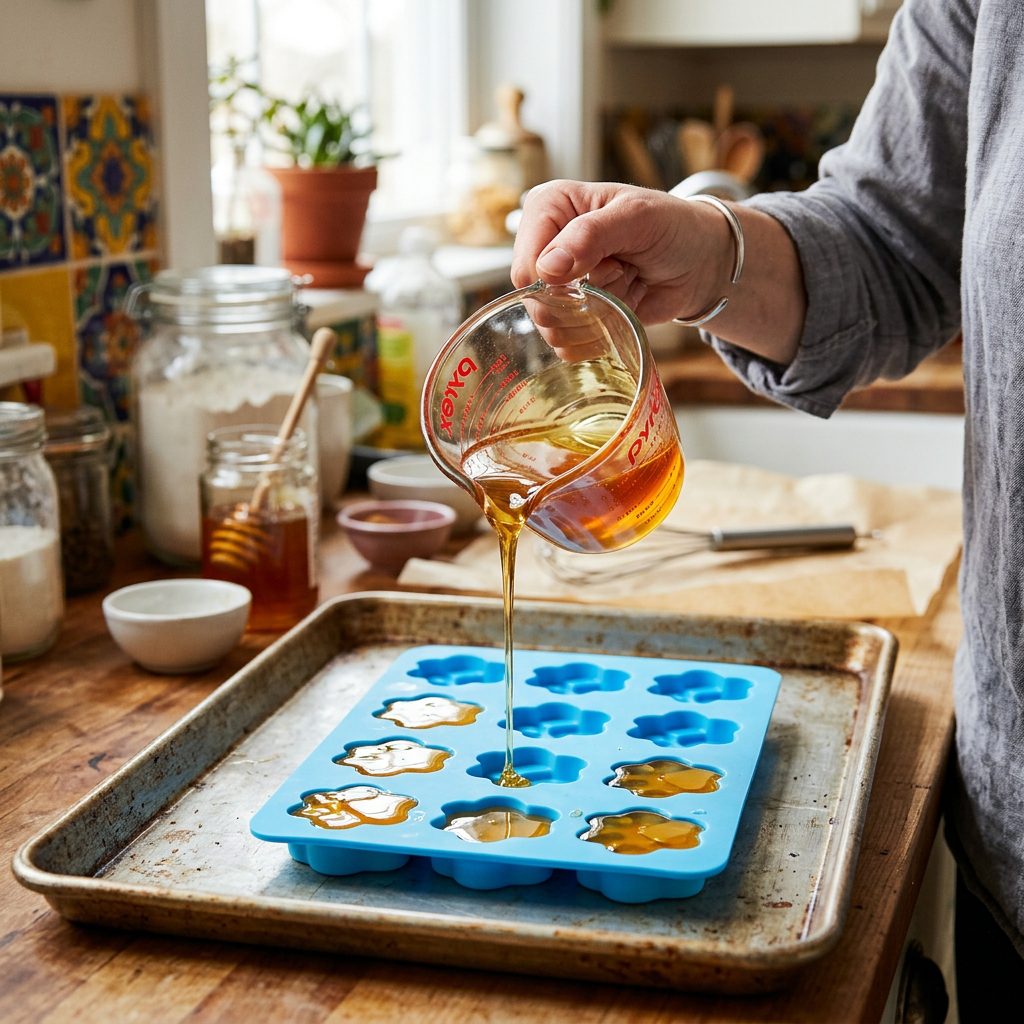
- Pour with Precision: Transfer the mixture into your measuring cup with a pour spout. Place your silicone molds flat on the baking sheet. Carefully pour the liquid into each cavity of the mold, filling them almost to the top.
- Chill and Set: Carefully transfer the baking sheet with the filled molds into the refrigerator. Let them chill for at least 2 to 3 hours, or until they are completely firm to the touch.
- Unmold: Pop the gummies out of the silicone molds. They should be firm, slightly squishy, and hold their shape perfectly.
Hacker Tip: If your mixture separates in the molds before setting (leaving a layer of oil on top), your kitchen might be too warm. Next time, let the mixture cool slightly while whisking before pouring it into the molds!
Feeding Protocols: Safe Dosage for Senior Dogs
Because we are dealing with potent natural anti-inflammatories, dosage is critical. You do not want to give your dog too much coconut oil at once, as it can cause loose stools or an upset stomach. Turmeric is also powerful, and introducing it too quickly can cause mild gastrointestinal distress. The key to canine nutrition hacking is always: Start small and scale up slowly.
General Dosage Guidelines:
- Small Dogs (under 20 lbs): 1/2 of a small gummy per day.
- Medium Dogs (20 – 50 lbs): 1 small gummy per day.
- Large Dogs (50+ lbs): 2 small gummies per day.
When you first introduce these gummies, start with half of the recommended dose for the first three days. Monitor your dog’s stool. If their stool remains firm and they show no signs of stomach upset, you can move up to the full dose. I prefer to give these gummies directly after a meal. Feeding them on a full stomach further helps with the absorption of the curcumin and minimizes the risk of nausea.
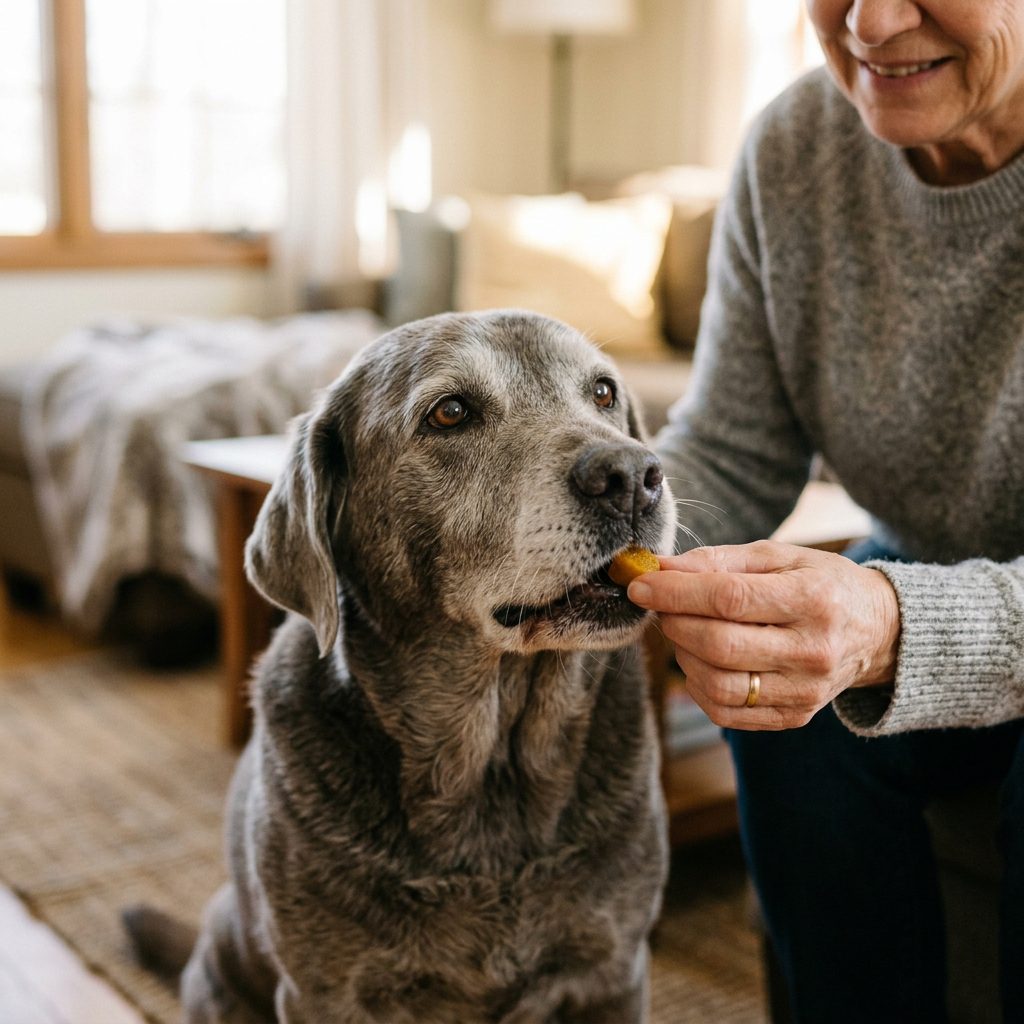
What should you look for? Within about two to three weeks of consistent daily use, you should start noticing a difference. Watch for signs like less stiffness in the morning, a greater willingness to climb stairs, or a return of that playful “puppy spark” that you thought was gone forever. Remember, natural supplements take time to build up in the system, so consistency is your best friend here.
Batch Cooking & Storage Secrets
One of the main reasons people fall back into the trap of buying commercial supplements is convenience. Making homemade treats can feel like a chore if you have to do it every three days. That is why we utilize batch cooking. You can easily double or triple this recipe to make a massive batch of gummies all at once, saving you time and effort.
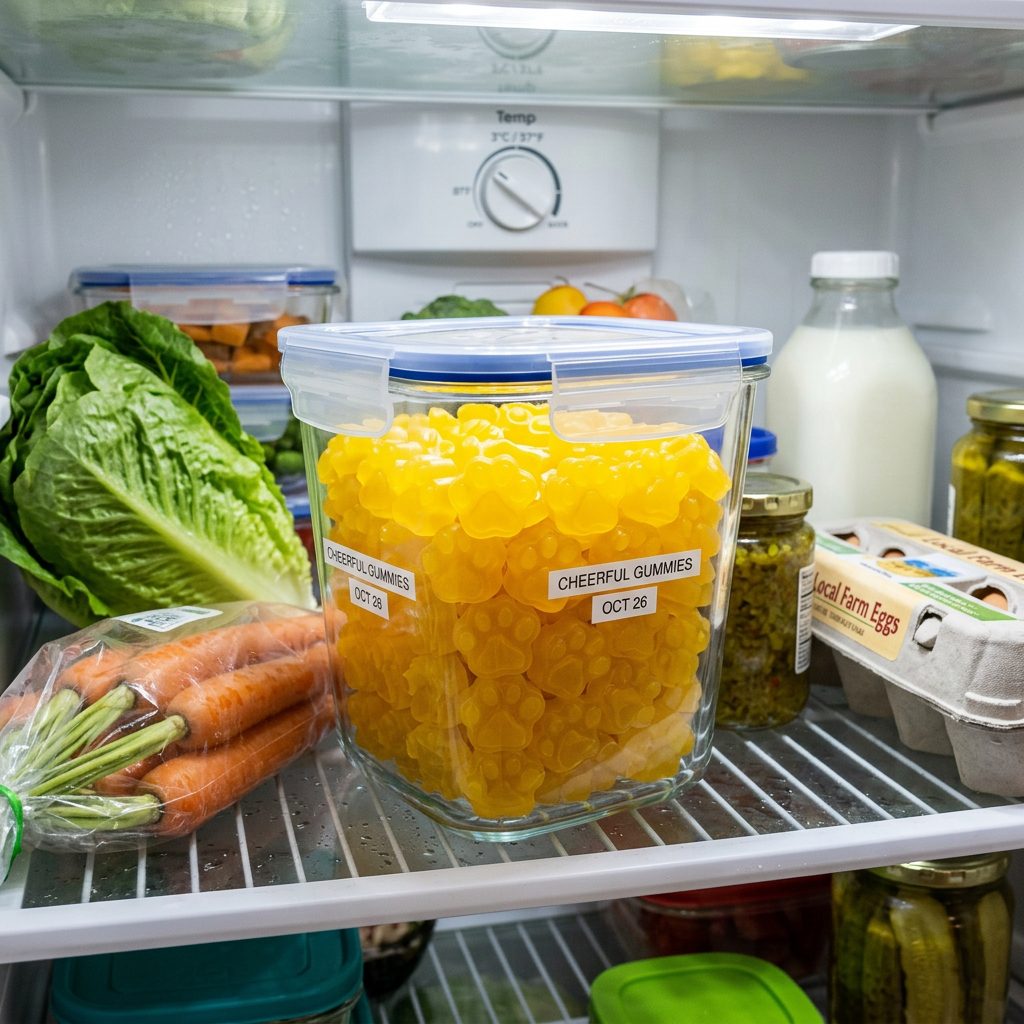
The Fridge Life:
Because these gummies contain no artificial preservatives, they will not last forever on the counter. In fact, if you leave them at room temperature, the coconut oil will soften and they will turn into a mushy mess. Always store your active supply in an airtight glass container in the refrigerator. In the fridge, these gummies will stay fresh and potent for up to 14 days.
The Freezer Hack:
If you make a triple batch, the freezer is your best tool. Once the gummies have set in the fridge, pop them out of the molds and place them on a parchment-lined baking sheet. Freeze them solid for about an hour. Once frozen, transfer them into a heavy-duty freezer bag or a vacuum-sealed container. This prevents them from sticking together in a giant clump. They will keep perfectly in the freezer for up to 3 months.
Hacker Tip: You do not even need to thaw them! Many senior dogs absolutely love the crunchy, cooling texture of a frozen gummy straight from the freezer, especially during the hot summer months. It acts as a joint supplement and a refreshing pupsicle all in one!
By mastering the art of batch cooking and freezing, you guarantee that your dog never misses a dose of their joint miracle, and you only have to clean your mixing bowls once a month.
Troubleshooting Your Gummies: The Hacker’s FAQ
Even the best nutrition hackers run into hiccups in the kitchen. If your first batch does not come out looking like a Pinterest post, do not panic. Here are the most common issues savvy dog owners face when making these turmeric gummies, and exactly how to fix them.
My Gummies Separated into Two Layers!
This is the most common issue. You pull the molds out of the fridge, and the gummies have a clear oily layer on top and a dark yellow layer on the bottom. This happens because the coconut oil and the water did not fully emulsify. To fix this, ensure your water is hot enough to melt the gelatin, but not so hot that it prevents the oil from mixing. Whisk vigorously for a full minute right before pouring. If it still happens, the gummies are 100% safe to eat; they just look a little funny!
My Dog Will Not Eat Them!
While most dogs love the taste of coconut oil, some are put off by the earthy, slightly bitter taste of the turmeric. If you have a picky senior on your hands, we can hack the flavor profile. Next time you make the recipe, substitute half of the hot water with hot, low-sodium bone broth (ensure it has NO onions or garlic). The savory smell of the bone broth will easily overpower the turmeric, turning the gummy into an irresistible meaty treat.
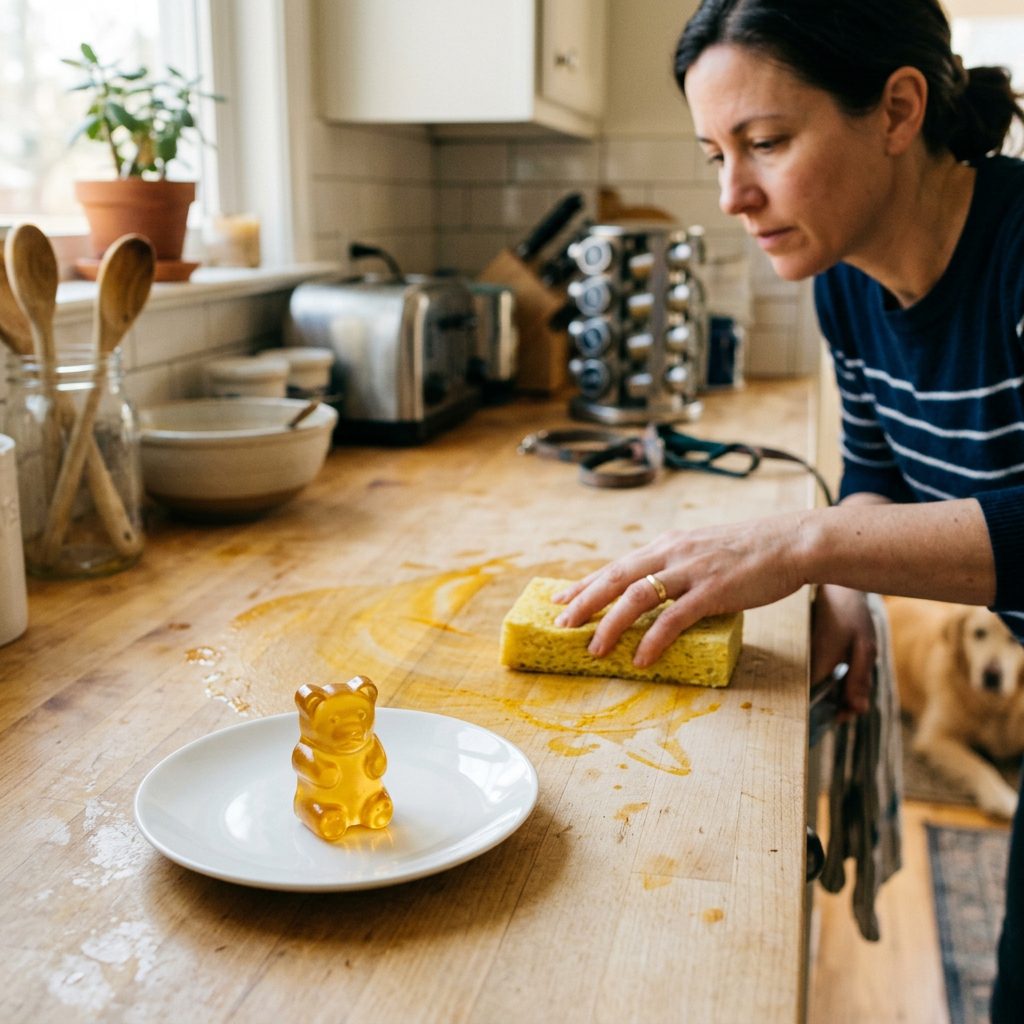
Are They Messy?
Yes, I will not lie to you: turmeric stains everything it touches. It will stain your fingers, your white countertops, and your wooden spoons. Always mix this recipe carefully, use glass or metal bowls instead of plastic, and wash your utensils immediately after pouring. If your dog has a white beard, you might notice a slight yellow tint to their fur after they eat these. Consider it a badge of honor that you are taking their health into your own hands!
Conclusion
There you have it, my fellow canine nutrition hackers. You are now armed with the knowledge and the exact blueprint to take your senior dog’s joint health into your own hands. By ditching the overpriced, filler-stuffed commercial chews and utilizing the raw power of turmeric, coconut oil, black pepper, and gelatin, you are providing your best friend with a systemic, anti-inflammatory miracle that actually works.
Aging is inevitable, but suffering is not. Taking twenty minutes out of your weekend to whip up a batch of these DIY Turmeric Coconut Oil Gummies is one of the highest-return investments you can make for your dog’s longevity and happiness. You save money, you control the ingredients, and most importantly, you get to see that joyful spark return to your senior dog’s eyes when they realize they can run to greet you at the door again without pain.
So, get into the kitchen, start whisking, and let me know how your dog responds to their new favorite treat. Stay savvy, read your labels, and never stop hacking your dog’s health for the better!