Start Your Home Dog Bakery Today: The Secret Equipment List You Actually Need!
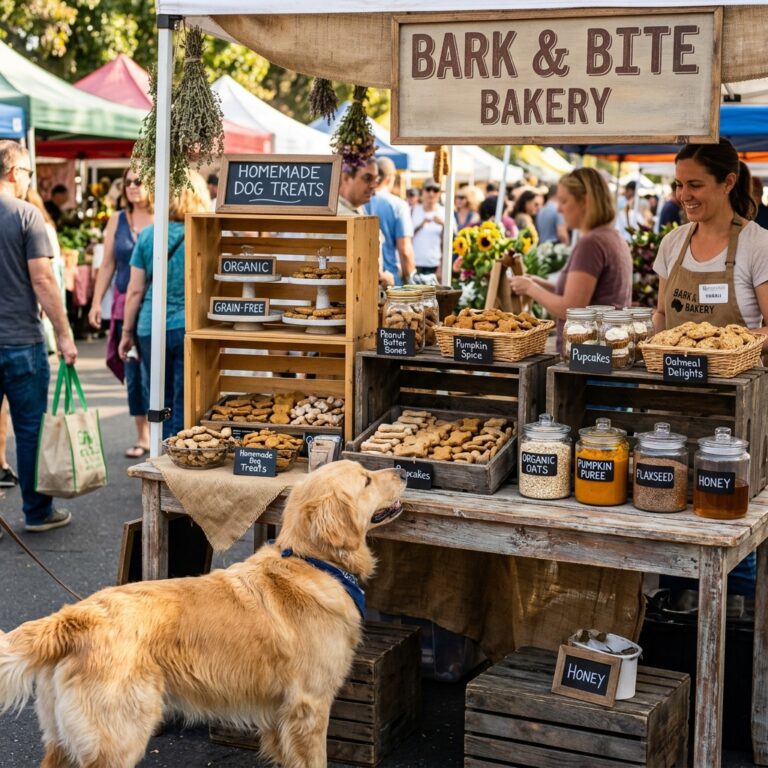
The ‘Gourmet’ Treat Scam: Why I Started My Own Bakery
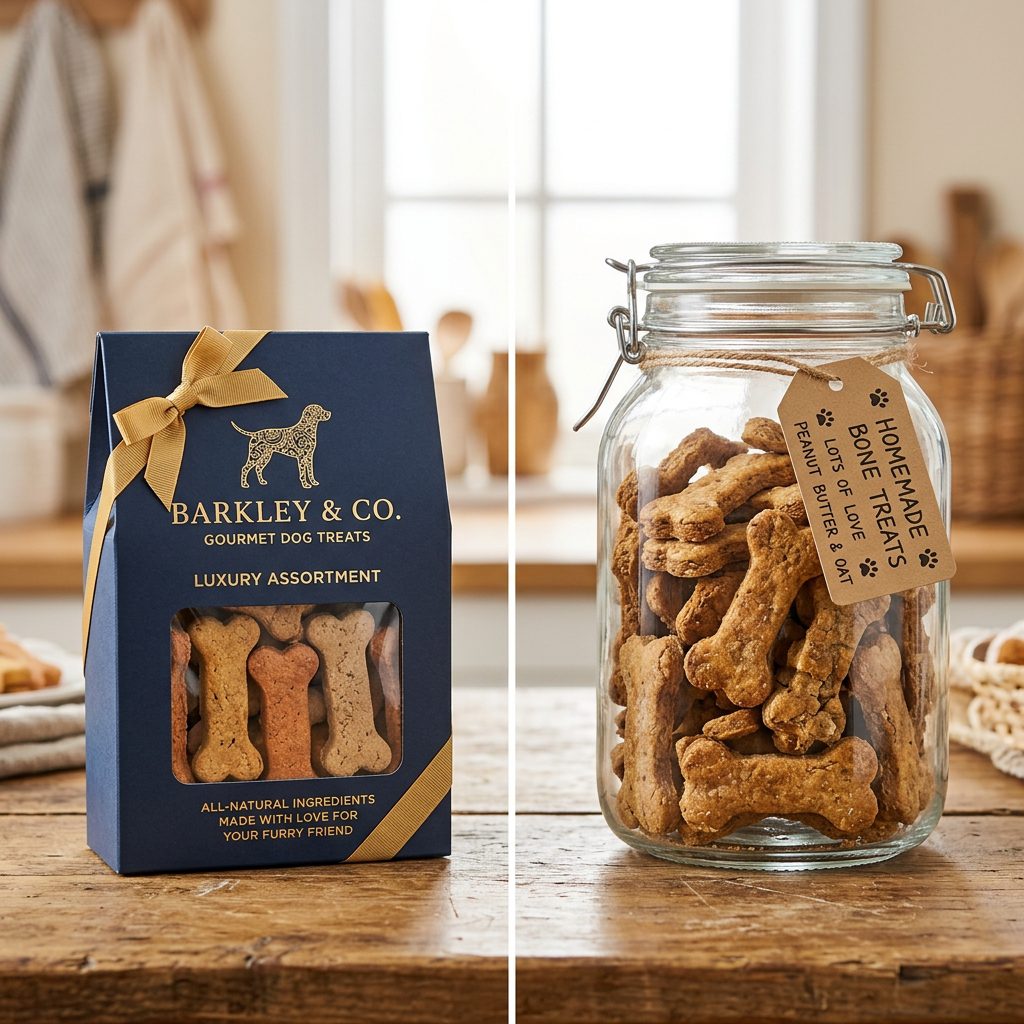
Let’s get real for a second. You walk into a high-end pet boutique, and you see them: those perfectly iced, bone-shaped cookies that cost $5.99… for a single treat. You look at the label, and it’s a mess of wheat flour, sugar, and ‘natural flavors.’ As the Canine Nutrition Hacker, that drives me absolutely wild. You aren’t paying for nutrition; you’re paying for the rent of that boutique. I decided enough was enough. I wanted to know exactly what was going into my dog’s body without draining my savings account.
Starting a home dog bakery isn’t just about making cute snacks; it’s about taking back control. It’s about forensic-level ingredient selection and realizing that you can produce a superior product in your own kitchen for a fraction of the cost. But here is the secret: the ‘pro’ equipment lists you see online are often bloated with things you don’t need. You don’t need a $4,000 industrial oven to make your dog’s tail wag. You need the right tools that ensure safety, consistency, and nutritional integrity. Today, I’m opening up my private toolkit to show you exactly what you need to start your home dog bakery without the fluff.
The Safety First Mindset: The Forensic Ingredient Check
The Hacker’s Safety Disclaimer
Before we touch a single spatula, we need to talk shop. I am not a veterinarian or a certified veterinary nutritionist. I am a savvy owner who does the homework. When you bake at home, you are the quality control officer. You must ensure your recipes are balanced and, more importantly, 100% safe. Many human ‘health foods’ are toxic to dogs.
The ‘No-Fly’ List
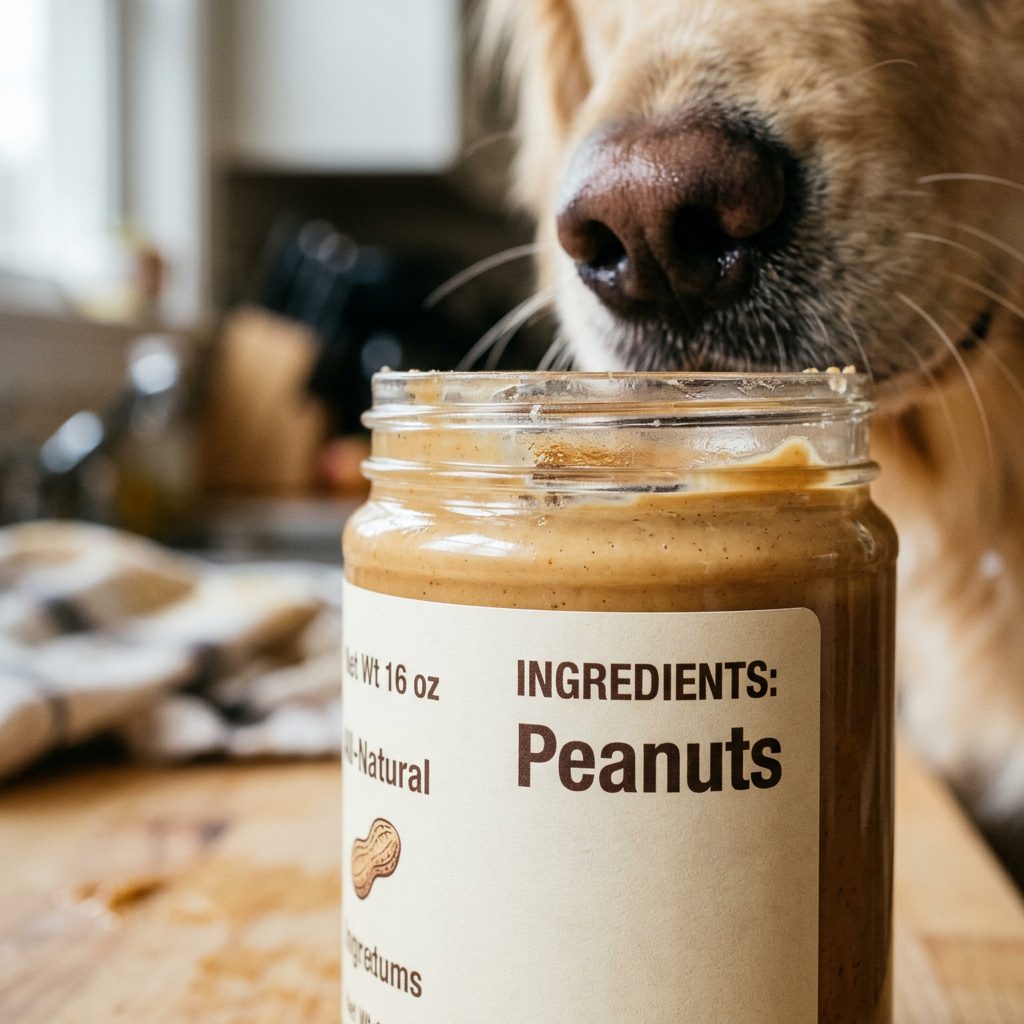
- Xylitol (Birch Sugar): Often found in peanut butters. It is lethal. Always check the label for this specific sweetener.
- Chocolate & Cocoa: A big no-go for obvious reasons.
- Grapes & Raisins: Can cause sudden kidney failure.
- Macadamia Nuts: Highly toxic to the canine nervous system.
- Excessive Salt & Sugar: Dogs don’t need them, and they lead to obesity and heart issues.
Insider Secret: Always source your peanut butter from brands that list exactly one ingredient: Peanuts. If there’s palm oil or sugar, put it back on the shelf.
The Essential ‘Secret’ Equipment List
The Tools That Actually Matter
Forget the fancy gadgets. If you want to bake like a pro, you need tools that prioritize precision and shelf-life. Here is the ‘Secret’ list that most ‘gourmet’ bakeries won’t tell you they started with.
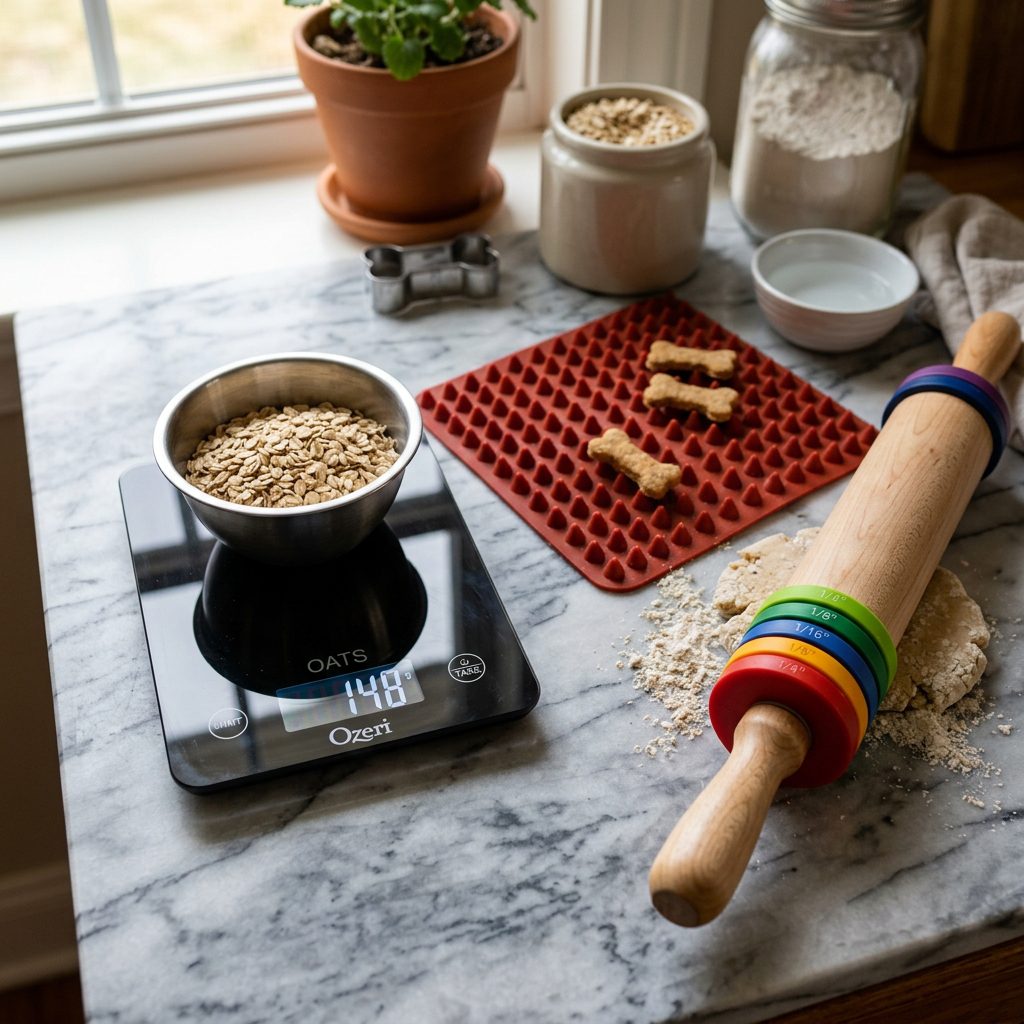
1. The Digital Kitchen Scale
In the world of canine nutrition, ‘a cup of flour’ is too vague. Depending on how you scoop it, you could be off by 20%. A digital scale ensures that your caloric density remains consistent. If your dog is on a strict diet, every gram counts. I recommend a scale that measures in 0.1g increments for supplements.
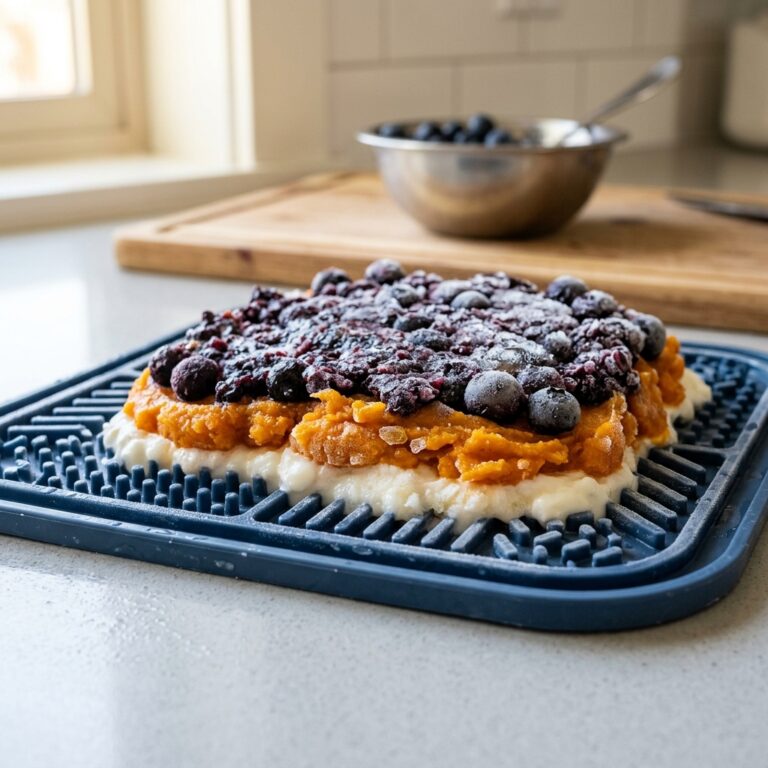
2. Silicone Pyramid Mats (The ‘Crunch’ Secret)
Ever wonder how professional treats get that perfectly even, dry crunch? They use silicone pyramid mats. By flipping the mat over, the treats sit on top of the ‘peaks,’ allowing hot air to circulate 360 degrees. This removes moisture faster, which is the key to preventing mold without using chemical preservatives.
3. The High-Power Food Processor
You’ll be grinding your own flours. Why? Because pre-ground oat flour is marked up 300%. Buy a giant bag of whole rolled oats and pulse them yourself. A good processor also helps you hide ‘hero’ ingredients like spinach or blueberries into the dough for those picky eaters.
4. Rolling Pin with Thickness Rings
Consistency is king. If some treats are thick and others are thin, they won’t bake evenly. Rolling pins with adjustable rings ensure every single treat is exactly 1/4 inch thick, meaning they all finish at the same time and have the same shelf life.
The Financial Forensic: DIY vs. High-End Retail
Is It Actually Cheaper?
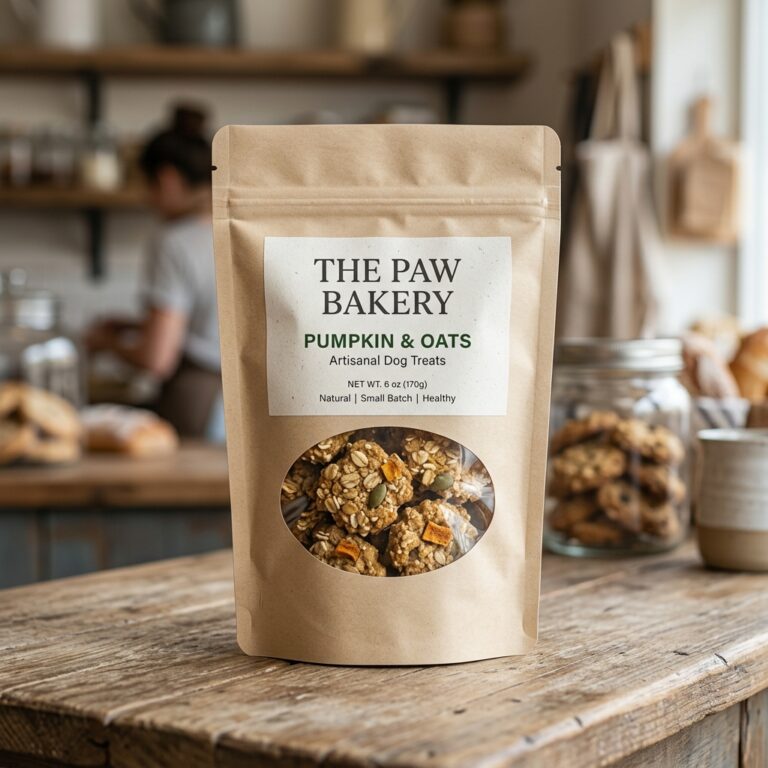
Let’s look at the numbers. Most ‘artisan’ treats are essentially flour and a bit of flavoring. When you buy them, you are paying for the brand. When you make them, you are paying for the quality. Here is the breakdown of a standard 1lb batch of ‘Hacker’ Pumpkin & Oat treats versus a leading boutique brand.
| Category | Boutique ‘Gourmet’ Treats | Hacker Home Bakery (DIY) | The Verdict |
|---|---|---|---|
| First 5 Ingredients | Wheat Flour, Sugar, Palm Oil, Salt, ‘Natural Flavor’ | Organic Oats, Fresh Pumpkin, Egg, Cinnamon, Peanut Butter | DIY is Nutritionally Superior |
| Cost Per Pound | $22.00 – $35.00 | $3.50 – $5.00 | Save over 80% |
| Recall Risk | Moderate (Third-party manufacturing) | Zero (You control the kitchen) | Home-baked is Safer |
| Preservatives | Potassium Sorbate / Mixed Tocopherols | None (Natural dehydration) | DIY is Cleaner |
By baking at home, you aren’t just saving $1.50/day on treats; you are investing that money back into higher-quality proteins for their main meals. That is how you hack the system.
The Master ‘Hacker’ Treat Ratio & Recipe

The 3-2-1 Formula for Success
You don’t need a thousand recipes. You need one solid base that you can swap ingredients into. This is the formula I use for a perfectly firm, crunchy treat that lasts.
The Base Ratios:
- 3 Parts Flour Base: (Think oat flour, brown rice flour, or coconut flour).
- 2 Parts ‘Hero’ Puree: (Pure pumpkin, unsweetened applesauce, or mashed sweet potato).
- 1 Part Binder/Flavor: (One egg, a dollop of peanut butter, or a splash of low-sodium bone broth).
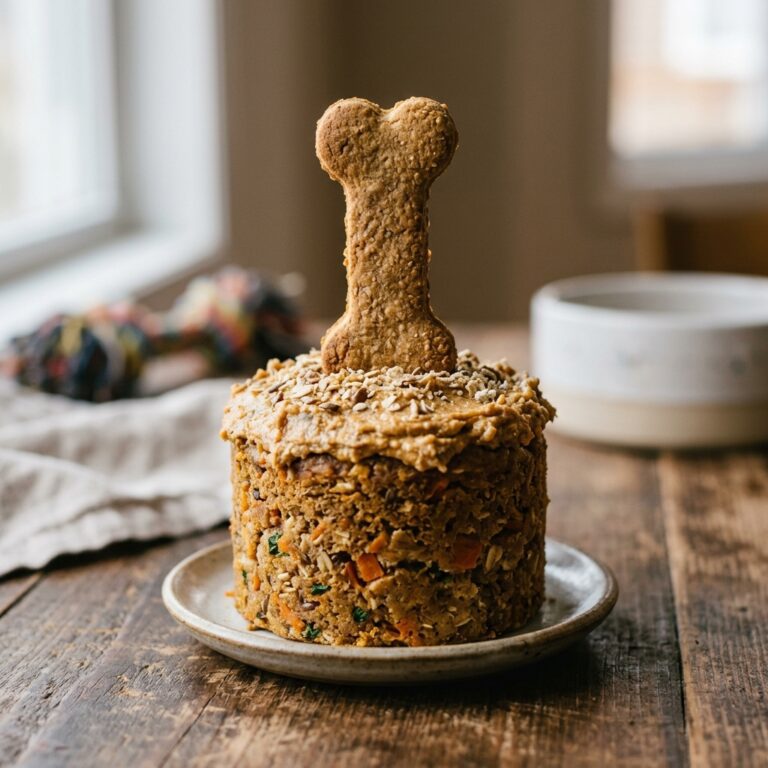
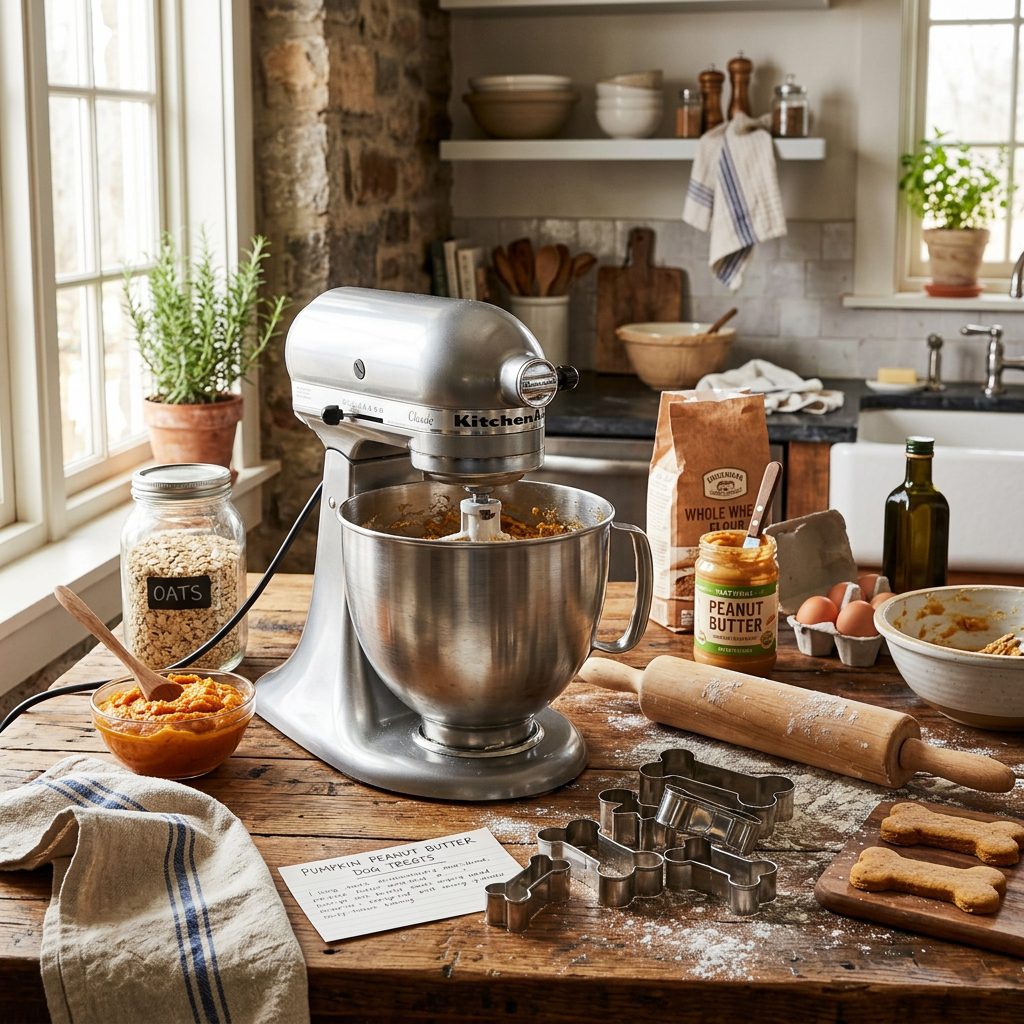
The ‘Hacker’ Pumpkin Crunch Recipe:
- Preheat your oven to 325°F (165°C).
- Pulse 2 cups of rolled oats in your processor until they reach a flour consistency.
- Mix in 1/2 cup of pure pumpkin puree (NOT pie filling!) and 1 large egg.
- Add 2 tablespoons of Xylitol-free peanut butter.
- Roll to 1/4 inch thickness and cut into shapes.
- Bake for 25-30 minutes, then turn the oven OFF and let them sit inside for another hour to dehydrate.
Hacker Tip: If your dog has allergies, swap the egg for a ‘flax egg’ (1 tbsp ground flaxseed + 3 tbsp water). It adds Omega-3s and keeps the recipe hypoallergenic!
Storage & Batch Cooking: Making It Last
The Freshness Secret
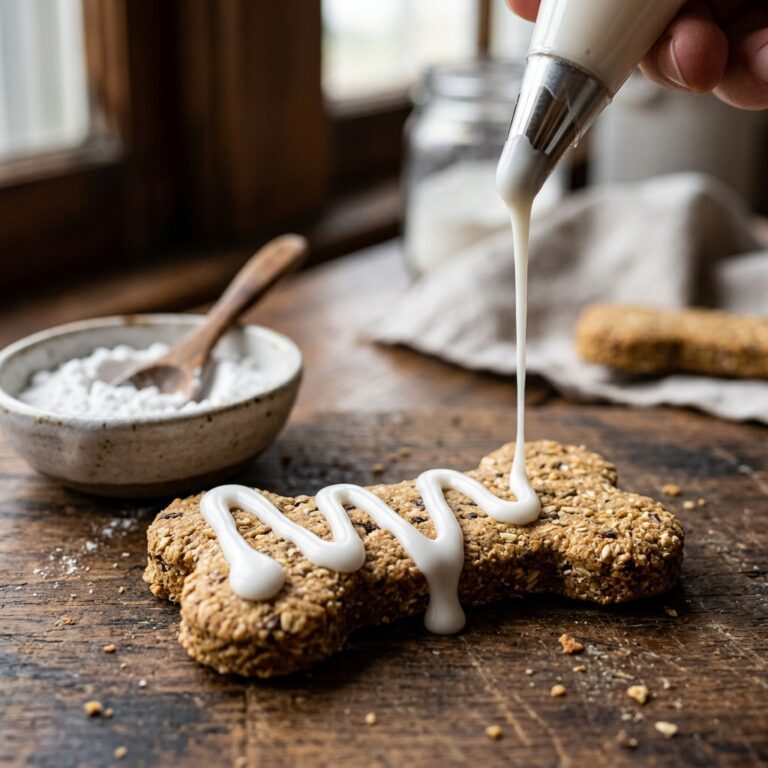
Since we aren’t using chemical preservatives, we have to be smart. Moisture is the enemy. A treat that feels ‘soft’ will mold in 3 days. A treat that ‘snaps’ can last for weeks.
The Dehydration Hack
If you have a dehydrator, use it! After baking, pop the treats in the dehydrator for 4 hours at 150°F. This removes the residual moisture that ovens often miss. If you don’t have one, the ‘oven-cool’ method mentioned in the recipe is your best friend.
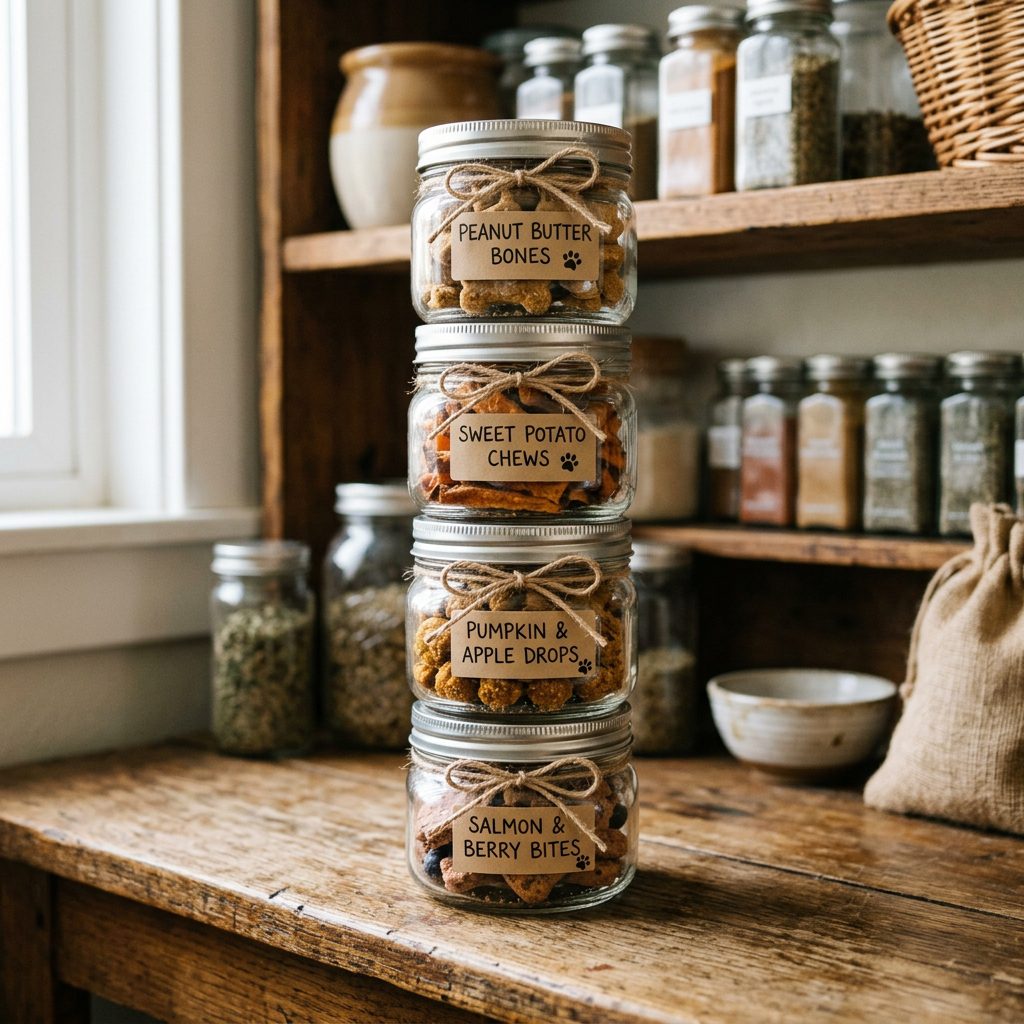
Freezer Stashing
I always bake in massive batches. I keep one small jar on the counter for the week and the rest go into a vacuum-sealed bag in the freezer. They stay fresh for up to 6 months. Never store homemade treats in plastic bags on the counter; use glass jars or airtight tin containers to maintain the crunch.
Conclusion
You Are Now the Chief Nutrition Officer
Starting a home dog bakery isn’t just a fun weekend project; it’s a fundamental shift in how you care for your dog. By investing in a few ‘secret’ pieces of equipment—like a precision scale and those game-changing silicone mats—you’ve moved from being a passive consumer to a savvy, empowered owner. You now know exactly what is fueling those zoomies, and you’re doing it for a fraction of the cost of those boutique brands.
Remember, the best ingredient you can ever add to a dog treat is transparency. No more mystery fillers, no more ‘natural flavors’ that are anything but natural. Just real food for a real best friend. Now, get that oven preheated—your dog is already waiting by the kitchen door!