Say Goodbye to Stinky Dog Breath with These Easy 3-Ingredient Minty Biscuits
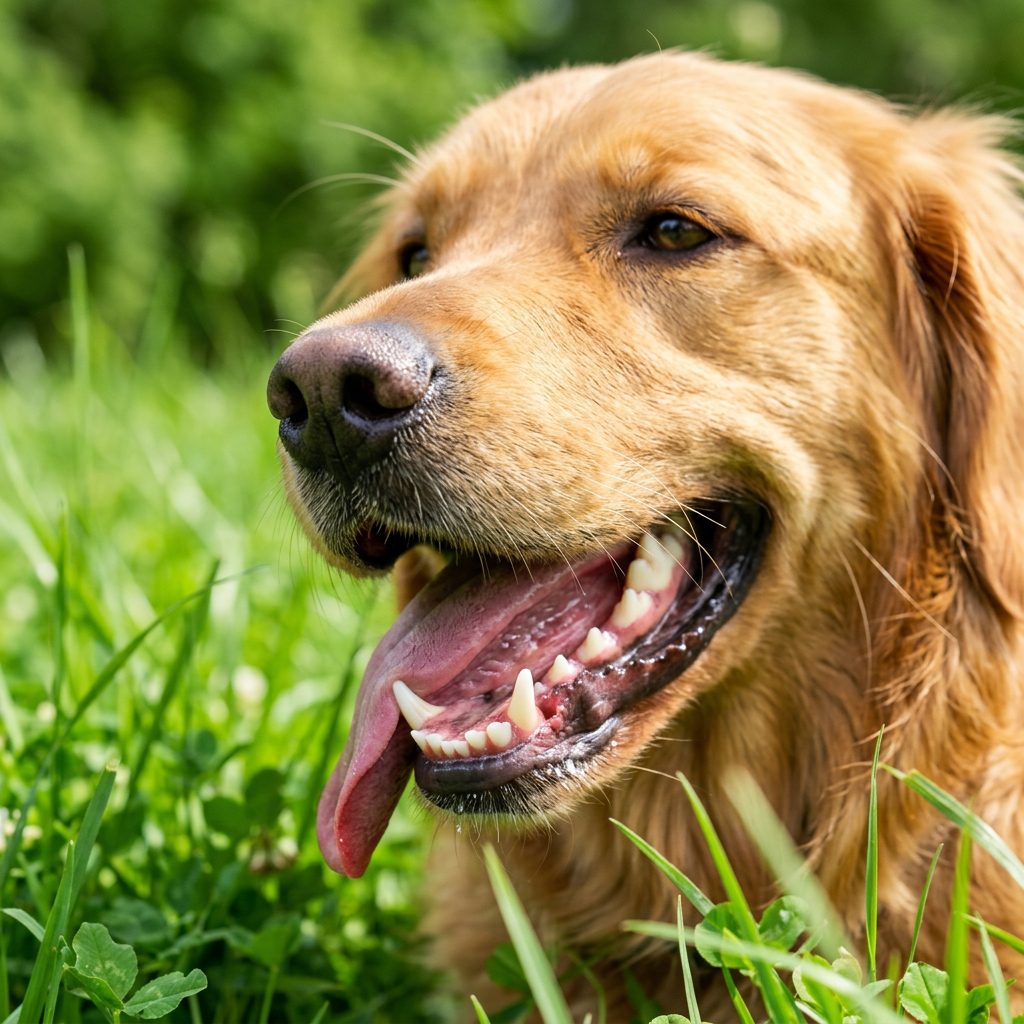
Welcome back, savvy dog parents. We need to have a serious talk about something that plagues almost every dog owner at some point: the dreaded, room-clearing stinky dog breath. You know exactly what I am talking about. Your furry best friend comes in for a loving cuddle, pants in your face, and suddenly you are gasping for fresh air. As the Canine Nutrition Hacker, I am here to tell you that covering up that smell with overpriced, chemical-laden commercial dental chews is a rookie mistake.
SAFETY DISCLAIMER: Before we dive into the forensic analysis of doggy breath and my ultimate DIY solution, remember that I am a nutrition hacker and investigative pet parent, not a veterinarian. These homemade treats are meant for supplemental feeding, breath freshening, and gut health support. If your dog’s breath smells like actual decay, urine, or sweet fruit, it could be a sign of advanced periodontal disease, kidney issues, or diabetes. Always consult your trusted holistic or traditional vet for serious medical diagnoses.
Now that we have the legalities out of the way, let us get down to business. Most commercial dental treats are nothing more than extruded starch, artificial dyes, and synthetic flavorings that actually feed the bad bacteria in your dog’s gut. Today, we are taking control. I am going to show you how to hack your dog’s dental and gut health with an incredibly simple, budget-friendly recipe. We are going to make easy, 3-ingredient minty biscuits that tackle bad breath at the absolute source.
The Root Cause of Stinky Dog Breath (It Is Not Just Teeth)
If you want to solve a problem, you have to understand its root cause. Most dog owners assume that bad breath (halitosis) is strictly a mouth problem. While tartar buildup and plaque are definitely major culprits, they are only half of the story. As a savvy owner, you need to look deeper into the digestive tract.
The Gut-Mouth Connection
Your dog’s gastrointestinal tract is a massive microbiome teeming with billions of bacteria. When your dog eats highly processed commercial kibble loaded with simple carbohydrates and hidden sugars, it feeds the pathogenic bacteria in their gut. These bad bacteria produce sulfur compounds as a byproduct of digestion. Those sulfur gases travel up the digestive tract and out through your dog’s mouth. So, that foul odor? It is often a direct reflection of a dysbiotic gut environment.
Insider Secret: You can brush your dog’s teeth every single day, but if their gut microbiome is out of balance, that stinky breath will always come back. You have to treat the gut to treat the breath.
This is exactly why tossing a generic, starch-heavy dental chew at the problem is like putting a band-aid on a bullet wound. You are temporarily masking the odor with synthetic mint or parsley flavor while simultaneously feeding the bad bacteria with more starch. It is a vicious cycle designed to keep you buying more treats.
The Ugly Truth Hiding in Commercial Dental Chews

Let us put on our forensic scientist hats and look at the ingredient label of one of the most popular green-colored dental chews on the market. When you flip that bag over, the first five ingredients usually read something like this: Wheat flour, glycerin, wheat gluten, gelatin, and water. Notice anything missing? There is absolutely zero actual meat, and more importantly, zero natural breath-freshening ingredients in the top five.
Exposing the Fillers
- Wheat Gluten & Flour: These are cheap, highly processed binders. They spike blood sugar, feed yeast, and stick to your dog’s teeth, which ironically promotes more plaque formation.
- Glycerin: Often derived from unnamed sources (sometimes a byproduct of biofuel production), glycerin is used to keep the chew soft and chewy. It is essentially a sugar alcohol that can upset sensitive stomachs and trigger diarrhea in some dogs.
- Artificial Colors (Fast Green FCF, etc.): Why is the chew green? It is not from fresh herbs. It is synthetic dye used purely for human psychology. Your dog does not care what color their treat is.
When you analyze the nutritional profile, you realize you are paying a premium price for colored, flavored wheat paste. As a savvy dog owner, you demand better. You want functional ingredients that actually serve a biological purpose.
The 3 Hero Ingredients (And Why They Work)
To truly banish stinky dog breath, we need ingredients that tackle both the oral cavity and the gut microbiome. My hacker recipe uses exactly three functional, whole-food ingredients. No fillers, no synthetic dyes, and no mystery glycerin.
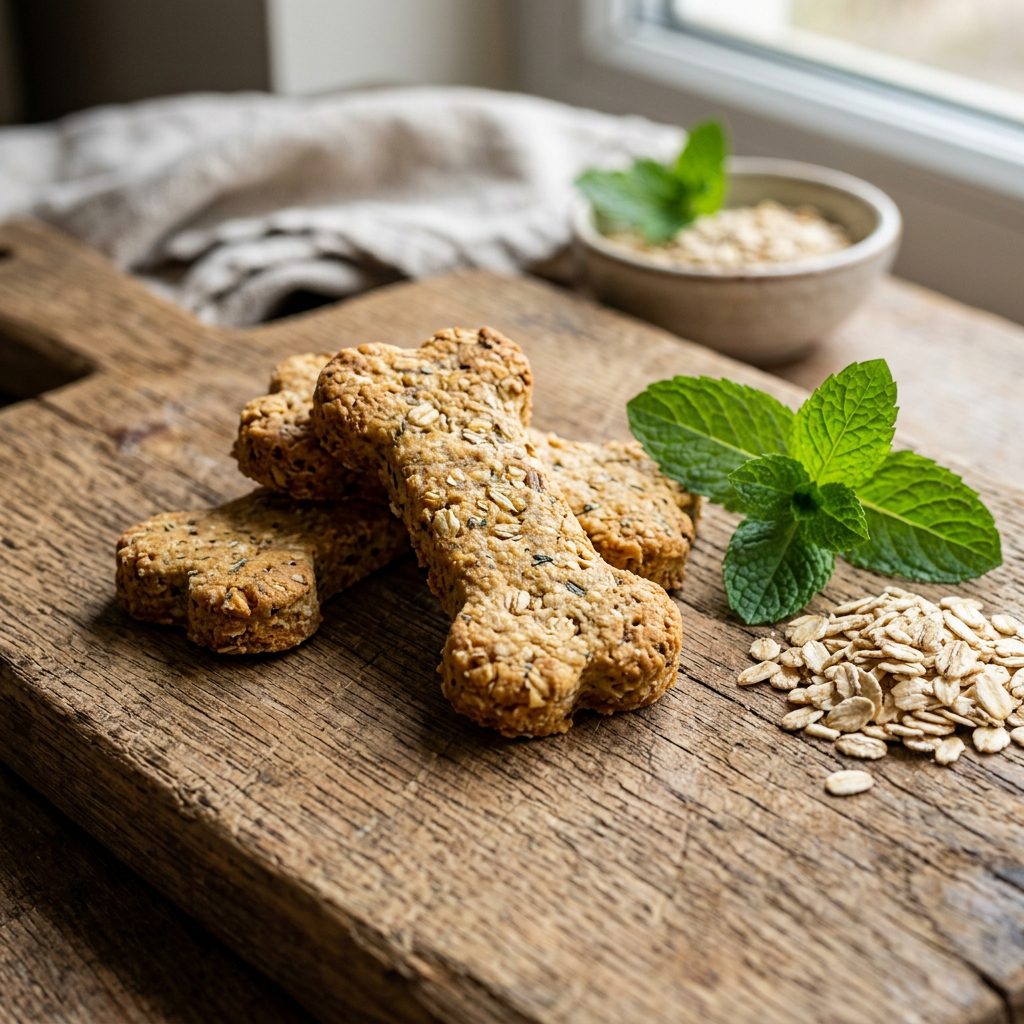
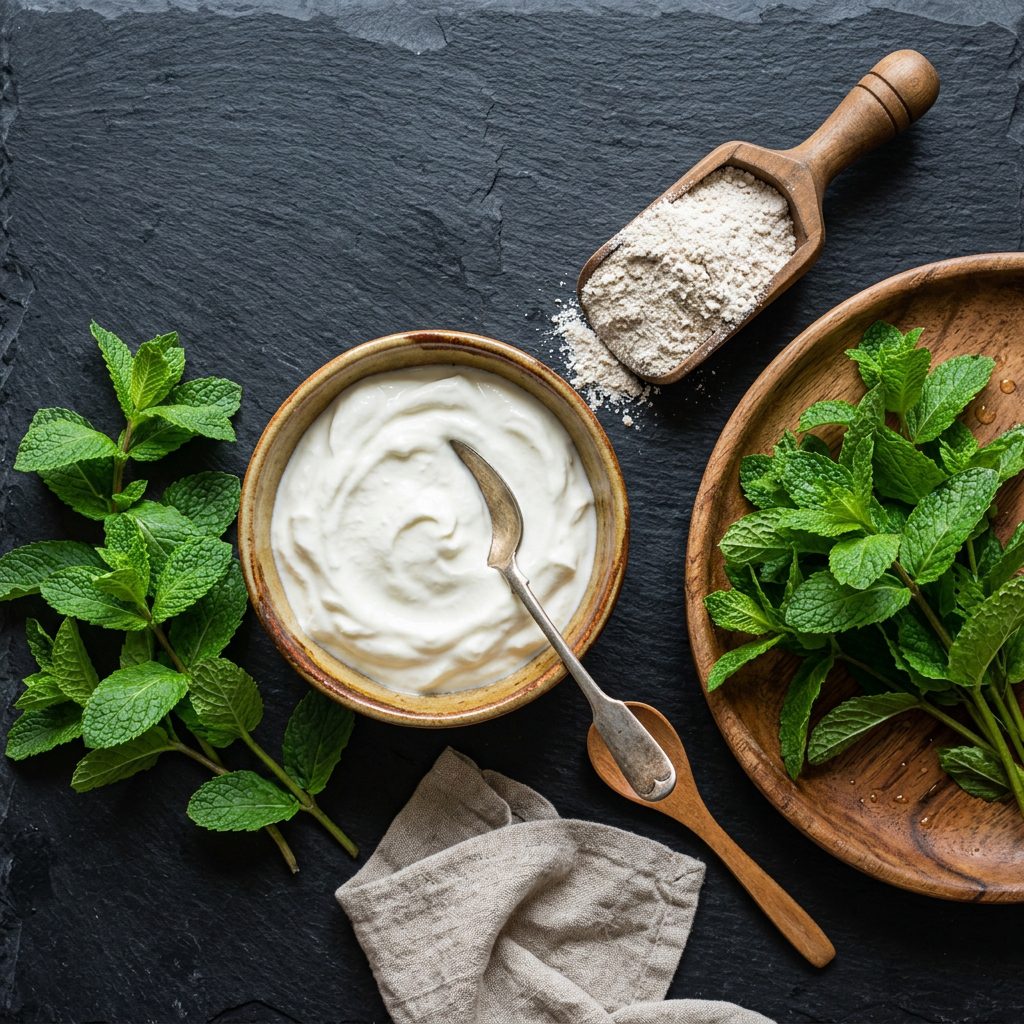
1. Fresh Peppermint or Spearmint
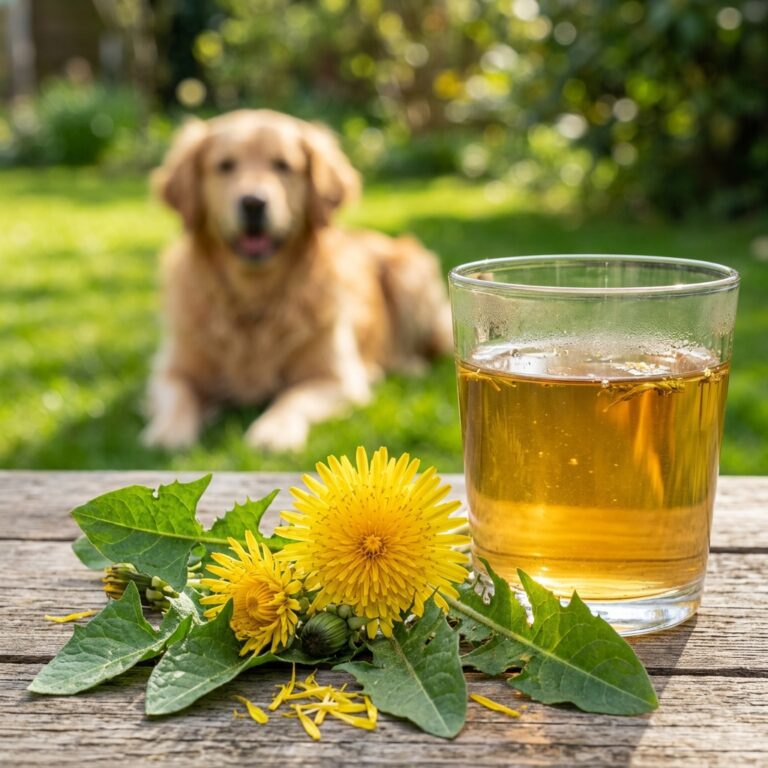
Mint is nature’s ultimate breath freshener, but its benefits go far beyond the smell. Fresh mint leaves are packed with chlorophyll, the green pigment found in plants. Chlorophyll acts as a natural deodorizer and binds to toxins in the digestive tract, safely moving them out of the body. Furthermore, mint has natural antibacterial properties that help neutralize the specific bacteria in the mouth responsible for plaque and tartar. Warning: Always use fresh Peppermint or Spearmint. Never use Pennyroyal mint, which is highly toxic to dogs.
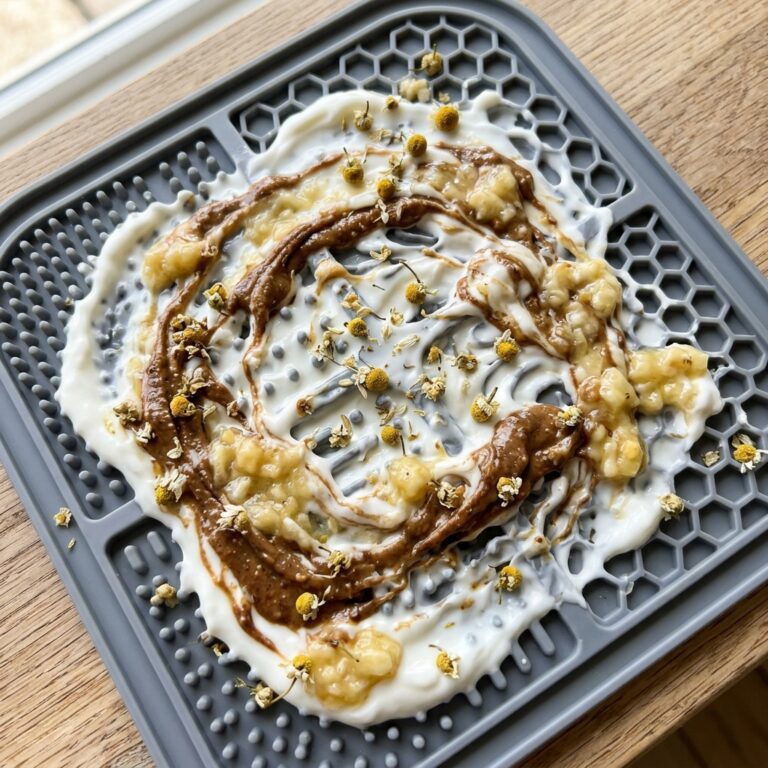
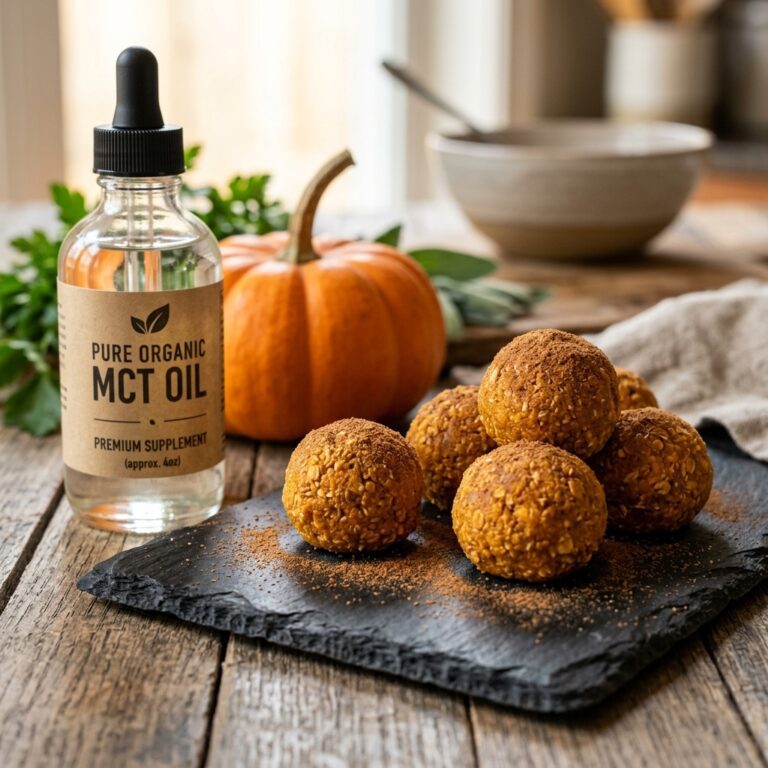
2. Plain, Unsweetened Greek Yogurt
Remember the gut-mouth connection we talked about? This is where Greek yogurt comes in. It is a powerhouse of natural probiotics, specifically Lactobacillus strains. These beneficial bacteria colonize your dog’s gut, crowding out the sulfur-producing bad bacteria. By fixing the gut flora, we eliminate the foul odors rising from the stomach. Greek yogurt also provides a low-lactose, high-protein binder for our biscuits. Always ensure it contains zero artificial sweeteners, especially Xylitol, which is deadly to dogs.
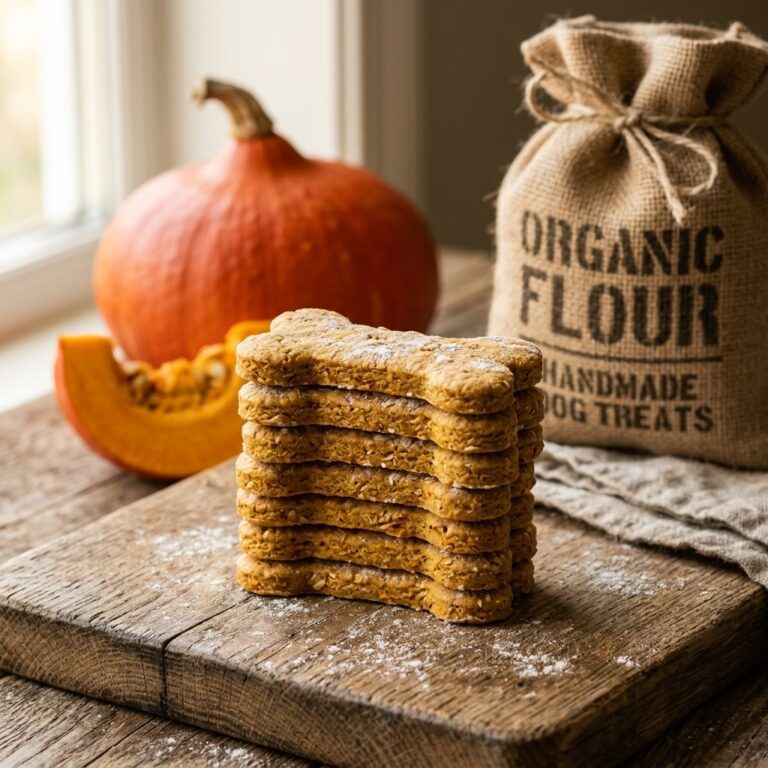
3. Organic Oat Flour
Instead of cheap wheat gluten, we use oat flour. Oats are a fantastic source of soluble fiber, specifically beta-glucans. This fiber acts as a prebiotic, meaning it serves as the food source for the probiotics in the yogurt. By combining oats and yogurt, we are creating a symbiotic treat that actively heals the gut. Plus, oat flour provides a satisfying crunch that helps mechanically scrape light plaque off the teeth as your dog chews.
Real Cost Breakdown: DIY vs. Store-Bought Premium
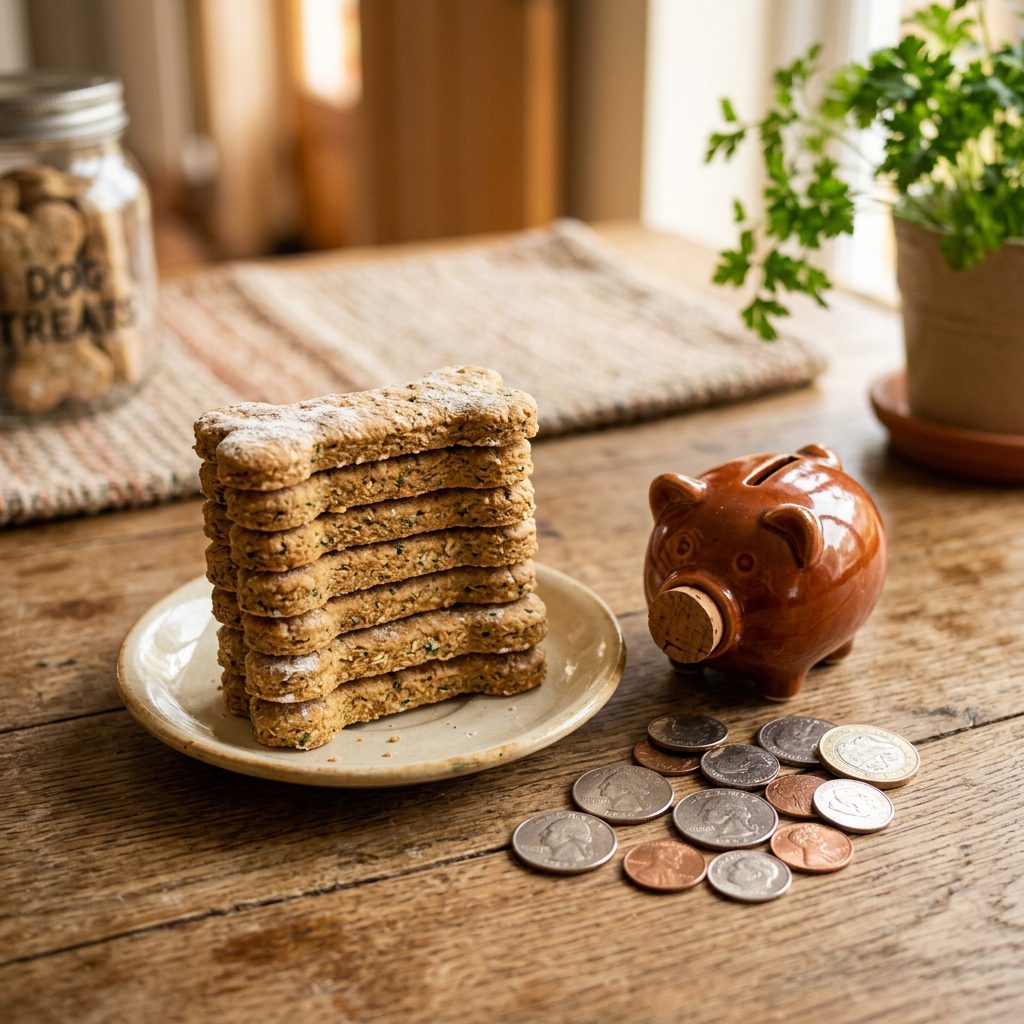
One of the core principles of being a Canine Nutrition Hacker is optimizing your budget without sacrificing quality. Commercial pet food companies spend millions on marketing to convince you that their proprietary formulas are impossible to replicate. Let us look at the hard math for a 50lb dog.
| Treat Option | Cost Per Day | Filler Ingredients | Probiotics |
|---|---|---|---|
| Store-Bought Premium | $1.50 | Wheat, Glycerin | None |
| DIY Minty Biscuits | $0.15 | Zero | Live Cultures |
By switching to this homemade recipe, you are saving roughly $1.35 per day. Over the course of a year, that is almost $500 saved—all while providing vastly superior nutrition and actively improving your dog’s gut health. That is what I call a massive hacker victory.
The Actionable Recipe: 3-Ingredient Minty Biscuits
It is time to put on your safe chef apron and get to work. This recipe is virtually foolproof, requiring minimal prep time and zero advanced culinary skills. The ratios are designed to create a firm, crunchy biscuit that helps scrape teeth while delivering the functional benefits of our hero ingredients.
Ingredients Needed:
- 2.5 cups of Organic Oat Flour (You can easily make this by blending rolled oats in a food processor until fine).
- 0.5 cup of Plain, Unsweetened Greek Yogurt (Double-check the label for absolutely NO Xylitol).
- 0.5 cup of finely chopped Fresh Peppermint or Spearmint leaves (Stems removed).
- Optional: 2-3 tablespoons of water if the dough is too dry.
Step-by-Step Instructions:
- Prep the Oven: Preheat your oven to 350 degrees Fahrenheit (175 degrees Celsius). Line a large baking sheet with unbleached parchment paper.
- Mix the Dry and Greens: In a large mixing bowl, combine the oat flour and the finely chopped fresh mint. Toss them together until the mint is evenly distributed through the flour. This prevents clumping.
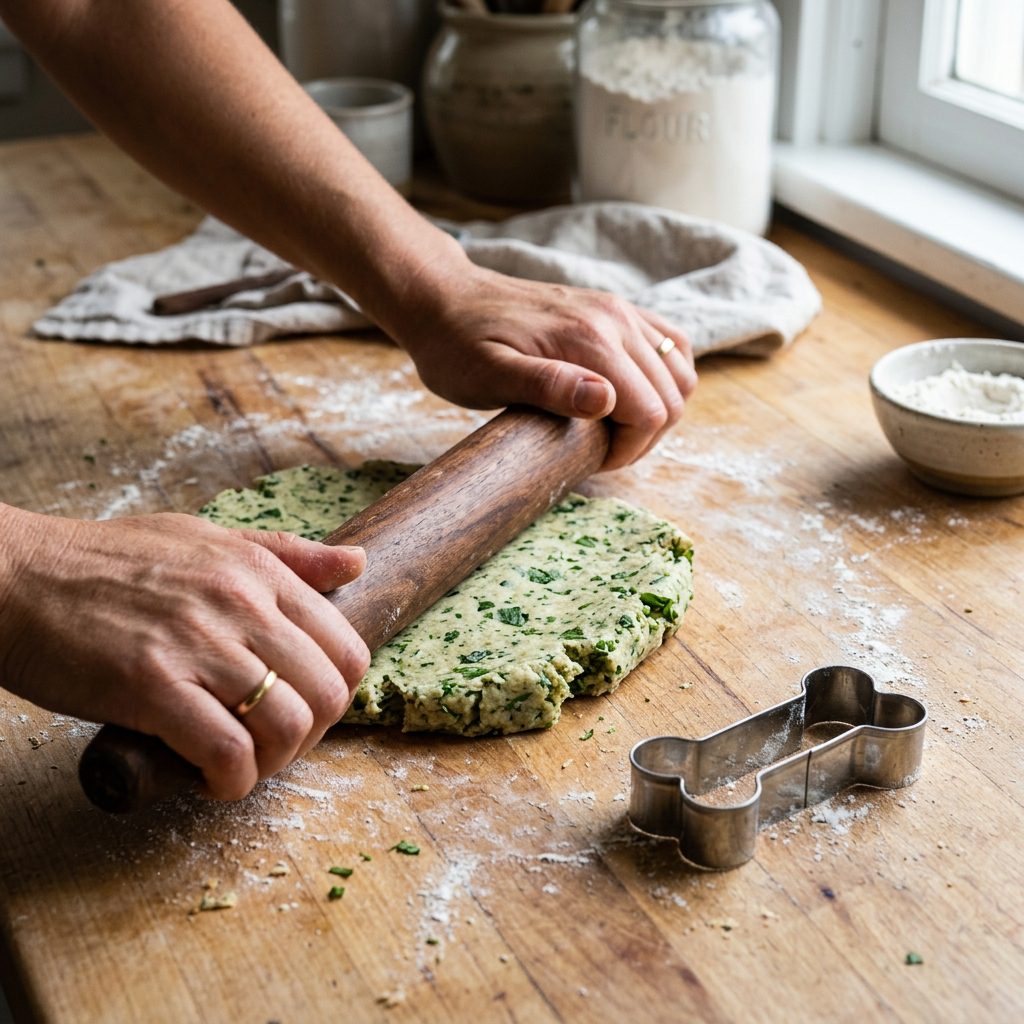
- Add the Binder: Fold in the plain Greek yogurt. Use a sturdy spatula or your hands to knead the mixture into a dough. It should feel like a slightly dense cookie dough. If it is crumbling and will not hold together, add water one tablespoon at a time.
- Roll and Cut: Turn the dough out onto a lightly oat-floured surface. Roll it out to about 1/4-inch thickness. Use a bone-shaped cookie cutter (or just a knife to cut small squares) and punch out your biscuits.
- Bake for the Crunch: Place the biscuits on your prepared baking sheet. They will not expand much, so you can place them fairly close together. Bake for 20-25 minutes until the edges are golden brown.
- The Secret Dehydration Step: Turn the oven off, but leave the biscuits inside as the oven cools down for another 30-45 minutes. This draws out the remaining moisture, giving the biscuits that rock-hard crunch needed for dental scraping.
Hacker Tip: If your dog has a known poultry or beef allergy, this recipe is naturally vegetarian and highly hypoallergenic for dogs with common meat protein sensitivities!
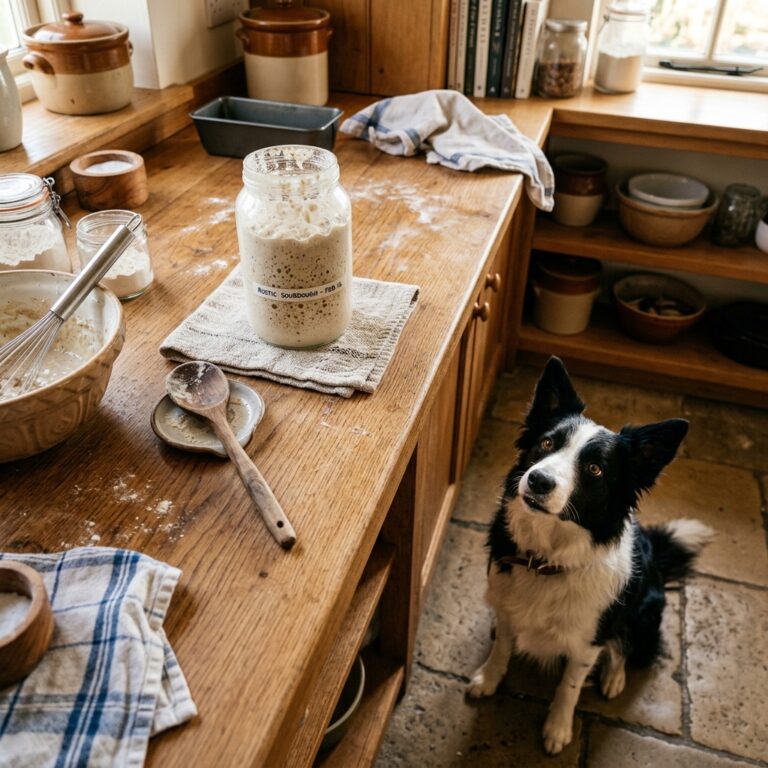
Batch Cooking & Storage Hacks
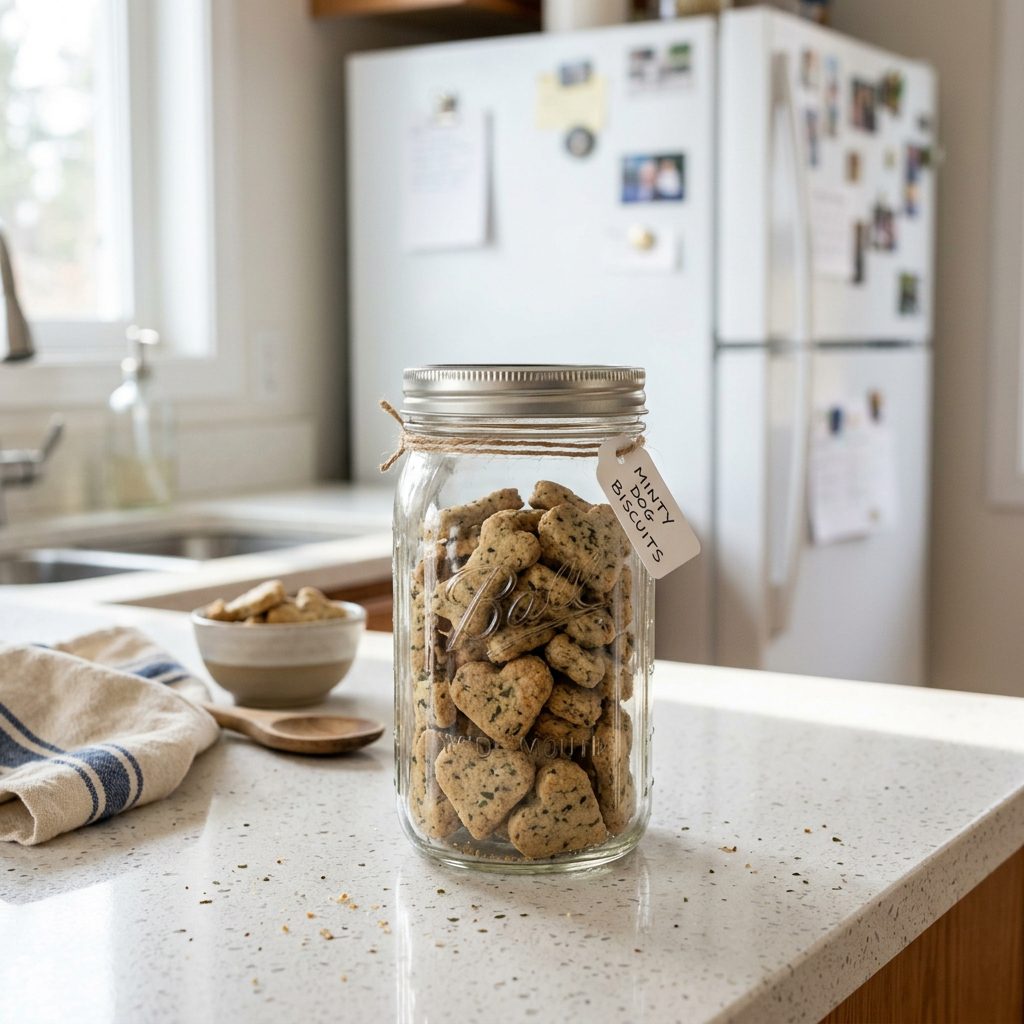
We are busy people, and making dog treats every three days is not sustainable. To make this a permanent part of your dog’s wellness routine, you need to master batch cooking. Because these DIY treats contain zero artificial preservatives, their shelf life is shorter than the chemical-laden store-bought alternatives. But with a few simple storage hacks, you can easily maintain a steady supply.
The Freezer is Your Best Friend
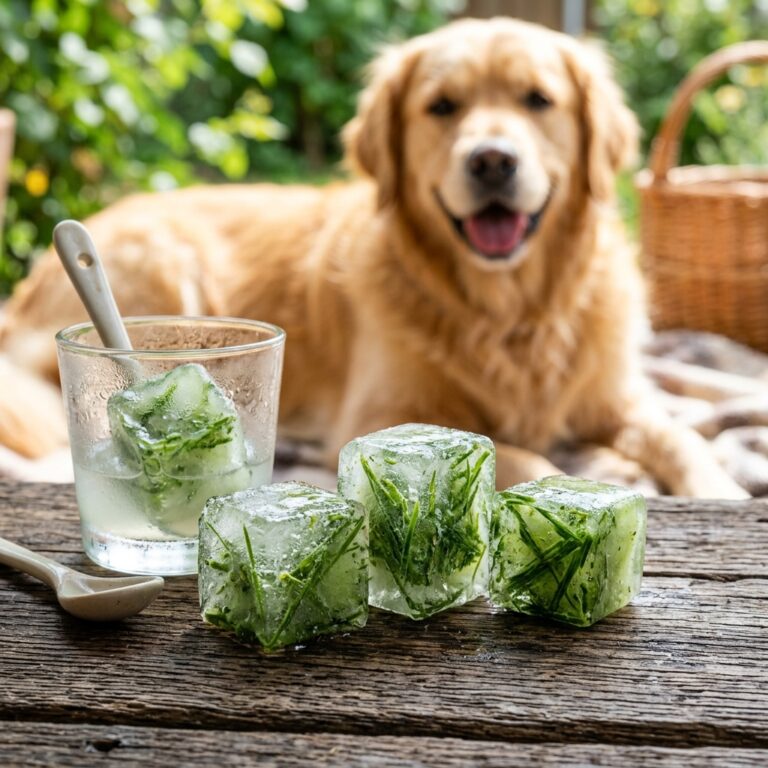
My absolute favorite method is to double or triple the recipe on a lazy Sunday afternoon. Once the biscuits are completely cooled and dehydrated from the oven, divide them up. Keep about a week’s worth in an airtight glass mason jar on the counter. Take the rest and place them in a silicone freezer bag. They will stay perfectly fresh in the freezer for up to three months. You do not even need to thaw them—many dogs actually love the extra crunch and cooling sensation of a frozen biscuit, especially after a long summer walk.
Dough Prep Hack
If you prefer the smell of freshly baked treats, you can freeze the raw dough instead. Roll the dough into a log, wrap it tightly in parchment paper and beeswax wrap, and freeze. When you notice your dog’s breath starting to get a little funky, simply slice off a few rounds from the frozen log and bake them fresh. It takes less than two minutes of active prep time.
By incorporating these storage strategies, you eliminate the convenience excuse. You now have a permanent, highly effective, and deeply nutritious solution to your dog’s bad breath right at your fingertips.
Conclusion
There you have it—the ultimate insider guide to banishing stinky dog breath forever. As a savvy dog owner, you now possess the knowledge to look past the deceptive marketing of commercial dental chews. You understand the profound connection between gut health and oral hygiene, and you have the exact, 3-ingredient recipe to hack your dog’s microbiome for the better.
By combining the odor-neutralizing power of fresh mint, the probiotic punch of Greek yogurt, and the prebiotic fiber of organic oats, you are not just masking a bad smell; you are actively optimizing your dog’s internal health. And the fact that you are saving hundreds of dollars a year while doing it? That is just the icing on the cake.
So, ditch the overpriced, synthetic green sticks. Grab your mixing bowl, whip up a batch of these easy minty biscuits, and get ready for fresh, sweet, puppy-breath kisses once again. Stay savvy, keep reading those ingredient labels, and I will see you in the next canine nutrition breakdown.