This 3-Ingredient Sourdough Dog Pizza Crust Is the Ultimate Weekend Treat Your Pup Deserves!
Welcome to the Kitchen, Nutrition Hackers!
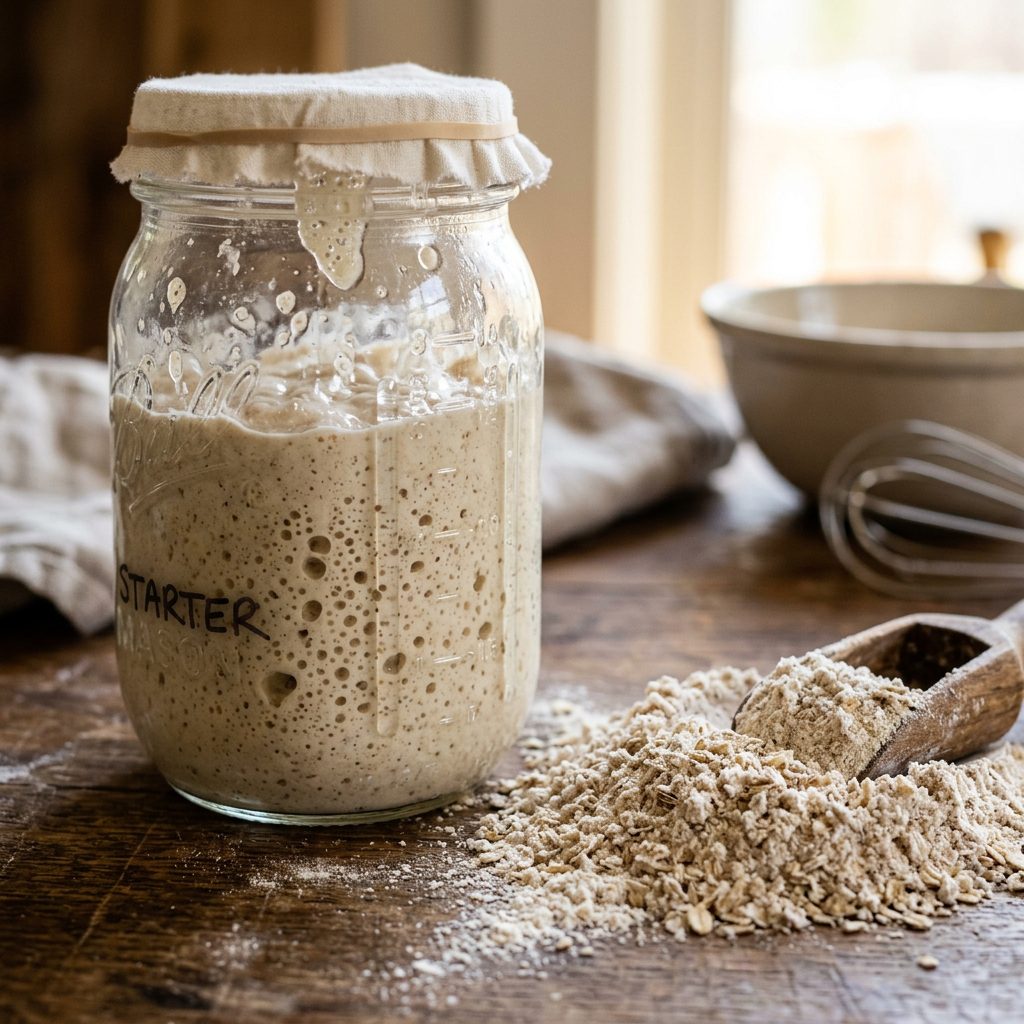
If you are like me, your kitchen counter has probably been overtaken by a bubbling jar of fermented flour and water. Sourdough baking is a labor of love, but let’s be honest: the amount of ‘discard’ we throw away is a nutritional tragedy. As a savvy dog owner, you know that every calorie your pup consumes should count. Why toss that probiotic-rich discard when you can turn it into the ultimate weekend reward? Today, we are hacking the traditional pizza night. We are ditching the high-sodium, preservative-laden store-bought treats and crafting a 3-ingredient sourdough dog pizza crust that is easy on the digestive system and even easier on your wallet. This isn’t just about being ‘extra’ for your dog; it’s about utilizing the power of fermentation to provide a snack that actually supports their gut microbiome. Most commercial dog treats are filled with ’empty’ carbohydrates and mysterious ‘animal derivatives.’ We are going forensic on your pantry to prove that the best nutrition starts with simple, whole ingredients you already own. Grab your apron, because your pup is about to become the biggest fan of your sourdough hobby.
The Safety Disclaimer & The Sourdough Secret
Safety First: The Golden Rule of Dog Baking
CRITICAL SAFETY DISCLAIMER: I am a dedicated canine nutrition hacker, not a veterinarian. While I spend my days analyzing labels and nutrient densities, you should always consult with your vet before introducing new foods, especially if your dog has a history of pancreatitis or grain sensitivities. NEVER feed your dog raw sourdough dough. Raw yeast dough can expand in a dog’s stomach and lead to ethanol poisoning. Always ensure the crust is baked thoroughly until crisp.
Why Sourdough? The Science of the Ferment
You might be wondering, ‘Is bread even good for dogs?’ Generally, most commercial bread is just filler. However, sourdough is different. The fermentation process breaks down much of the gluten and phytic acid found in grain. Phytic acid is an anti-nutrient that can interfere with the absorption of minerals like zinc and calcium. By using fermented discard, you are providing a treat that is significantly easier for your dog to digest than a standard flour-based biscuit. It’s like a pre-digested snack that lets their system focus on absorbing the good stuff. Plus, the natural tang is a flavor profile dogs absolutely crave. We are taking ‘insider secrets’ from the artisan bakery and applying them to canine wellness.
The Forensic Cost Breakdown: DIY vs. Store-Bought
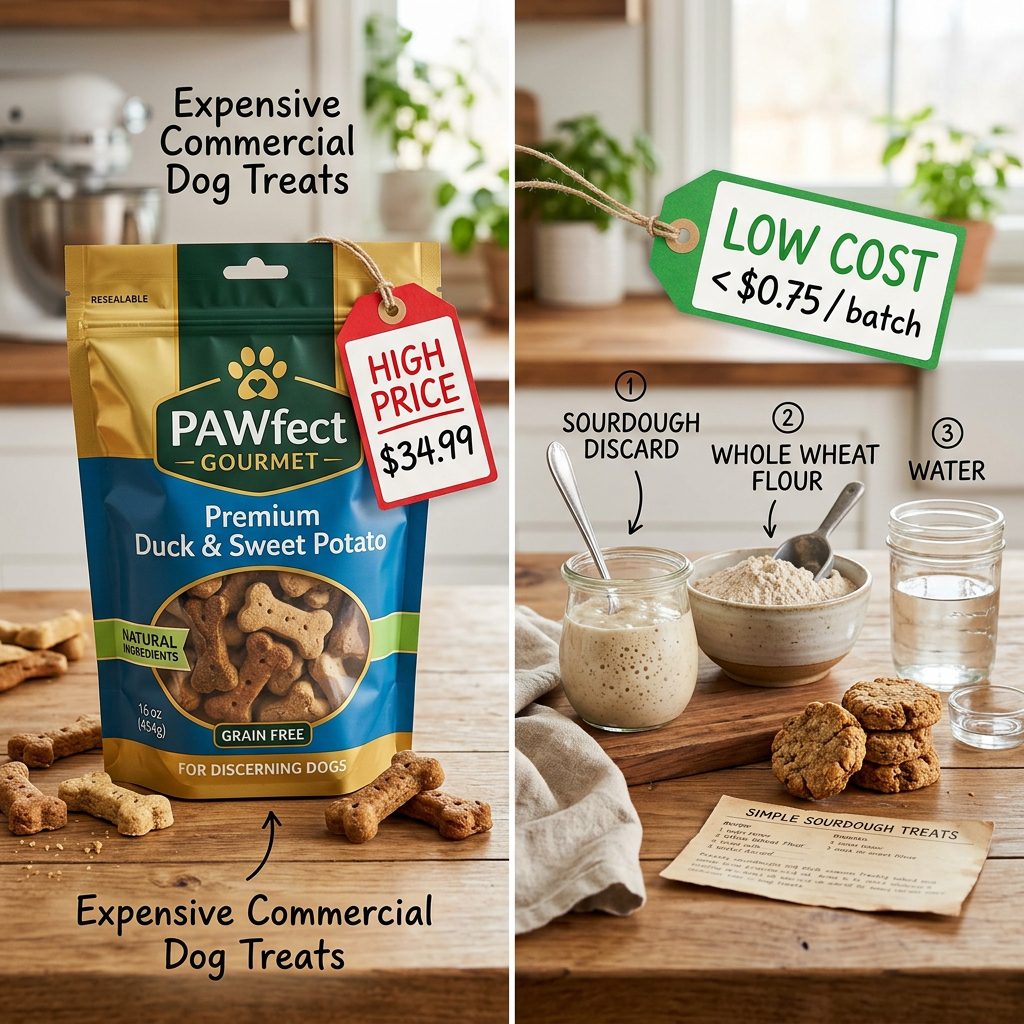
The Real Cost of ‘Premium’ Treats
Have you ever looked at the price per pound of those ‘gourmet’ dog biscuits at the pet boutique? It’s daylight robbery. Most of those bags cost upwards of $15 for a few ounces of wheat flour and glycerin. Let’s look at the numbers. When we hack our own treats using sourdough discard, we are essentially using a byproduct that would otherwise be trashed. We are turning waste into ‘canine gold.’
| Feature | Boutique ‘Pizza’ Treats | Hacker’s Sourdough Crust |
|---|---|---|
| Main Ingredient | Wheat Flour / Glycerin | Fermented Sourdough Discard |
| Preservatives | Potassium Sorbate / BHA | None (Natural Fermentation) |
| Cost Per Batch | $12.00 – $18.00 | Less than $1.00 |
| Nutritional Value | Low (Fillers) | High (Probiotic-processed) |
| Verdict | Overpriced Filler | The Winner |
Hacker Tip: If you buy your flour in bulk (25lb bags), the cost of this recipe drops to pennies. You aren’t just saving money; you are upgrading your dog’s health tier.
The 3-Ingredient Recipe: The Safe Chef Guide
The Foundation of the Perfect Crust
We are keeping this simple. No fillers, no ‘natural flavors’ (which is often just code for MSG), and no junk. This recipe uses a 1:1 ratio of discard to flour, with a healthy fat to bind it all together. This creates a sturdy, cracker-like crust that holds up to toppings without being too hard on senior teeth.
Ingredients:
- 1 Cup Sourdough Discard: (Unfed is fine, as long as it’s not moldy).
- 1 to 1.5 Cups Oat Flour: (Oat flour is gentler on the stomach than wheat, but whole wheat works if your dog isn’t sensitive).
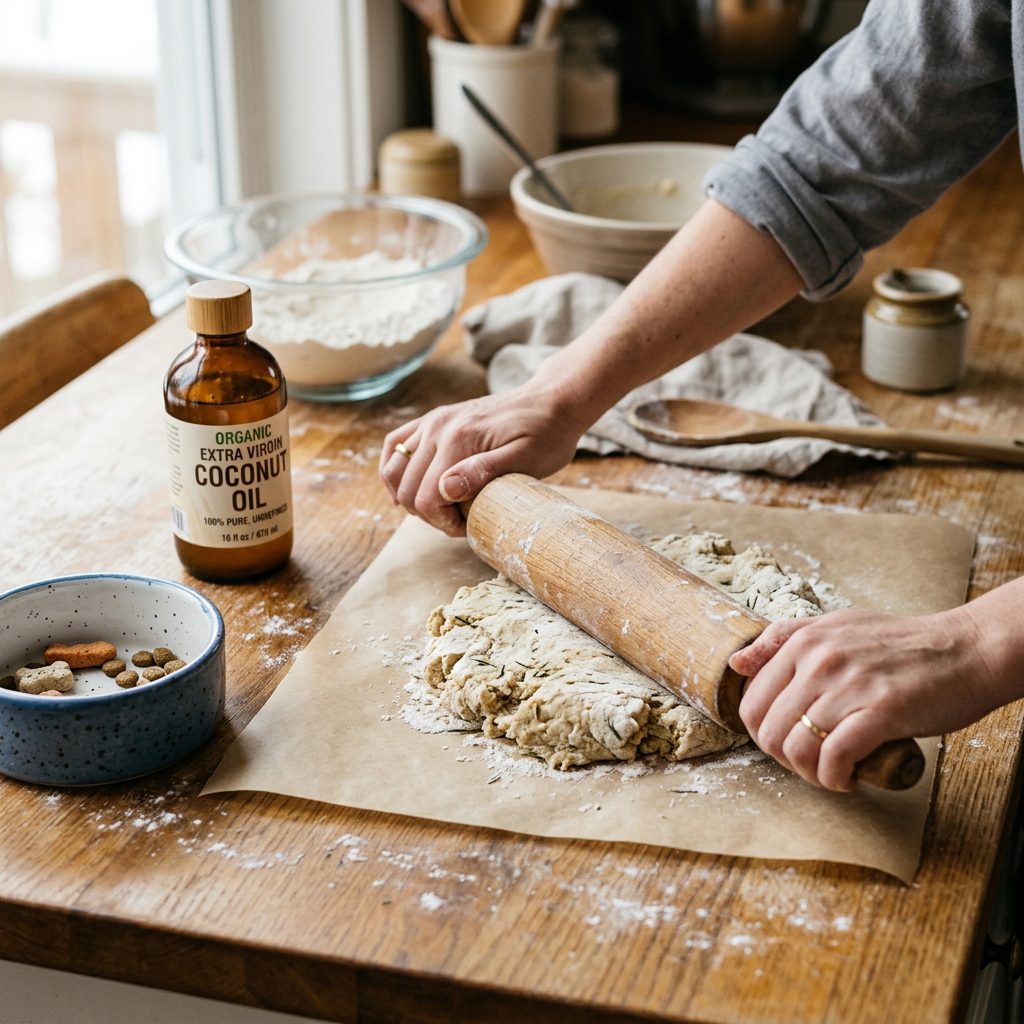
- 1 Tablespoon Coconut Oil: (Provides healthy MCTs for brain health and a shiny coat).
Instructions:
- Preheat your oven to 350°F (175°C).
- In a large bowl, mix the sourdough discard and coconut oil.
- Slowly add the oat flour until a stiff dough forms. It shouldn’t be sticky.
- Roll the dough out between two pieces of parchment paper to about 1/4 inch thickness.
- Use a fork to ‘dock’ the dough (poke holes) so it doesn’t puff up too much.
- Bake for 20-25 minutes until the edges are golden and the center is firm.
Topping Your Pup’s Pizza: The Forensic Guide

The ‘Do-Not-Eat’ List vs. The Hero Ingredients
Now that you have your base, it’s time for the fun part. But wait! Before you reach for the pepperoni, remember that human pizza toppings are often toxic to dogs. Onions, garlic, and excessive salt are the enemies here. We are going to use ‘Hero Ingredients’ that boost vitality.
Safe & Healthy Topping Ideas:
- The Base: Use plain, unsweetened pumpkin puree or a thin layer of plain Greek yogurt instead of tomato sauce (which often contains garlic).
- The ‘Cheese’: A sprinkle of low-moisture mozzarella or cottage cheese is fine in moderation, unless your dog is lactose intolerant.
- The Protein: Tiny bits of boiled chicken breast, lean ground turkey, or even small pieces of dehydrated liver.
- The Veggies: Steamed broccoli florets, shredded carrots, or fresh blueberries for an antioxidant punch.
Insider Secret: If your dog has a sensitive stomach, stick to the pumpkin and boiled chicken combo. It’s the ultimate ‘soothing’ pizza.
Batch Cooking & Storage: The Savvy Owner’s Strategy
Efficiency is Key
You’re busy. I’m busy. We don’t have time to make a single pizza every weekend. The beauty of this sourdough crust is that it is incredibly shelf-stable once fully dehydrated. If you bake it until it is completely crisp (like a cracker), it can last in an airtight container for up to two weeks. But for the ultimate hack, we use the freezer.
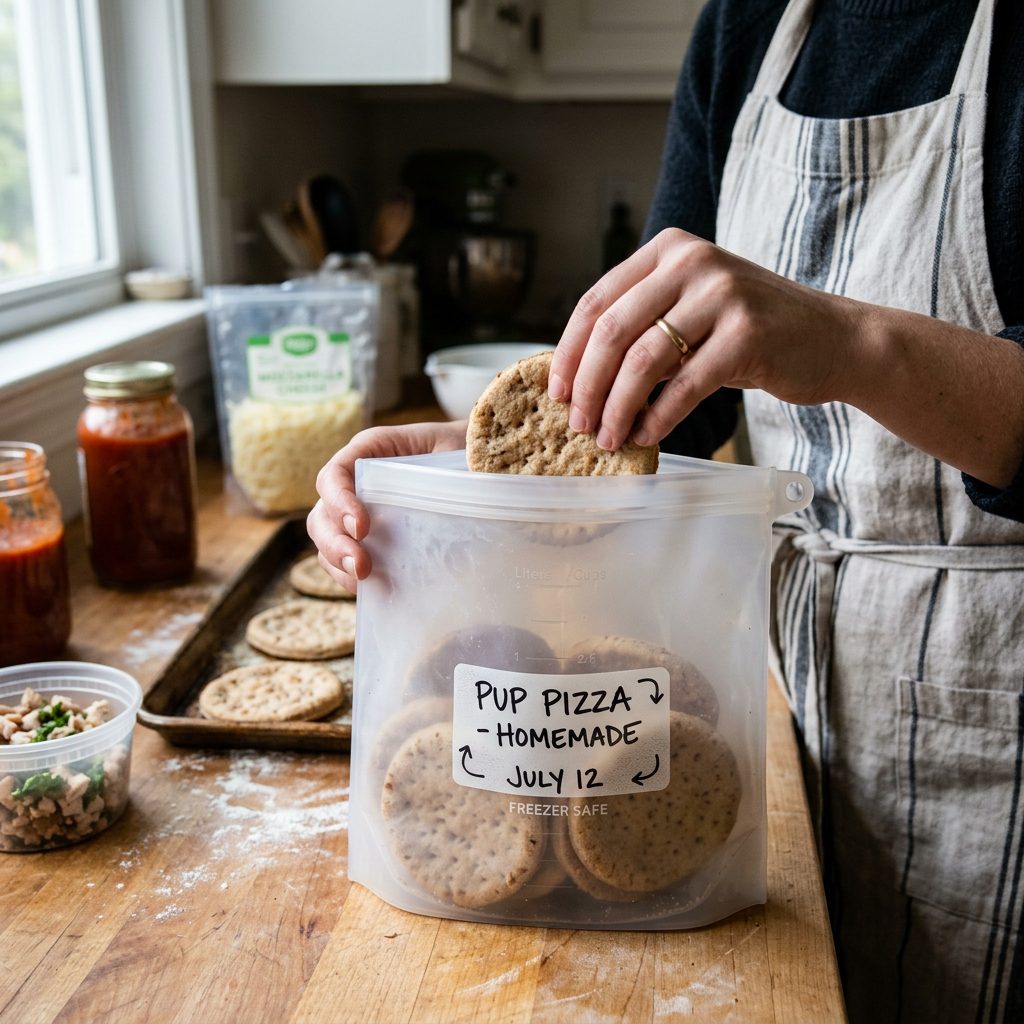
How to Freeze Like a Pro:
- Par-Baking: Bake the crust for only 15 minutes. Let it cool, then wrap it tightly in beeswax wrap or parchment and foil. Freeze for up to 3 months.
- The Reheat: When you’re ready for a treat, add your fresh toppings and pop it back in the oven at 350°F for 10 minutes. It’s ‘instant’ gourmet nutrition.
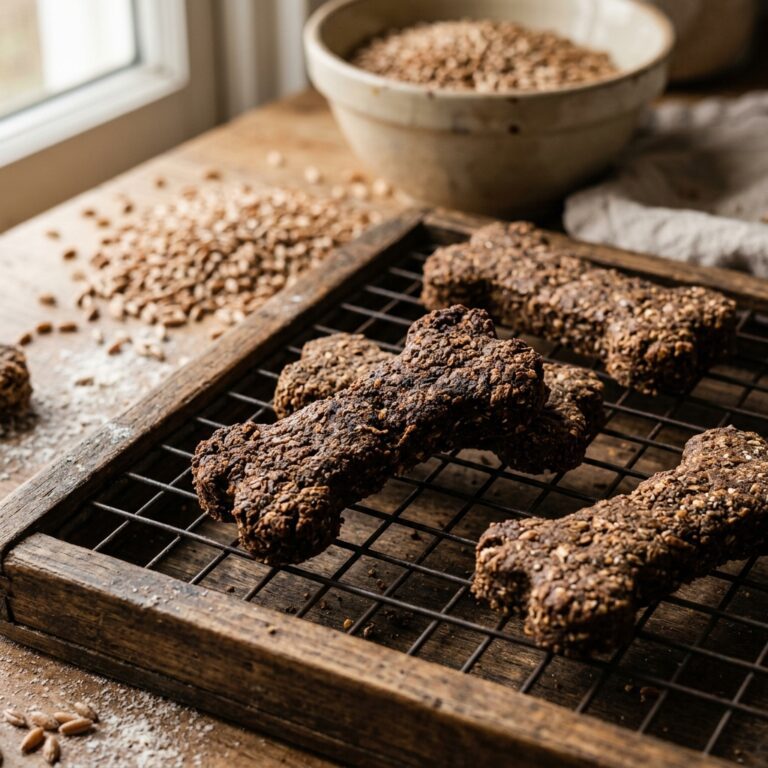
- Dehydration Hack: If you want these to be ‘training treats’ instead of a pizza meal, cut the dough into tiny squares before baking and cook them until they are rock hard. They won’t crumble in your pocket!
Conclusion
The Verdict: Better Food, Happier Dog
There you have it—the sourdough dog pizza crust hack that will change your weekend routine. By taking control of the ingredients, you are bypassing the industrial pet food complex and giving your dog a treat that actually contributes to their longevity. You’ve saved money, reduced kitchen waste, and provided a probiotic-boosted snack that makes those tail wags just a little bit more enthusiastic. Remember, being a savvy dog owner isn’t about buying the most expensive products; it’s about knowing why you are feeding what you are feeding. This sourdough crust is a testament to that philosophy. So next time you’re feeding your starter, don’t reach for the trash can. Reach for the oat flour and give your pup the ultimate weekend treat they deserve. Happy hacking!