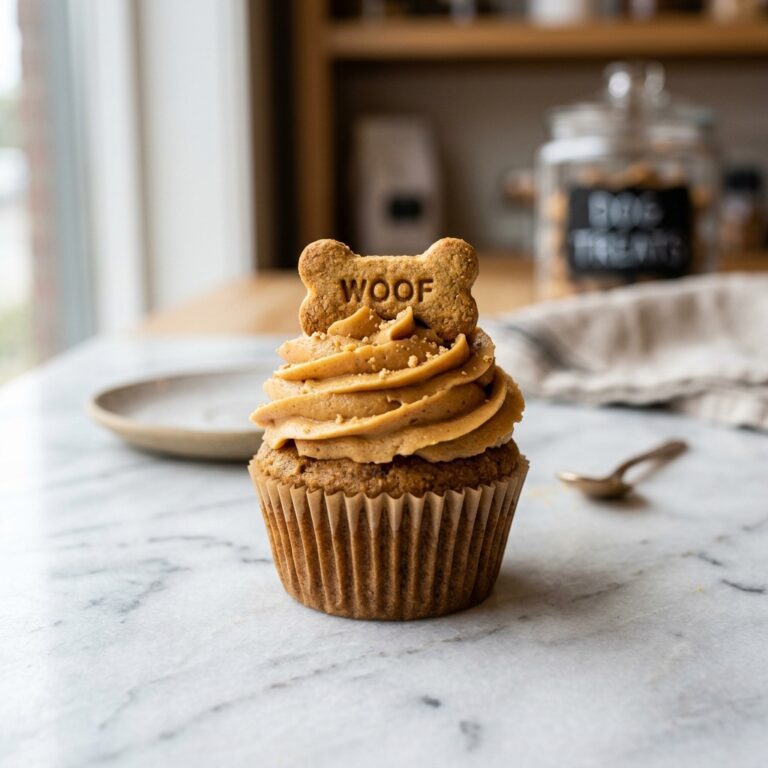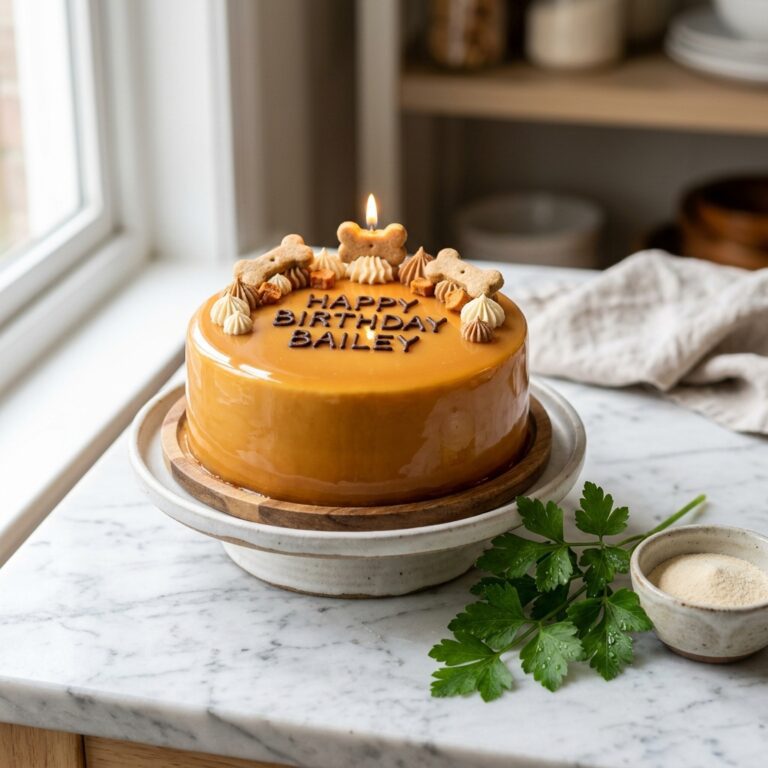
Pinterest-Perfect Dog Cakes: How to Make Stiff, Edible Flags and Cake Toppers That Won’t Sag!
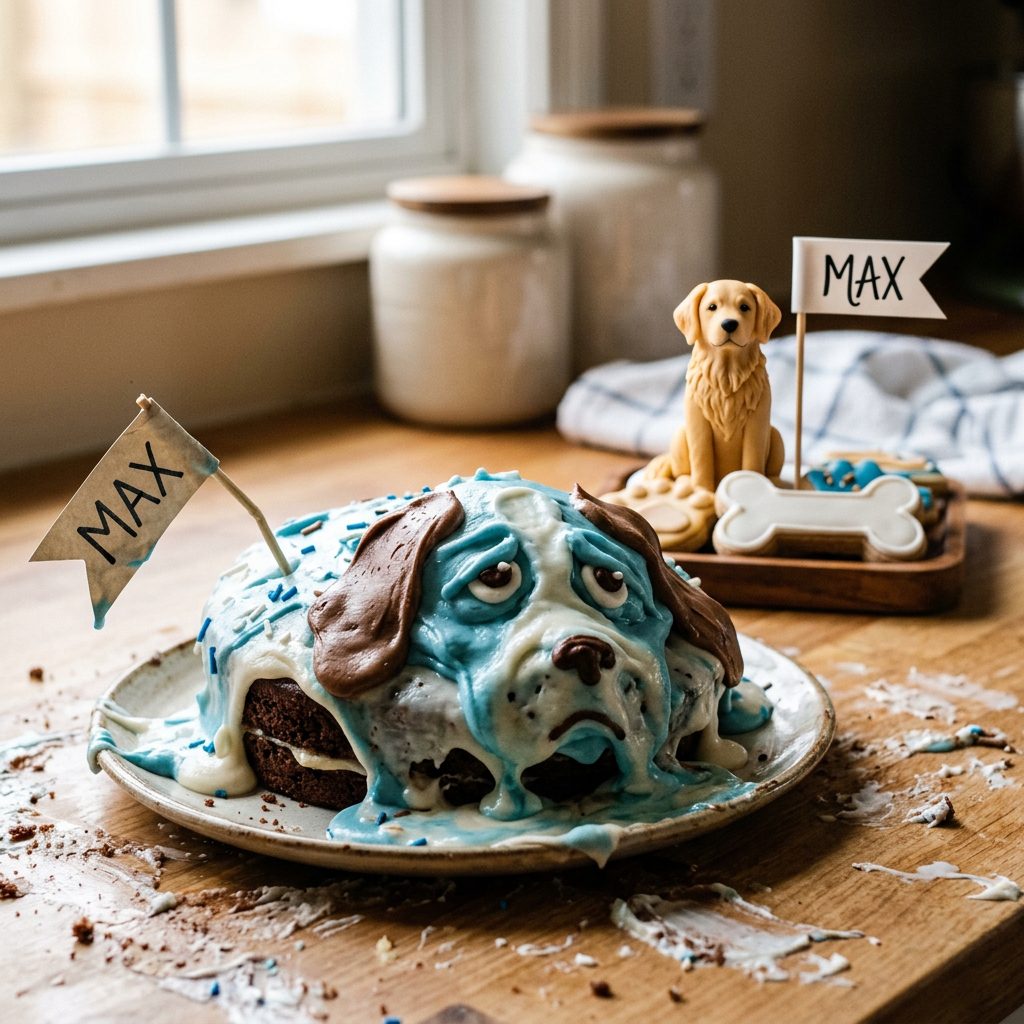
Listen up, savvy dog parents. We have all been there. You spend hours baking a gorgeous, dog-safe birthday cake, you mix up a beautiful frosting, and you craft what you think are the perfect little edible flags and bone-shaped toppers to make it look like a Pinterest masterpiece. But then, tragedy strikes. Within twenty minutes, your beautifully crafted edible flags start to droop. The bone toppers sag into the frosting. Your Pinterest-perfect dog cake suddenly looks like a melted, sad science experiment. As the Canine Nutrition Hacker, I refuse to accept sagging cake decor, and I definitely refuse to pay premium boutique bakery prices for treats loaded with mystery fillers just to get that stiff, professional look.
SAFETY DISCLAIMER: Before we dive into the hacker kitchen, remember that I am a savvy dog owner and nutrition hacker, not a veterinarian. While these ingredients are dog-safe and human-grade, always introduce new foods slowly. If your dog has specific medical conditions or severe allergies, consult your holistic vet. These toppers are treats, not complete meal replacements, and should be factored into your dog’s daily caloric intake.
Today, I am pulling back the curtain on the boutique dog bakery industry. I am going to show you exactly how to make stiff, edible flags and cake toppers that will not sag, will not melt, and are packed with actual nutritional value instead of empty starches and toxic artificial food dyes. We are talking about utilizing the power of canine-appropriate structural ingredients to create decorations that stand tall and proud, whether you are hosting a backyard bark-day party in the summer heat or just want that perfect Instagram shot.
The Anatomy of a Sagging Cake Topper (And Why Store-Bought Fails)
If you want to hack dog cake decorations, you have to understand the science of the sag. Why do homemade toppers wilt while the ones at the expensive dog bakery stay rigid? It comes down to moisture and structural integrity. Most DIYers try to make cake toppers using standard dog treat dough—usually a mix of peanut butter, whole wheat flour, and pumpkin. While these are great for standard cookies, they absorb moisture from the cake frosting and the surrounding air. The moment that peanut butter and pumpkin mixture hits a moist environment, it softens. It is inevitable.
Now, let’s look at the commercial dog bakeries. How do they get their flags and toppers to stay stiff? Here is the insider secret they do not want you to know: many of them rely on heavy, cheap fillers like corn gluten meal, refined sugars, and artificial hardeners. They are essentially making dog-safe plastic. Sure, it holds its shape, but is that really what you want your furry best friend digesting on their special day? Absolutely not. As nutrition hackers, we read labels like forensic scientists. When you see ingredients like ‘corn syrup solids’, ‘artificial colors (Red 40, Blue 1)’, or ‘wheat protein isolate’ on a dog cake label, you should immediately put it back on the shelf. These are inflammatory ingredients that offer zero nutritional benefit and can trigger allergies, yeast overgrowth, and digestive upset in sensitive dogs. We can do better. We can build structural integrity using ingredients that actually heal the gut and support joint health.
The Hacker’s Cost Breakdown: DIY vs. Boutique Dog Bakeries
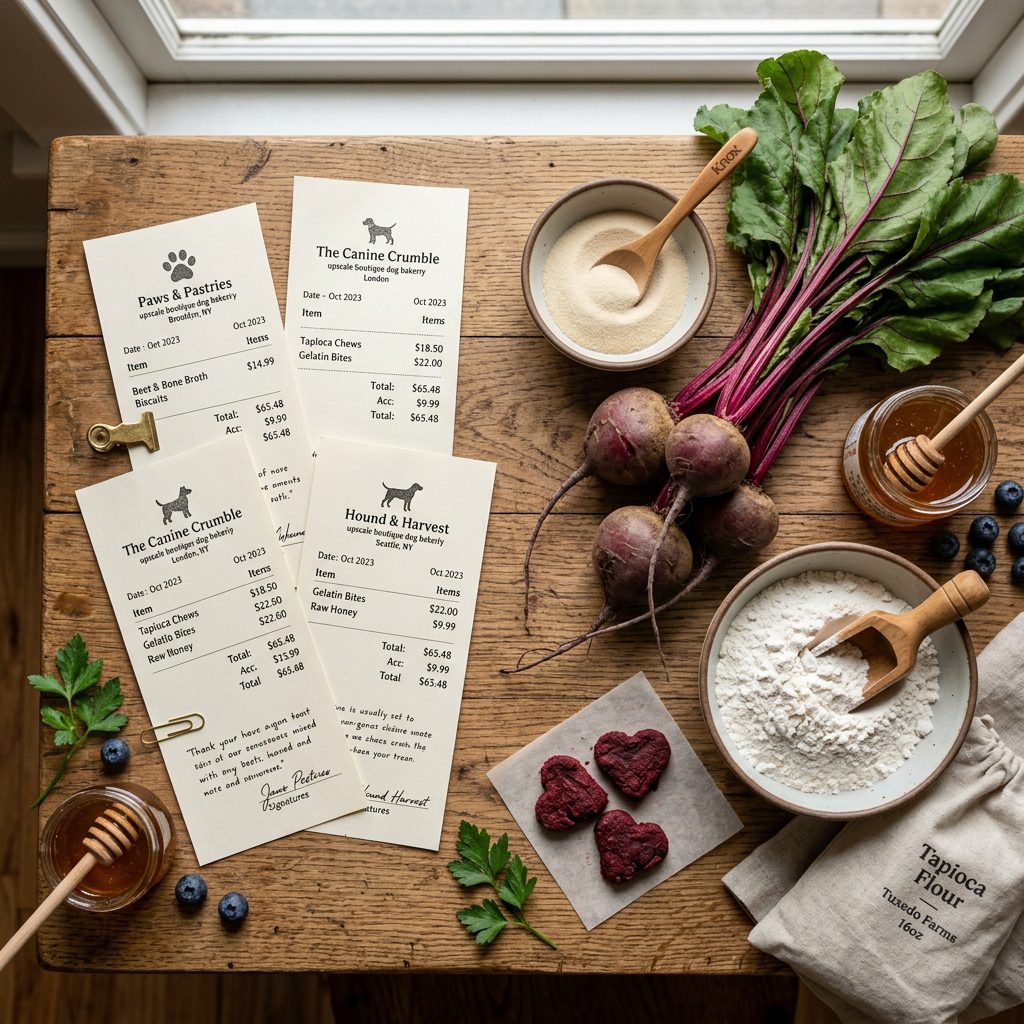
Let’s talk numbers, because being a savvy dog owner means protecting your wallet just as fiercely as you protect your dog’s health. Have you priced a custom dog cake lately? A small, heavily decorated cake from a boutique bakery can easily run you upwards of fifty dollars. And the toppers? They charge extra for those. If you buy pre-made, stiff dog cake toppers online, you are paying a massive premium for shipping air and fragile cookies.
When you take control of the ingredients and use my hacker method, the cost plummets while the nutritional value skyrockets. Let’s look at the cold, hard facts in this cost breakdown.
| Metric | Boutique Bakery Toppers | The Hacker’s DIY Method |
|---|---|---|
| Cost per Batch (Approx. 20 Toppers) | $25.00 – $40.00 | $3.50 |
| Primary Binding Agent | Corn Starch & Sugar | Grass-Fed Gelatin |
| Coloring Source | Artificial Dyes (Red 40, Yellow 5) | Spirulina, Beetroot, Turmeric |
| Sag Factor in Humidity | Medium (Sugar melts) | Zero (Stiff as a board) |
| Health Benefits | None (Empty Calories) | Joint Support & Gut Healing |
By swapping out the expensive, artificially dyed store-bought options for our DIY method, you are saving over twenty dollars per batch while actively improving your dog’s joint health through the use of gelatin. That is what I call a massive win for the savvy dog owner.
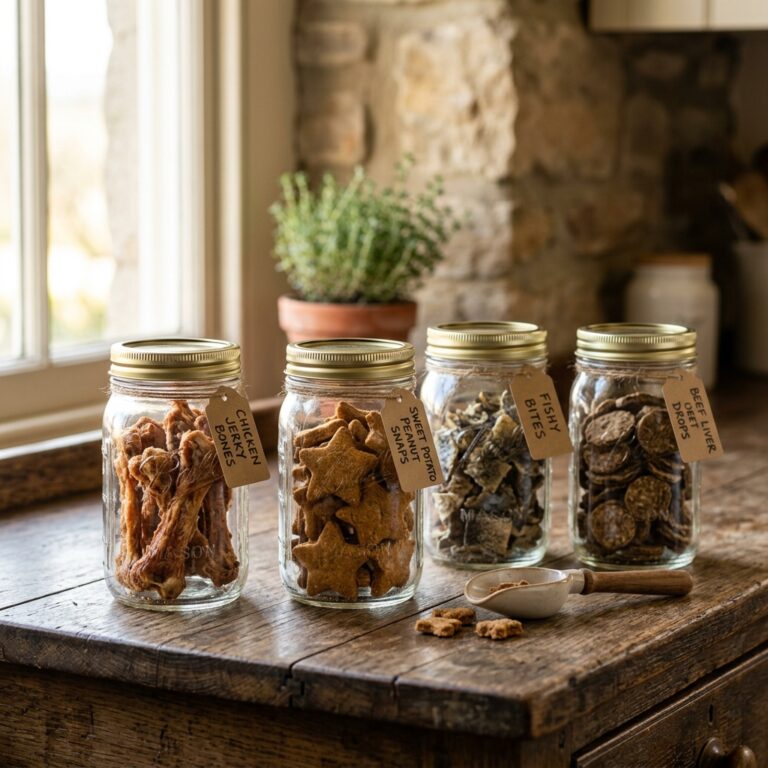
The Secret Ingredients for Stiff, Edible Dog Cake Decor
To build an edible flag or a stand-up cake topper that laughs in the face of gravity and humidity, we need to completely ditch the traditional peanut butter and flour paradigm. We need ingredients that dry hard, resist moisture, and provide a smooth surface for decorating. Here is the hacker’s pantry for structural dog treats.
Hero Ingredient 1: Unflavored, Grass-Fed Gelatin
This is the holy grail of stiff dog treats. Gelatin is essentially cooked collagen. Not only does it dry incredibly hard and clear, but it is also a powerhouse supplement for your dog’s joints, ligaments, and gut lining. When mixed with a minimal amount of liquid and dehydrated, gelatin creates a stiff, almost plastic-like texture that is 100% edible and highly beneficial. Warning: Ensure you are buying pure, unflavored gelatin, NOT sugar-free jello mixes which contain Xylitol, a highly toxic artificial sweetener for dogs.
Hero Ingredient 2: Tapioca Flour
When you need a dough that rolls out beautifully, cuts with sharp, precise edges, and bakes into a rigid cracker, tapioca flour is your best friend. Unlike wheat flour, which gets crumbly, tapioca acts as a powerful binder. It is grain-free, easy on sensitive stomachs, and dries to a very hard finish, making it perfect for the base of your edible flags.
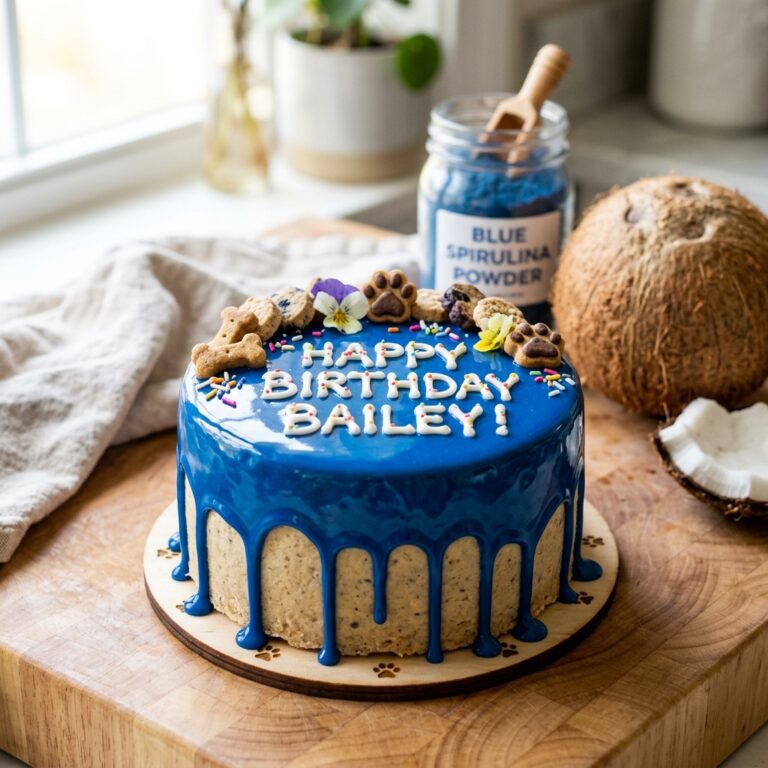
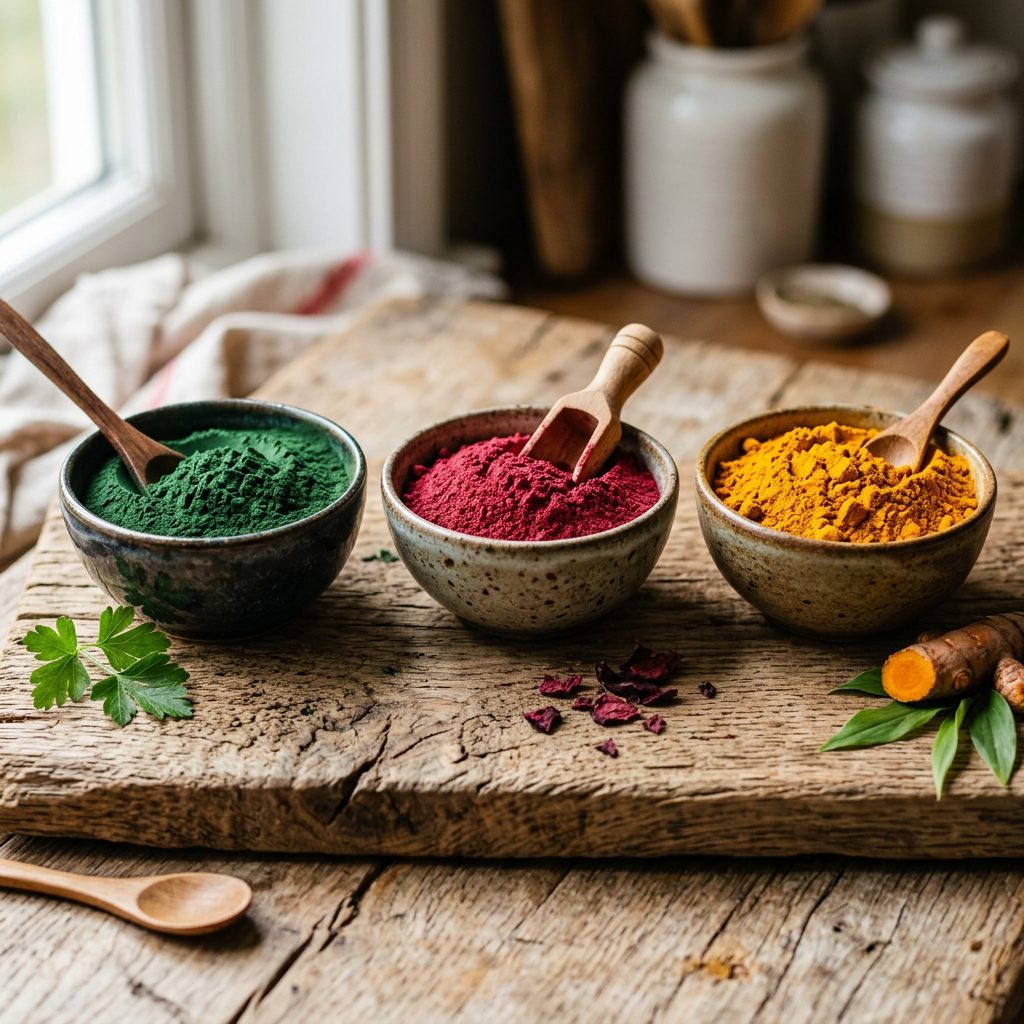
Hero Ingredient 3: Nature’s Paintbox (Superfood Colors)
We do not use artificial dyes in this house. To get those vibrant, Pinterest-perfect colors for your flags and decorations, we use superfoods. These powders mix seamlessly into our gelatin and tapioca base without adding excess moisture.
- Vibrant Green: Spirulina powder (packed with immune-boosting antioxidants).
- Deep Red/Pink: Beetroot powder (excellent for cardiovascular health).
- Bright Yellow: Turmeric powder with a tiny pinch of black pepper (the ultimate anti-inflammatory combo).
- Rich Brown: Carob powder (a dog-safe chocolate alternative loaded with fiber).
- Deep Blue/Purple: Blue spirulina or freeze-dried blueberry powder.
The Step-by-Step Recipe for Edible Dog Flags and Toppers

Alright, it is time to put on your lab coat and get into the kitchen. This recipe uses the exact ratios needed to create a dough that will bake flat, dry hard, and refuse to sag. Follow these steps meticulously, as baking for structure is a science.
The Structural Dough Formula
- 1 cup Tapioca Flour
- 1/4 cup Coconut Flour (absorbs excess moisture)
- 2 tablespoons Unflavored Grass-Fed Gelatin powder
- 1/3 cup Hot Water (must be hot to activate the gelatin)
- 1 tablespoon Melted Coconut Oil
- Superfood colorings of your choice
The Actionable Steps
- Activate the Binder: In a small bowl, aggressively whisk the hot water and the unflavored gelatin together until completely dissolved. It should look slightly syrupy. Do not let it cool down.
- Mix the Dry Base: In a large mixing bowl, combine the tapioca flour and coconut flour. If you are making one solid color, add your superfood powder (like beetroot or spirulina) to the dry mix now.
- Form the Dough: Pour the hot gelatin mixture and the melted coconut oil into the dry ingredients. Mix rapidly with a spoon, then use your hands to knead it into a smooth, pliable dough. If it is too sticky, add a dusting of tapioca flour. If it is too crumbly, add exactly one teaspoon of hot water.
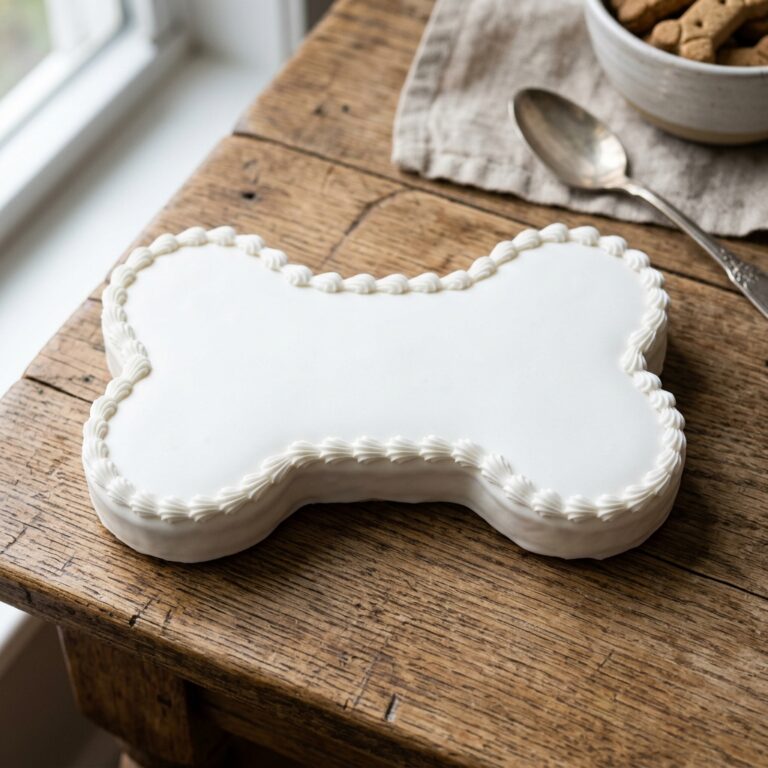
- Roll and Cut: Roll the dough out between two sheets of parchment paper. You want it thin—about 1/8 of an inch thick. The thinner it is, the stiffer it will dry. Use sharp cookie cutters or a knife to cut out your flags, numbers, and bone shapes.
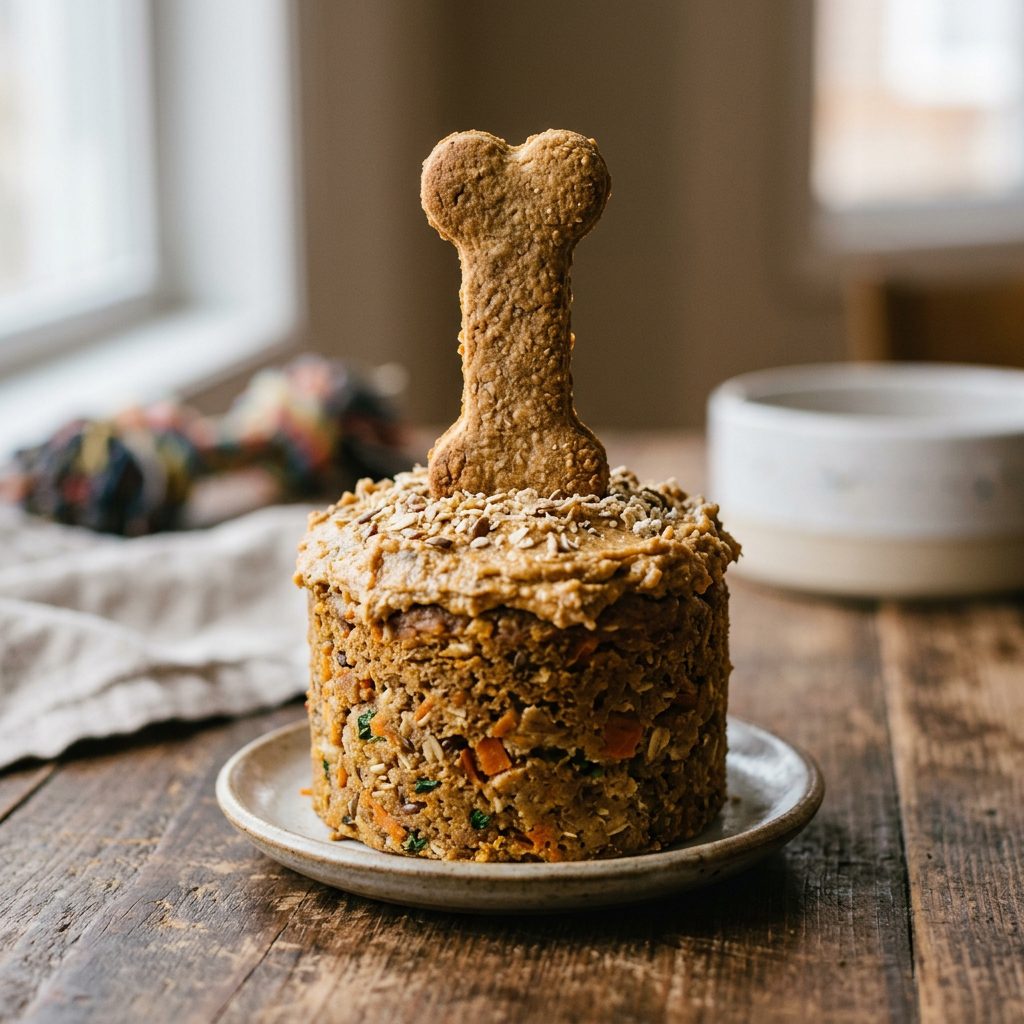
Insider Secret: If you are making flags that need to attach to a stick, press a dog-safe stick (like a thin rawhide roll or a hard baked sweet potato stick) into the back of the dough shape before baking.
- The Dehydration Bake: This is the most critical step. We are not baking these to cook them; we are baking them to pull out every ounce of moisture. Bake at 200 degrees Fahrenheit (93 degrees Celsius) for 90 minutes to 2 hours. Check them frequently. They are done when they feel like little edible tiles.
Pro-Level Storage and Batching Tips
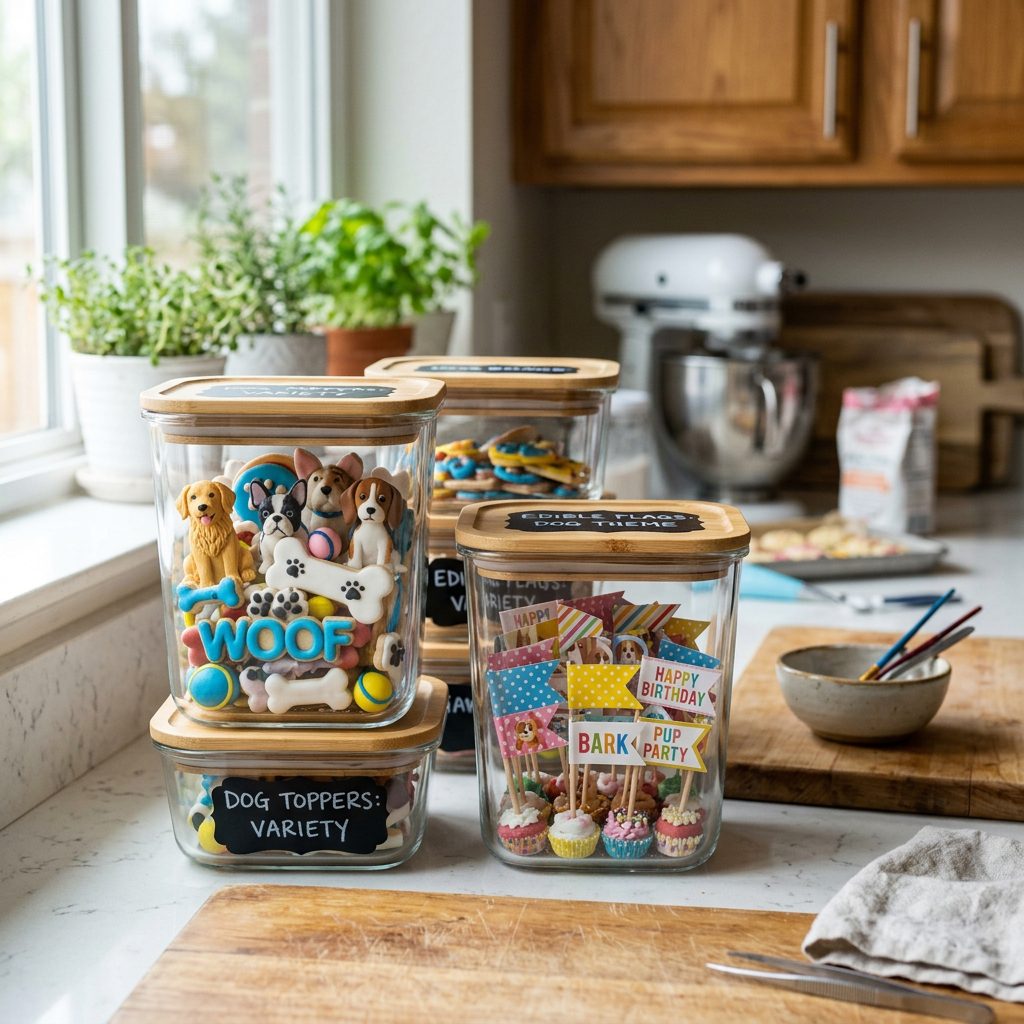
The true mark of a savvy dog owner is efficiency. You do not want to be mixing up gelatin and tapioca flour every time your dog has a milestone or a playdate. Batch cooking is where you save the real money and time. Because these structural toppers are completely dehydrated, their shelf life is incredibly long, provided you store them correctly.
Moisture is the enemy of a stiff cake topper. Even after you have perfectly dehydrated your edible flags, leaving them out on the counter in a humid climate will cause them to absorb moisture from the air and slowly turn rubbery. To prevent this, you must store them like a pro.
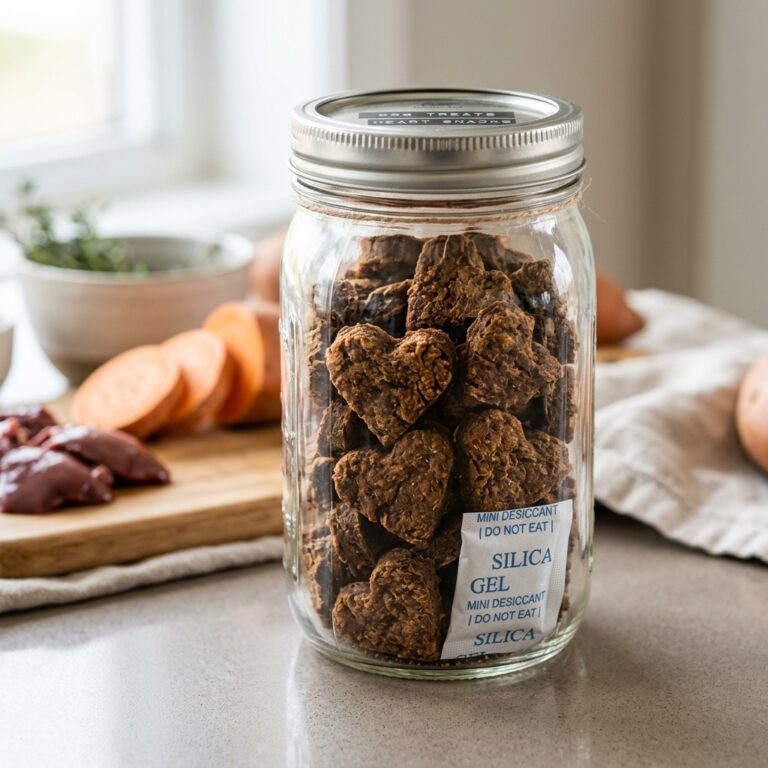
- The Airtight Vault: Once the toppers are completely cool (never pack them warm, or they will create condensation), place them in a glass airtight container. Glass is superior to plastic for keeping out ambient humidity.
- The Desiccant Hack: You know those little silica gel packets that come in shoe boxes or supplement bottles? Save them! Tape one to the inside lid of your glass storage container. This acts as an active moisture trap, ensuring your toppers stay bone-dry and stiff for months. Just make absolutely sure the packet cannot fall into the treats and is removed before serving.
- Freezing for the Future: If you made a massive batch of uncolored base toppers, you can freeze them. Wrap them tightly in parchment paper, then place them in a freezer-safe bag, squeezing out all the air. When you need them, let them thaw at room temperature on a wire rack so air can circulate around them, preventing condensation from making them soggy.
By keeping a stash of these perfectly stiff, nutrient-dense toppers in your pantry, you are always just minutes away from turning a simple bowl of dog food or a basic homemade cake into a Pinterest-worthy masterpiece.
Conclusion
There you have it, the ultimate canine nutrition hacker’s guide to creating Pinterest-perfect, stiff, edible dog cake toppers that absolutely will not sag. By ditching the toxic, expensive boutique bakery treats and utilizing the structural power of grass-fed gelatin and tapioca flour, you have leveled up your dog parenting game. You are saving money, protecting your dog from inflammatory artificial dyes, and actually adding joint-supporting nutrients to their celebratory treats. The next time you throw a bark-day party, your edible flags will stand tall, your bone toppers will be rigid, and your photos will look like they belong in a magazine. Stay savvy, keep reading those ingredient labels, and never settle for a sagging cake again. Get into the kitchen, start hacking those recipes, and be sure to snap a photo of your perfectly structured creations!