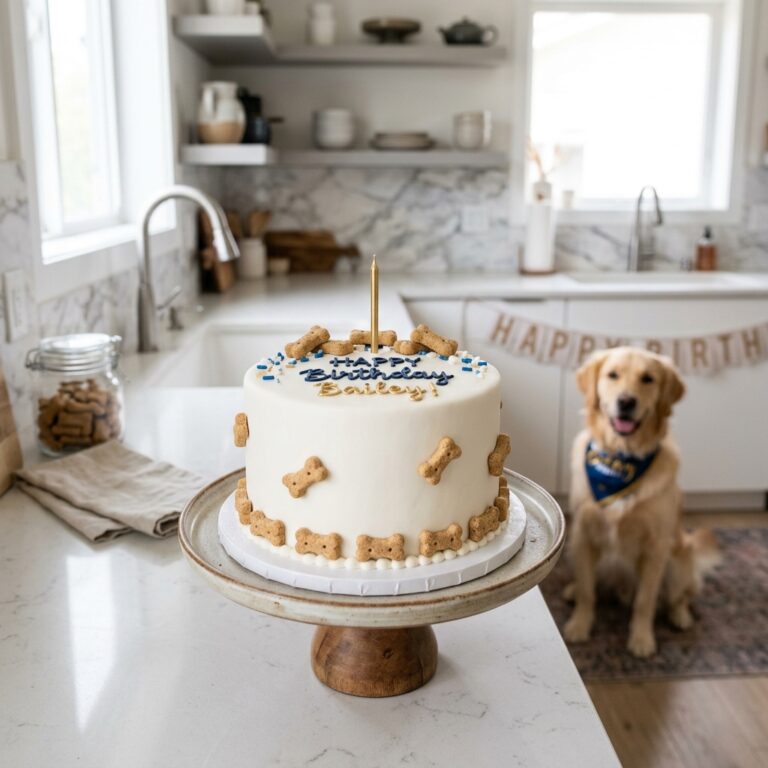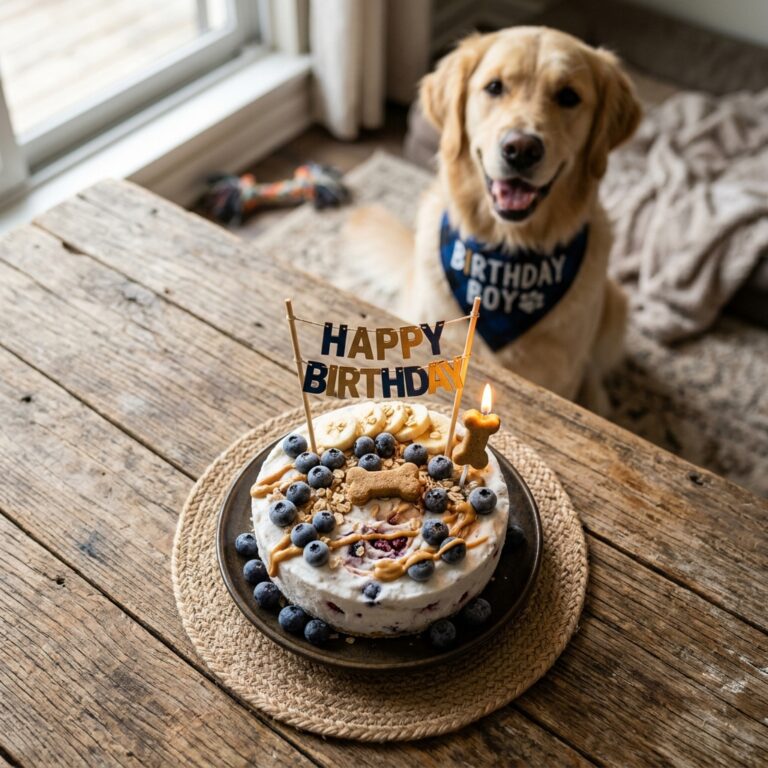
The Magic 2-Ingredient Pumpkin Powder Icing That Hardens Like a Dream (No Cream Cheese Required!)
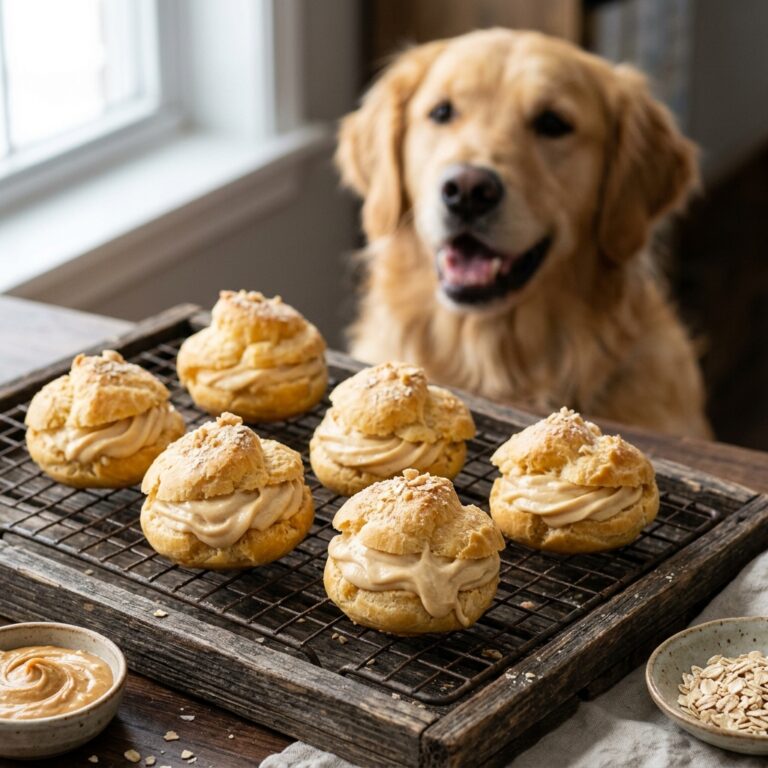
Listen up, fellow treat-bakers. If you are reading this, you have probably experienced the absolute heartbreak of spending hours baking the perfect batch of homemade dog biscuits, only to ruin them with a sloppy, melty, disastrous icing. You know exactly what I am talking about. You mix up some yogurt, maybe a little cream cheese, or perhaps you even cave and buy one of those expensive commercial dog icing mixes from the boutique pet store. You carefully dip your treats, set them out to dry, and wait. And wait. And wait.
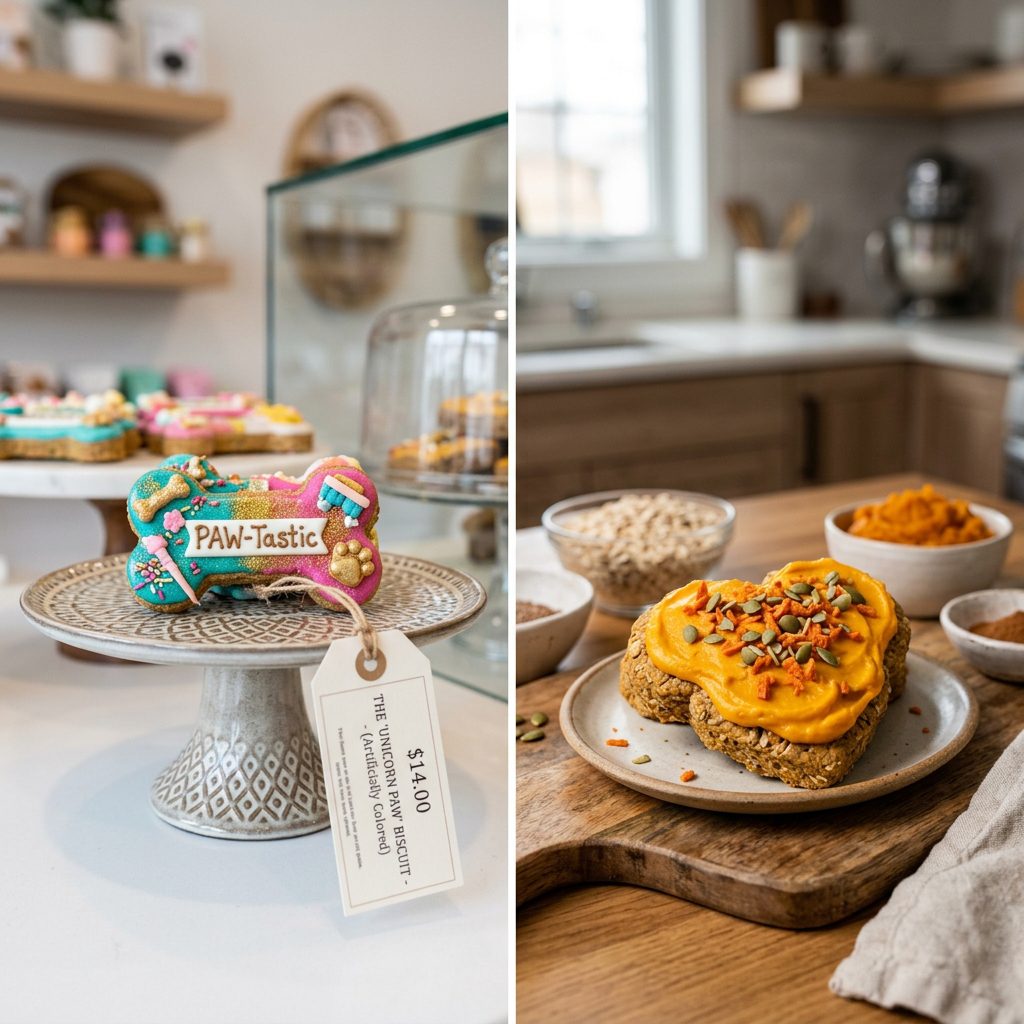
Hours later, the icing is still a sticky, tacky mess. If you try to stack them, they glue together. If you put them in a bag, it looks like a crime scene. And if you dare to give one to your dog on the living room rug? Forget about it. You will be scrubbing greasy cream cheese out of the fibers for weeks. As a savvy dog owner who analyzes ingredient labels like a forensic scientist, I got tired of the mess. I also got deeply suspicious of how the commercial pet bakeries were getting their treats to look like literal human sugar cookies with rock-hard, brightly colored frosting.
So, I started digging. And what I found was shocking. Those commercial icing mixes are packed with junk. We are talking tapioca starch, maltodextrin (a highly processed carbohydrate), artificial food dyes, and hidden sugars that have absolutely no business being in your dog’s digestive tract. I knew there had to be a better way—a hacker’s way to get that bakery-perfect, rock-hard finish without compromising on nutrition. And after months of trial and error in my own kitchen, I cracked the code.
THE SAFE CHEF DISCLAIMER: I am the Canine Nutrition Hacker, not a veterinarian. While this icing is incredibly safe and healthy, remember that treats should never make up more than 10% of your dog’s daily caloric intake. Always ensure your dog’s main diet is nutritionally complete and balanced. If your dog has specific dietary restrictions or a history of pancreatitis, consult your holistic vet before introducing new foods, even healthy ones like pumpkin!
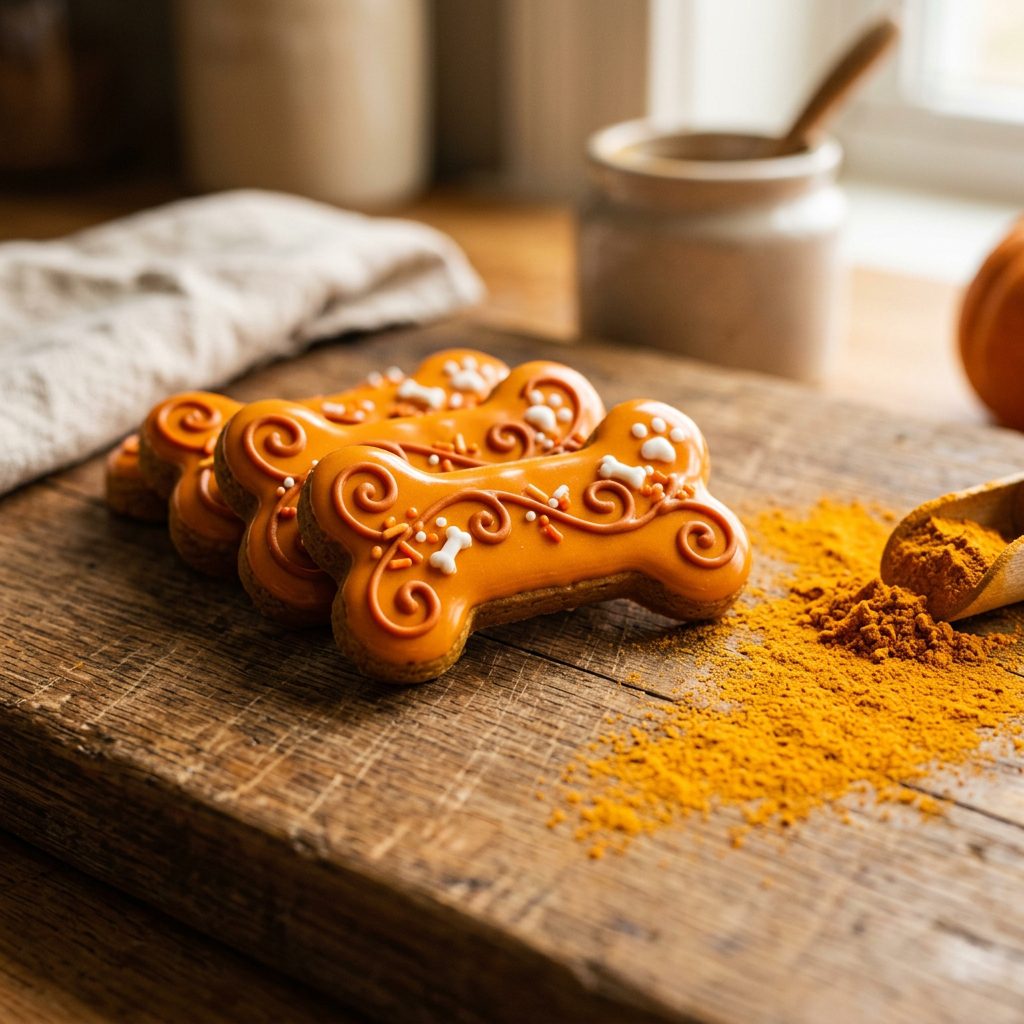
Today, I am going to share my ultimate insider secret with you. It is a foolproof, 100% natural, incredibly healthy icing that hardens like a dream. It requires zero refrigeration, zero cream cheese, and zero culinary degree. It only takes two ingredients. Get ready to elevate your homemade dog treat game forever.
The Ugly Truth About Commercial Dog Icing and Dairy Alternatives
Before we get to the magic solution, we need to talk about why the traditional methods fail so miserably. When you look at the landscape of dog treat decorating, you generally have two options: the DIY dairy route or the store-bought powder route. Both are fundamentally flawed, and as a savvy owner, you need to know why.
The Problem with Yogurt and Cream Cheese
Let us start with the most common DIY advice you see on Pinterest: “Just mix Greek yogurt with a little peanut butter!” or “Use softened cream cheese!” Here is the forensic reality of why this is terrible advice for a hard-setting icing. Dairy products are emulsions of fat and water. When you spread cream cheese on a dog biscuit, the water content slowly seeps into the biscuit, making it soggy, while the fat remains on top, creating a greasy, sticky layer that never truly cures.
Furthermore, a massive percentage of dogs are lactose intolerant. While fermented dairy like plain yogurt has lower lactose levels, slathering a heavy layer of cream cheese on a treat is a one-way ticket to upset stomachs and loose stools. You are essentially feeding your dog a fat bomb. And from a practical standpoint, dairy-based icings require constant refrigeration. You cannot throw a cream cheese-frosted treat in your pocket for a training walk unless you want a pocket full of warm cheese.
Exposing the Store-Bought Mixes
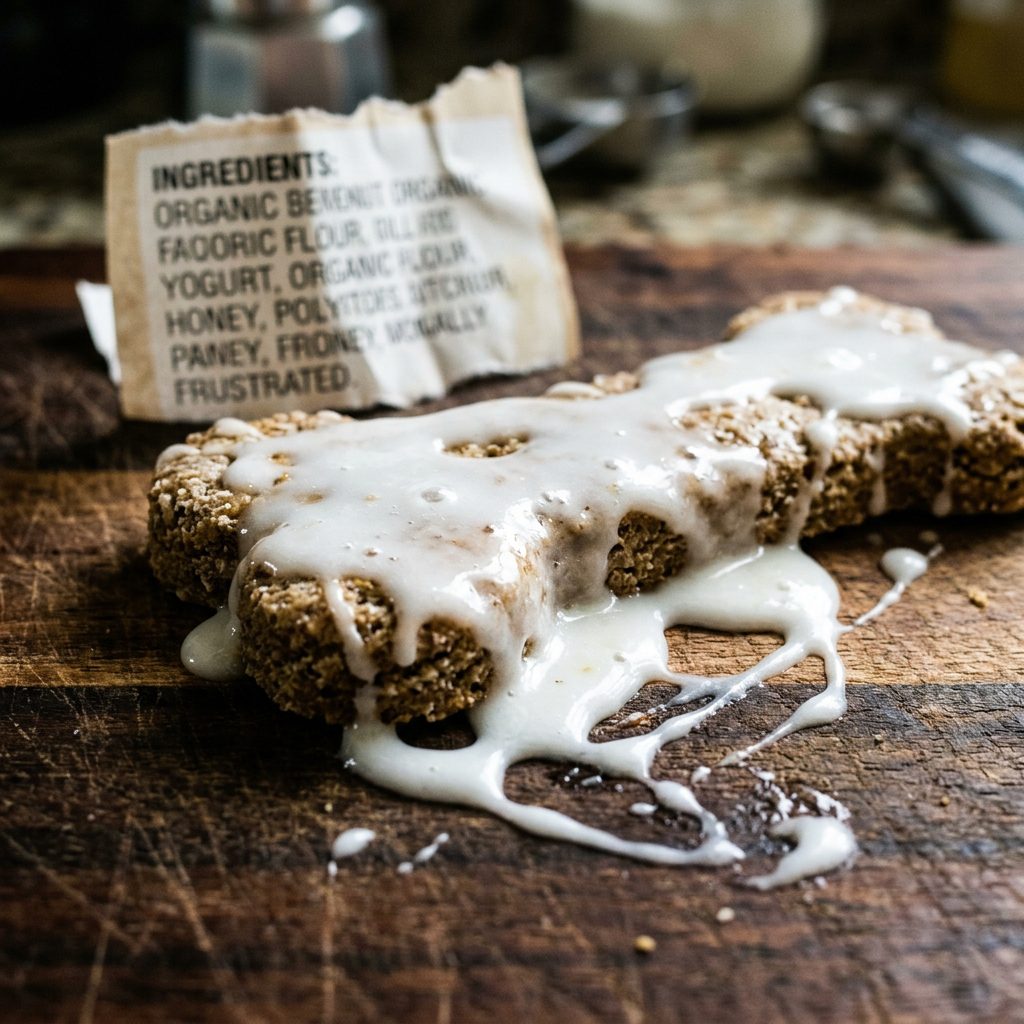
So, frustrated by dairy, many owners turn to commercial dog icing mixes. Let us put on our forensic scientist hats and look at a typical ingredient panel for a popular brand: Tapioca Starch, Maltodextrin, Dextrose, Titanium Dioxide (for color), Artificial Flavoring.
Do you see what I see? Fillers and sugars. Maltodextrin is a highly processed white powder made from corn, rice, or potato starch. It has a higher glycemic index than table sugar, meaning it spikes your dog’s blood sugar rapidly. Dextrose is literally just a form of glucose (sugar). And Titanium Dioxide? It is a controversial whitening agent that has been banned as a food additive in the European Union due to concerns over genotoxicity, yet it is still legally pumped into pet treats in the US to make the icing look bright white. You are paying a premium price for a bag of processed sugar and paint whitener. We can do so much better.
The 2-Ingredient Secret: Why Pumpkin Powder Works
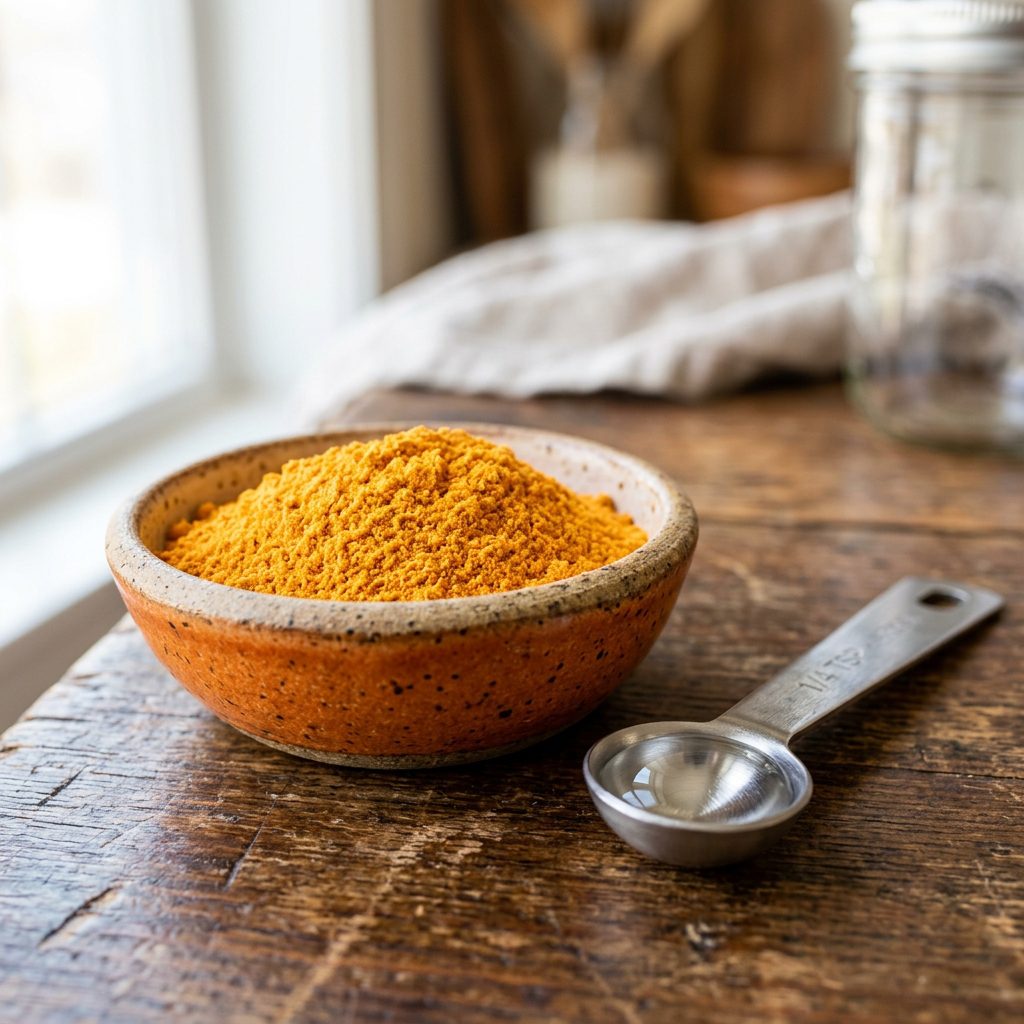
Enter the hero of our story: 100% Pure Dehydrated Pumpkin Powder. This is not pumpkin spice, and this is not canned pumpkin puree. This is pure, unadulterated pumpkin flesh that has been gently dehydrated at low temperatures and milled into a fine, bright orange powder.
The Science of the Hard Set
Why does pumpkin powder create a rock-hard icing when canned pumpkin puree just stays mushy? It all comes down to moisture control and natural plant fibers. Pumpkin is naturally rich in pectin, a type of soluble fiber that acts as a natural gelling agent (it is the same stuff used to make jams and jellies set). When pumpkin is dehydrated into a powder, the pectin and natural complex starches are concentrated.
When you introduce a tiny, controlled amount of water back into the powder, you activate that pectin without drowning it. The powder absorbs the water, creating a thick, glossy, sticky paste. Because you are using the absolute minimum amount of water necessary to hydrate the powder, the water evaporates rapidly when exposed to room temperature air. As the water leaves, the pectin and starches lock together into a tight, hard matrix. The result? A cement-like bond that sets rock hard, won’t melt in the sun, and won’t stick to other treats. It is literal culinary magic, driven by plant science.
The Nutritional Powerhouse
Beyond the structural perfection, we are replacing empty calories and artificial dyes with a nutritional powerhouse. Pumpkin is a superfood for dogs. It is loaded with beta-carotene (which converts to Vitamin A for eye health), potassium, and highly beneficial dietary fiber that regulates digestion. If your dog has a sensitive stomach, this icing actually helps soothe their GI tract rather than upsetting it like dairy or maltodextrin would.
Cost Breakdown: Hacking the Pet Bakery Markup
Now, let us talk about your wallet. The pet industry thrives on the “premium” label markup. They know you love your dog, and they know you will pay top dollar for treats that look cute. But true hackers don’t pay the markup; we reverse-engineer the product for a fraction of the cost.
A standard 8-ounce bag of commercial dog treat icing mix will run you anywhere from $12 to $18. That is roughly $1.50 to $2.25 per ounce for a product made mostly of cheap tapioca starch and sugar. Let us compare that to our pure pumpkin powder hack.
| Metric | Commercial Icing Mix (8 oz) | DIY Pumpkin Powder Icing (8 oz equivalent) |
|---|---|---|
| Primary Ingredient | Tapioca Starch / Maltodextrin | 100% Pure Organic Pumpkin |
| Sugar Content | High (Dextrose, Maltodextrin) | Zero Added Sugars |
| Refrigeration Needed? | No | No |
| Drying Time | 12 – 24 hours | 12 – 24 hours |
| Cost Per Ounce | $1.50 – $2.25 | $0.60 – $0.85 |
| The Hacker Verdict | Overpriced filler junk | Nutrient-dense, budget-friendly perfection |
By purchasing a high-quality, human-grade organic pumpkin powder in bulk (usually around $10-$14 for a large pouch), you are knocking your icing costs down by more than half. Plus, you aren’t paying for heavy water weight, and the powder has an incredible shelf life in your pantry. You are getting premium, functional nutrition for pennies on the dollar compared to the boutique bakery mixes.
The Foolproof Pumpkin Icing Recipe & Technique

Are you ready to make the magic happen? The beauty of this recipe is its simplicity, but the secret lies entirely in the technique. The biggest mistake people make is adding too much water too quickly. You must treat this like mixing concrete: start dry, and add moisture drop by drop.
The 2-Ingredient Formula
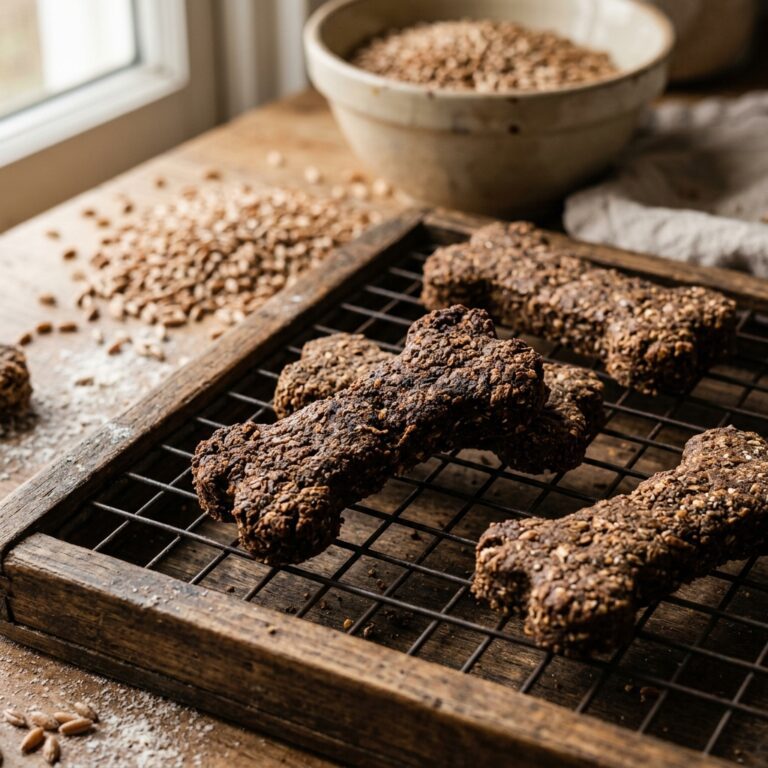
- Ingredient 1: 2 Tablespoons of 100% Pure Dehydrated Pumpkin Powder (Ensure the ONLY ingredient on the label is pumpkin).
- Ingredient 2: 1 to 1.5 Tablespoons of Warm Water (Warm water activates the natural starches faster than cold water).
The Step-by-Step Hacker Method
- The Dry Base: Place your 2 tablespoons of pumpkin powder into a small, shallow glass or ceramic bowl. Do not use plastic, as powder tends to cling to it due to static.
- The Hydration Phase: Add exactly 1 tablespoon of warm water to the powder. Using a small fork or a mini whisk, begin to aggressively stir the mixture. At first, it will look dry, clumpy, and completely hopeless. Do not panic and do not add a bunch of water yet. Keep stirring for at least 30 seconds. The powder needs time to absorb the moisture.
- The Adjustment: If, after a full minute of stirring, the mixture is still a dry crumbly mess, add more warm water literally one quarter-teaspoon at a time. Stir vigorously after each addition. You are looking for the consistency of thick Elmer’s glue or traditional royal icing. It should be glossy, smooth, and slowly fall off your whisk in a thick ribbon that holds its shape for a second before melting back into the bowl.
- The Application: Your dog treats must be 100% cooled and hard before you ice them. If they are even slightly warm, they will release steam and ruin the icing’s ability to set. You can dip the top of the treat directly into the bowl, use a butter knife to spread it, or spoon it into a piping bag for detailed line work.
- The Cure: Place the iced treats on a wire cooling rack (not a flat plate, they need air circulation). Leave them in a dry, room-temperature area for 12 to 24 hours. Humidity is your enemy here. If you live in a very humid climate, place a small fan nearby to keep the air moving. Once cured, they will be rock hard to the touch!
HACKER TIP: Want different colors? You don’t need artificial dyes! For a vibrant green icing, mix a tiny pinch of organic Spirulina powder into your pumpkin base. For a deep red/pink, add a pinch of Beetroot powder. The pumpkin provides the structural base, while these natural superfoods provide the tint!
Batch Cooking and Long-Term Storage Secrets
As savvy dog owners, we value our time just as much as our money. You don’t want to be mixing up tiny batches of icing every single day. The goal is to bake a massive batch of treats on a Sunday, ice them all, and have them ready for the next two months. Because this icing contains no dairy and no fats to go rancid, it is the ultimate candidate for long-term storage.
Storing the Powder
First, let us talk about the raw ingredient. Pumpkin powder is highly hygroscopic, meaning it acts like a sponge and pulls moisture out of the air. If you leave the bag open, it will turn into a solid brick within a week. Always store your pumpkin powder in an airtight glass mason jar, and keep it in a cool, dark pantry. If your powder came with one of those little silica gel desiccant packets, throw it right into the mason jar with the powder to keep it bone dry.
Storing the Finished Treats
Once your treats are fully iced and have cured for a full 24 hours (they must be rock hard and completely dry to the touch), you have a few options:
- Countertop Storage: Because both the baked biscuit (assuming it is thoroughly dried) and the icing have very low moisture content, they can sit in a loosely covered container on the counter for 1-2 weeks without spoiling. Do not use an airtight plastic container if the treats are still slightly soft inside, as trapped moisture will cause mold.
- The Freezer Hack: This is my favorite method. Place the fully dried, iced treats in a single layer on a baking sheet and freeze them for one hour. Once they are frozen solid, transfer them to an airtight freezer bag or vacuum-seal bag. They will last for up to 6 months! When you want to give one to your dog, just pull it out and let it sit on the counter for 10 minutes. The icing will not melt as it thaws, thanks to that locked-in pectin matrix!
By mastering this simple 2-ingredient hack, you have successfully bypassed the overpriced pet bakery industry, eliminated harmful sugars and artificial dyes from your dog’s diet, and learned a culinary technique that will make your homemade treats look like a million bucks.
Conclusion
There you have it—the ultimate Canine Nutrition Hacker secret to perfect, hard-setting dog treat icing. We took a forensic look at the commercial junk, exposed the flaws of the dairy-based Pinterest trends, and utilized the natural science of pure dehydrated pumpkin to create something truly magical. It is cheap, it is incredibly healthy, it supports your dog’s digestion, and it looks absolutely professional.
Your dog doesn’t care if a treat is perfectly frosted, but they do care about how they feel. By ditching the maltodextrin and cream cheese for pure pumpkin, you are investing in their long-term health while still getting to enjoy the fun, creative side of being a dog parent. So grab a bag of pumpkin powder, fire up the oven, and start hacking your way to the best homemade dog treats on the block. Your dog—and your wallet—will thank you.