Too Cute To Eat! How To Make Custom Dog Name Treats DIY Style For Birthday Parties!
Welcome to the Canine Nutrition Hacker’s Kitchen
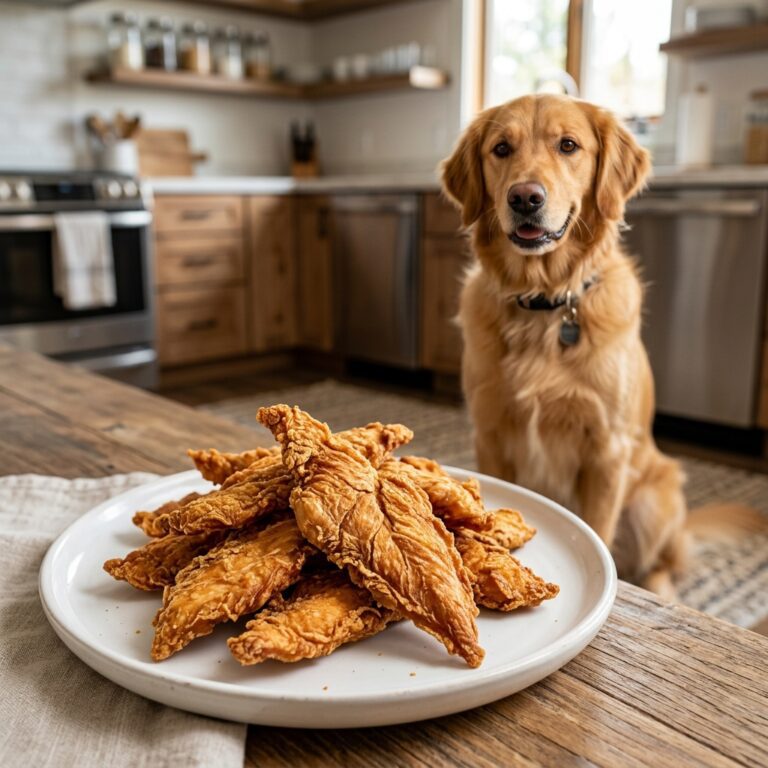
Let’s be real: our dogs are family. When their birthday rolls around, we want to celebrate them like royalty. You’ve probably seen those adorable, custom-stamped dog cookies at boutique pet bakeries. They look amazing, they have your dog’s name on them, and they scream “Instagram-worthy birthday party.” But as a savvy dog owner who reads ingredient labels like a forensic scientist, you also know that many of those “gourmet” treats are secretly hiding a nightmare of cheap fillers, artificial dyes, and unnecessary sugars.
You don’t have to compromise your dog’s health just to get a cute party favor. Today, I’m going to show you exactly how to hack the dog bakery system. We are going to make gorgeous, custom name dog treats right in your own kitchen. Not only will they be incredibly healthy and packed with functional ingredients, but they will also save you a small fortune.
THE SAFE CHEF DISCLAIMER: Before we dive into the flour and peanut butter, remember that I am a passionate canine nutrition hacker, not a veterinarian. These treats are meant for supplemental feeding and celebration, not to replace a complete and balanced diet. Always consult your vet if your dog has specific medical conditions, and double-check your peanut butter to ensure it is 100% free of xylitol (birch sugar), which is highly toxic to dogs!
Grab your mixing bowls and your favorite bone-shaped cookie cutters. It’s time to bake something that is almost too cute to eat—almost.
The Ugly Truth Hiding in Pretty Bakery Treats
When you walk into a boutique pet bakery, you’re paying for the aesthetic. You’re paying for the cute frosting and the clever names. But what are you actually feeding your dog? If you look closely at the ingredient list of many commercial “gourmet” dog treats, the first few ingredients are usually wheat flour, corn syrup, or cheap vegetable oils. Some even use artificial colors like Red 40 or Yellow 5 to make the treats look appealing to you, the human buyer. Your dog doesn’t care if the cookie is neon pink; they care about the smell and the taste!
By taking the DIY route, we control exactly what goes into the mixing bowl. We are swapping out the inflammatory wheat flour for nutrient-dense oat flour, and replacing the artificial sugars with natural, dog-safe flavors like pure pumpkin and real peanut butter.
The Real Cost Breakdown: DIY vs. Store-Bought Premium
Let’s talk numbers, because being a savvy owner means protecting your wallet as well as your dog’s gut health. A single custom-stamped cookie from a high-end pet bakery can easily run you $4 to $6. If you’re throwing a doggy birthday party and need favors for five of your pup’s best friends, you’re looking at $30 just for cookies!
| Metric | Boutique Bakery Treat | Our DIY Custom Treat |
|---|---|---|
| Base Ingredient | Bleached Wheat Flour | Organic Oat Flour |
| Sweetener/Binder | Corn Syrup / Molasses | Pure Pumpkin / Egg |
| Cost Per Cookie | $4.50 – $6.00 | $0.15 – $0.25 |
| The Verdict | Expensive & Filler-Heavy | Budget-Friendly & Nutrient-Dense |
By making these at home, you are saving massive amounts of money while upgrading the nutritional profile. That is what I call a massive win.
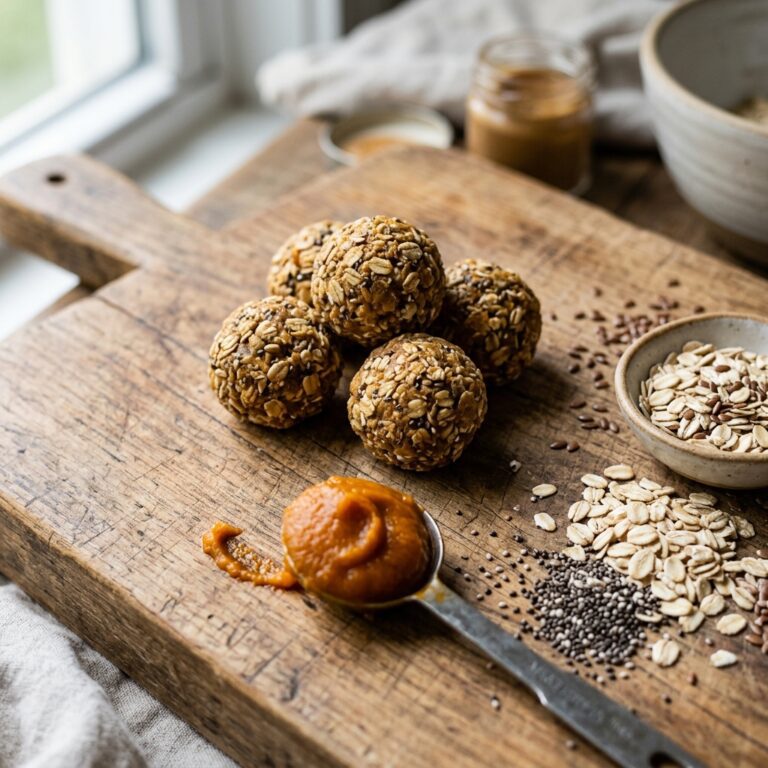
The Ultimate “Stampable” Healthy Dough Recipe
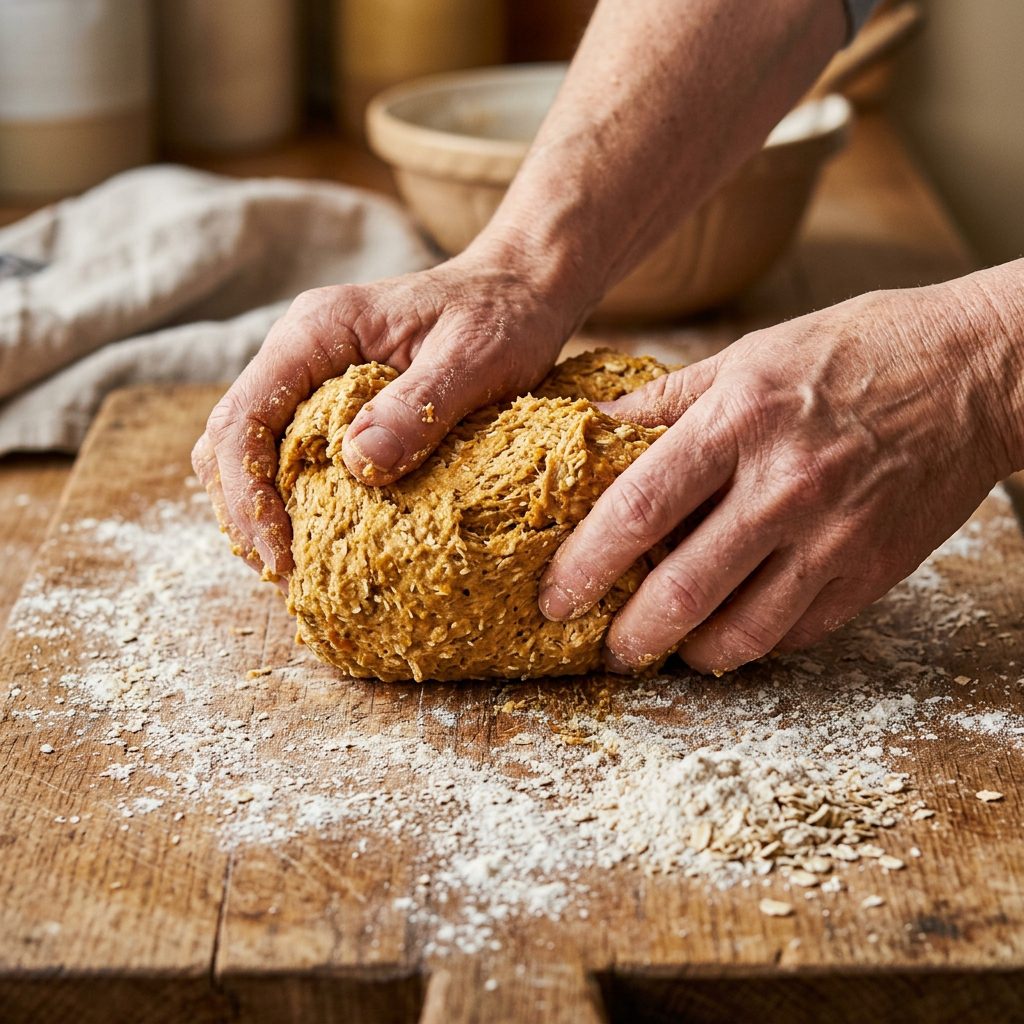
The secret to a great custom name treat is the dough. If the dough is too sticky, the letters will pull out. If the dough is too fluffy, it will rise in the oven and your dog’s beautifully stamped name will blur into an illegible blob. We need a dough that is firm, rolls out smoothly, and holds its shape under heat.
The “Hold-Its-Shape” Recipe Breakdown
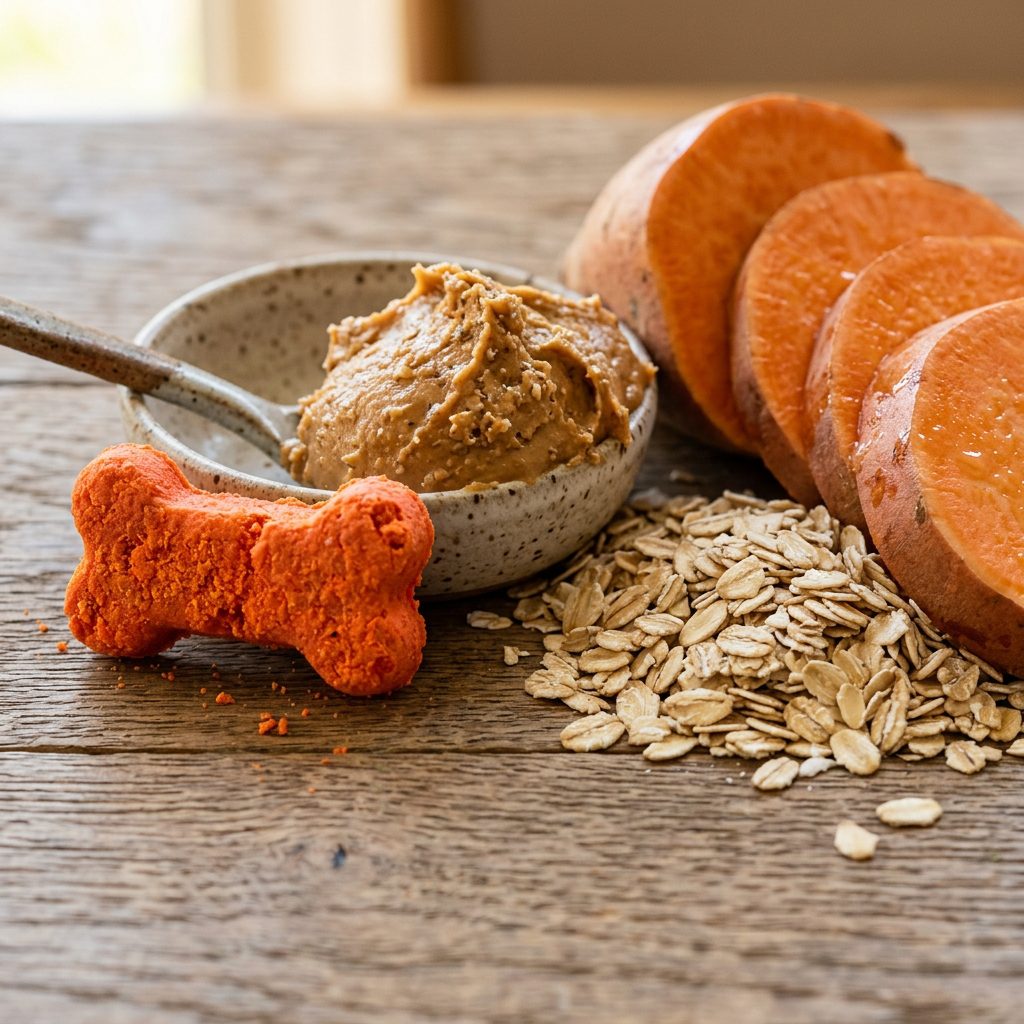
- 2.5 cups of Oat Flour: You can buy this, or just blend plain rolled oats in your food processor until they turn into a fine powder. Oats are gentle on sensitive stomachs and provide excellent fiber.
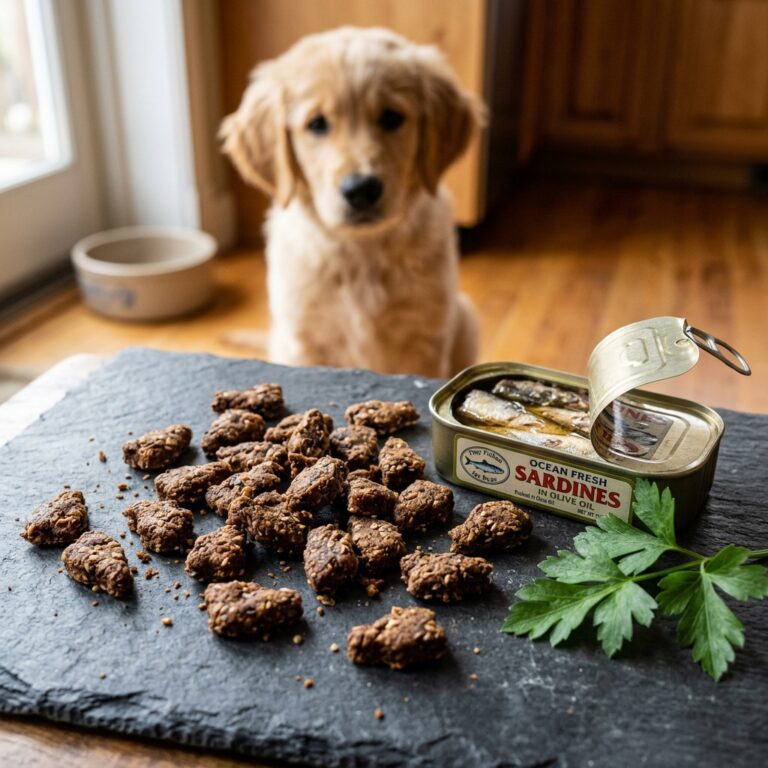
- 1/2 cup Pureed Pumpkin: Make sure this is 100% pure pumpkin, NOT pumpkin pie filling (which contains toxic spices and sugar). Pumpkin is a hero ingredient for digestion.
- 1/2 cup Peanut Butter: Check the label! It must contain ONLY peanuts (and maybe a little salt). Zero xylitol, zero artificial sweeteners.
- 1 Large Egg: This acts as our binder to keep the dough from crumbling.
Instructions:
- Preheat your oven to 325 degrees Fahrenheit (165 degrees Celsius). We use a slightly lower temperature to bake the treats evenly without burning the edges.
- In a large bowl, whisk the egg, then mix in the pumpkin puree and peanut butter until you have a smooth, wet paste.
- Gradually fold in the oat flour. Start with a spoon, but eventually, you’ll need to get your hands in there. Knead the dough until it forms a firm, non-sticky ball. If it’s too crumbly, add a teaspoon of water. If it’s too wet, add a sprinkle of oat flour.
- Roll the dough out on a floured surface until it is about 1/4 inch thick.
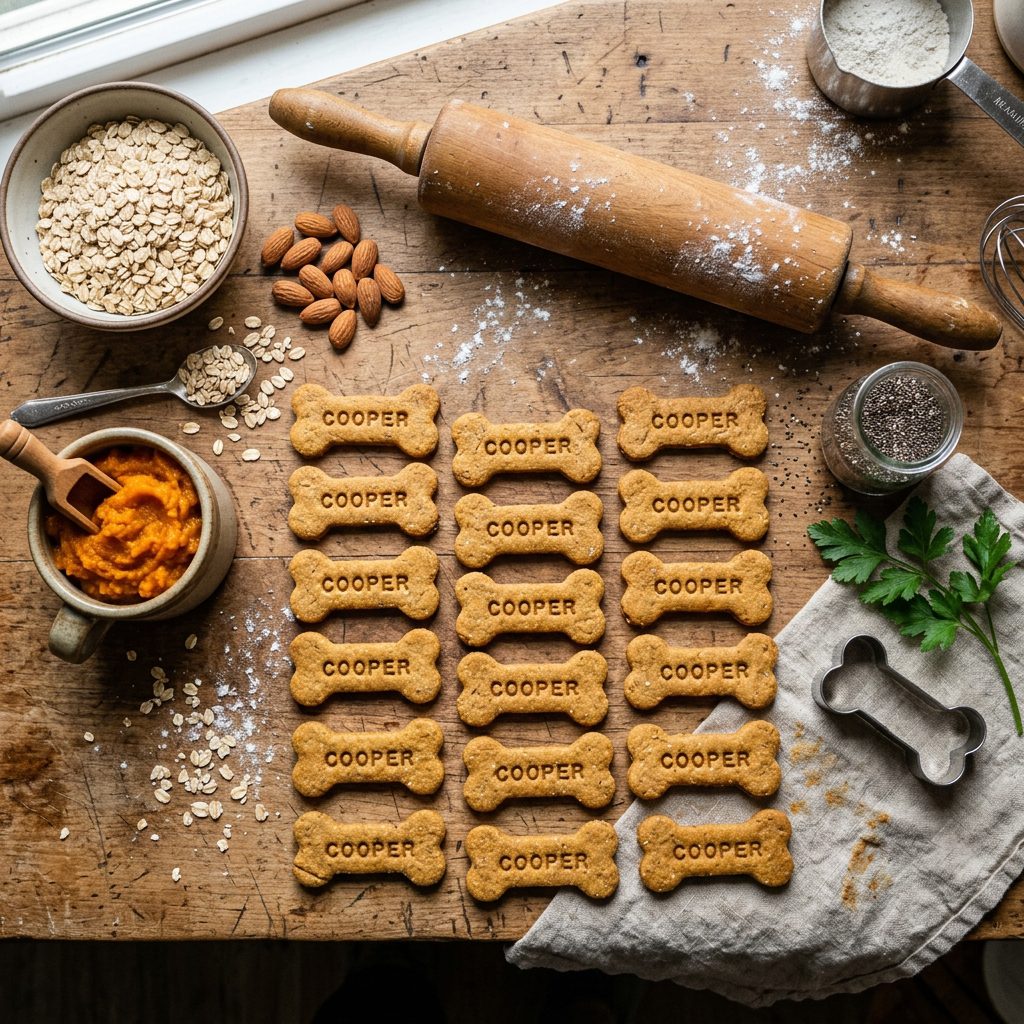
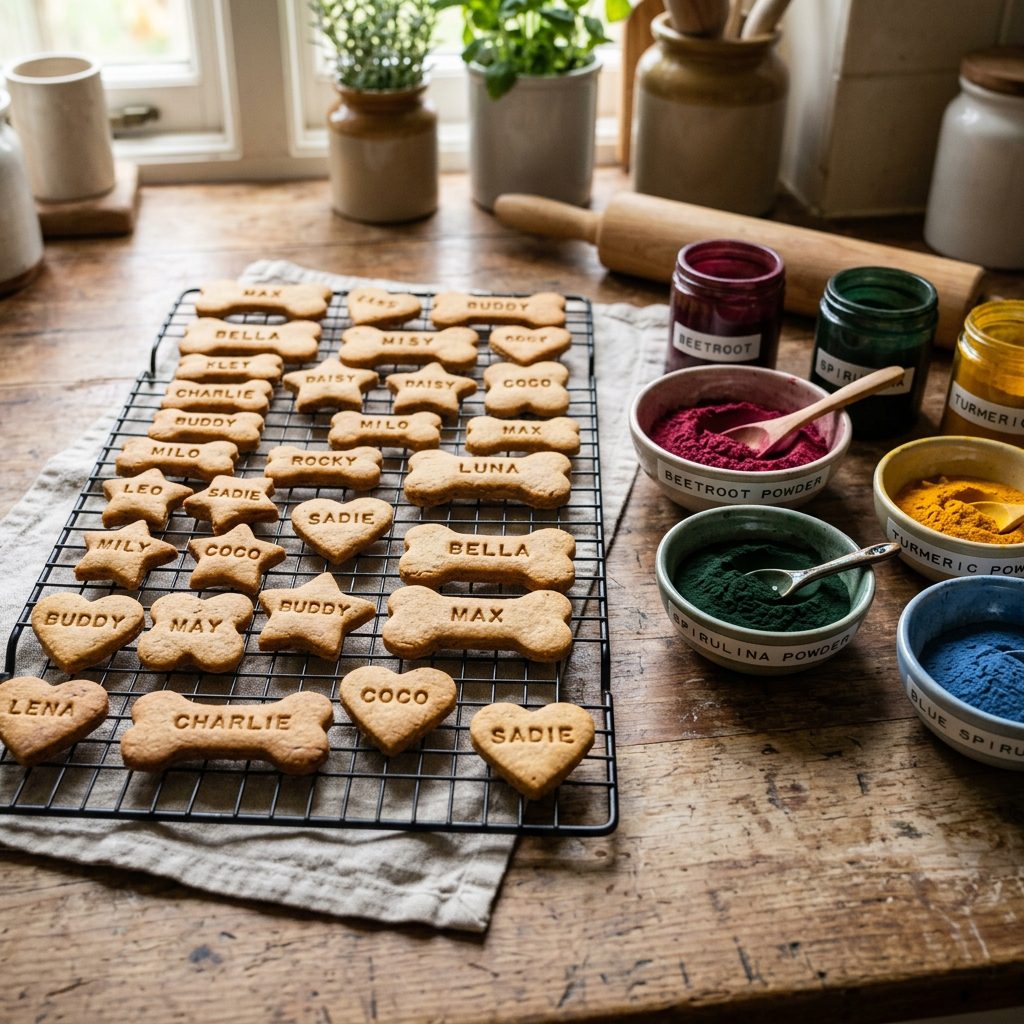
Insider Secrets: How to Get Perfect Custom Name Stamps

Now for the fun part: making them look like a million bucks. To get that professional bakery look, you will need a set of small, food-safe letter stamps. You can find these online or in the baking aisle of your local craft store (they are often sold as fondant letter presses).
The Stamping Technique
Stamping dough sounds easy, but it can quickly turn into a frustrating, sticky mess if you don’t know the insider tricks. First, cut out your shapes using your favorite cookie cutter (bones, paws, or circles work great). Move the blank cutouts onto a parchment-lined baking sheet before you stamp them. If you stamp them on the counter and then try to move them, you might stretch the dough and distort the name!
Hacker Tip: Dip your letter stamps in a tiny bit of coconut oil or dry oat flour between every single press. This prevents the dough from getting stuck in the tiny crevices of the letters, ensuring a crisp, clean name every time!
Press the letters firmly into the dough, but don’t push all the way through to the pan. You want a deep enough impression that it won’t disappear when baking. If you are doing a long name like “BARTHOLOMEW,” make sure you are using a large enough cookie cutter so the letters aren’t squished!
Baking to Perfection & Pro-Level Batch Storage
Once your treats are stamped and looking incredibly cute, pop the baking sheet into your preheated oven.
- For a softer treat (Great for senior dogs): Bake for 18-20 minutes. The edges should be slightly golden.
- For a crunchy treat (Great for tartar control): Bake for 25-30 minutes, then turn the oven off and leave the treats inside as the oven cools down. This dehydrates them, making them super crunchy and extending their shelf life!
Dog-Safe Decorating (Optional)
If you want to take these birthday treats to the next level, you can add a little dog-safe icing to the edges. Mix plain, unsweetened Greek yogurt with a little tapioca starch until it reaches a frosting-like consistency. Want colors? Forget artificial dyes! Use a pinch of spirulina powder for a vibrant green, or beetroot powder for a beautiful pink.
Batch Cooking & Storage Hacks
Because we are acting like true canine nutrition hackers, we didn’t add any chemical preservatives to these treats. That means they won’t last for months on the counter like the store-bought junk.
Storage Guidelines:
- Room Temperature: Store in an airtight container for up to 5 days. (Make sure they are completely cooled before sealing, or condensation will cause mold).
- Refrigerator: Good for up to 2 weeks.
- Freezer (The Ultimate Hack): These freeze beautifully! You can freeze the baked cookies for up to 3 months. Even better? You can freeze the raw, stamped dough cutouts on a baking sheet, then transfer them to a freezer bag. When your dog’s birthday rolls around, just pop the frozen raw treats directly into the oven (add 3-5 extra minutes to the bake time).
Conclusion
Party Time for Your Pup
There you have it! You’ve just bypassed the expensive boutique bakeries, avoided all the nasty artificial fillers, and created something truly special for your dog’s birthday party. These custom name DIY dog treats are not just adorable; they are a testament to how much you care about what goes into your dog’s body.
By taking a few extra minutes to blend up some oats and press some stamps, you’ve provided a treat packed with fiber, healthy fats, and protein. Your dog gets a delicious, crunchy reward, and you get the peace of mind knowing exactly what they are eating. Plus, your party guests are going to be absolutely blown away by your canine culinary skills!
Remember, being a savvy dog owner isn’t about never giving your dog treats; it’s about hacking the system to make those treats work for their health, not against it. So go ahead, snap a hundred pictures of your pup with their custom-named cookies, and have the best doggy birthday party ever. Stay savvy, read those labels, and happy baking!