Adorable 3-Ingredient Doggy Gummy Bears (Better Than Store Bought!)
We all love to spoil our furry best friends, right? Tossing them a tasty treat is one of the simplest ways we show our affection. But have you ever flipped over a bag of store-bought treats and tried to decipher that long list of ingredients? It can be a little concerning! Fillers, artificial colors, and preservatives can turn a well-intentioned snack into something less than ideal.
Well, get ready to become your dog’s personal chef! We’re about to show you how to make the most adorable, delicious, and healthy doggy gummy bears with just three simple ingredients. It’s easier than you think, way better for your pup, and a fantastic way to ensure they’re only getting the good stuff. Let’s get cooking!
Why Go Homemade? The Pawsitive Perks of DIY Gummy Treats
Choosing to make your dog’s treats at home is more than just a fun weekend project; it’s a direct investment in their health and happiness. When you control the mixing bowl, you control exactly what goes into your dog’s body. Here’s why these homemade gummies are a game-changer:
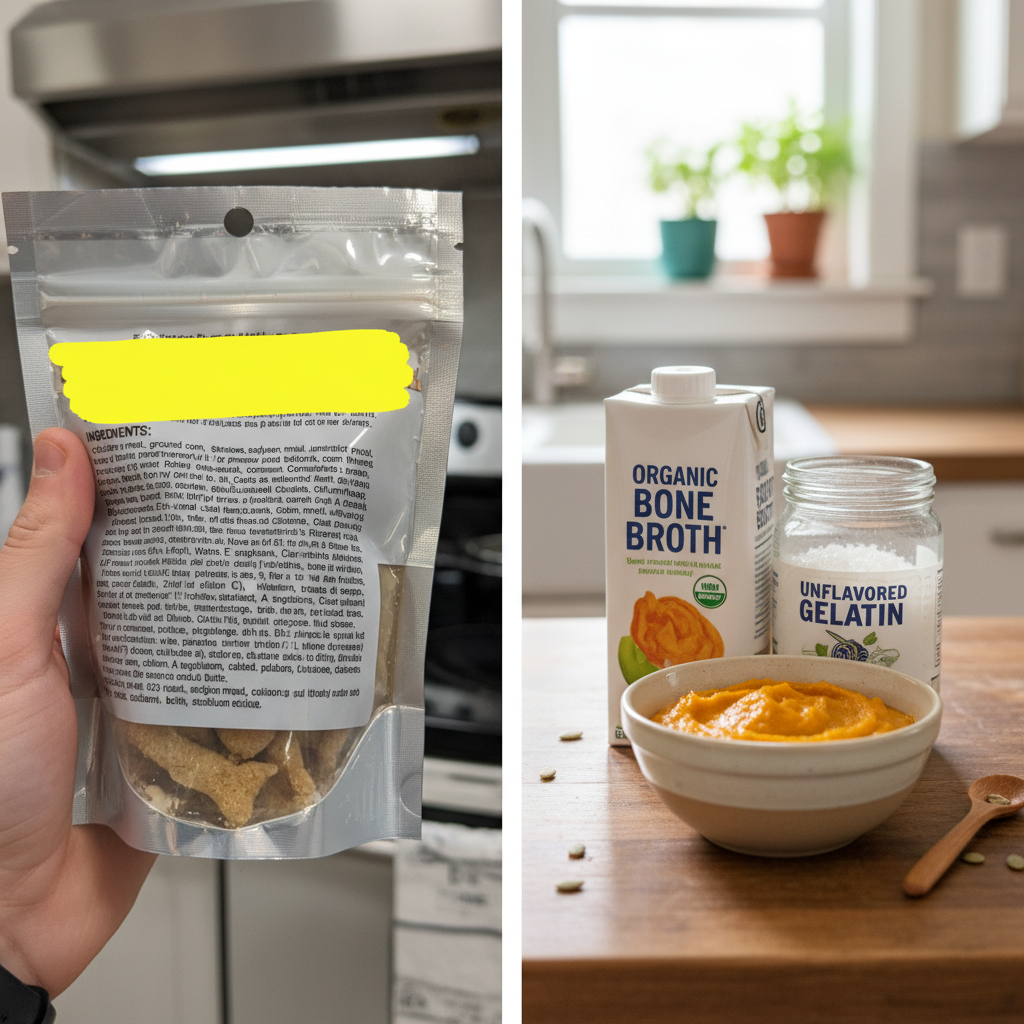
- Total Ingredient Control: Say goodbye to mystery meats, artificial dyes, and chemical preservatives. You choose every single component, making these treats perfect for dogs with sensitive stomachs, allergies, or specific dietary needs.
- Packed with Benefits: The main ingredient, unflavored gelatin, is a fantastic source of collagen, which supports healthy joints, skin, and a shiny coat. It’s a treat that doubles as a wellness boost!
- Budget-Friendly: A bag of premium, single-ingredient dog treats can be pricey. Making them at home is incredibly cost-effective, allowing you to give your pup the best without breaking the bank.
- A Fun Bonding Activity: Your dog will love being your official ‘taste-tester’ (once the treats are cooled, of course!). The process is simple, and the result is a jar full of love you made yourself.
Making your own treats transforms snack time from a simple reward into a genuinely nourishing experience. You’re not just giving a treat; you’re giving a piece of your care and attention.
The ‘Magic’ 3 Ingredients: What You’ll Need & Why They’re Safe
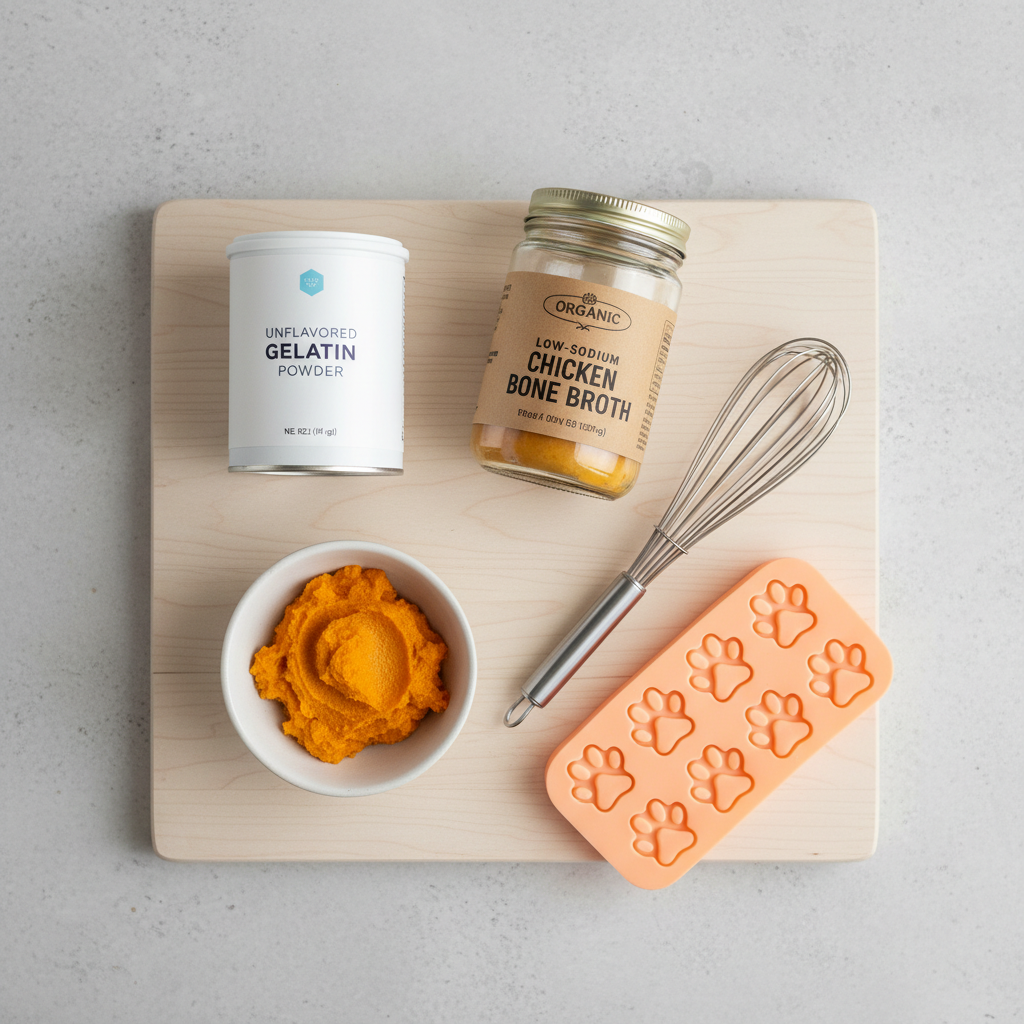
The beauty of this recipe is its simplicity. You don’t need a long shopping list, just three core components that are easy to find and safe for your canine companion.
1. Unflavored Gelatin: The Secret to the Wiggle
This is the star of the show! It’s what gives the gummies their signature bouncy texture. It is critically important to use plain, unflavored, and unsweetened gelatin. Do NOT use Jell-O or any other flavored gelatin mix, as they contain sugar, artificial sweeteners (like xylitol, which is toxic to dogs), and other harmful additives. Plain gelatin, on the other hand, is a great source of amino acids and protein.
2. A High-Quality Liquid: The Flavor Foundation
This is your base liquid that will carry the flavor. The best choice is a low-sodium or no-salt-added bone broth. It’s packed with nutrients and has a savory taste most dogs go crazy for. If you don’t have bone broth, no worries! You can use plain water or even dog-safe goat’s milk. Just be sure to avoid regular broths or stocks made for humans, as they are far too high in sodium for dogs.
3. A Dog-Safe Flavor Boost: The Fun Part!
This is where you can customize the treats to your dog’s preference! A spoonful of a pureed, dog-safe fruit or vegetable adds extra nutrients and flavor. Some fantastic options include:
- Pure pumpkin puree (not pie filling!)
- Unsweetened applesauce
- Blended blueberries or strawberries
- Pureed carrots or sweet potato
- A small amount of pet-safe peanut butter (check for no xylitol!)
Let’s Get Wiggling! The Step-by-Step Gummy Bear Recipe

Ready to make some magic? This process is quick, simple, and almost foolproof. Here’s what you’ll do:
What You’ll Need:
- Silicone molds (gummy bear, paw print, or bone shapes are fun!)
- A small saucepan
- A whisk
- A measuring cup with a spout or a dropper for easy filling
The Recipe:
- Combine Liquids: Pour 1 cup of your chosen liquid (bone broth or water) into your saucepan.
- Bloom the Gelatin: Sprinkle 4 tablespoons of unflavored gelatin powder evenly over the cool liquid. Let it sit for about 5 minutes without stirring. It will absorb the liquid and get a wrinkly, applesauce-like texture. This process is called ‘blooming’ and it’s key to a smooth gummy!
- Gently Heat: Place the saucepan over low heat. Whisk continuously until the gelatin is completely dissolved. This should only take a couple of minutes. Do not let the mixture boil! Boiling can weaken the gelatin.
- Add Your Flavor: Remove the pan from the heat. If you’re using a flavor booster like pumpkin puree or blended berries, whisk in 2-3 tablespoons now until it’s fully incorporated.
- Fill the Molds: Carefully pour the liquid into your silicone molds. Using a dropper or a measuring cup with a spout will help you avoid a sticky mess.
- Chill Out: Place the molds on a flat tray or baking sheet (this makes them easier to move) and pop them into the refrigerator. Let them chill for at least 3-4 hours, or until they are completely firm to the touch.
- Enjoy! Once firm, simply pop the gummies out of the molds. Watch your dog’s eyes light up with joy!
Storage, Serving Size, and Fun Variations
You’ve made a beautiful batch of homemade treats! Now let’s talk about how to keep them fresh and serve them responsibly.
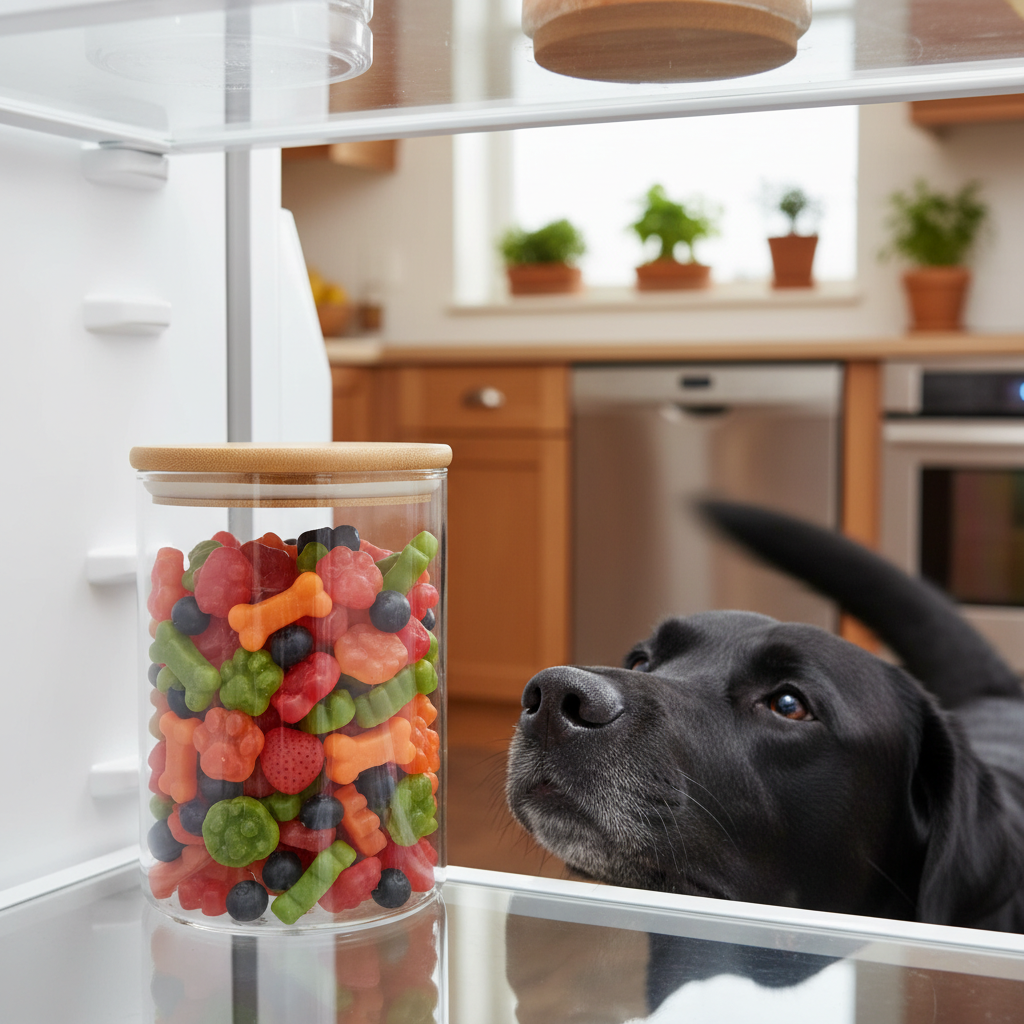
How to Store Your Homemade Goodies
Because these treats are made with fresh ingredients and no preservatives, they must be stored in the refrigerator. Keep them in an airtight container, and they should stay fresh and bouncy for up to 7-10 days.
A Treat is a Treat: How Many is Too Many?
As healthy as they are, these are still treats! They should be given in moderation and make up no more than 10% of your dog’s daily caloric intake. A good rule of thumb for serving size:
- Small Dogs (under 20 lbs): 2-3 small gummies per day
- Medium Dogs (20-50 lbs): 4-5 small gummies per day
- Large Dogs (over 50 lbs): 6-8 small gummies per day
Expert Tip: On a hot day, you can pop these gummies in the freezer for a cool, refreshing, and chewy snack for your pup!
Get Creative! Fun Gummy Variations
Don’t be afraid to experiment with different dog-safe flavors! You can create a whole rainbow of healthy gummies. Try these combinations:
- Berry Boost: Goat’s milk + blended blueberries + a drop of fish oil.
- Savory Delight: Beef bone broth + a tiny bit of pureed liver.
- Green Goodness: Chicken bone broth + blended spinach or kale.
- Joint Support Special: Bone broth + a sprinkle of turmeric (and a pinch of black pepper to aid absorption).
Conclusion
And there you have it! A simple, healthy, and incredibly fun way to show your dog some extra love. By taking just a few minutes to whip up these 3-ingredient gummy treats, you’re not only giving them a delicious snack but also contributing to their overall health and wellness. So go ahead, raid your pantry, and get ready to see the happiest tail wags when you present your pup with their very own homemade gummy bears. Happy treating!