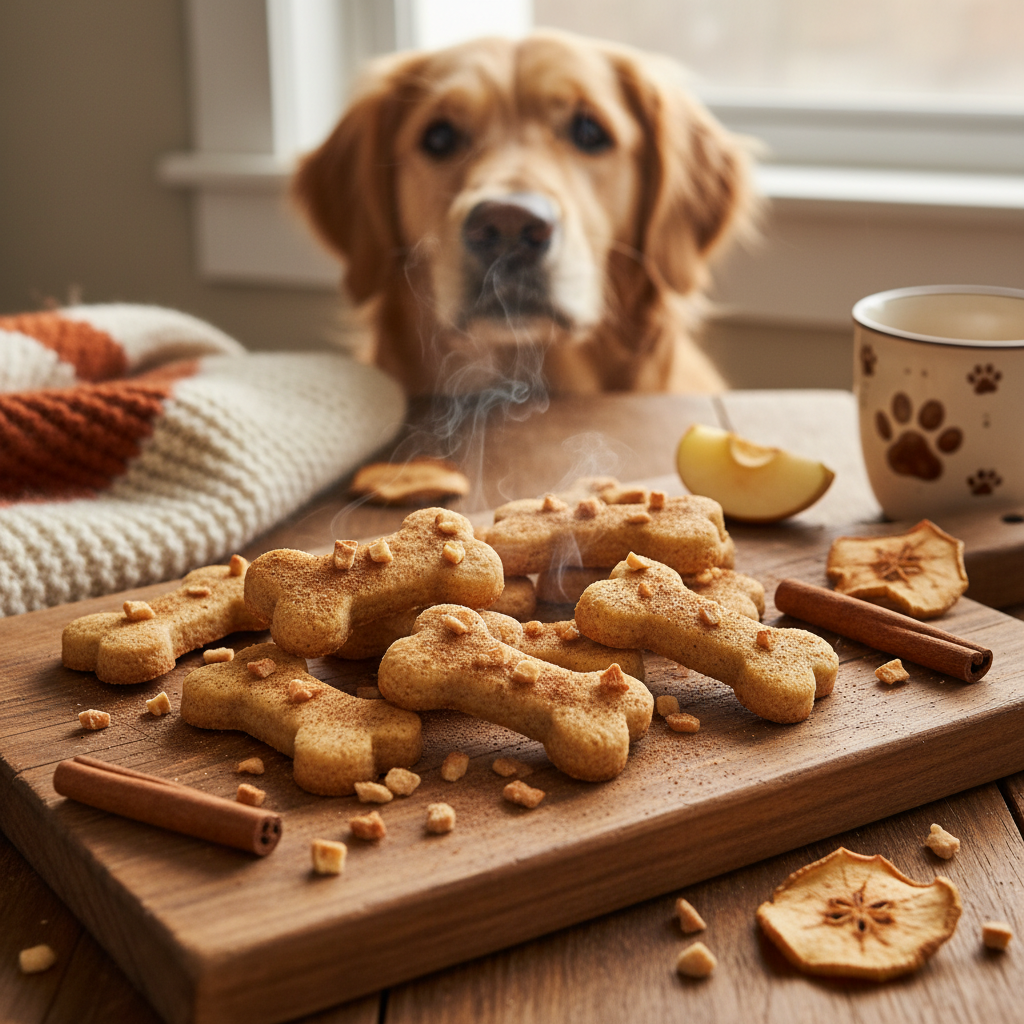
Your Kitchen Will Smell Amazing Baking These Apple Cinnamon Dog Cookies
There’s something incredibly special about the aroma of baking that fills a home. The warm, comforting scent of cinnamon and sweet apples is enough to make anyone’s mouth water—including your four-legged family member! If you’re looking for a way to spoil your pup while making your entire kitchen smell like a cozy autumn day, you’ve come to the right place. Baking homemade dog treats is a fantastic way to control the ingredients, avoid nasty preservatives, and create a special bonding moment.
This recipe for Apple Cinnamon Dog Cookies is not only incredibly easy to make but also packed with wholesome ingredients that are perfectly safe for your canine companion. So, tie on that apron, turn on the oven, and get ready for some serious tail wags. Let’s bake something wonderful together!
Why Go Homemade? The Perks of Baking for Your Pup
Why Go Homemade? The Perks of Baking for Your Pup
Opening a bag of store-bought treats is easy, but baking them yourself offers a whole new level of satisfaction and benefits. When you’re the chef, you’re in complete control. You can say goodbye to mysterious ingredients, artificial colors, and chemical preservatives that are often found in commercial products. Instead, you can focus on simple, natural, and healthy ingredients you can actually pronounce!
Are Apple and Cinnamon Safe for Dogs?
Absolutely! But with a couple of important notes. Apples are a fantastic source of vitamins A and C, as well as fiber for your dog’s digestion. However, you must remove the core and seeds. Apple seeds contain small amounts of cyanide, which can be harmful in large quantities. As for cinnamon, it’s non-toxic to dogs and can even offer anti-inflammatory benefits. It’s best to use Ceylon cinnamon if you can find it, as it contains lower levels of coumarin than Cassia cinnamon. A little sprinkle is all you need to add that wonderful flavor and aroma safely.
By baking at home, you’re not just making a snack; you’re crafting a little piece of love and ensuring your dog gets the best quality treat possible.
Ready, Set, Bake! Your Ingredient and Tool Checklist
Ready, Set, Bake! Your Ingredient and Tool Checklist
Before we dive into the fun part, let’s get all our supplies in order. Having everything prepped and ready makes the baking process smooth and enjoyable. Here’s what you’ll need:
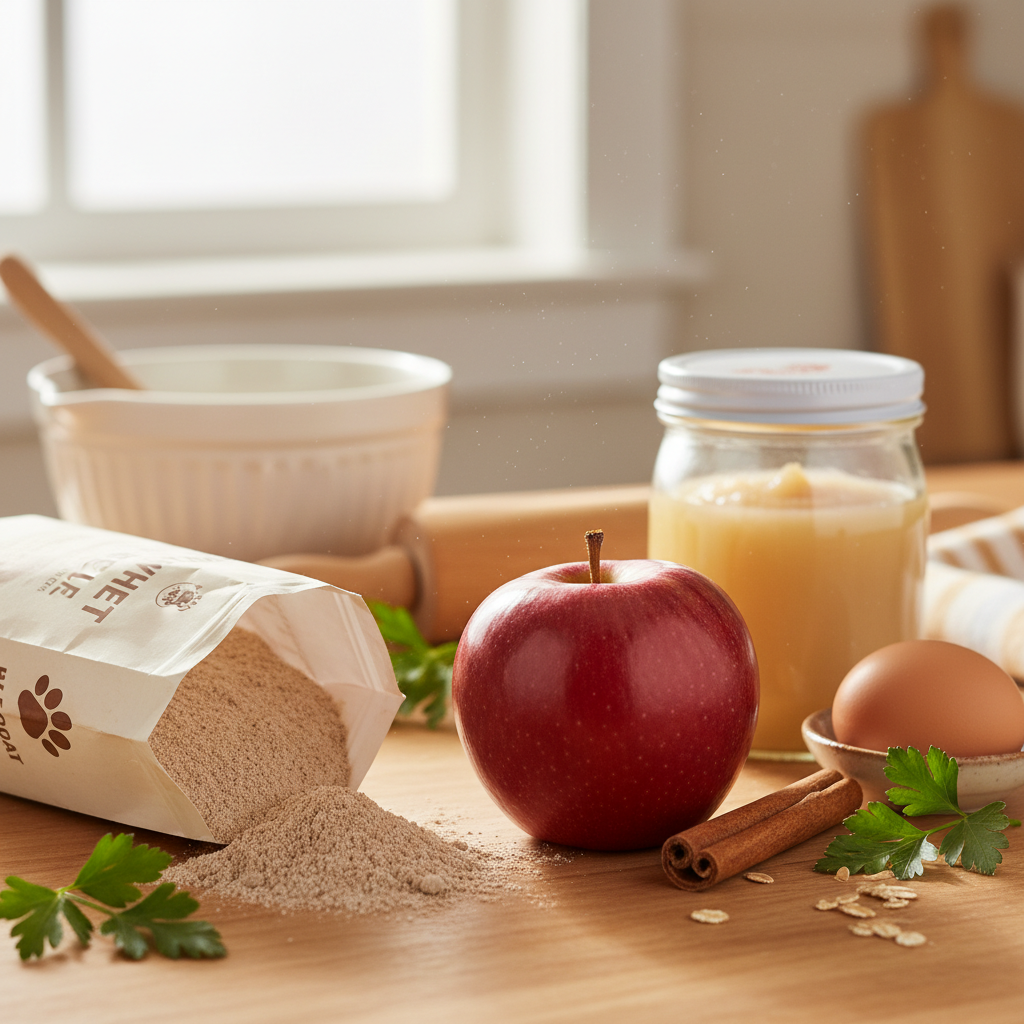
Ingredients:
- 2 ½ cups of whole wheat flour (you can substitute with oat flour or a gluten-free blend if your dog has sensitivities)
- ½ cup of unsweetened applesauce
- 1 large egg
- 1 medium apple, finely chopped or grated (core and seeds removed!)
- 1 teaspoon of ground cinnamon
- ¼ cup of water, as needed
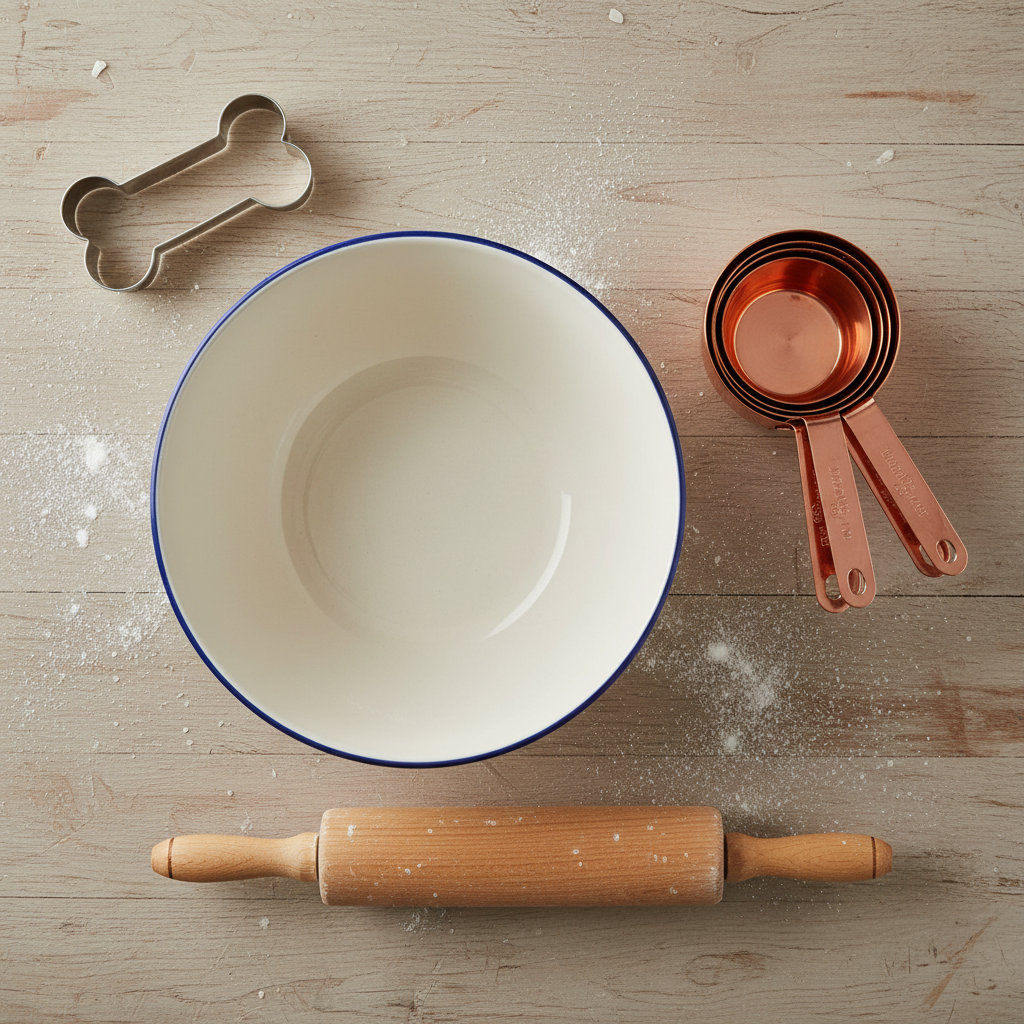
Baking Tools:
- A large mixing bowl
- Measuring cups and spoons
- A whisk or fork
- A rolling pin
- A cookie sheet
- Parchment paper
- Your favorite cookie cutters (bone shapes are always a hit!)
Let’s Get Baking: The Step-by-Step Guide
Let’s Get Baking: The Step-by-Step Guide
This is where the magic happens! Follow these simple steps, and you’ll have a batch of delicious, dog-approved cookies in no time. Get ready for that amazing smell to take over your kitchen.
- Preheat and Prep: Start by preheating your oven to 350°F (175°C). Line your cookie sheet with parchment paper to prevent sticking and make cleanup a breeze.
- Combine Dry Ingredients: In your large mixing bowl, add the whole wheat flour and ground cinnamon. Give it a quick whisk to combine everything evenly.
- Mix the Wet Ingredients: In a separate, smaller bowl, whisk together the egg and the unsweetened applesauce until they are well combined.
- Add the Star of the Show: Stir your finely chopped or grated apple into the wet ingredient mixture. This ensures the apple pieces are distributed evenly throughout the dough.
- Bring It All Together: Pour the wet mixture into the bowl with the dry ingredients. Mix with a spoon or spatula until a stiff, crumbly dough begins to form.
- Knead the Dough: Turn the dough out onto a lightly floured surface. Knead it for a minute or two, adding a tablespoon of water at a time if it’s too dry, until it comes together into a smooth ball.
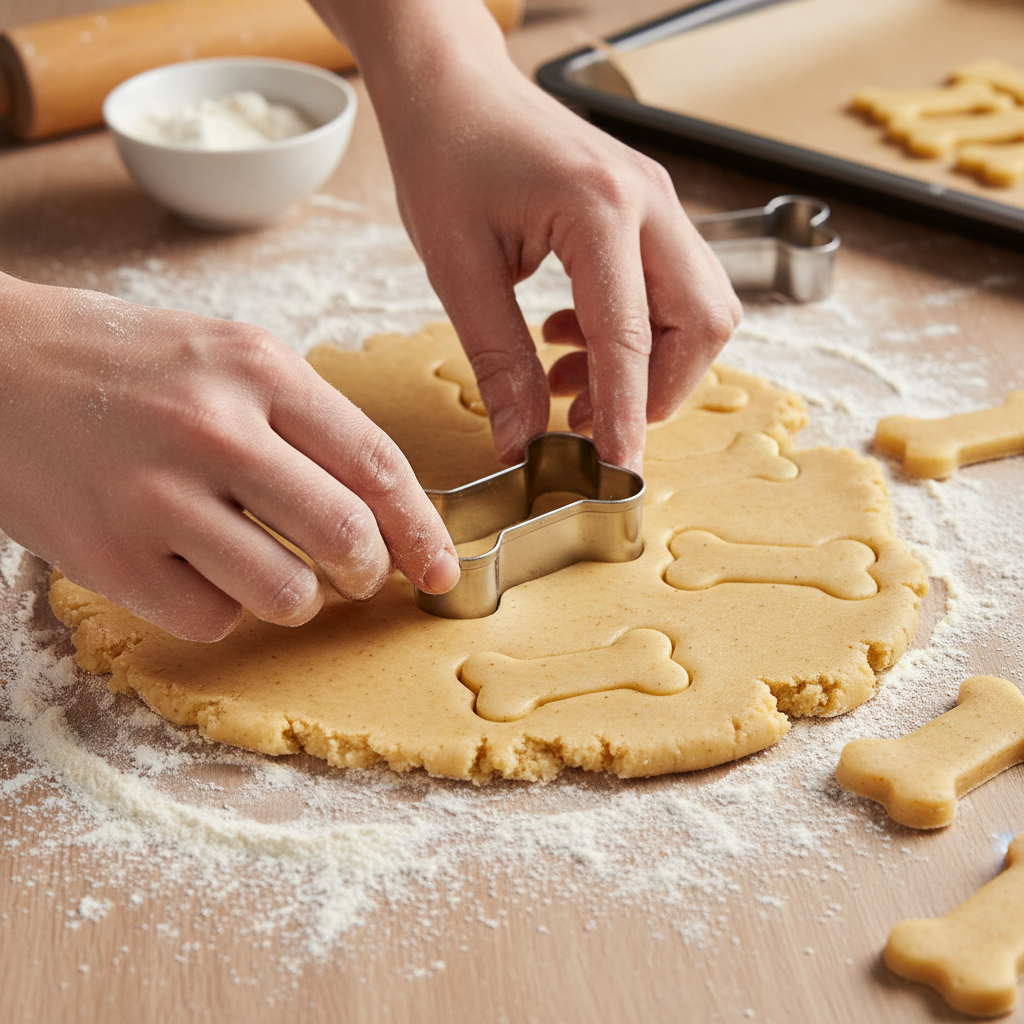
- Roll and Cut: Roll the dough out to about ¼-inch thickness. Now for the fun part! Use your cookie cutters to cut out your shapes and place them on the prepared cookie sheet.
- Time to Bake: Place the cookie sheet in the preheated oven and bake for 20-25 minutes, or until the edges are golden brown and the cookies are firm.
The Finishing Touches: Cooling, Storing, and Treating Your Pup
The Finishing Touches: Cooling, Storing, and Treating Your Pup
Patience is a virtue, especially when warm cookies are involved! Before you let your eager pup do a taste test, there are a few final steps to ensure your treats are perfect.
Cooling is Crucial
Once the cookies are done baking, remove them from the oven and let them cool on the baking sheet for a few minutes before transferring them to a wire rack. Letting them cool completely is important. This allows them to get nice and crunchy, which is great for your dog’s teeth! A warm cookie might also be too hot for your dog’s mouth.
Proper Storage for Lasting Freshness
To keep your homemade treats fresh, you need to store them correctly. Here’s how:
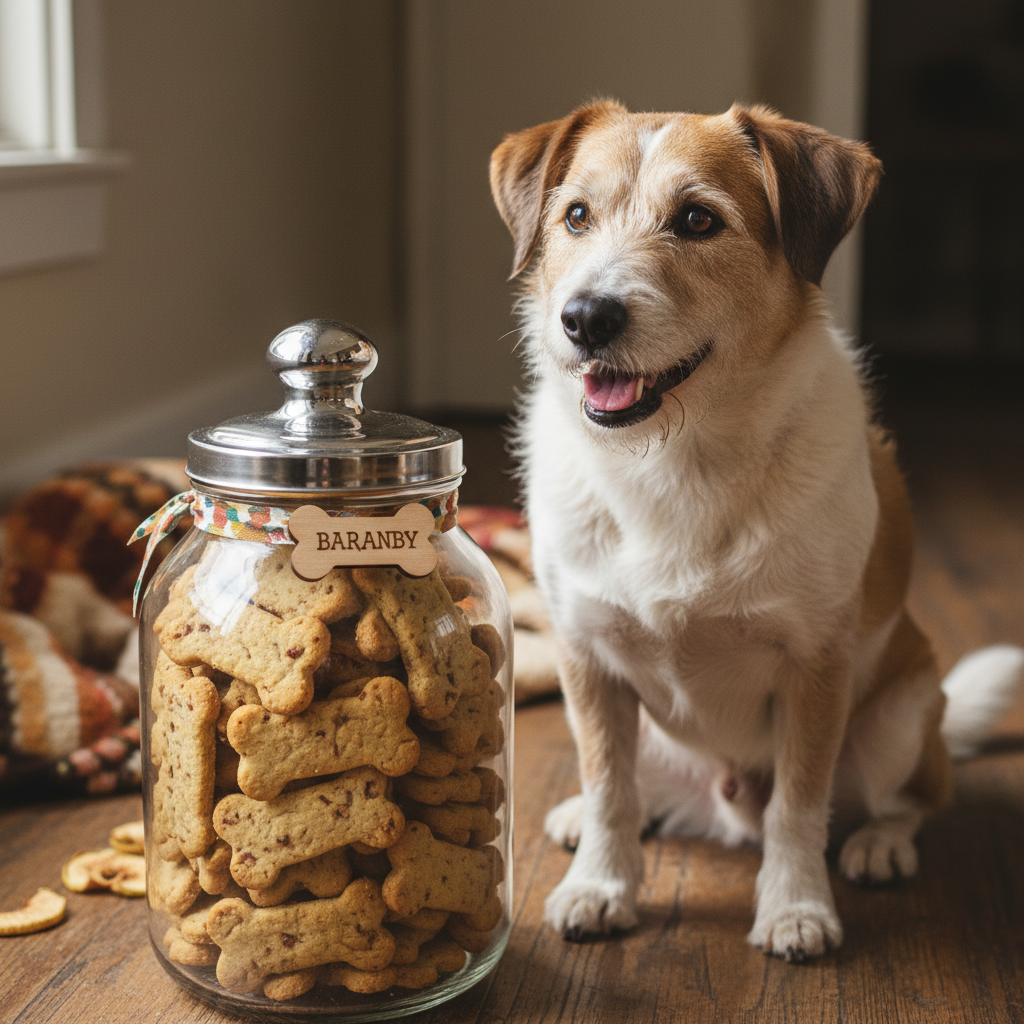
- For a crunchy treat: Once completely cool, store the cookies in an airtight container at room temperature for up to one week.
- For longer storage: You can store them in an airtight container in the refrigerator for up to three weeks.
- Freeze for later: These cookies freeze beautifully! Place them in a freezer-safe bag or container, and they’ll last for up to three months. It’s a great way to have treats on hand anytime.
A Note on Serving Size
Remember, these are treats, not a replacement for your dog’s balanced diet. Moderation is key. One or two cookies a day is plenty for most dogs, but adjust based on your dog’s size, age, and activity level. When in doubt, it’s always a good idea to chat with your vet about your dog’s dietary needs.
Conclusion
And there you have it! A simple, rewarding, and incredibly fragrant baking project that ends with a very happy pup. The joy of seeing your dog crunch down on a treat you made with love is truly special. Plus, you get the peace of mind that comes from knowing exactly what’s going into their body. So next time you have a free afternoon, why not fill your home with the delightful scent of apples and cinnamon? Your dog (and your nose) will thank you for it. Happy baking!