Train Your Dog To Sniff Out Bed Bugs Like A Pro
Your dog’s nose is a marvel of nature. With up to 300 million olfactory receptors (compared to our measly six million), they experience the world in a way we can only imagine. This incredible sniffing power is why dogs are trained to find everything from lost people to illegal substances. But what if you could harness that power for a practical, household purpose? Say, finding those notoriously sneaky pests: bed bugs.
It might sound like something only highly specialized professionals can do, but with patience, consistency, and the right techniques, you can teach your own dog the basics of scent detection. This isn’t just a cool party trick; it’s an amazing bonding activity that provides incredible mental stimulation for your dog. Ready to turn your canine companion into a bed bug sniffing pro? Let’s get started on this exciting training adventure together!
Step 1: Gathering Your Scent Detection Toolkit
Before you and your pup can become a bug-busting duo, you’ll need to gather a few essential supplies. Think of this as setting up your dog’s detective agency. Having the right tools from the start makes the entire process smoother and more effective.
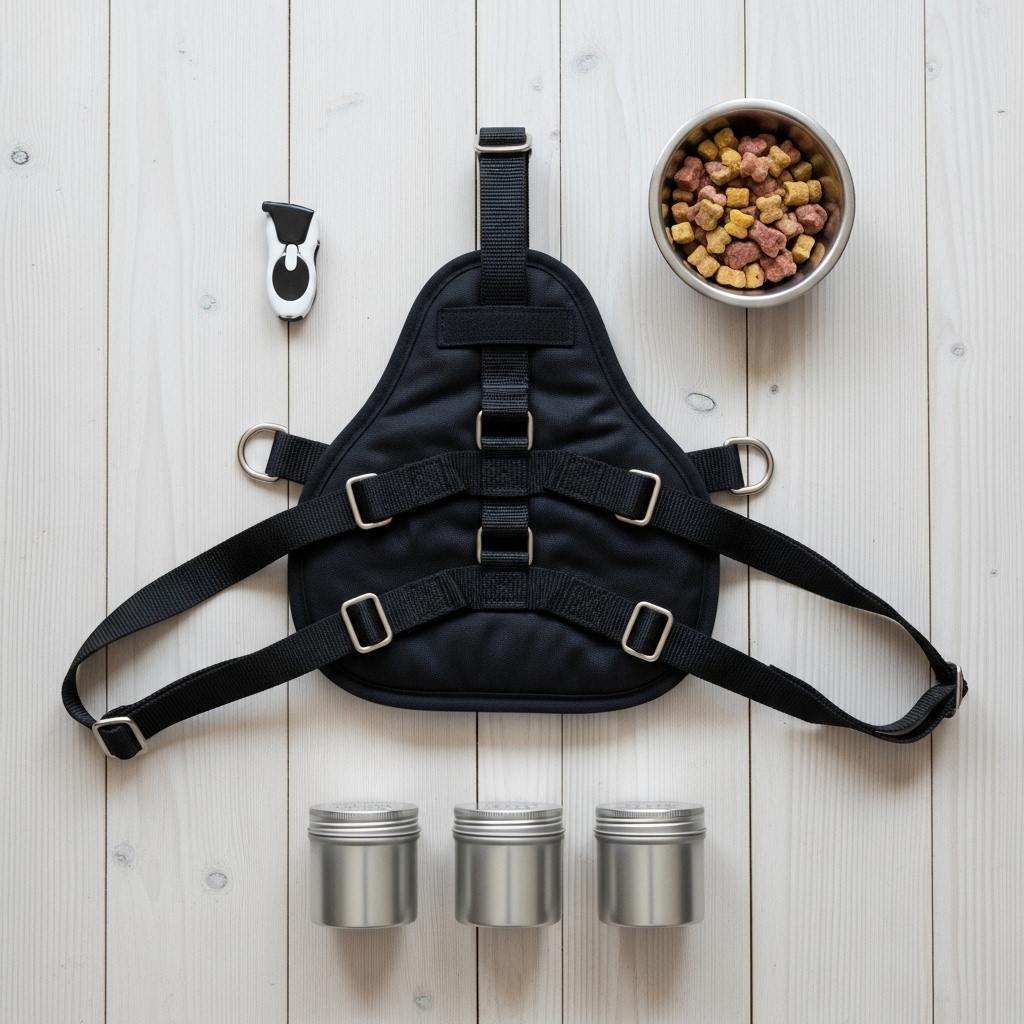
Essential Gear:
- Bed Bug Scent Vials: This is the most critical item. You need a safe, contained source of the target odor. You can purchase vials containing dead bed bugs or their pheromones from specialized canine training supply companies online. Never use live bed bugs. This is unsafe and risks starting an actual infestation.
- Identical, Non-Scented Containers: You’ll need several small, identical containers with holes for the scent to escape. Small metal tins (like mint tins) or PVC pipes with end caps work great. Having identical containers ensures your dog is cueing on the scent, not the container itself.
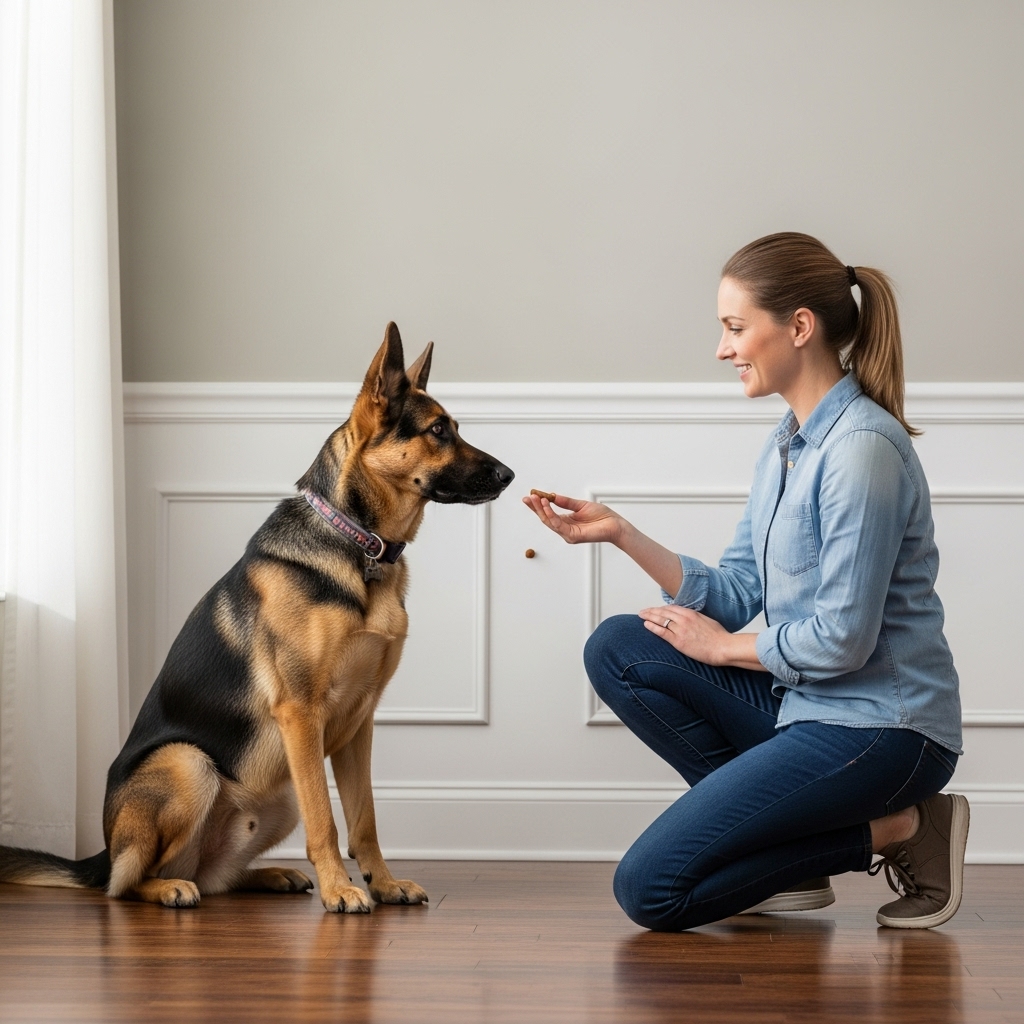
- High-Value Treats: Forget the everyday kibble. For this high-level work, you need treats that your dog goes absolutely bonkers for. Think small pieces of cooked chicken, cheese, or special training treats they don’t get any other time. The reward must be worth the effort!
- A Clicker (Optional but Recommended): A clicker is a fantastic tool for marking the exact moment your dog does something right. It provides clear, instantaneous feedback that helps your dog learn faster.
- A Special ‘Work’ Harness or Collar: Use a specific harness, collar, or even a bandana that your dog only wears during scent detection training. This acts as a uniform, signaling to your dog that it’s time to get to work and focus.
Step 2: Making the Scent the Most Exciting Thing Ever
The foundation of all scent work is creating a powerful, positive association with the target odor. Your dog needs to learn that the smell of bed bugs means something amazing is about to happen—like getting their favorite treat! This phase is all about building that initial connection.
Introducing the Scent:
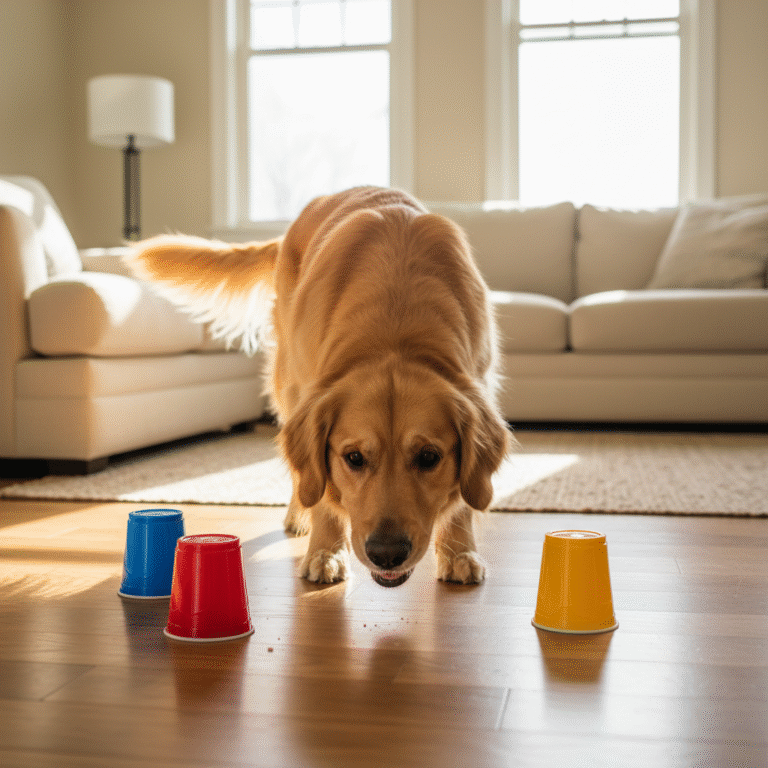
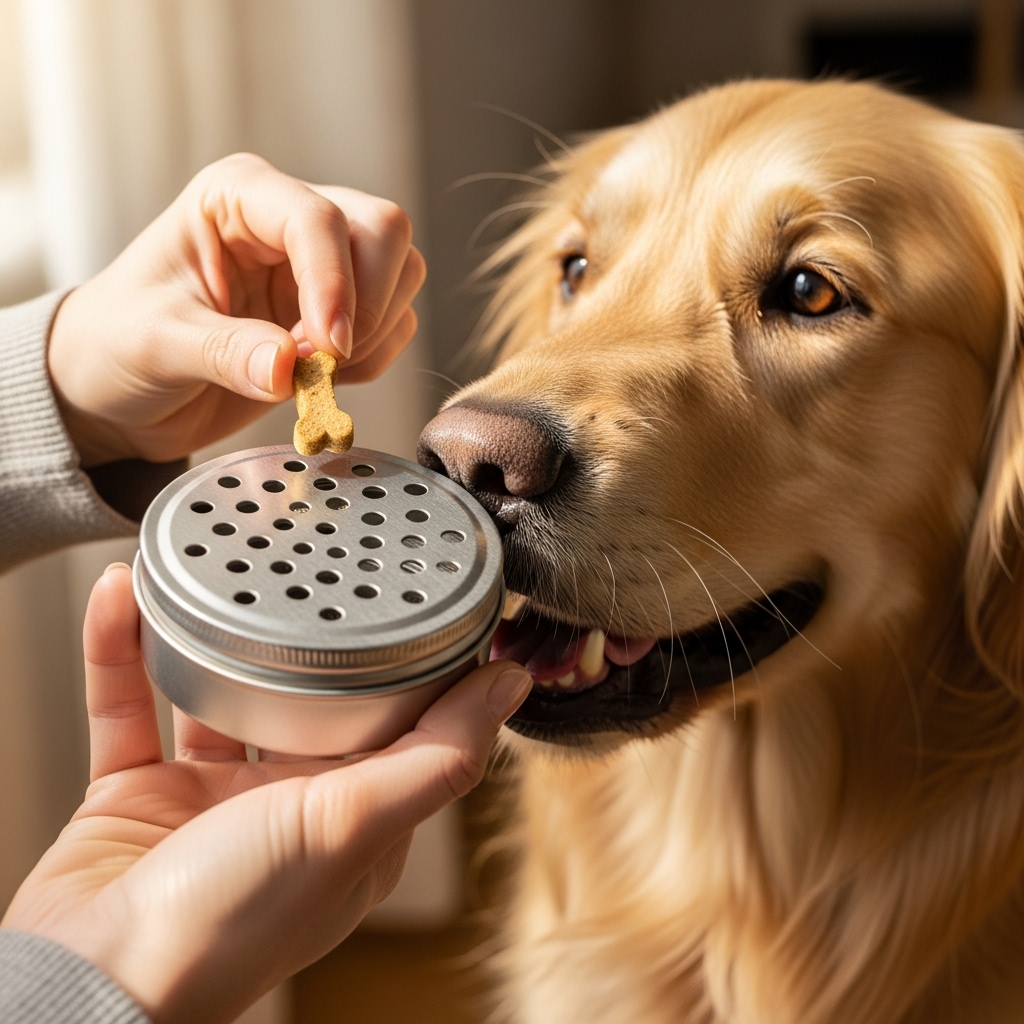
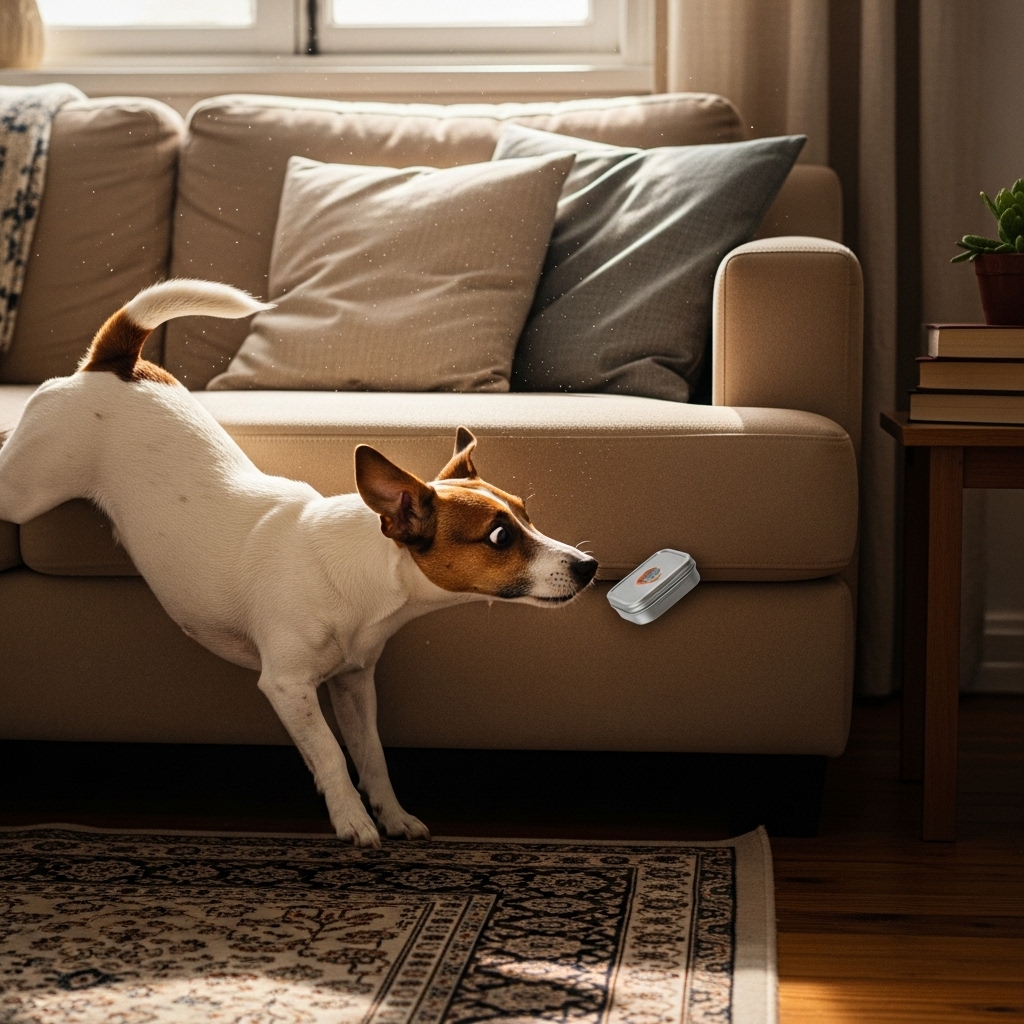
- Prepare the Scent Container: Place your bed bug scent vial inside one of your metal tins or containers. This will be your ‘hot’ container. The other containers remain empty and are ‘cold’.
- The Scent Game: Start in a quiet room with minimal distractions. Present the open ‘hot’ container to your dog. The moment their nose touches or gets close to it to sniff, click your clicker (if using one) and immediately give them a high-value treat.
- Repeat, Repeat, Repeat: Do this in short, fun sessions of just a few minutes. Let them sniff, click, treat. Your goal is to see your dog’s face light up with excitement when they smell the scent. They should think, ‘That smell equals chicken!’
Expert Tip: Keep your training sessions short and sweet, especially at the beginning. 5-10 minutes once or twice a day is plenty. You want to end each session on a high note, leaving your dog wanting more, not feeling bored or frustrated.
Step 3: From Scent Introduction to ‘Find It!’
Once your dog is enthusiastically targeting the scent container, it’s time to build on that foundation. Now, we’ll teach them to actively search for the scent instead of just having it presented to them. This is where the real detective work begins.
Building the Search:
- The ‘Scent Wheel’: Place your ‘hot’ container and a few ‘cold’ containers in a semi-circle on the floor. Let your dog investigate. When they sniff the ‘hot’ container, click and reward them right at the source. This teaches them to ignore the non-scented containers and pinpoint the correct one.
- Start Hiding: Once they’re reliably picking out the correct container, you can start simple ‘hides’. While your dog is watching, place the ‘hot’ container under the edge of a pillow or behind a chair leg. Use a verbal cue like “Find it!” or “Seek!” in an excited tone.
- Increase the Difficulty: As your dog gets better, start making the hides slightly more challenging. Place the scent in different locations around a single room. The key is to build their confidence with successful finds. Always praise and reward them lavishly when they locate the scent!
Remember to always reward your dog at the source of the smell. You want them to understand that the reward comes from the location of the scent itself, not from you.
Step 4: Teaching a Clear Alert Signal
A detection dog is only as good as its ability to communicate a find. A professional dog doesn’t just find the scent; it tells its handler exactly where it is with a clear, specific signal. For finding bed bugs in a home, a ‘passive alert’ is best.
What’s a Passive Alert?
A passive alert is a signal where the dog freezes, sits, lies down, or points with its nose without touching, scratching, or barking at the source. This is crucial because you don’t want your dog tearing up furniture or walls! A sit or a down is a great, easy-to-teach alert.
How to Train the Alert:
- Lure the Behavior: When your dog finds the scent hide, let them sniff for a second. Then, use a treat to lure them into a ‘sit’ or ‘down’ position right next to the source. The moment they perform the action, click and give them a jackpot of treats.
- Fade the Lure: After several repetitions, start to fade the hand lure. Simply wait for a moment after they find the scent. Your dog, knowing a sit is what gets the reward, will likely offer the behavior on their own. The instant they do, click and reward!
- Build Duration: Gradually ask your dog to hold the ‘sit’ or ‘down’ for a few seconds before you click and treat. This builds a solid, clear alert that you won’t miss.
Step 5: Practice Makes a Pro: Mock Room Searches
Now it’s time to put all the pieces together and simulate a real-world search. This is where your dog gets to show off their skills in a more complex environment. The goal is to teach them to be systematic and thorough.
Setting Up a Search:
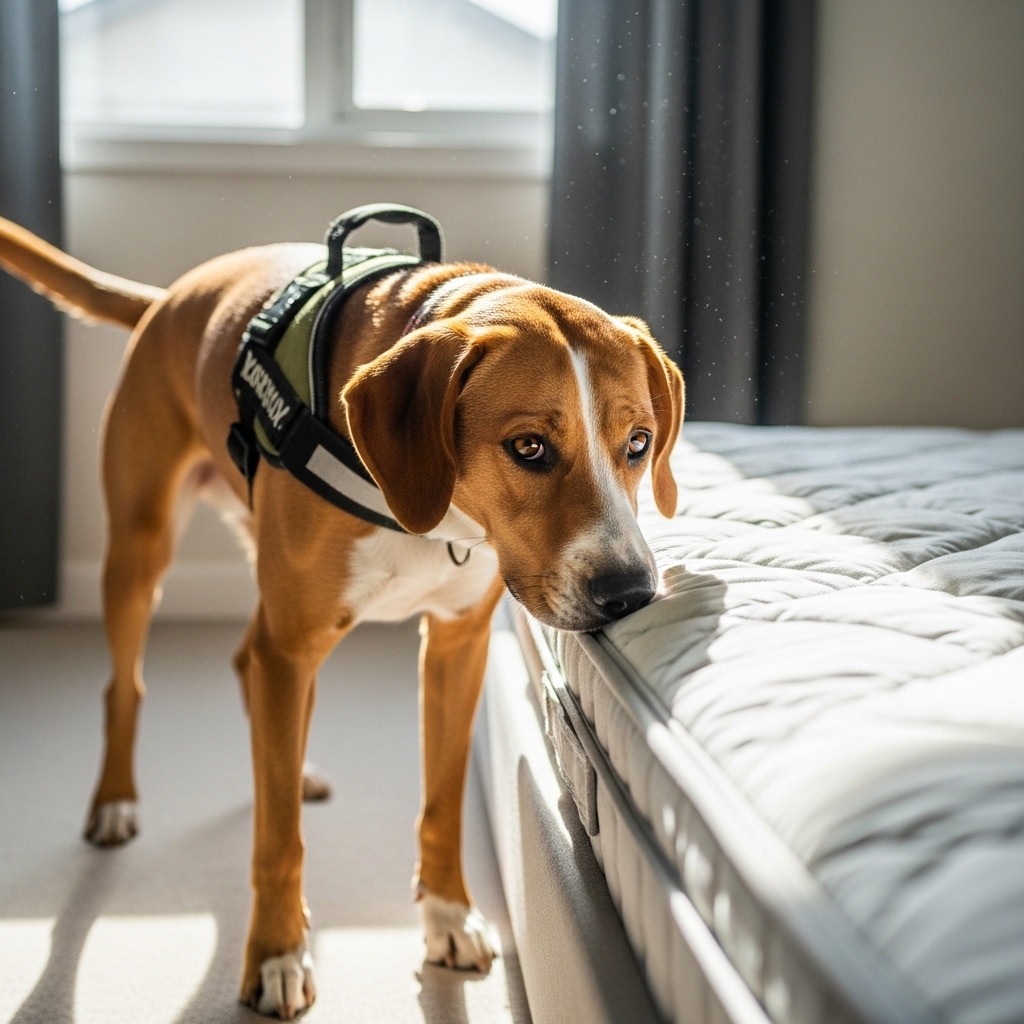
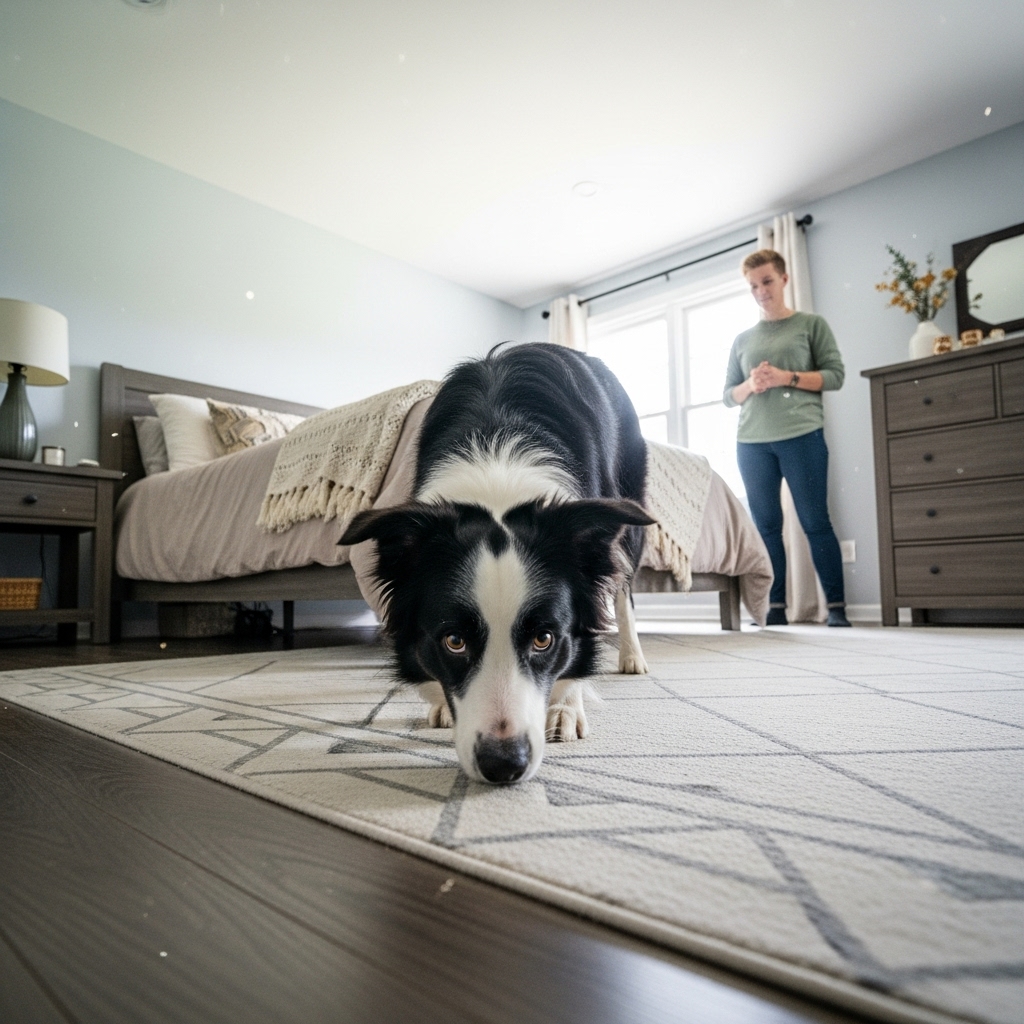
- Start Simple: Begin with one ‘hide’ in a single room, like a bedroom. Place the scent vial in a classic bed bug hiding spot, such as along a mattress seam, behind a headboard, or on the underside of a nightstand.
- Give the Cue: Put on your dog’s ‘work’ harness, bring them into the room, and give your “Find it!” cue.
- Stay Quiet: Let your dog work! Try not to talk to them or give them hints. Your job is to be a silent observer and watch their body language. A change in tail carriage, deeper sniffing, and a head snap are all signs they’re catching the odor.
- Reward the Alert: When your dog finds the source and gives their passive alert, praise them enthusiastically and give them a huge reward right at the spot.
- Gradually Generalize: Once your dog is acing one room, practice in different rooms of the house. Then, try placing multiple hides in one room. This teaches them to keep working even after they’ve found one scent source.
Important Note: While this training is fantastic for enrichment and early detection, always consult a professional pest control expert if you suspect you have an actual bed bug infestation. A trained dog is a great tool, but not a substitute for professional extermination.
Conclusion
Congratulations! You’ve just walked through the fundamental steps of training a scent detection dog. Turning your dog into a bed bug sniffing pro is a journey, not a race. It requires patience, positive reinforcement, and a whole lot of fun. By working with your dog’s natural abilities, you’re not just teaching them a new skill—you’re deepening your bond, building their confidence, and giving them an incredibly fulfilling ‘job’ to do.
Remember to keep sessions short, always end on a positive note, and celebrate every small success along the way. Your dog is an amazing animal, and with your guidance, their incredible nose can become a powerful tool. Happy training, you bug-busting team!