The ‘Wait’ Command: Prevent Parking Lot Accidents with One Simple Rule
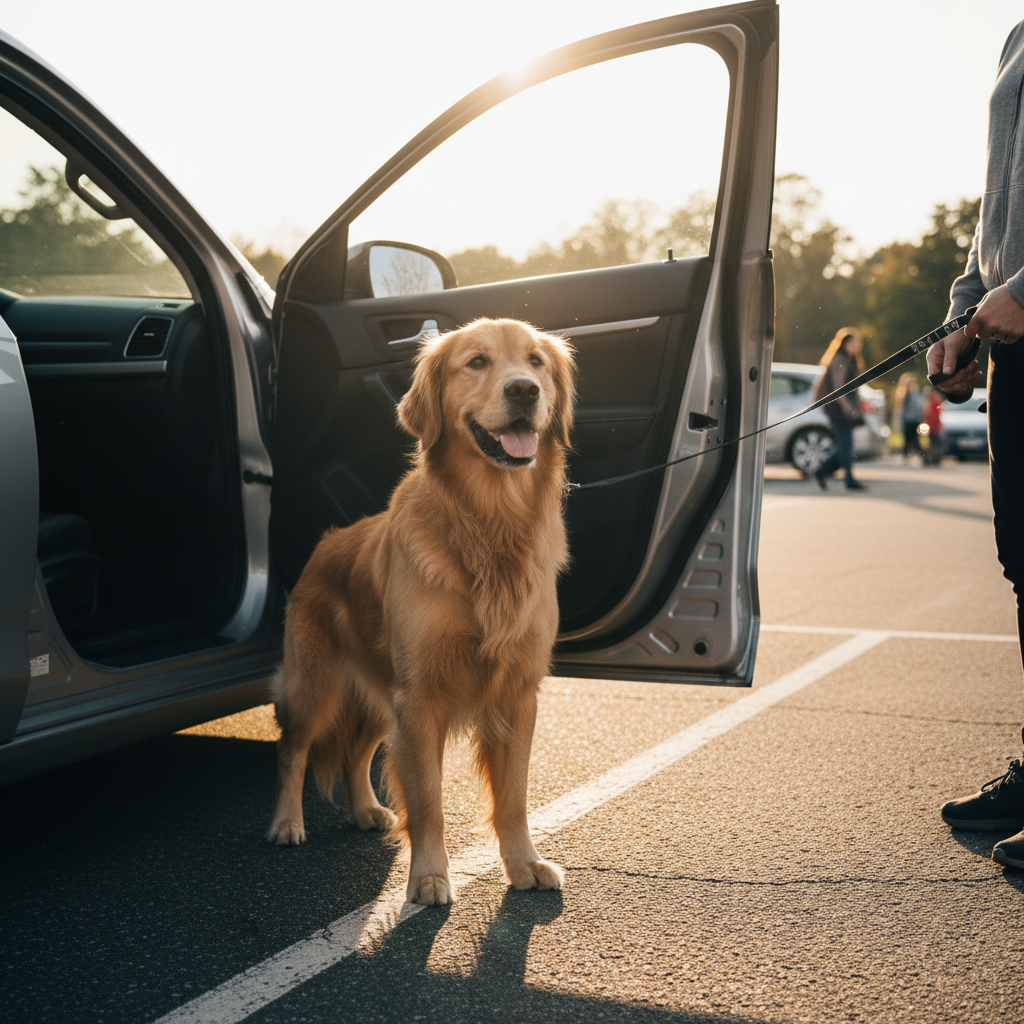
Imagine this: You’ve just finished your shopping, you open the car door, and in a flash, your excited dog bolts out into the busy parking lot. Your heart leaps into your throat. It’s a terrifyingly common scenario that can end in tragedy. But what if you had a simple, powerful tool to prevent it? That tool is the ‘Wait’ command. It’s not just another trick; it’s arguably one of the most important safety commands you can teach your furry best friend. It’s a momentary pause, an impulse-control game-changer that tells your dog, ‘Hold on a second, check in with me before you move forward.’ In this guide, we’ll walk you through everything you need to know to teach this life-saving skill with patience, positivity, and a whole lot of fun.
Why ‘Wait’ is a Lifesaver, Not Just a Party Trick
Many people confuse ‘Wait’ with ‘Stay,’ but they serve different, crucial purposes. A ‘Stay’ is formal; you put your dog in a specific position (like a sit or down) and ask them not to move until you return and release them. ‘Wait,’ on the other hand, is informal and incredibly versatile. It’s a temporary pause on whatever the dog is doing. It means, ‘Don’t cross this boundary until I give you the okay.’ This simple instruction is a game-changer in so many daily situations:
- Car Doors: This is the big one. A dog that waits won’t leap out into traffic the second a door is cracked open. They wait for your cue that it’s safe to exit.
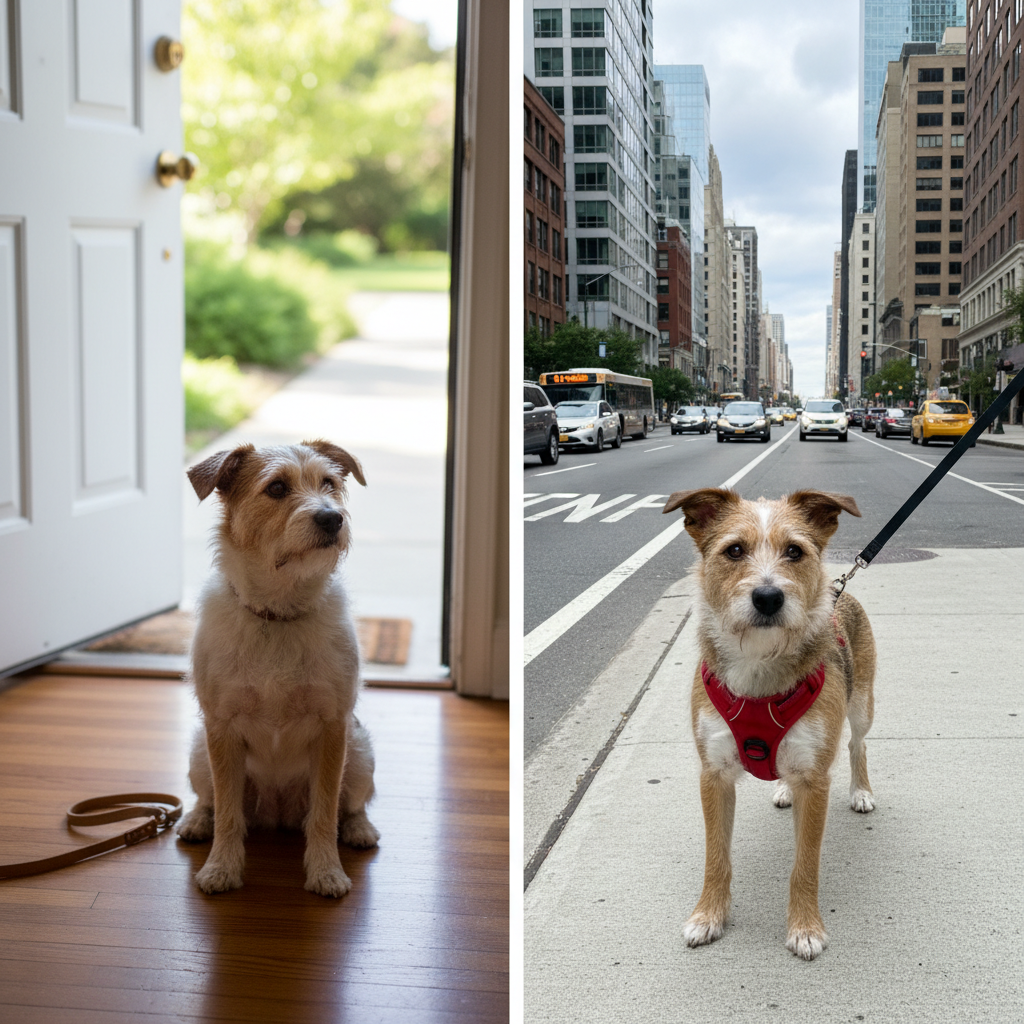
- Front Doors: No more bolting out the door to greet the mail carrier or chase a squirrel. A dog that waits won’t cross the threshold without permission, keeping them safe in your yard or home.
- Street Corners: When you’re on a walk, ‘Wait’ can be used to pause at a curb before crossing a busy street, ensuring you both check for traffic together.
- Feeding Time: It can also teach patience and politeness. Asking your dog to wait before diving into their food bowl prevents them from mugging you as you set it down.
Essentially, ‘Wait’ teaches your dog critical impulse control. It forges a stronger connection where your dog learns to look to you for guidance in exciting or potentially dangerous situations. It’s a foundational skill for a safe and well-behaved companion.
Gather Your Training Toolkit
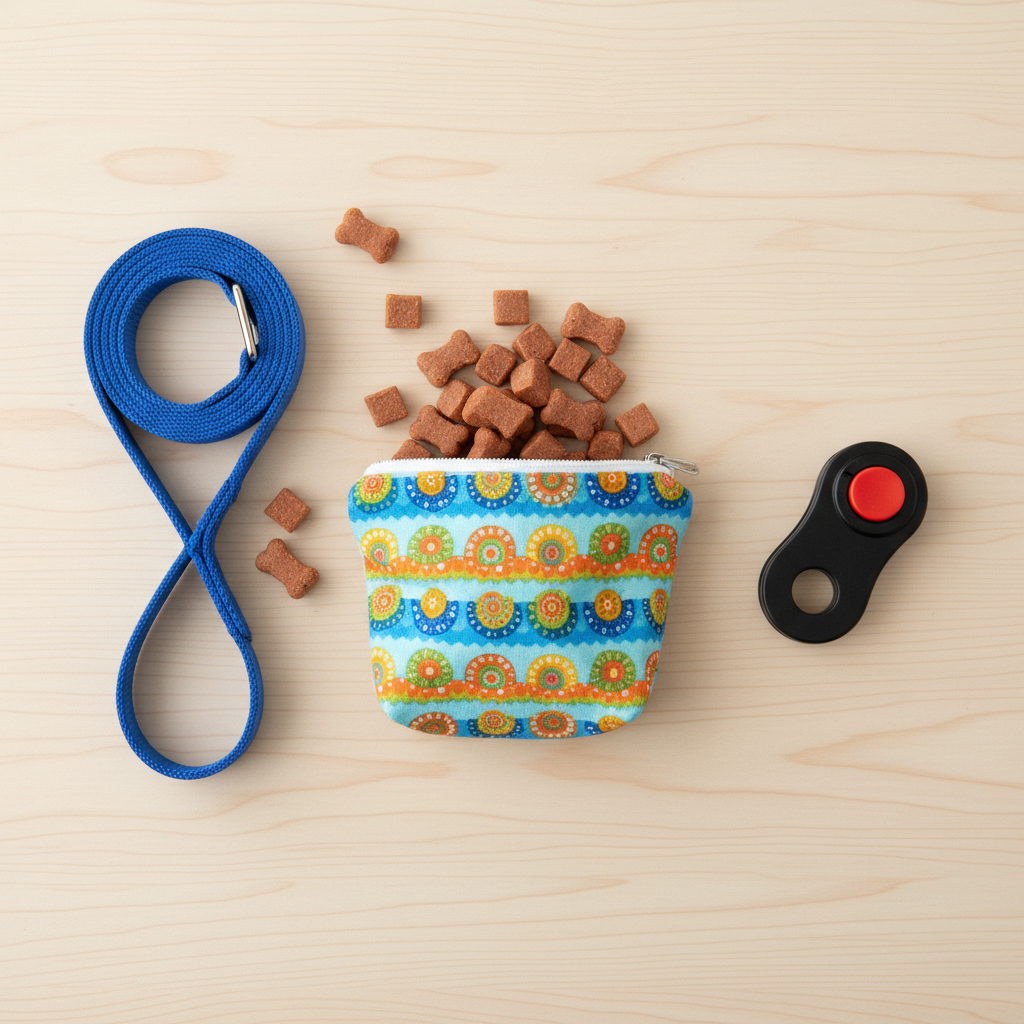
The great news is you don’t need a lot of fancy equipment to teach this command. The most important tools are your patience and a positive attitude! But to set yourself up for success, here’s what you should have on hand:
- High-Value Treats: We’re not talking about their everyday kibble. You want small, soft, and extra-delicious treats that your dog absolutely loves. Think tiny pieces of chicken, cheese, or special training treats. The goal is to make the reward so good that waiting is worth their while.
- A Leash: In the beginning, especially when you move your training outside, a standard 6-foot leash is a crucial management tool to prevent your dog from ‘self-rewarding’ by running off if they break the wait.
- A Non-Distracting Environment: Start your training sessions in a quiet room or hallway inside your house where there are minimal distractions. You want your dog to be able to focus entirely on you and the new game you’re about to play.
Your Step-by-Step Guide to a Rock-Solid ‘Wait’
Ready to get started? Remember to keep your training sessions short and fun—just 5-10 minutes at a time is perfect. End on a positive note while your dog is still engaged and successful. Let’s begin!
-
Step 1: The Doorway Game
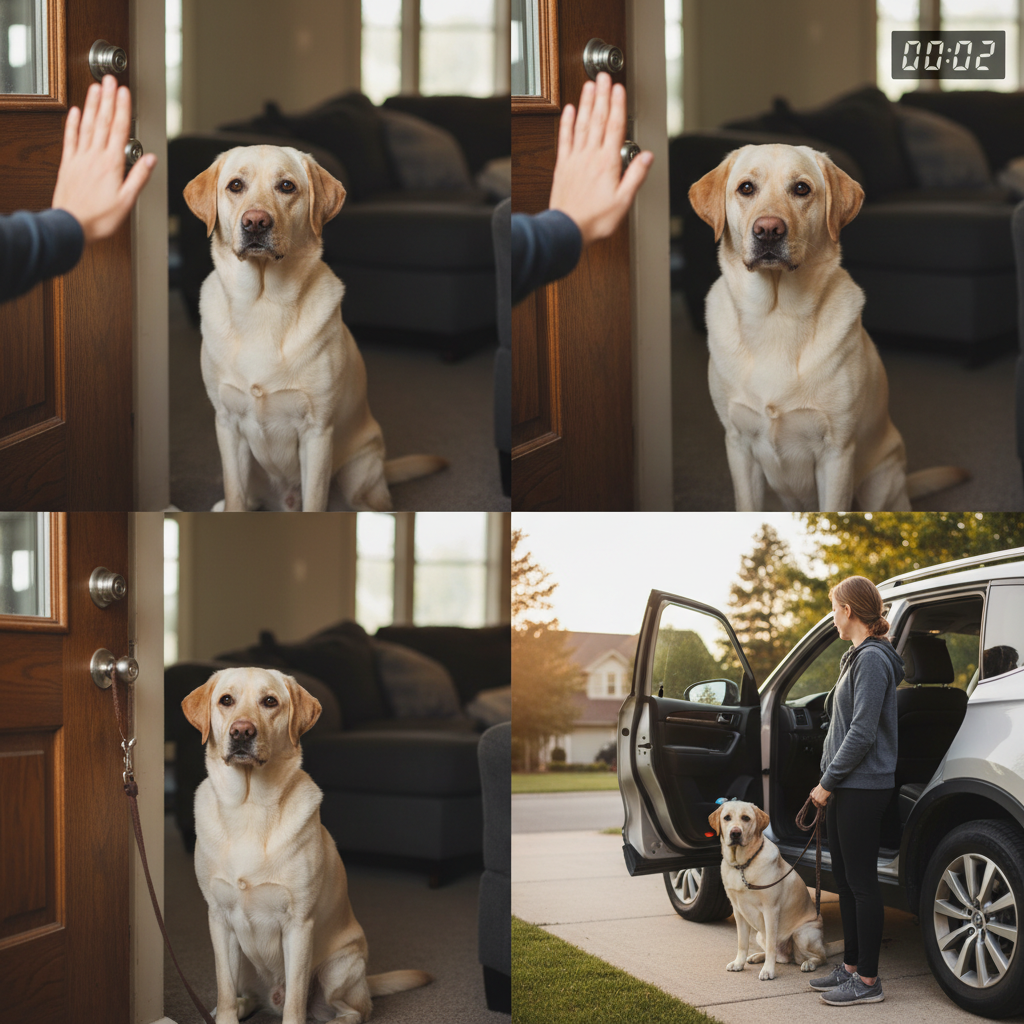
Start at an interior doorway. With your dog on one side and you on the other, toss a low-value treat (like a piece of their kibble) through the doorway. They will naturally go through to get it. As they come back to you, toss another one. After a few reps, get ready to introduce the ‘Wait.’ Place your hand out, palm facing your dog like a ‘stop’ signal, and say ‘Wait’ in a calm, steady voice just before they cross the threshold. At first, they’ll probably ignore you and walk right past. That’s okay! Simply use your body to gently block them. Don’t push them, just be a ‘door.’ The second they pause, even for a millisecond, say ‘Yes!’ or click your clicker, and give them a high-value treat. Release them with an ‘Okay!’ and toss a treat through the door. Repeat this until they start to offer a slight pause when you put your hand up and say the word.
-
Step 2: Building Duration
Once your dog is consistently pausing at the threshold, it’s time to build a little duration. Ask them to ‘Wait,’ and count to one in your head. Then say ‘Okay!’ and reward. In the next session, try for two seconds. Gradually increase the time they have to wait before getting the release cue and reward. If they break the wait, no big deal! Just reset and ask for a shorter duration next time. The goal is to build a history of success.
-
Step 3: Adding Distance and Distractions
Now that your dog can wait for a few seconds, start adding a little distance. After giving the ‘Wait’ cue, take one step back. If they hold their position, step forward again, say ‘Okay!’ and reward. Slowly build up the distance you can move away. Once that’s solid, you can start practicing with the front door (kept closed for safety!) and eventually the car door (in a safe, secure garage or driveway). Practice while another family member walks by or a toy is on the ground. This process is called ‘generalizing,’ and it teaches your dog that ‘Wait’ means wait, no matter where you are.
-
Step 4: Real-World Practice
This is where it all comes together. Put your dog on a leash and practice at your front door, opening it just a crack. Ask for a ‘Wait.’ If they hold, reward and release them to go outside with you. Do the same thing at your car door. Open it, say ‘Wait,’ and only give the ‘Okay!’ to jump out when they are calm and patient. Always use a leash during this phase for safety. Consistent practice in these real-world scenarios will solidify the command and make it a reliable habit.
‘Wait’ vs. ‘Stay’: Clearing Up the Confusion
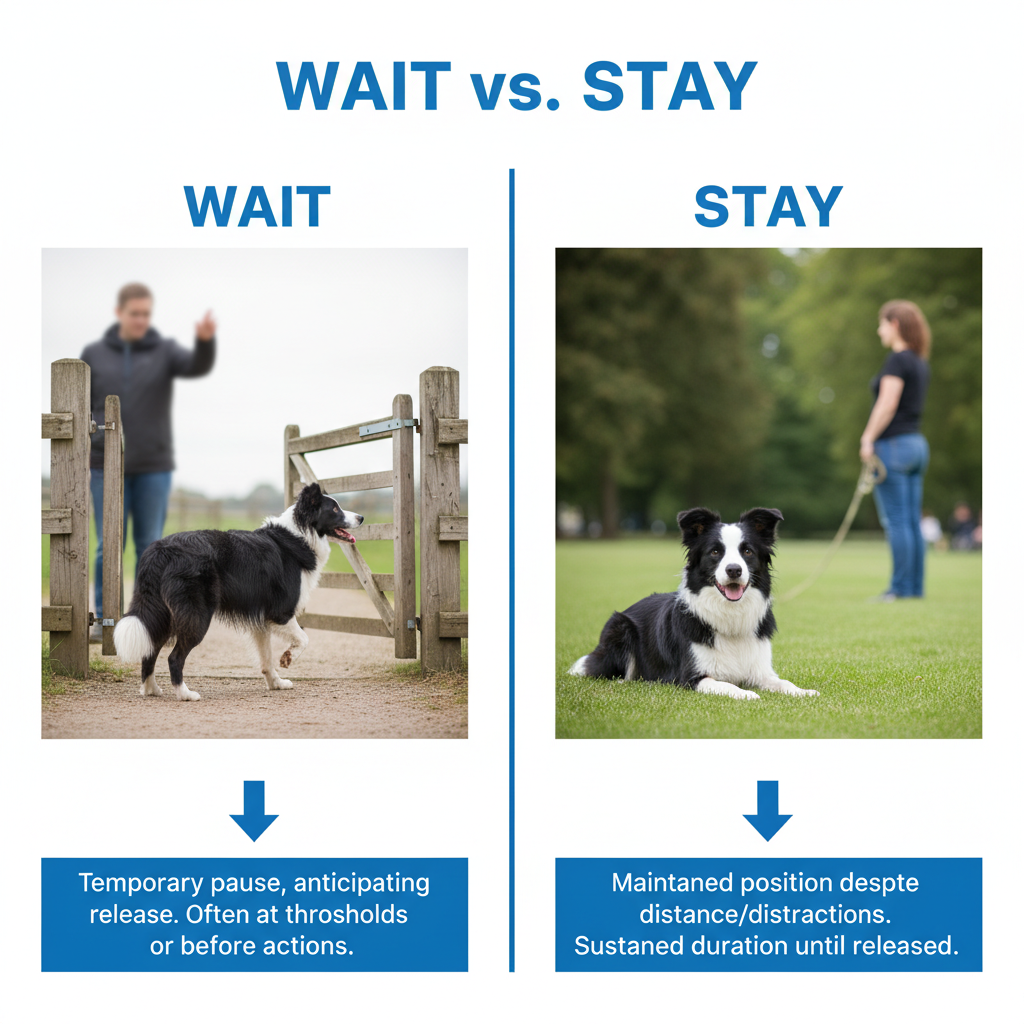
It’s a common point of confusion for dog owners, but understanding the difference between these two commands will make your training much more effective. Think of it this way: ‘Stay’ is a formal, stationary position, while ‘Wait’ is a temporary pause. Here’s a quick breakdown:
| Feature | The ‘Wait’ Command | The ‘Stay’ Command |
|---|---|---|
| Purpose | Impulse control; pausing before moving forward through a boundary (door, curb, car). | Holding a specific physical position (sit, down, stand) for a longer duration. |
| Duration | Typically short-term. | Can be for extended periods. |
| Owner’s Position | Owner usually stays relatively close to release the dog. | Owner can move far away and expect the dog to hold the position. |
| Release | Released with a cue like ‘Okay!’ or ‘Free!’ to continue moving forward. | Owner typically returns to the dog’s side before giving the release cue. |
Using both commands in your training repertoire gives you a wonderfully well-rounded and safe companion!
Conclusion
Teaching the ‘Wait’ command is an investment in your dog’s safety that pays lifelong dividends. It transforms a potentially dangerous moment—like opening a car door in a parking lot—into a calm, controlled, and safe routine. Remember that consistency and positive reinforcement are your best friends in this process. Celebrate the small victories, keep your sessions upbeat, and be patient with your canine student. The peace of mind you’ll gain from knowing your dog will look to you for the ‘all clear’ is truly priceless. Now go grab some treats and start practicing; you’re building a safer future together, one ‘Wait’ at a time.