The Vet Prep Skill No One Talks About: Thermometer Desensitization
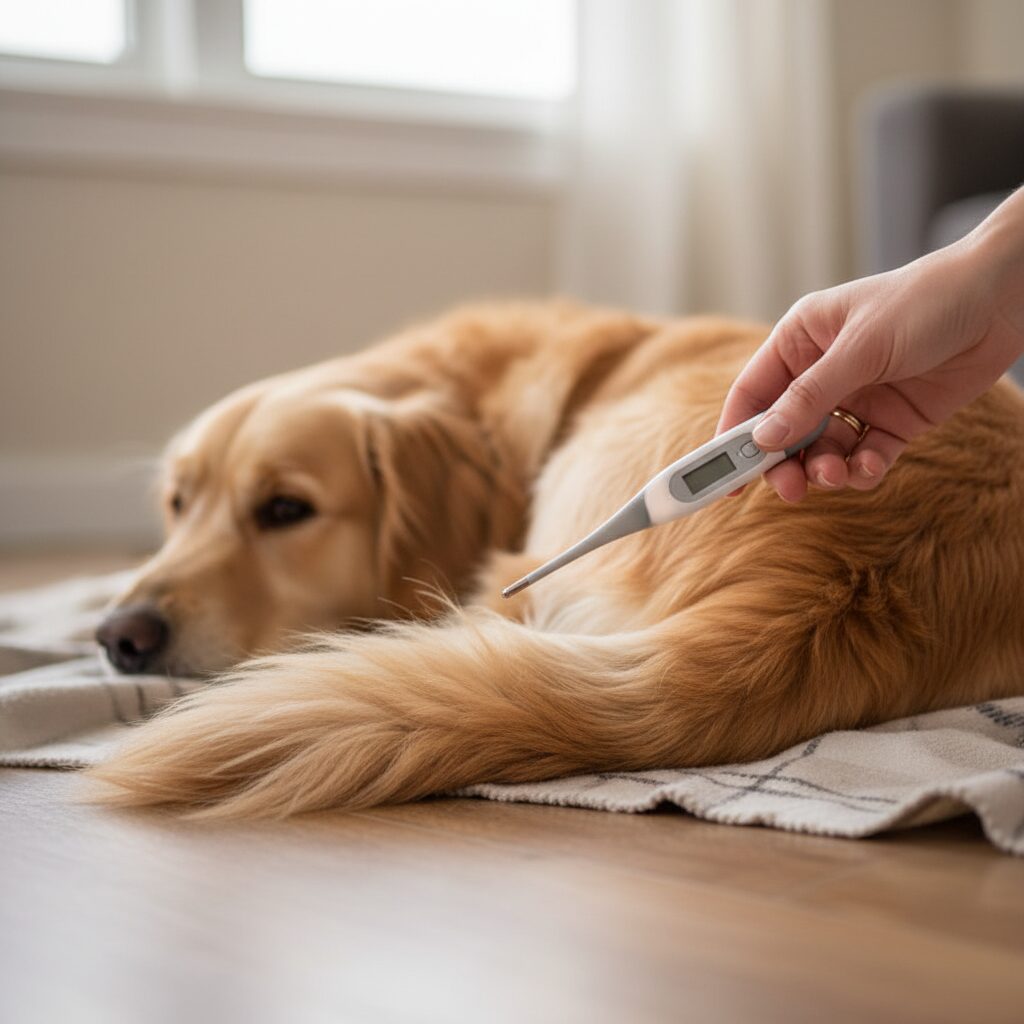
When we discuss preparing a dog for the veterinarian, we often focus on the car ride, the waiting room, or the vaccination needle. However, there is one specific procedure that is universally disliked by our canine companions yet rarely addressed in training classes: the rectal temperature check. It is invasive, uncomfortable, and often the first physical interaction a vet has with your dog during an exam.
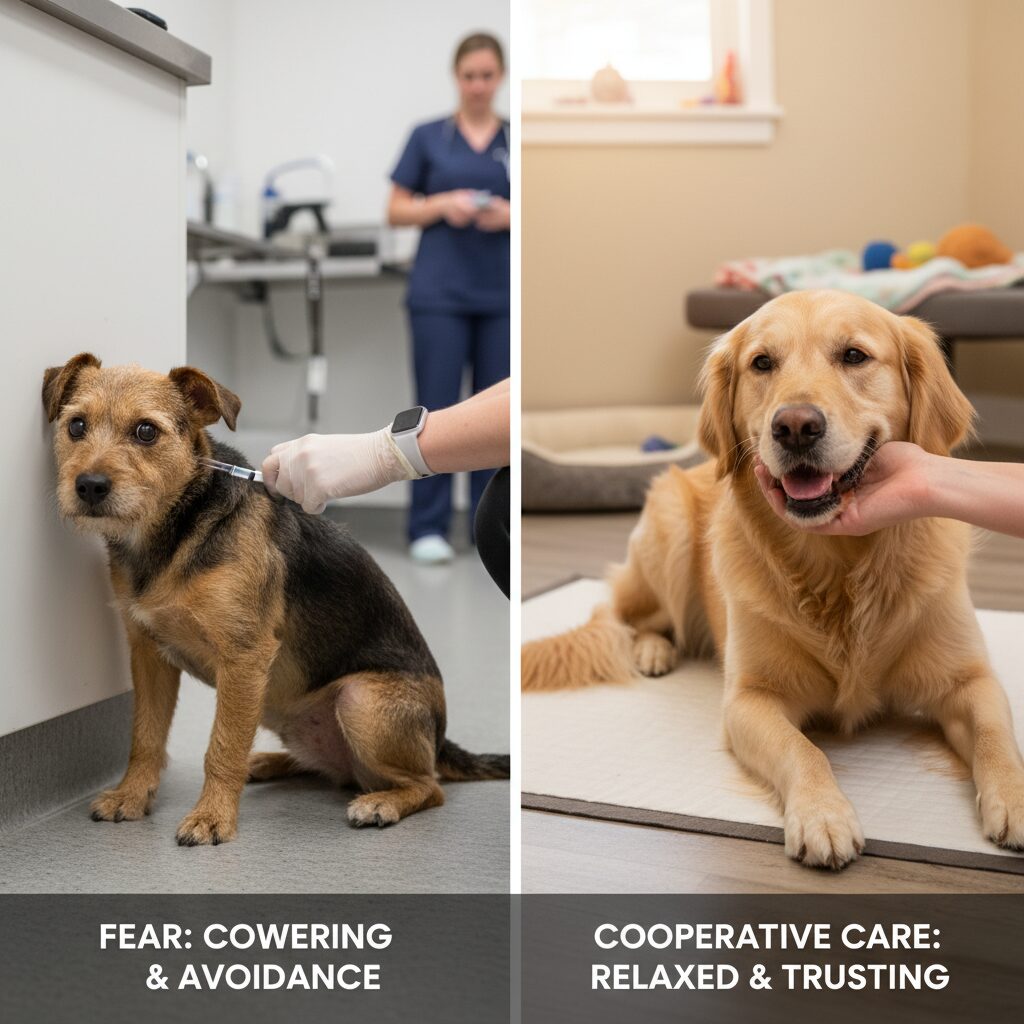
As a canine specialist, I advocate for cooperative care—training animals to be active, willing participants in their medical handling. Thermometer desensitization is a critical component of this. By ignoring this skill, we risk our dogs developing a fear response that can escalate from mild discomfort to aggression. This guide will walk you through the professional steps to desensitize your dog to the sights, sounds, and sensations associated with temperature taking, ensuring your next vet visit is safer and less stressful for everyone involved.
Why Thermometer Desensitization Matters
Understanding the why behind this training is crucial for motivation. A rectal temperature check is the gold standard for assessing a dog’s health, as it provides the most accurate core body temperature reading. However, if a dog is stressed, their body temperature can artificially rise, leading to inaccurate diagnostics. Furthermore, a dog that thrashes or snaps during this procedure puts veterinary staff at risk and increases the likelihood of injury to the dog’s delicate rectal tissue.
Through desensitization, we aim to change the dog’s emotional response from fear to neutrality or even positivity. This process relies on Classical Conditioning: pairing the appearance and sensation of the thermometer with high-value rewards. When a dog understands what is happening and knows they have some control over the situation, their stress levels drop significantly.
Tools and Preparation for Success
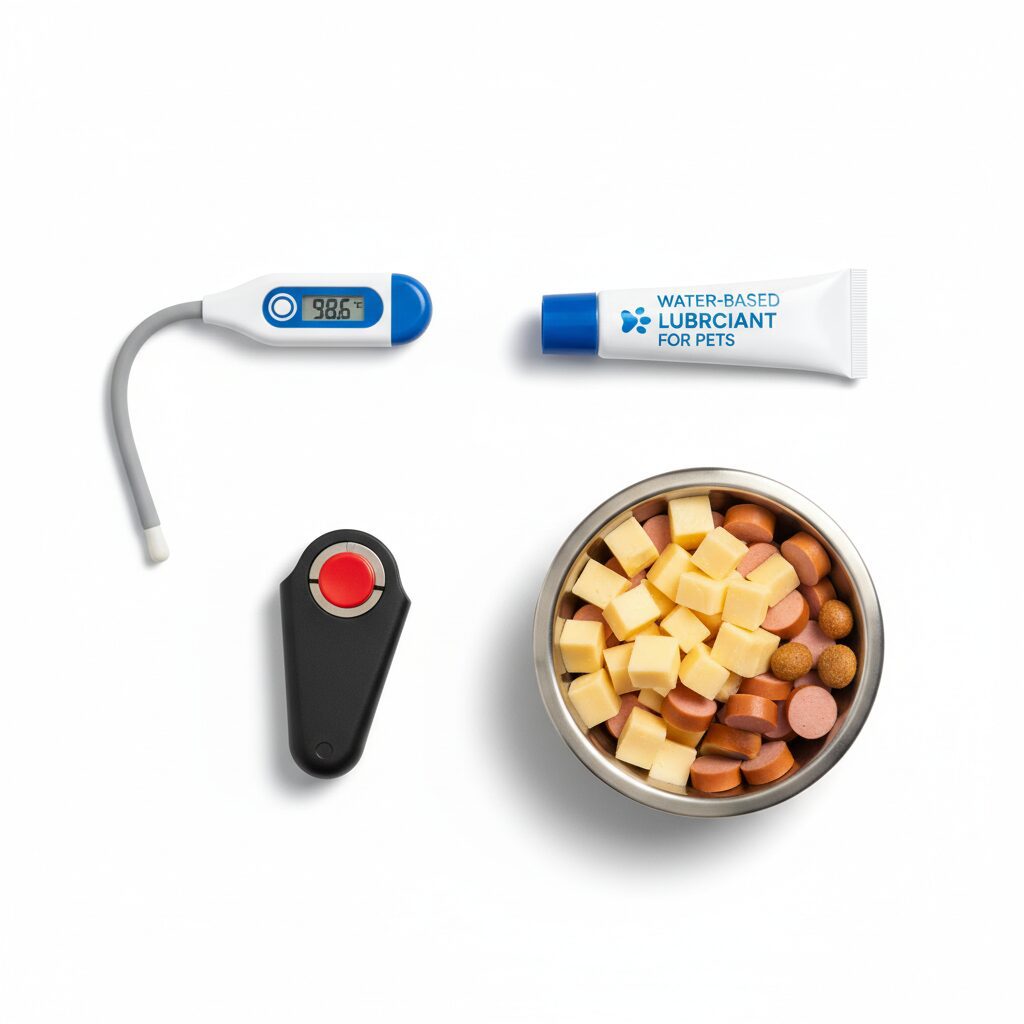
Before you begin, you must gather the appropriate tools. Do not attempt this training with a glass thermometer; a digital thermometer with a flexible tip is the safest option for home training. You will need the following:
- Digital Thermometer: Preferably one that beeps, so you can desensitize to the sound as well.
- High-Value Treats: Use something soft and smelly, like liver paste, cheese, or boiled chicken.
- Marker Signal: A clicker or a verbal marker word like “Yes!” to precisely mark the desired behavior.
- Lubricant: A water-based lubricant is essential for the later stages of simulation.
- A Non-Slip Surface: A yoga mat or bath mat to ensure your dog feels stable while standing.
Note: The goal of this guide is desensitization to the handling and sensation. We are not necessarily teaching you to take a temperature daily, but rather how to prepare your dog to accept it when necessary.
Phase 1: Visual and Auditory Desensitization
Many dogs develop a negative association simply by seeing the thermometer. We must break this association before we ever touch the dog.
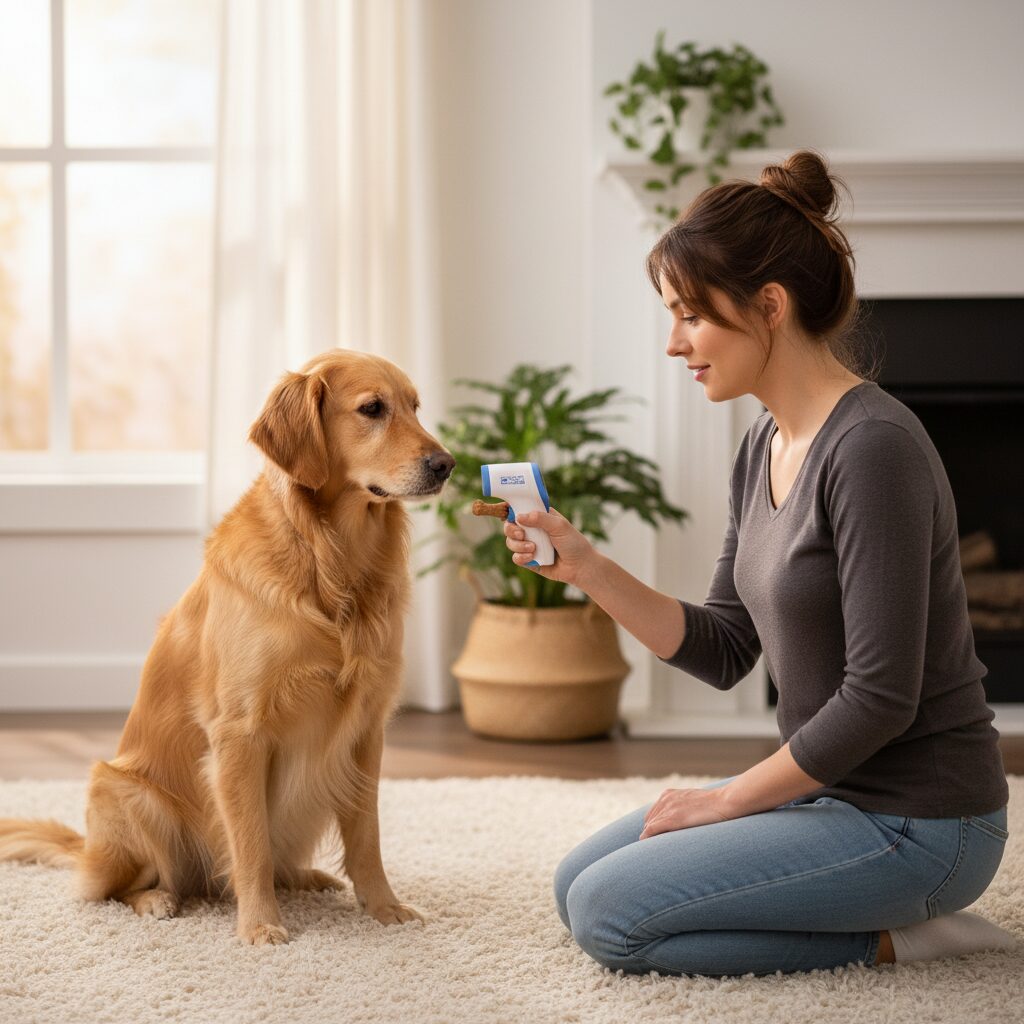
The Appearance
Show the thermometer to your dog. As soon as they look at it, mark (click or say “Yes”) and feed a treat. Hide the thermometer behind your back. Repeat this 10-15 times. The dog should start looking for the treat as soon as the thermometer appears. This is the “Open Bar, Closed Bar” method.
The Sound
Turn the thermometer on so it beeps. Immediately give a treat. We want the “beep” to predict a delicious snack, not an invasive procedure. Repeat this until the dog’s ears perk up in anticipation of food when they hear the electronic beep.
Phase 2: Tactile Conditioning and Positioning
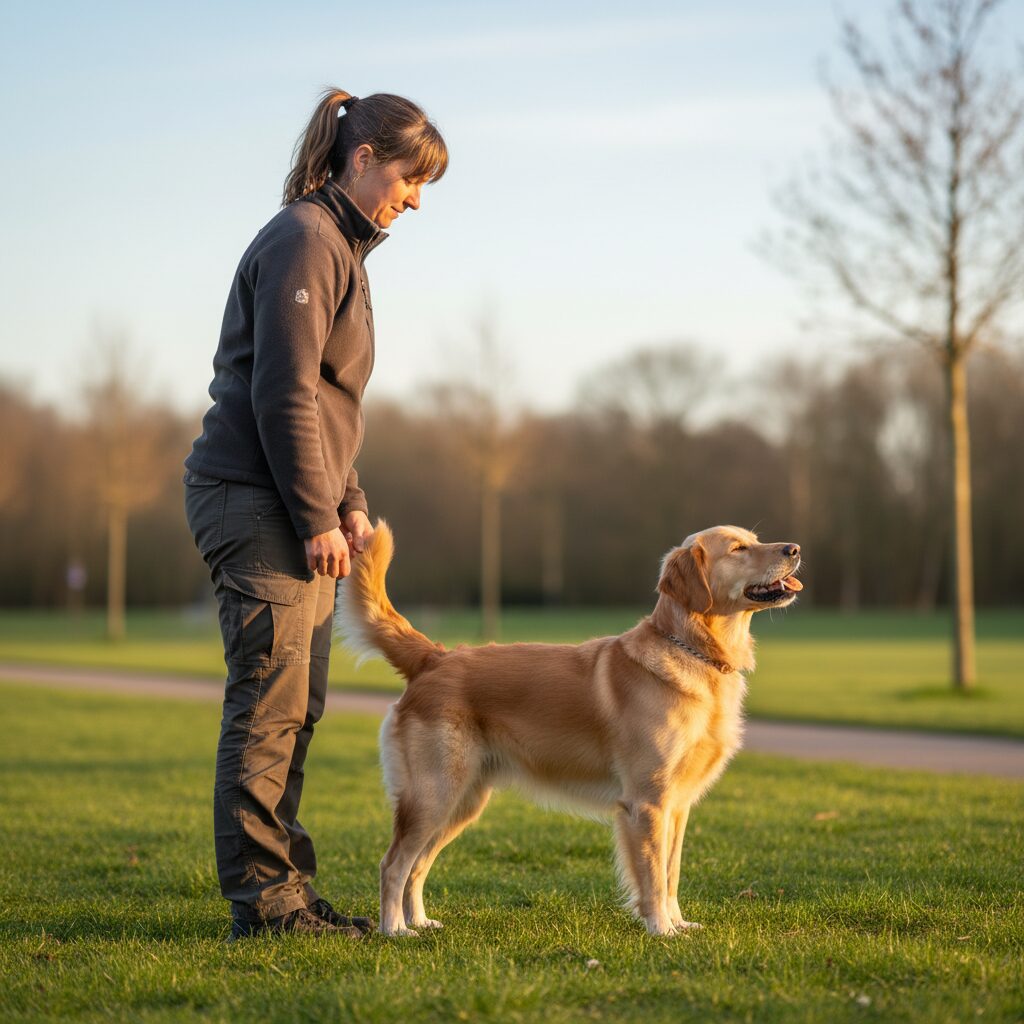
Once the object is neutral, we move to the body. The position required for a temperature check—standing still with the tail lifted—can feel vulnerable to a dog.
- Step 1: Ask your dog to stand. Run your hand down their back towards the base of the tail. Mark and reward for standing still.
- Step 2: Gently touch the base of the tail. Mark and reward.
- Step 3: Apply slight upward pressure to the tail, mimicking the lift required for the procedure. Do not lift it high yet; just accustom them to the sensation. Mark and reward heavily.
- Step 4: Combine the thermometer. Hold the thermometer in one hand and lift the tail with the other (without insertion). Mark and reward the dog for holding the “stand-stay” position while you are behind them.
If the dog sits, spins around, or moves away, you have moved too fast. Go back to the previous step and increase the value of your rewards.
Phase 3: Simulation and Duration
This is the final stage of preparation. We will simulate the sensation of the procedure without full insertion, which should generally be reserved for actual medical necessity to avoid irritation.
With your dog standing and the tail gently lifted:
- Touch: Touch the non-insertion end of the thermometer to the area just below the tail (the perineum). Mark and reward immediately.
- Duration: Hold the thermometer against the skin for 3 seconds while feeding the dog continuously. This builds tolerance for the duration of a reading.
- Lubricant: Apply a small amount of lubricant to the area (using a gloved finger or the thermometer tip) to desensitize them to the cold, wet sensation. This is often the most startling part for the dog.
By practicing these steps, you create a “muscle memory” of relaxation. When the vet performs the actual procedure, the dog recognizes the sequence: Stand -> Tail Lift -> Touch -> Reward.
Troubleshooting and Safety Precautions
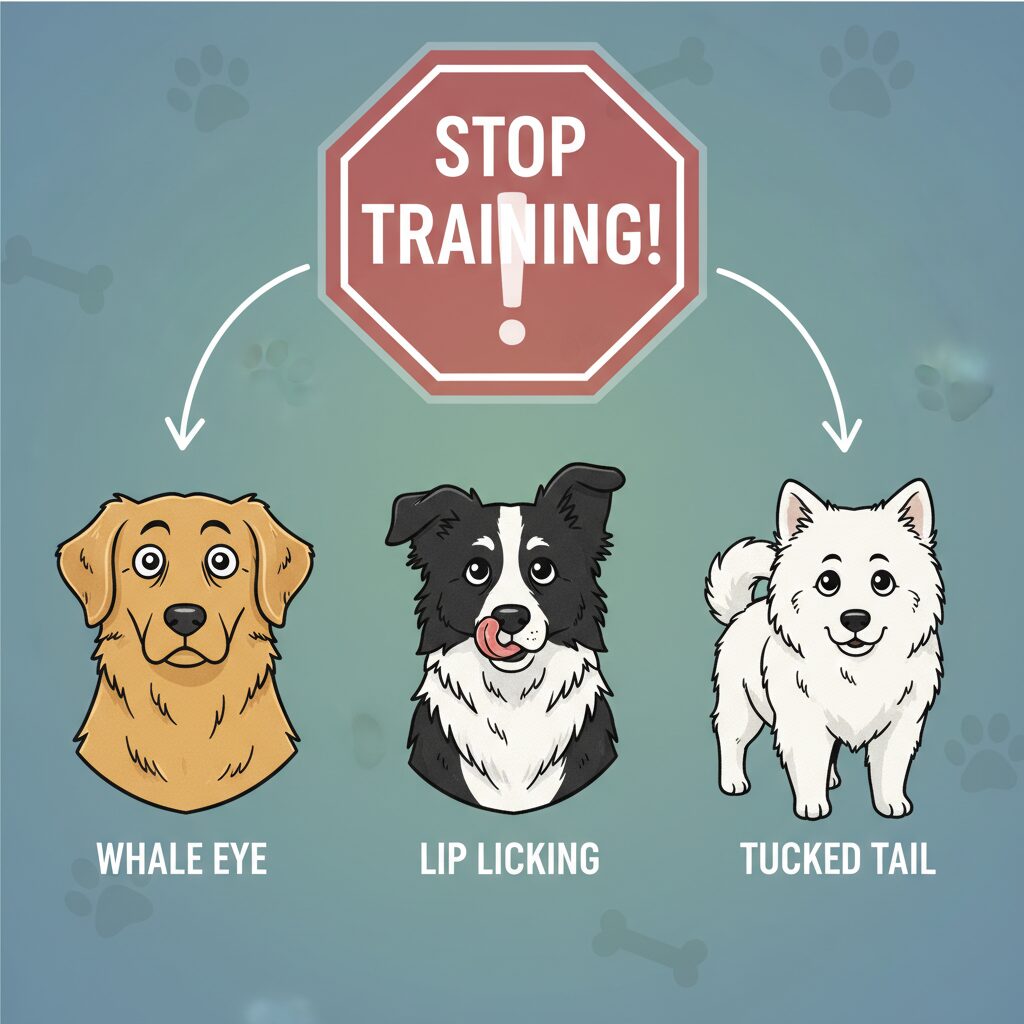
Even with the best preparation, some dogs may struggle. It is vital to recognize when to stop. If your dog shows signs of fear—such as lip licking, whale eye (showing the whites of the eyes), tucking their tail, or freezing—stop the session immediately.
Common Mistakes:
- Rushing the Process: Do not try to complete all phases in one day. This training should take weeks.
- Restraint vs. Cooperation: Do not physically restrain the dog to force the training. The dog must choose to stand still to earn the reward.
- Punishment: Never scold the dog for moving away. This confirms that the thermometer is a negative object.
If your dog has a history of biting or severe handling issues, consult with a certified veterinary behaviorist before attempting these exercises. Safety is always the priority.
Final Thoughts on Cooperative Care
Thermometer desensitization is the vet prep skill no one talks about, yet it is one of the most compassionate gifts you can give your dog. By taking the time to turn a scary, invasive procedure into a predictable game of rewards, you are advocating for your dog’s mental health. The next time your veterinarian needs to check your dog’s temperature, you won’t see a panic response; you’ll see a dog who knows the drill and looks to you for their well-earned reward.