The Ultimate High-Protein Snack: How To Make Safe Venison Jerky At Home
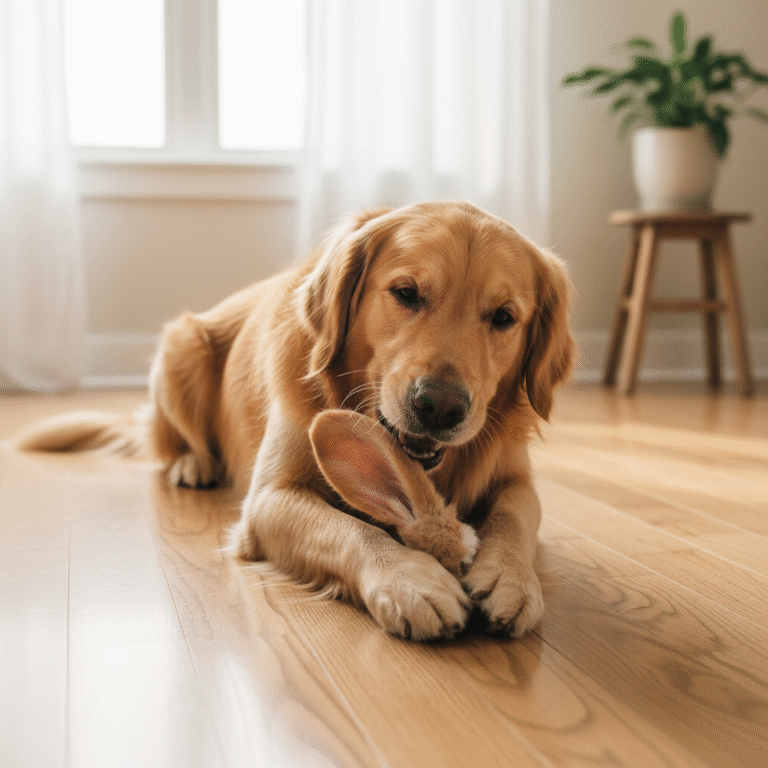
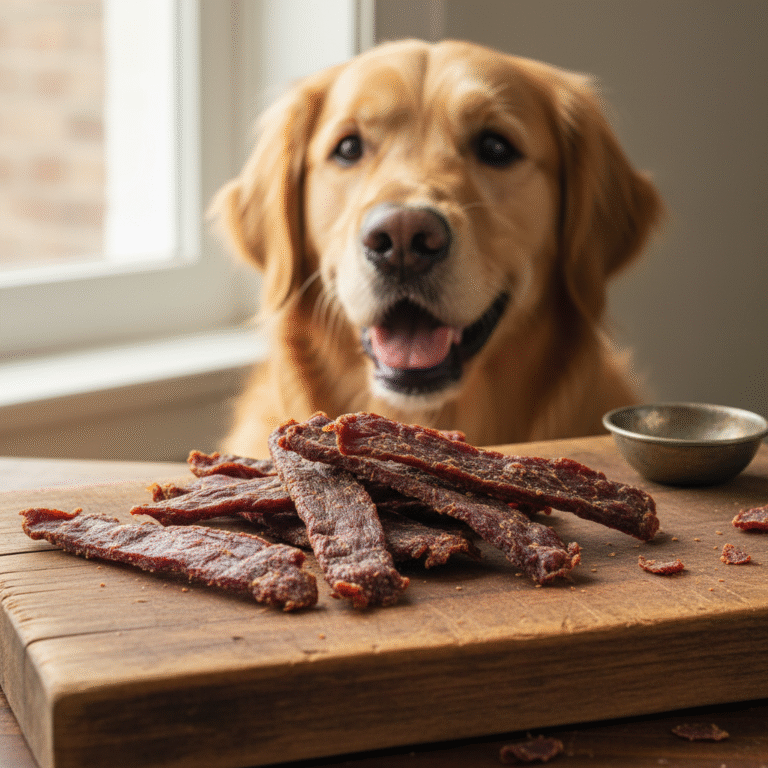
We all want to spoil our four-legged friends, and what better way than with a tasty treat? But when you walk down the pet store aisle, the ingredient lists on many commercial jerky treats can be a little scary—full of preservatives, artificial flavors, and way too much salt. What if you could give your pup a delicious, high-protein snack made with just one simple ingredient? Well, you can!
Making venison jerky at home is not only surprisingly easy, but it also gives you complete control over what goes into your dog’s body. Venison is a fantastic lean protein, perfect for active pups and even those with food sensitivities. Get ready to earn some serious tail wags—we’re about to walk you through everything you need to know to become your dog’s personal jerky chef.
Why Venison? The Paw-some Benefits for Your Pooch
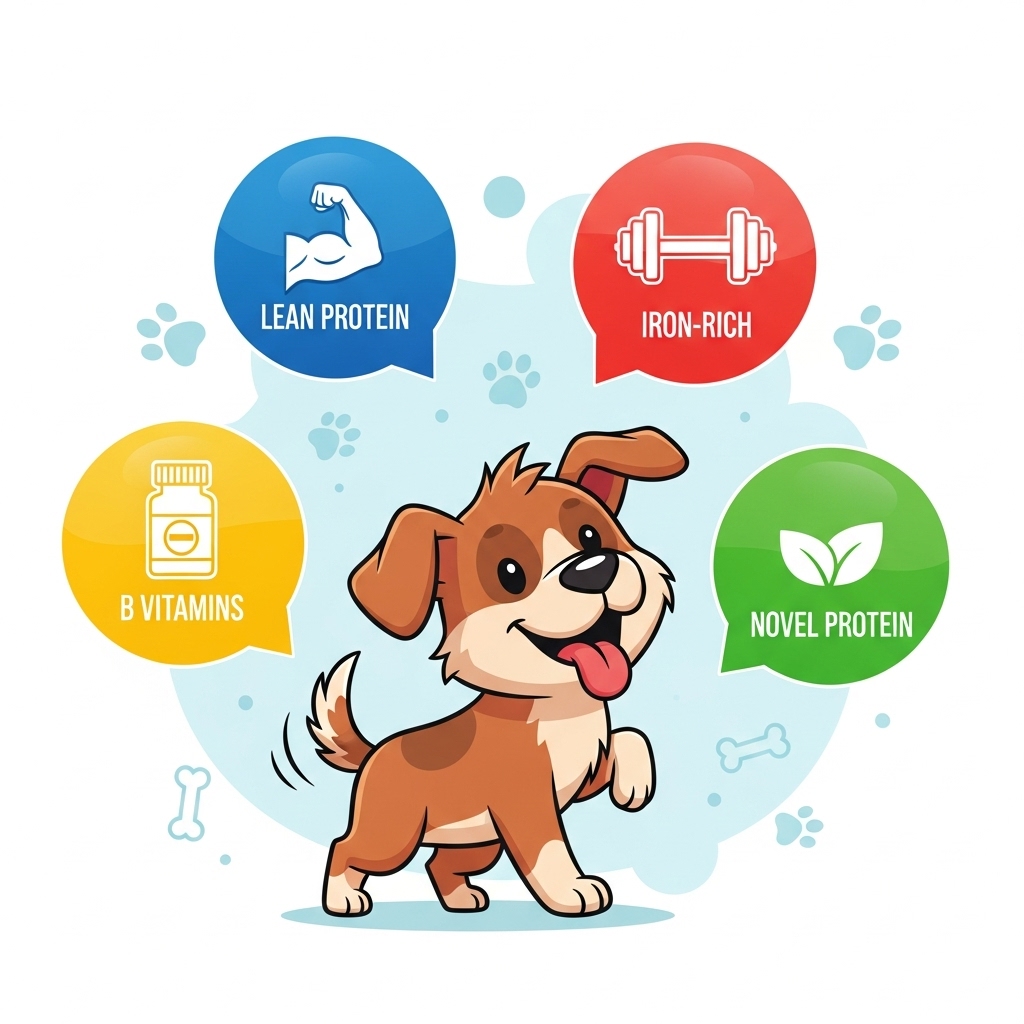
You might wonder, why venison? It turns out this lean, game meat is a nutritional powerhouse for dogs. Unlike more common proteins like chicken or beef, venison is a ‘novel protein,’ which means it’s less likely to cause allergic reactions or digestive issues in sensitive dogs. It’s like a fresh start for their system!
Here’s a quick rundown of the benefits:
- Lean Machine: Venison is naturally low in fat and cholesterol, making it an excellent choice for maintaining a healthy weight.
- Packed with Protein: It provides the essential amino acids your dog needs to build strong muscles and maintain energy levels.
- Rich in Nutrients: It’s loaded with important minerals like iron, zinc, and phosphorus, plus a host of B vitamins (like B12 and B6) that support everything from nerve function to energy metabolism.
- Hypoallergenic Properties: For dogs with allergies to common proteins, venison can be a game-changer, offering a delicious alternative that won’t trigger itchy skin or an upset tummy.
Making your own venison jerky ensures your dog gets all of these benefits without any of the unnecessary additives found in many commercial treats.
Gather Your Gear: What You’ll Need
The best part about this recipe is its simplicity. You don’t need to be a master chef or have a kitchen full of fancy gadgets. Here’s what you’ll need to get started:
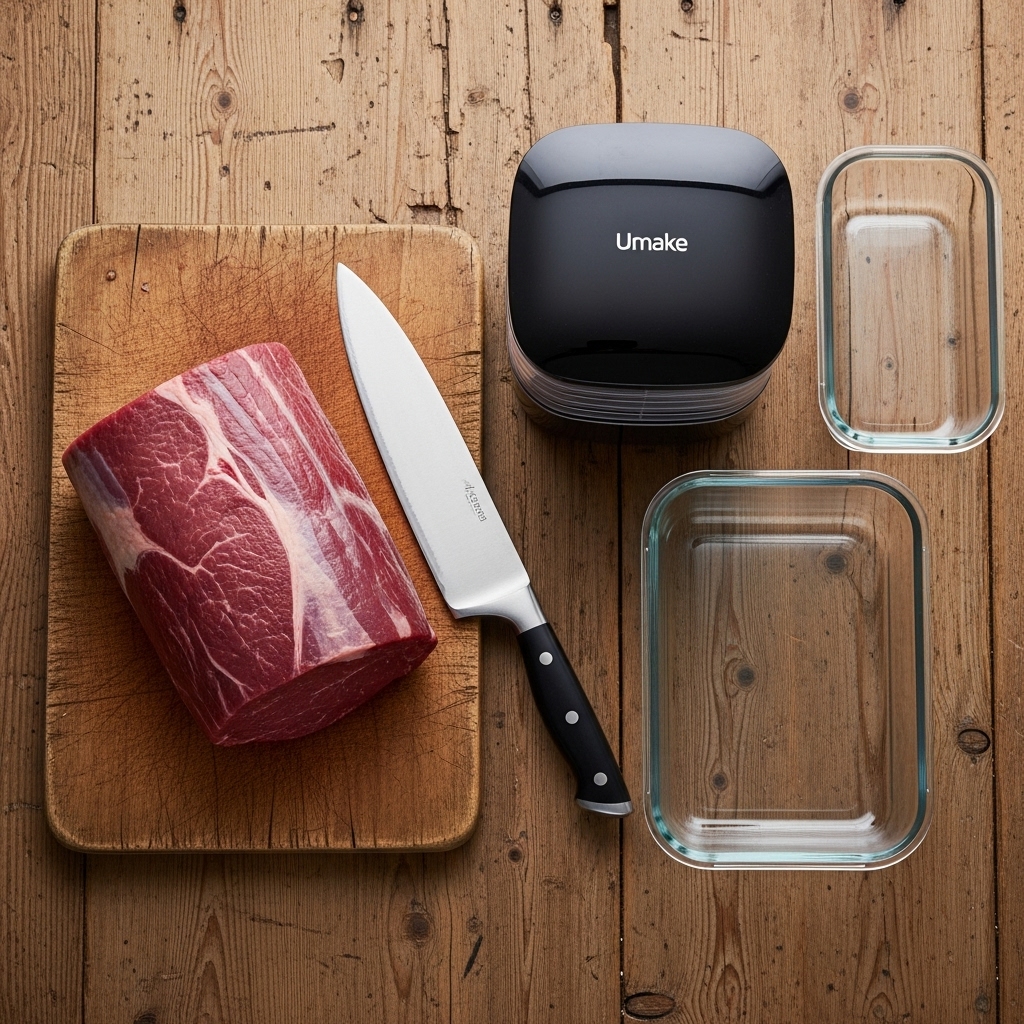
Ingredients:
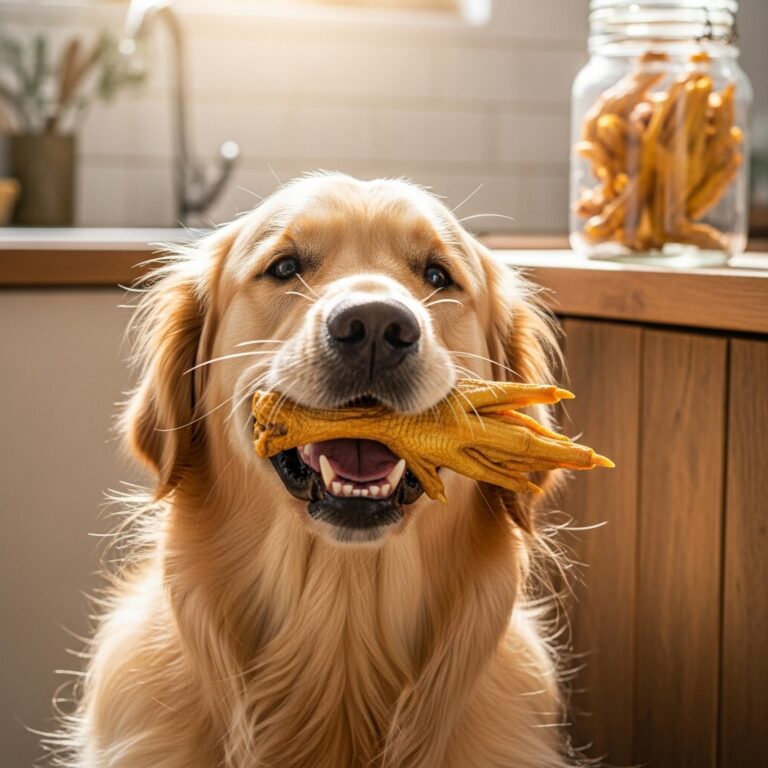
- Venison: About 2-3 pounds of lean venison roast. Look for cuts like top or bottom round, loin, or flank. The leaner, the better! Ensure it’s human-grade for safety.
Equipment:
- A Sharp Knife: This is your most important tool for getting those perfect, thin slices.
- Cutting Board: A large, stable cutting board dedicated to raw meat is ideal.
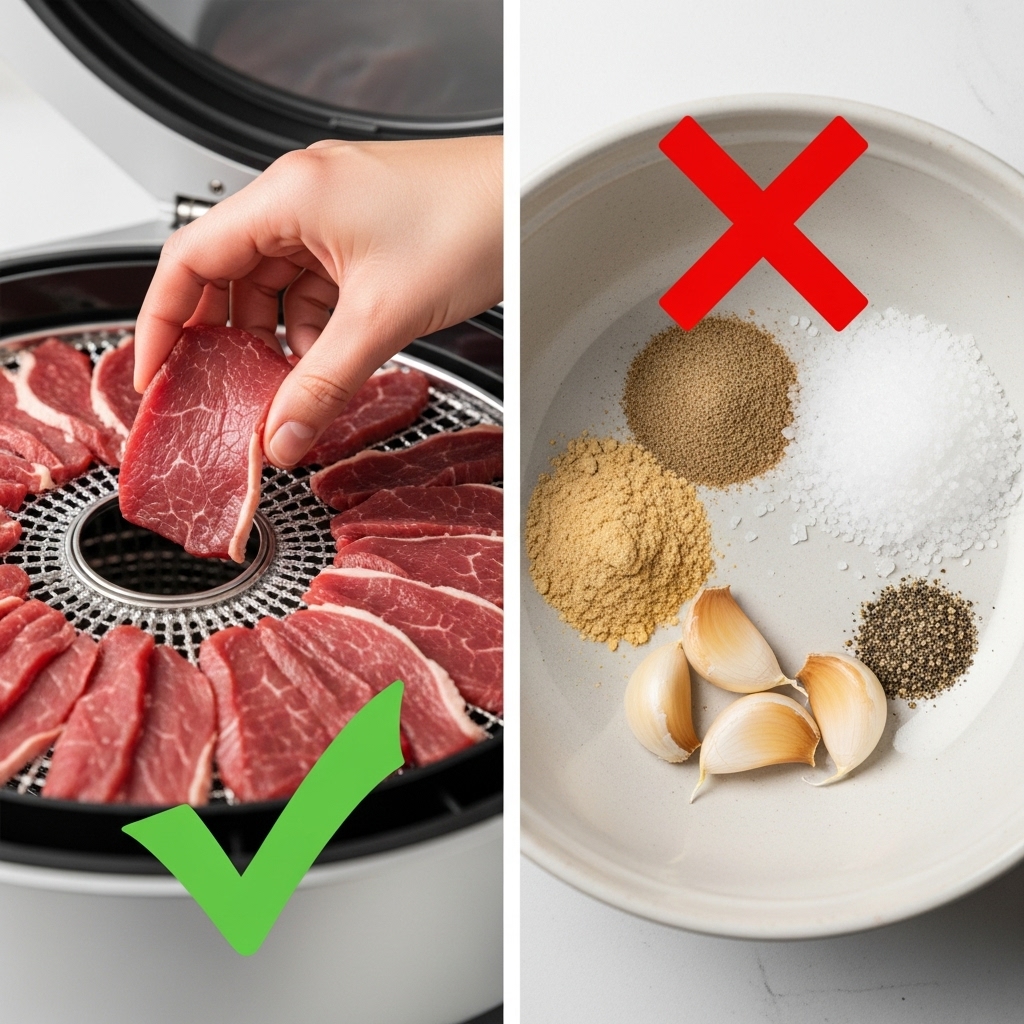
- Food Dehydrator OR an Oven: Either will work perfectly. A dehydrator is designed for the job, but an oven on its lowest setting does the trick too.
- Baking Sheets & Cooling Racks (for oven method): You’ll need racks that fit inside your baking sheets to allow for even air circulation.
- Airtight Container: For storing your finished jerky and keeping it fresh.
That’s it! Notice what’s missing? No salt, no spices, no marinades. Ingredients like onion, garlic, and excessive salt are harmful to dogs, so we’re keeping this pure and simple.
The Step-by-Step Guide to Perfect Venison Jerky
Ready to get started? Just follow these simple steps, and you’ll have a batch of drool-worthy jerky in no time.
- Prep the Meat: Start by trimming off any visible fat or silver skin from the venison roast. Fat doesn’t dehydrate well and can cause the jerky to spoil faster. For easier slicing, wrap the trimmed roast in plastic wrap and place it in the freezer for 1-2 hours. You want it to be firm, but not frozen solid.
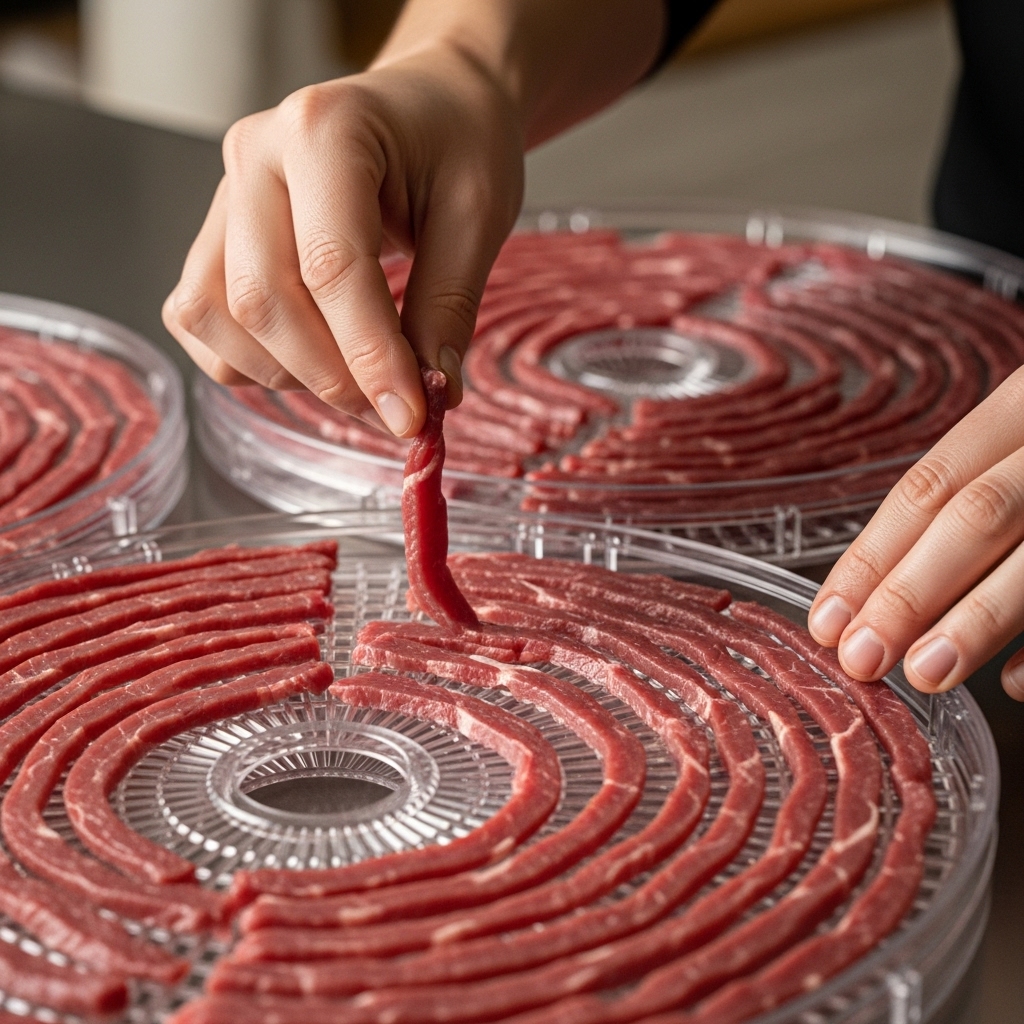
- Slice it Thin: Once firm, unwrap the venison and use your sharpest knife to slice it into thin, uniform strips, about 1/8 to 1/4 inch thick. Slicing against the grain will result in a more tender, brittle jerky, while slicing with the grain will produce a chewier treat. The choice is yours (or your dog’s!).
- Arrange the Strips: Now it’s time to dehydrate.
For a Dehydrator:
Arrange the venison strips in a single layer on the dehydrator trays, making sure none of the pieces are overlapping. This ensures even airflow and drying. Set your dehydrator to its meat setting, typically around 160°F (70°C).
For an Oven:
Preheat your oven to its lowest temperature, usually between 160-180°F (70-80°C). Place the wire cooling racks onto your baking sheets and arrange the venison strips in a single layer on the racks. Prop the oven door open just a crack with a wooden spoon to allow moisture to escape.
- Dehydrate to Perfection: The drying time can vary widely based on your method, the thickness of your slices, and the humidity in your home. It typically takes anywhere from 4 to 10 hours. Start checking the jerky after about 4 hours. It’s done when it’s dry and tough but still bends and cracks without snapping in half like a twig. It shouldn’t feel moist or squishy.
- Cool and Store: Once the jerky is done, turn off the heat and let it cool completely to room temperature. This step is crucial! Storing warm jerky will create condensation and can lead to mold. Once cool, place it in an airtight container. It will last for a couple of weeks in the refrigerator or for several months in the freezer.
Safety First! Critical Dos and Don’ts
Your dog’s safety is the number one priority. While this recipe is simple, there are a few hard and fast rules to follow to ensure your homemade treat is healthy and safe.
- DO use high-quality, human-grade venison. This minimizes the risk of contaminants.
- DO trim away as much fat as possible. Fat can become rancid and cause the jerky to spoil quickly.
- DO dehydrate the jerky thoroughly. The process of drying at a sustained low heat is what makes the meat safe by removing moisture that bacteria need to grow.
- DO store it properly in an airtight container in the fridge or freezer. Never leave it out on the counter.
- DON’T add any seasonings. This is the most important rule! Never use salt, onion powder, garlic powder, pepper, or any other spices. Many common seasonings are toxic to dogs.
- DON’T use any marinades or liquid smoke, as these often contain sugar, salt, and other harmful ingredients.
- DON’T undercook the jerky. If it feels soft or moist, it needs more time. Better to be slightly over-dried than under-dried.
Serving Suggestions and Portion Control
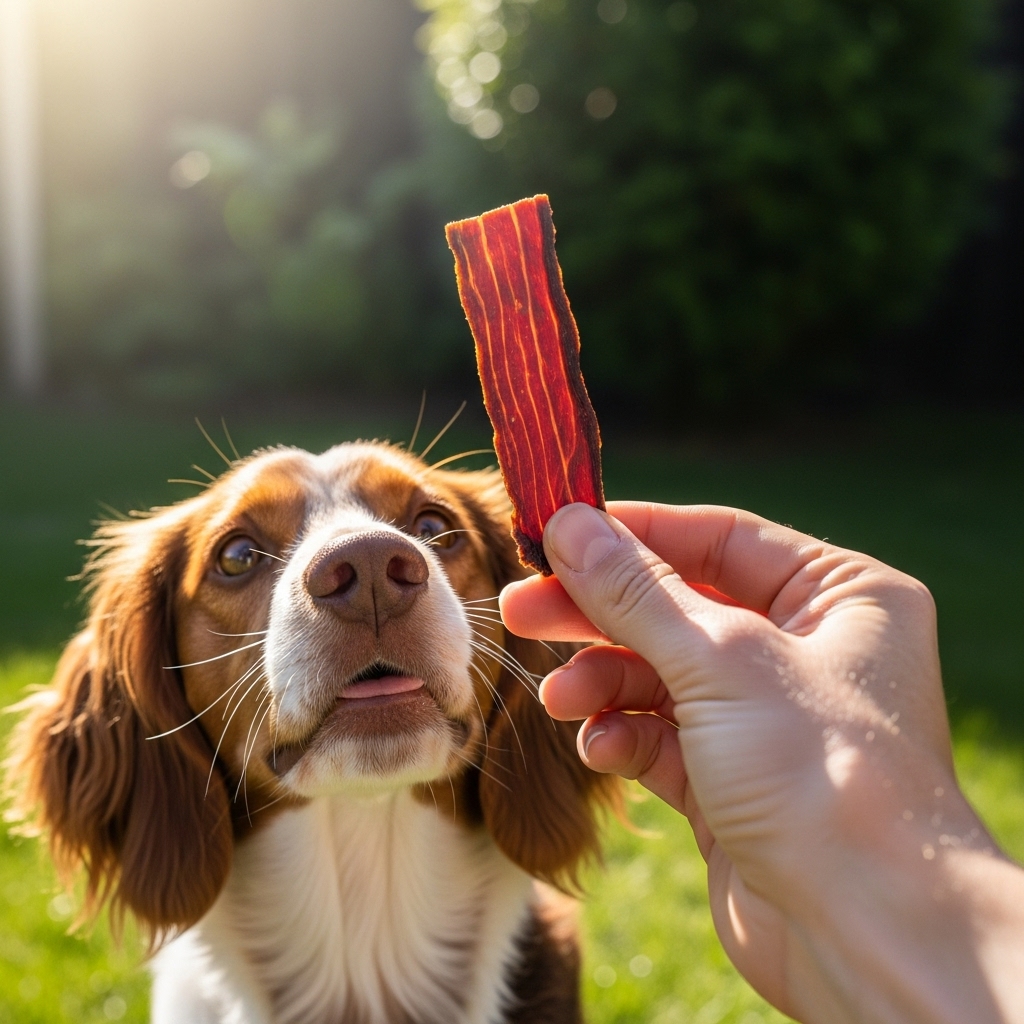
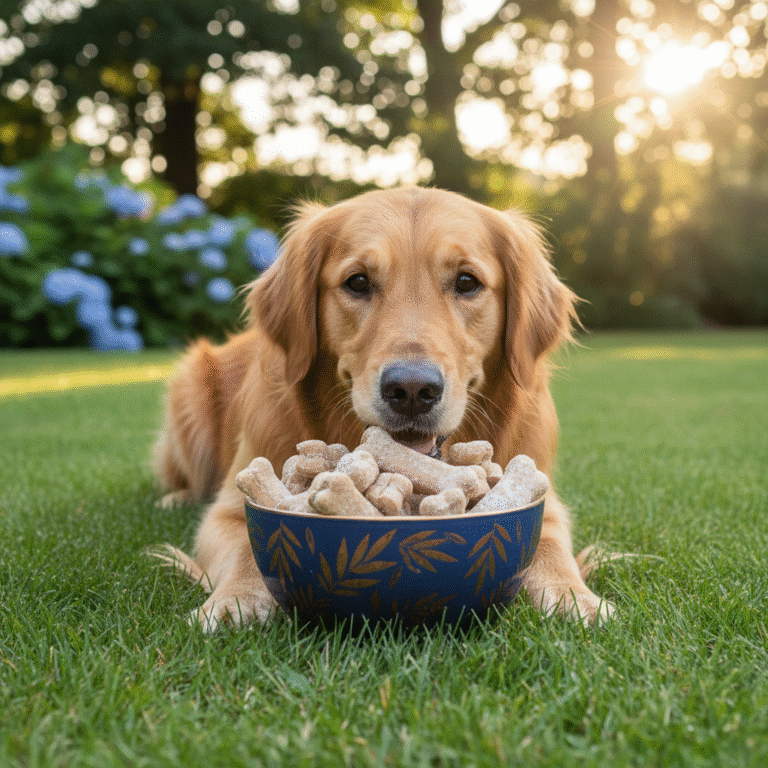
Your dog is probably already drooling, but before you hand over the whole batch, let’s talk about portions. Homemade venison jerky is a rich, high-protein snack, so it should be treated as just that—a treat!
Treats should make up no more than 10% of your dog’s daily caloric intake. Since this jerky is pure meat, it’s quite nutrient-dense. Here are some general guidelines:
- Small Dogs (under 20 lbs): A small piece or half a strip per day.
- Medium Dogs (20-50 lbs): One full strip per day.
- Large Dogs (over 50 lbs): One to two strips per day.
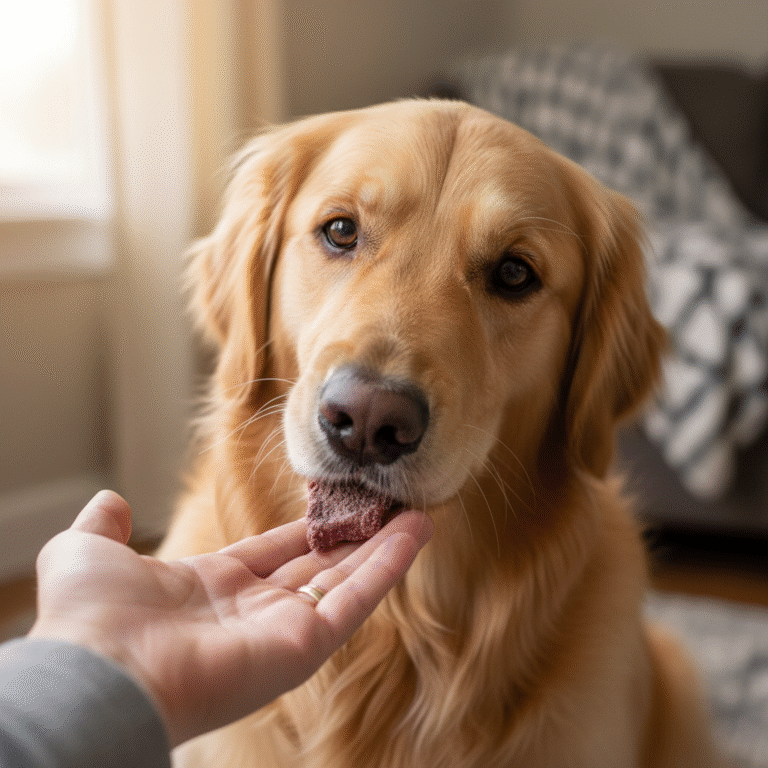
Expert Tip: When introducing any new food to your dog’s diet, start small. Give them a tiny piece and monitor them for the next 24 hours to ensure they don’t have any digestive upset.
You can also break the jerky into smaller pieces to use as high-value rewards during training sessions. The delicious, meaty aroma is sure to keep your pup focused and motivated!
Conclusion
There you have it! A simple, safe, and incredibly healthy way to treat your best friend. Making your own venison jerky not only saves you money but also provides peace of mind, knowing exactly what your dog is eating. It’s a fun project that ends with the best reward of all: a happy, healthy pup who is absolutely obsessed with their new favorite snack. So go ahead, give it a try—your dog will thank you for it!