
The Life-Saving Command Every Hiking Dog Needs To Know (Snake Safety)
There’s nothing quite like hitting the trail with your dog, exploring new sights, sounds, and smells together. The wind in their fur, the happy panting, the shared adventure—it’s pure joy. But as responsible pet parents, we also know that the great outdoors comes with its own set of risks, and one of the most frightening is a sudden encounter with a venomous snake.
Many of us have diligently taught our dogs ‘leave it,’ and it’s a fantastic command for dropped food or mysterious items on the sidewalk. However, when faced with a coiled, rattling snake, curiosity can overpower a standard command. A snake strike happens in the blink of an eye. That’s why your dog needs something more: an immediate, reflexive, life-saving command that stops them in their tracks. In this guide, we’ll walk you through teaching the ‘Freeze!’ command, an emergency stop that can make all the difference between a close call and a tragic emergency.
The ‘Freeze!’ Command: Why It’s Different and Absolutely Critical
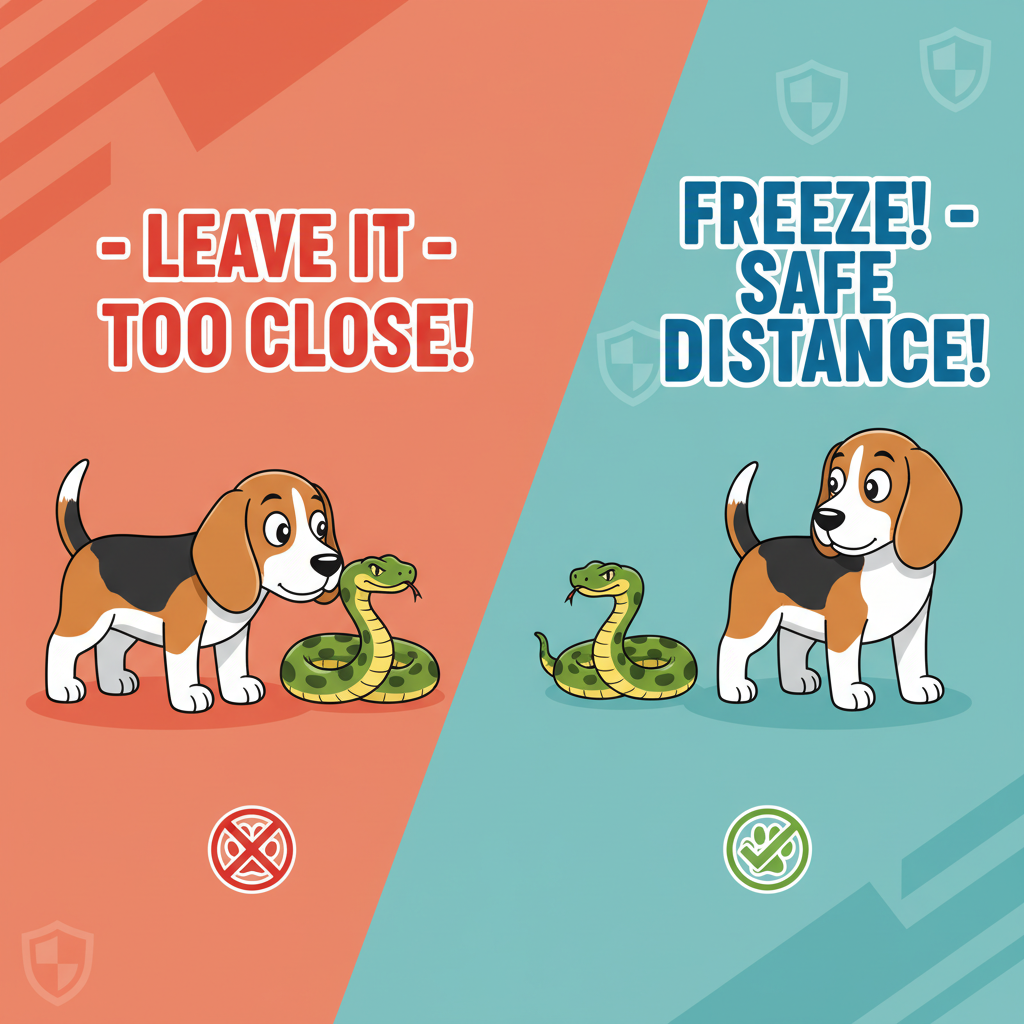
You might be thinking, ‘My dog has a rock-solid ‘leave it.’ Isn’t that enough?’ While ‘leave it’ is essential, it often implies the dog can investigate something from a short distance. With a snake, even a few inches can be too close. The goal isn’t just to prevent your dog from touching the snake, but to stop all forward momentum instantly.
Think of it like this:
- ‘Leave It’ is a suggestion: ‘Hey, maybe don’t pick that up.’ The dog might still sniff around it.
- ‘Freeze!’ is a full-body emergency brake: ‘STOP EVERYTHING YOU ARE DOING. DO NOT MOVE A MUSCLE.’
A snake doesn’t care about your dog’s intentions. It reacts to perceived threats, and a curious, sniffing nose is a major threat. A ‘Freeze!’ command, also known as an emergency stop, trains your dog to halt immediately and look to you for the next instruction, giving you crucial seconds to assess the situation and retreat safely. It overrides their instinct to investigate and replaces it with a learned, automatic response to your cue.
Teaching this command isn’t about fear; it’s about building a reflex that protects your dog when their natural curiosity could put them in serious danger.
Gather Your Training Toolkit
Before you begin, set yourself up for success by gathering a few simple tools. Having everything ready makes the training sessions smoother and more effective. You don’t need a lot of fancy equipment, just the right items to create a safe and positive learning environment.
Here’s what you’ll need:
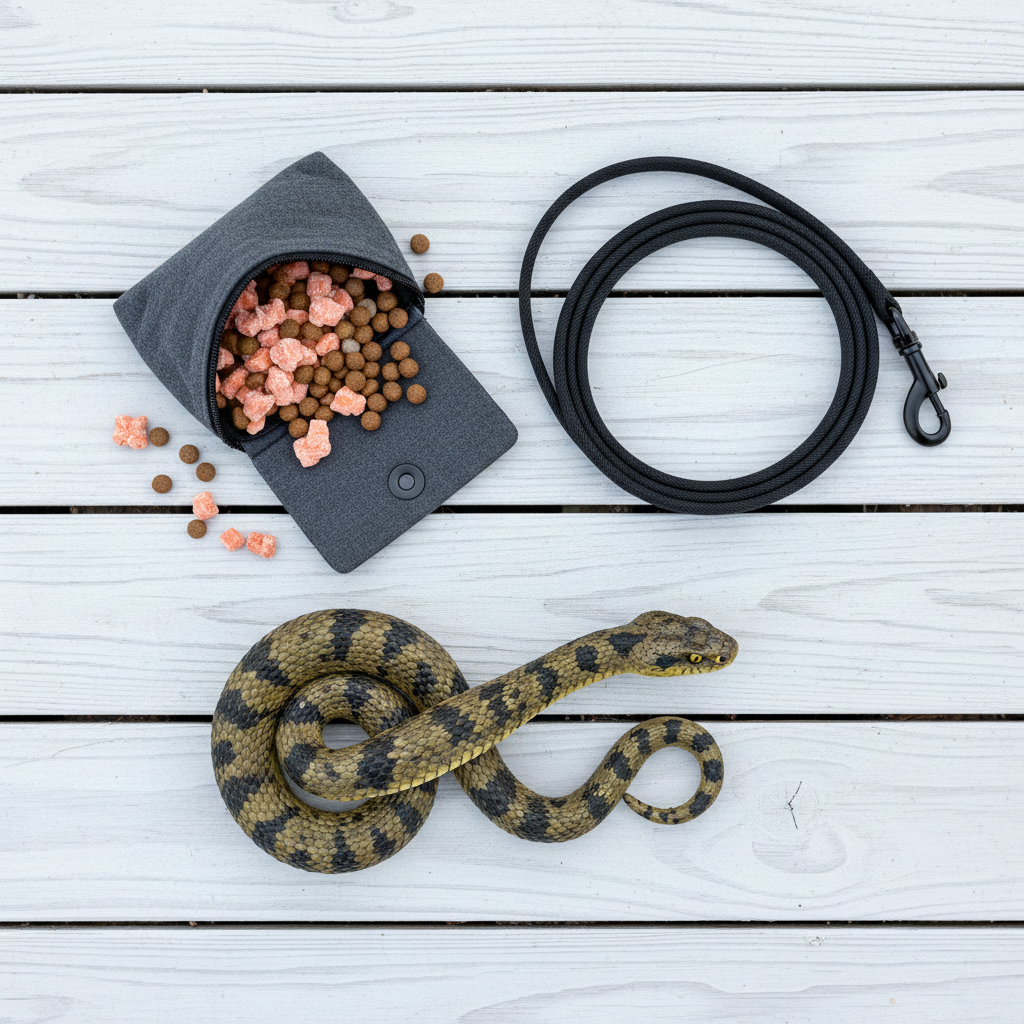
- High-Value Treats: We’re not talking about their everyday kibble. Think small pieces of cooked chicken, cheese, hot dogs, or a special store-bought treat they go absolutely crazy for. The reward needs to be worth stopping everything for.
- A Treat Pouch: For quick and easy access to those high-value rewards. Fumbling in your pocket can ruin the timing, which is critical in this training.
- A Long Leash (15-20 feet): This gives your dog freedom to move around during training but ensures you maintain control for their safety. Avoid retractable leashes, as they don’t offer the same level of control.
- A Realistic Rubber Snake: Don’t just use a colorful rope toy. The more realistic it looks, the better your dog will generalize the training to a real-life encounter. You can find these at toy stores or online.
- A Quiet, Controlled Space: Start your training indoors or in a securely fenced backyard where there are minimal distractions.
Your Step-by-Step Guide to Teaching ‘Freeze!’

Patience and positivity are your best friends here. Keep sessions short (5-10 minutes) to keep your dog engaged and excited. Let’s break it down into simple, manageable steps.
-
Step 1: Choose and Charge Your Cue Word
Pick a short, sharp word you don’t use in everyday conversation. ‘Freeze!’, ‘Stop!’, or ‘Halt!’ work well. For a few days, simply say your chosen word in an upbeat tone and immediately give your dog a super high-value treat. Do this 10-15 times per session. You’re building a powerful positive association: ‘When I hear that word, something amazing happens!’
-
Step 2: Introduce the ‘Stop in Motion’
In your quiet space, get your dog moving. Toss a toy a short distance or just walk around. The moment they start moving, say ‘Freeze!’ in a clear, firm voice. The instant they pause (even for a second), praise them enthusiastically and deliver a jackpot of treats right to their mouth. The goal is for them to stop and look to you. Repeat until they are stopping reliably on cue.
-
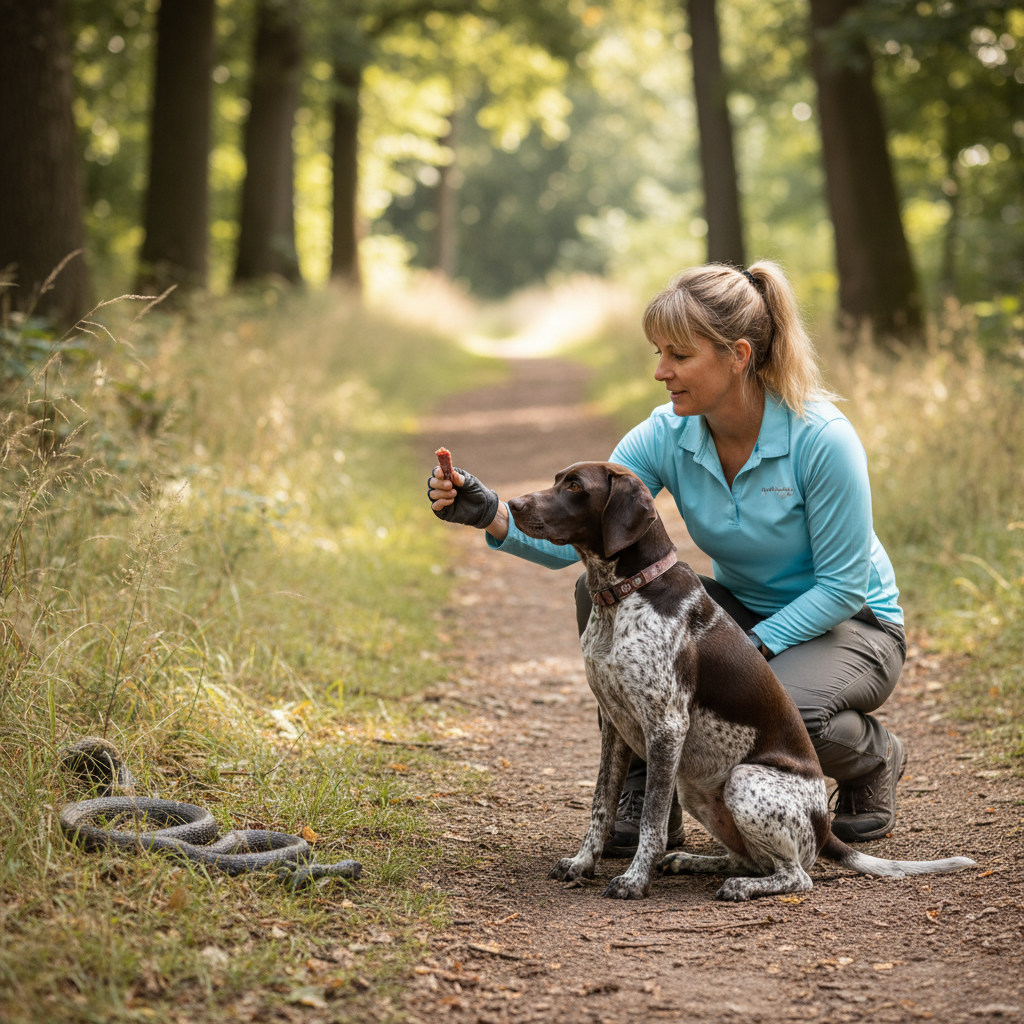
Step 3: Introduce the Snake Prop
Now it’s time to add the visual. Place the rubber snake on the ground. Walk your dog on the long leash, keeping a significant distance from the snake at first—far enough that they notice it but aren’t tempted to lunge for it. The moment your dog’s eyes lock onto the snake, say ‘Freeze!’. When they stop and look at you, shower them with praise and treats. You are rewarding them for disengaging from the ‘threat’ and focusing on you.
-
Step 4: Gradually Decrease the Distance
Over many sessions, slowly decrease the distance between your dog’s path and the rubber snake. The goal is to find their threshold—the point where their curiosity is high but they can still respond to your cue. If they lunge for the snake or ignore your command, you’ve moved too fast. Simply increase the distance again and end the session on a successful repetition.
-
Step 5: Proofing the Command Outdoors
Once your dog is a ‘Freeze!’ champion in the backyard, it’s time to take the show on the road. Start in a quiet park, and eventually, practice on a familiar, low-traffic trail. The real world is full of distractions, so you may need to increase the value of your treats and be patient. This ‘proofing’ stage is what makes the command reliable when you need it most.
Troubleshooting: Common Bumps in the Road
Training is never a perfectly straight line. It’s normal to hit a few snags along the way. Here are some common issues and how to solve them:
- My dog just grabs the rubber snake!
This is a clear sign you’ve moved too close, too soon. Your dog sees it as a toy. Increase the distance significantly until they can notice it without trying to engage with it. The reward for ignoring the snake must be far greater than the fun of grabbing it. - My dog isn’t motivated by the treats.
You need to up your game! If dry biscuits aren’t working, try tiny bits of steak, cheese, or freeze-dried liver. You need to find what your dog considers five-star-restaurant worthy. Also, make sure you’re training when they’re a little hungry, not right after a meal. - They do it perfectly in the yard, but ignore me on the trail.
This is a classic generalization problem. The yard is easy mode; the trail is expert level. You need to bridge that gap. Go back a few steps and practice in more distracting environments, like a park or even a quiet street, before hitting the trail. Keep them on the long leash for safety and control while you practice.
On-Trail Awareness: Your First Line of Defense
Training is your safety net, but awareness is your first line of defense. The best way to handle a snake encounter is to avoid it altogether. Here’s how to stay vigilant:
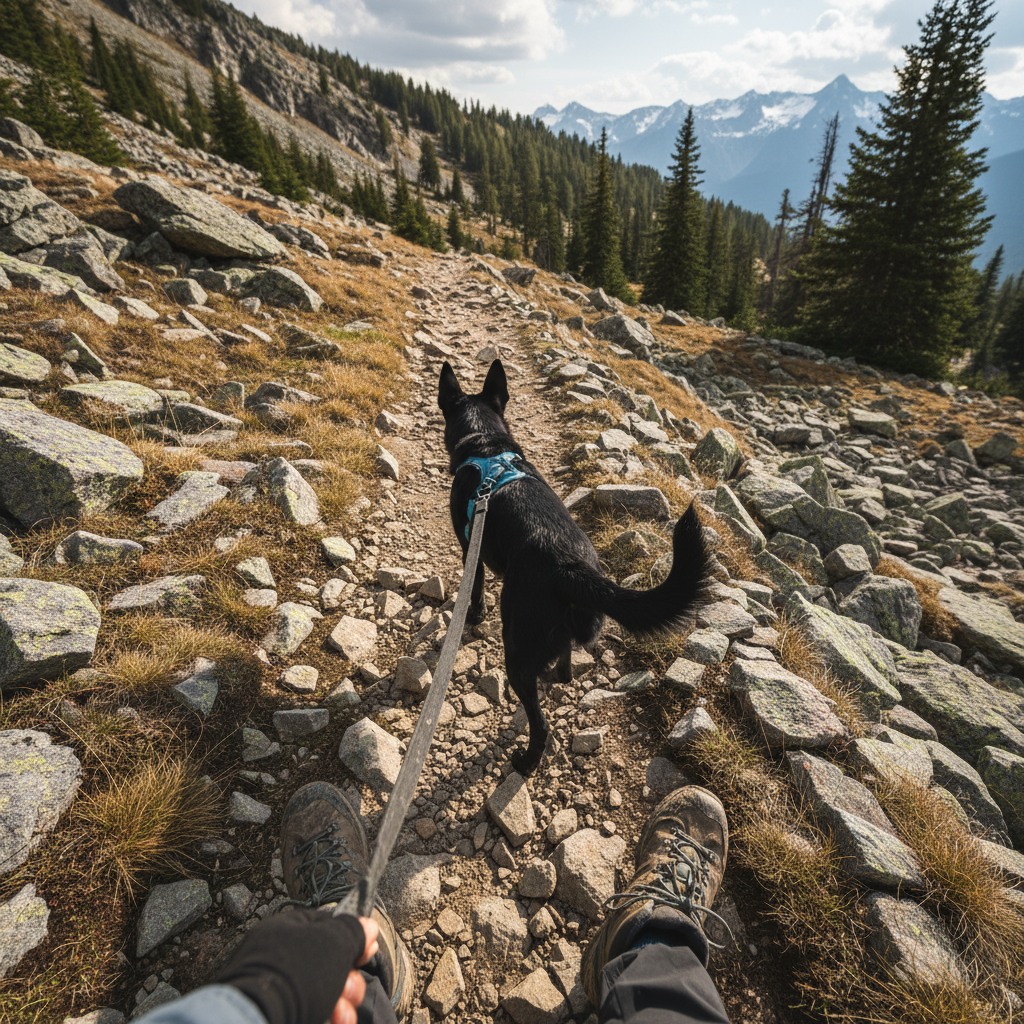
- Know the Habitat: Snakes love sunny spots for basking (like rocks and open patches of trail), and cool, hidden spots for hiding (like log piles, tall grass, and crevices). Be extra cautious around these areas.
- Leash is Life: In snake country, keeping your dog on a non-retractable leash is the single best way to keep them safe. It prevents them from startling a snake you haven’t seen yet.
- Make Some Noise: Snakes don’t have ears, but they can feel vibrations in the ground. Walking with a heavy footfall can alert them to your presence and give them a chance to move away.
- What If You See One? If you spot a snake, stop immediately. Calmly back away, pulling your dog with you, and give it a very wide berth. Most snakes want nothing to do with you and will only strike if they feel trapped and threatened.
For those who hike frequently in high-risk areas, you might also consider professional snake aversion training. These clinics use controlled, safe methods to teach dogs that snakes are something to be avoided at all costs. It can be a powerful supplement to the ‘Freeze!’ command you’ve taught.
Conclusion
Teaching your dog a reliable ‘Freeze!’ command is one of the most valuable gifts you can give your hiking companion. It’s an investment of time and patience that pays off with priceless peace of mind. This command isn’t just about snake safety; it builds a stronger bond and communication channel between you and your dog, making all your adventures better.
Remember to keep practicing, stay positive, and celebrate every small success. Now, you can confidently grab that leash, pack those high-value treats, and hit the trails, knowing you’ve equipped your best friend with a truly life-saving skill. Happy and safe hiking to you both!