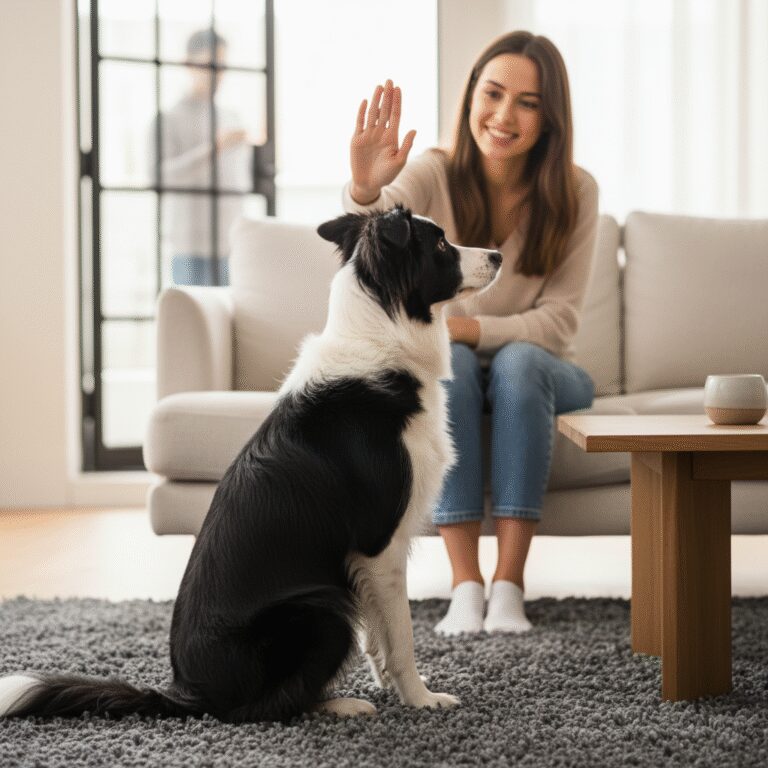
Teach Your Dog To Hold Any Object (Without Chewing It)
Teaching a dog to hold an object is one of the most versatile and impressive skills in the canine repertoire. Whether you aspire to compete in obedience trials, wish to train a service dog to retrieve items, or simply want to capture that perfect photo of your pet holding a sign or a flower, the "Hold" command is the foundation. However, for many dog owners, the transition from simply grabbing an object to holding it calmly—without chewing, rolling, or spitting it out—can be a significant training hurdle.
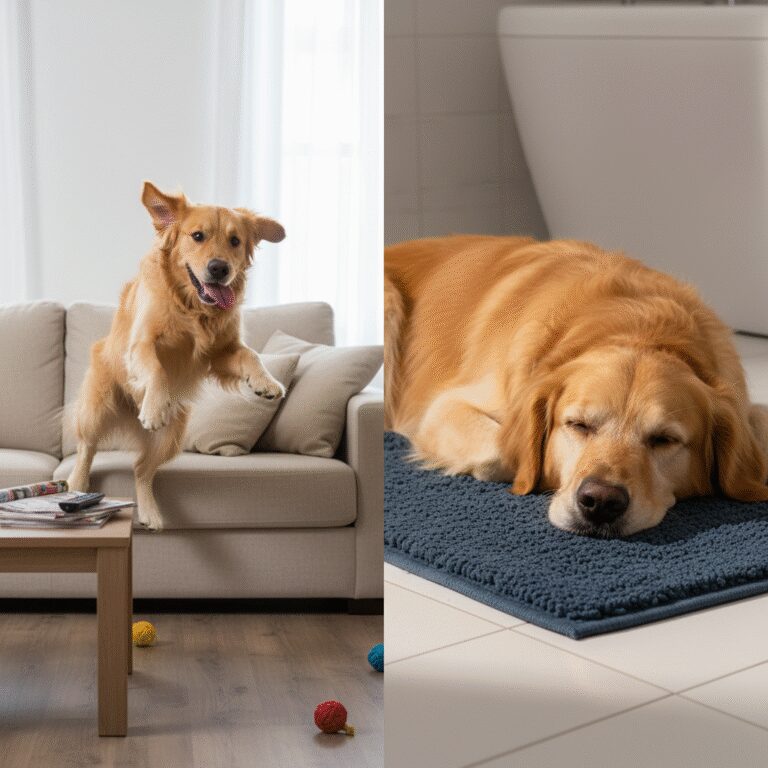
The natural instinct for many dogs, particularly retrievers and terriers, is to dissect or play with whatever is in their mouth. To teach a static hold requires overriding this instinct with impulse control and clear communication. This process relies heavily on positive reinforcement and shaping, breaking the behavior down into tiny, manageable criteria.
In this guide, we will approach the "Hold" command from a professional trainer’s perspective. We will move beyond basic fetching and focus on the precision of a calm, static hold. By following this structured approach, you will learn how to communicate to your dog that the objective is not to destroy the object, but to sustain possession of it until released.
Phase 1: Preparation and Selecting the Right Tools
Before you begin the actual training sessions, it is crucial to set the stage for success. Attempting to teach a precision behavior like "Hold" in a distracting environment or with the wrong equipment will lead to frustration for both you and your dog. The goal in this phase is to minimize variables so the dog can focus entirely on the task at hand.
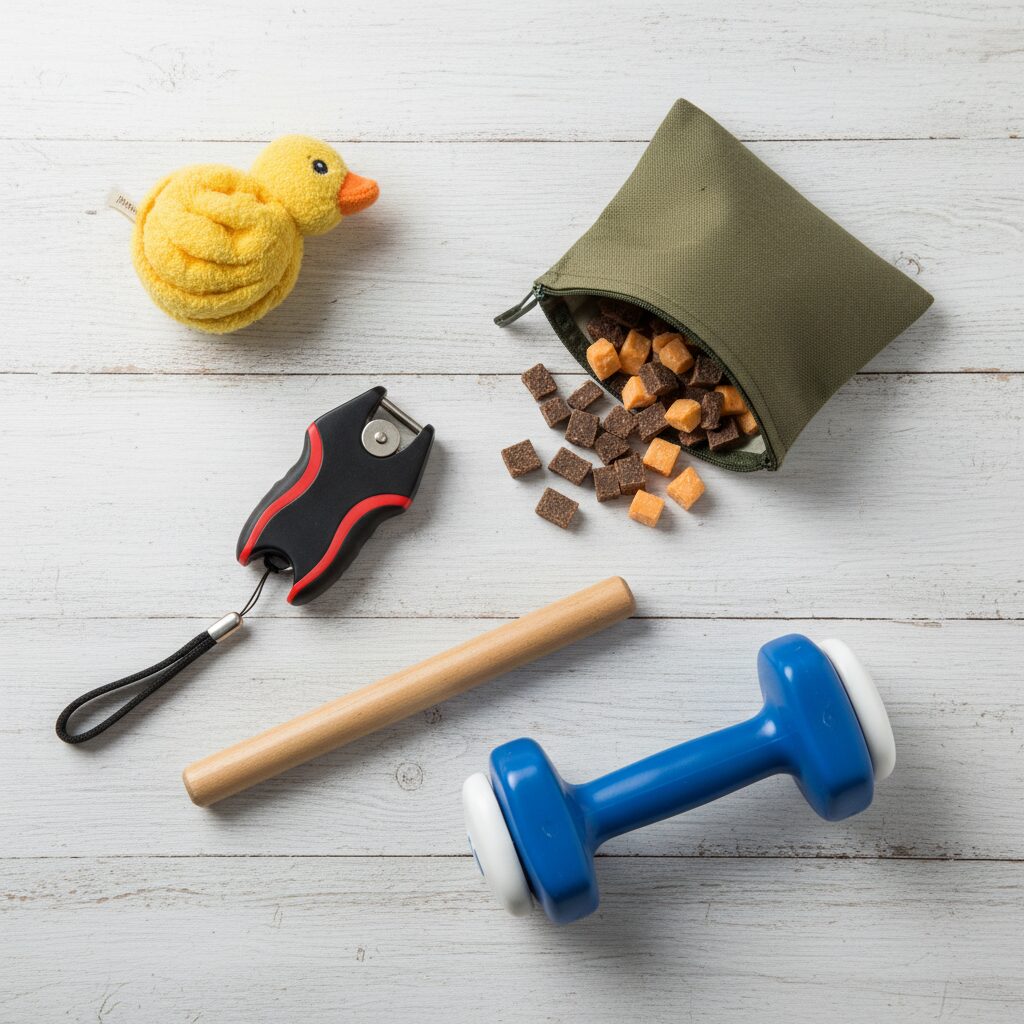
The Marker Signal
Precision is key. You will need a distinct marker signal to tell the dog exactly when they are doing the right thing. A clicker is highly recommended for this specific trick because it offers a distinct, consistent sound that cuts through the confusion better than a verbal marker. If you do not use a clicker, choose a sharp, consistent word like "Yes!".
Choosing the Training Object
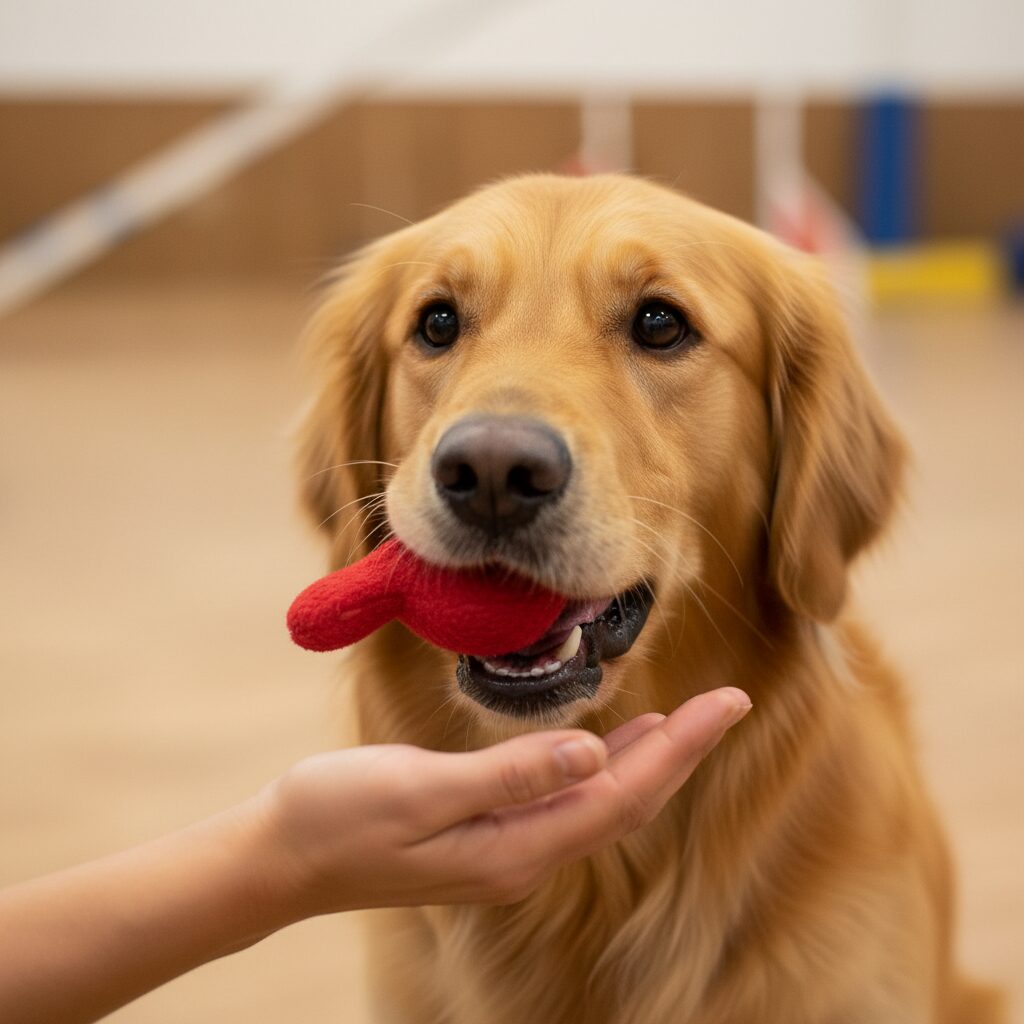
Selecting the correct object to start with is critical. Do not start with a favorite toy, as this triggers the "play and chew" drive. Do not start with a heavy metal dumbbell, as it may be uncomfortable.
- Wooden Dowel or PVC Pipe: These are neutral objects that do not usually stimulate a prey drive.
- Plastic Dumbbell: These are designed for dog mouths and encourage a center grip.
- Texture Matters: Ensure the object is not too slippery, but also not so soft that it encourages gnawing.
Finally, prepare high-value treats. These should be small, soft, and easily swallowed so the training flow isn’t interrupted by long periods of chewing.
Phase 2: Shaping the ‘Take It’ Behavior
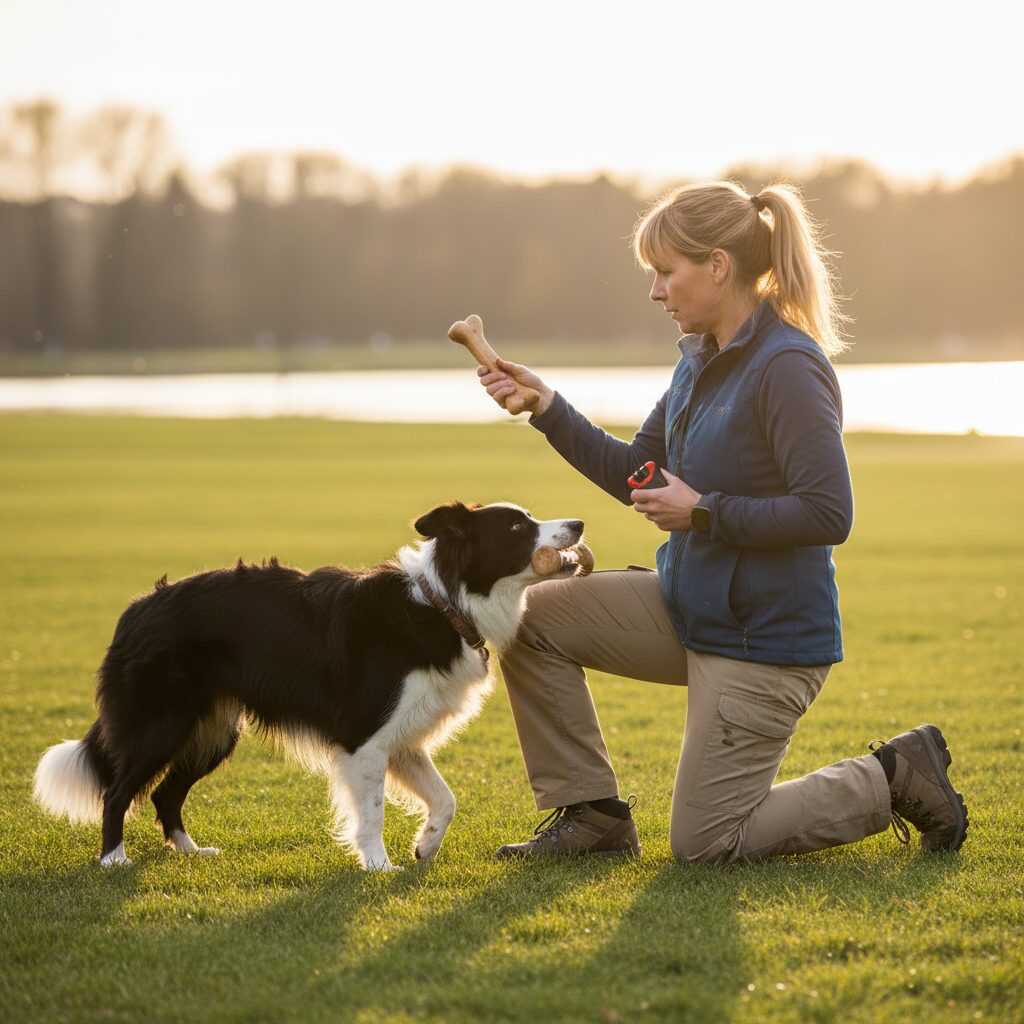
The first step is teaching the dog to accept the object into their mouth willingly. We are not asking for duration yet; we are simply marking the action of the teeth touching the object. This is often called "shaping" the behavior.
Sit in a quiet room with your dog. Hold the object in one hand and your clicker in the other. Present the object slightly in front of the dog’s nose. Do not force it into their mouth. We want the dog to make the choice to interact with it.
- Step 1: If the dog sniffs or touches the object with their nose, click and treat immediately. Repeat this until the dog understands that interacting with the object yields a reward.
- Step 2: Raise the criteria. Wait for the dog to open their mouth slightly or touch their teeth to the object. Click and treat the moment teeth make contact.
- Step 3: Once the dog is consistently putting their mouth on the object, add the verbal cue "Take it" just as they reach for it.
Important Note: If your dog tries to grab the object aggressively or begins to chew immediately, remove the object instantly (negative punishment) and wait for a few seconds before presenting it again. You are teaching them that calm interaction brings rewards, while frantic chewing makes the object disappear.
Phase 3: Building Duration and Stopping the Chew
This is the most challenging phase of the process. You must transition from a split-second touch to a sustained hold. This is also where chewing issues usually arise. The secret here is to delay the click incrementally.
The ‘One-Second’ Rule
Present the object and give your "Take it" cue. Once the object is in the dog’s mouth, do not click immediately. Wait for a fraction of a second. If the dog holds it still, click and treat. If the dog spits it out or chomps down, do not click. Simply reset.
Addressing the Chewing
Chewing is often a sign of excitement or confusion. To combat this:
- Chin Rest Method: Gently place your hand under the dog’s chin while they hold the object. This physical cue can help stabilize the jaw. If the jaw is still, click and treat.
- Rapid Feeding: If the dog holds the object still, you can feed treats from the side of the mouth while they are still holding it. This teaches them that holding is the behavior that gets fed, not the release.
- Lower the Arousal: If the dog is chewing frantically, your treats might be too exciting, or the dog might be too ramped up. Take a break or switch to lower-value kibble.
Gradually build the time up: 1 second, 2 seconds, 5 seconds. Always click while the dog is holding the object still, not after they drop it.
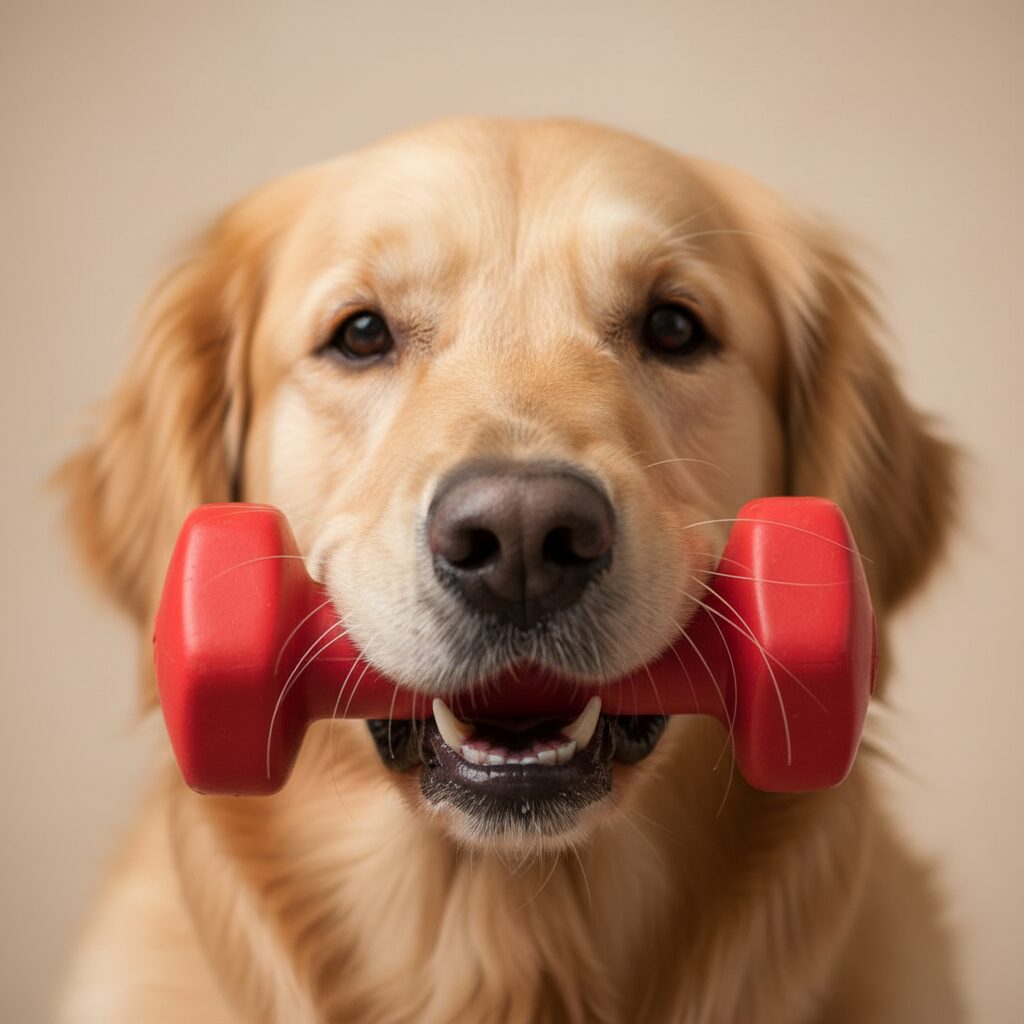
Phase 4: The Controlled Release (‘Give’ or ‘Drop’)
A perfect "Hold" is useless if the dog drops the item the moment you reach for it, or refuses to let go. You must teach a release cue, such as "Give," "Drop," or "Out."
To teach this, we use a trade system. While the dog is holding the object:
- Place a high-value treat right in front of the dog’s nose.
- Say your release cue (e.g., "Give").
- The dog will naturally open their mouth to eat the treat, dropping the object.
- As the object falls (ideally into your hand), mark with a "Yes" or click.
Repeat this process until the dog anticipates the trade. Eventually, you will say "Give" without showing the treat first. When the dog drops the object, you then produce the reward. This ensures the dog is dropping on command, not just spitting the item out because they see food.
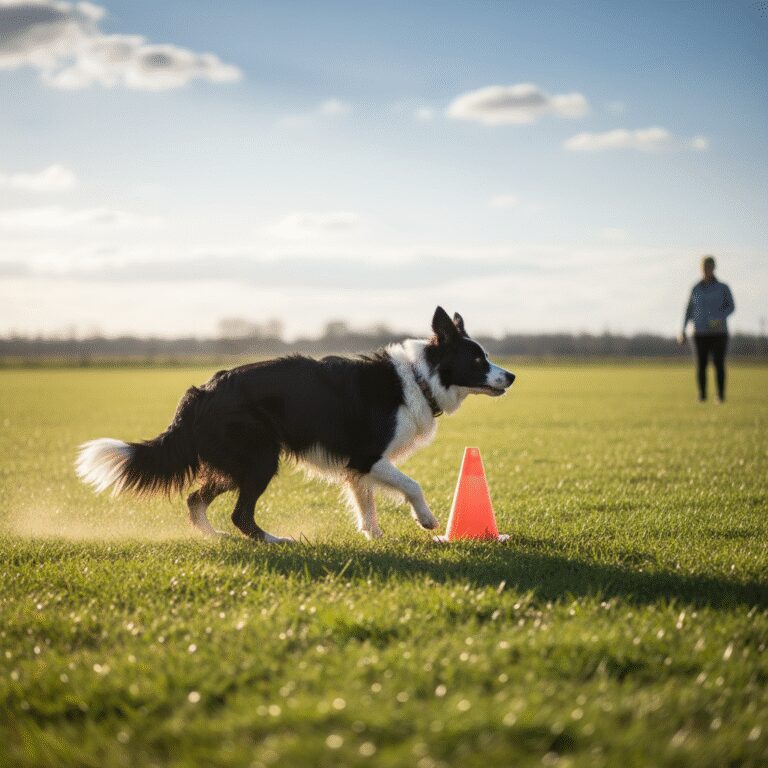
Phase 5: Generalization and Proofing
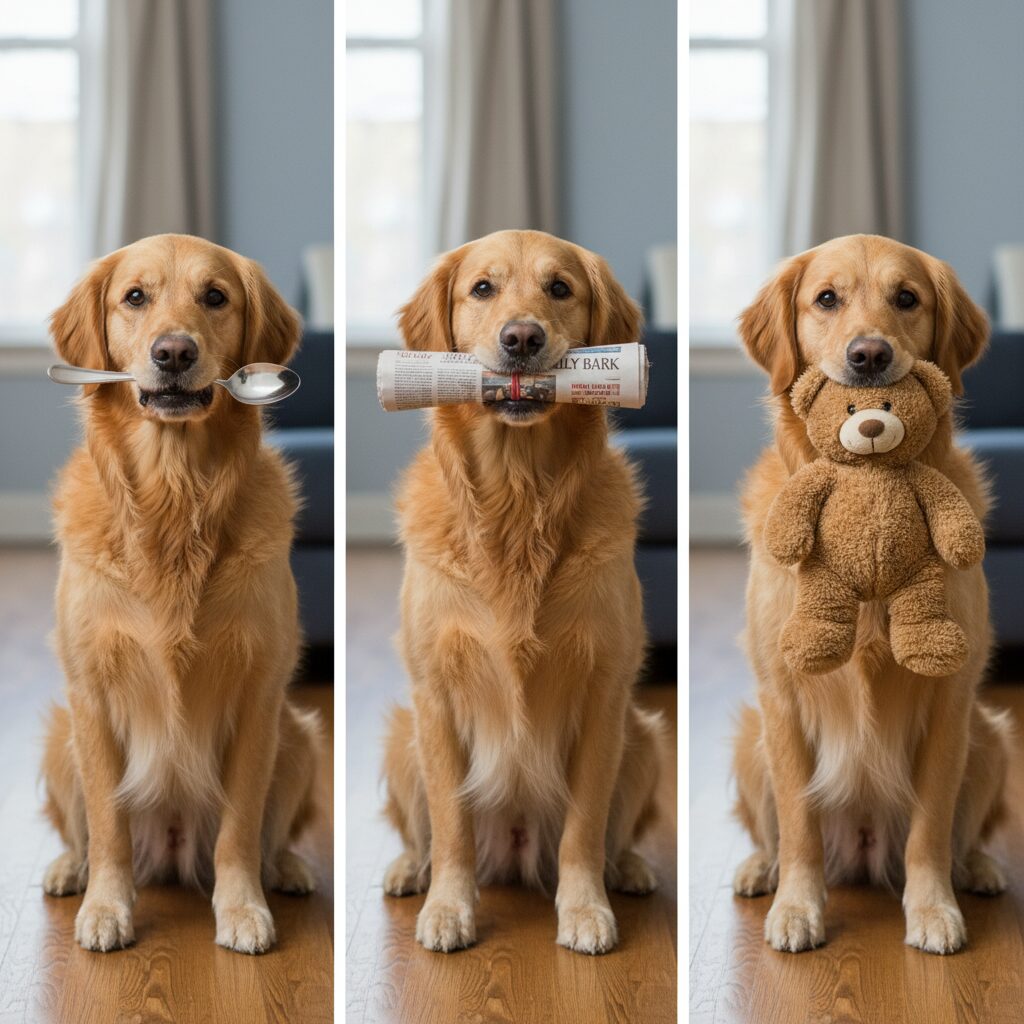
Dogs are contextual learners. Just because they can hold a wooden dowel in the living room does not mean they can hold a metal spoon in the park. You must "proof" the behavior by changing variables.
Changing Objects
Once the dog has mastered the dowel, switch to a different texture. Try a plastic bottle, a remote control (batteries removed/taped), or a metal spoon. If the dog reverts to chewing, go back to Phase 3 and lower your criteria (shorter duration) for the new object.
Changing Environments
Move your training session to the backyard, the front porch, or a park. Distractions make it harder for the dog to concentrate on impulse control. In a new environment, ask for very short holds (1-2 seconds) before building back up to longer durations.
Eventually, you can add movement. Ask the dog to "Hold" while sitting, then ask them to "Hold" while walking beside you (the "Carry" command). This requires the dog to multitask, maintaining jaw tension while moving their body.
Final Thoughts on Patience and Consistency
Teaching your dog to hold an object without chewing is a test of patience for the handler as much as it is a skill for the dog. It requires precise timing and a commitment to positive reinforcement. Remember that chewing is a natural behavior; you are asking your dog to go against their instincts to please you.
If you hit a plateau, or if your dog becomes frustrated, stop the session. It is always better to end on a success, even if that success is just a split-second hold, rather than pushing the dog to failure. With consistent practice, your dog will learn to treat objects with care, opening the door to advanced tricks, helpful service tasks, and adorable photo opportunities.