Stop Buying Probiotics: How to Make Kefir Cheese at Home for Pennies
As loving pet parents, we’re always on the lookout for ways to keep our furry family members happy and healthy. We navigate the aisles of pet stores, read countless labels, and often find ourselves spending a small fortune on supplements. One of the most popular categories? Probiotics. We know a healthy gut is crucial, but the cost of those little powders and chews can really add up.
What if I told you that you could provide your dog with a far more potent, natural, and diverse probiotic for mere pennies a day? It’s time to say goodbye to expensive supplements and hello to homemade kefir cheese. This simple, fermented superfood is packed with beneficial bacteria and yeast that can transform your dog’s digestive health, boost their immune system, and even improve their skin and coat. Don’t worry if you’re not a whiz in the kitchen—making kefir cheese is surprisingly easy, and this guide will walk you through every single step. Let’s get started on this rewarding journey to better health for your best friend!
The Probiotic Powerhouse: Understanding Kefir’s Benefits for Your Pup

Before we roll up our sleeves and get to fermenting, let’s talk about why kefir is such a game-changer for our dogs. You might have seen it in the dairy aisle, looking like a thin yogurt, but it’s so much more. Kefir is a fermented milk drink made using “kefir grains,” which aren’t grains at all! They’re actually a symbiotic culture of bacteria and yeasts (often called a SCOBY) that look like tiny, gelatinous cauliflower florets.
When you add these grains to milk, they work their magic, consuming the milk’s sugars (lactose) and creating a beverage teeming with a huge variety of beneficial microorganisms. This is where kefir leaves yogurt in the dust. While most yogurts contain a handful of probiotic strains, milk kefir can boast over 30 to 50 different strains of good bacteria and beneficial yeasts. This incredible diversity is what makes it a true probiotic powerhouse for your dog’s gut microbiome.
Key Benefits for Your Canine Companion:
- Supercharged Digestion: The wide array of probiotics helps balance the gut flora, leading to better nutrient absorption, firmer stools, and reduced gas or bloating.
- A Robust Immune System: Since a huge portion of the immune system resides in the gut, a healthy microbiome helps your dog fend off pathogens and stay healthier overall.
- Allergy Relief: An imbalanced gut can contribute to allergic reactions. By promoting a healthy gut environment, kefir can often help reduce symptoms of skin and food allergies.
- Healthy Skin and a Shiny Coat: Many skin issues are linked to gut health. The anti-inflammatory properties and nutrient boost from kefir can lead to less itching and a more lustrous coat.
- Natural Antibiotic and Antifungal Properties: Certain probiotic strains found in kefir are known to fight off harmful bacteria and yeast, helping to prevent issues like yeast infections in the ears or on the skin.
Expert Tip: Unlike many powdered probiotics that can be destroyed by stomach acid, the live cultures in whole-food kefir are more resilient, meaning more of them successfully reach the intestines to do their important work.
Your Kefir Cheese Toolkit: Simple Supplies for a Gut-Healthy Treat
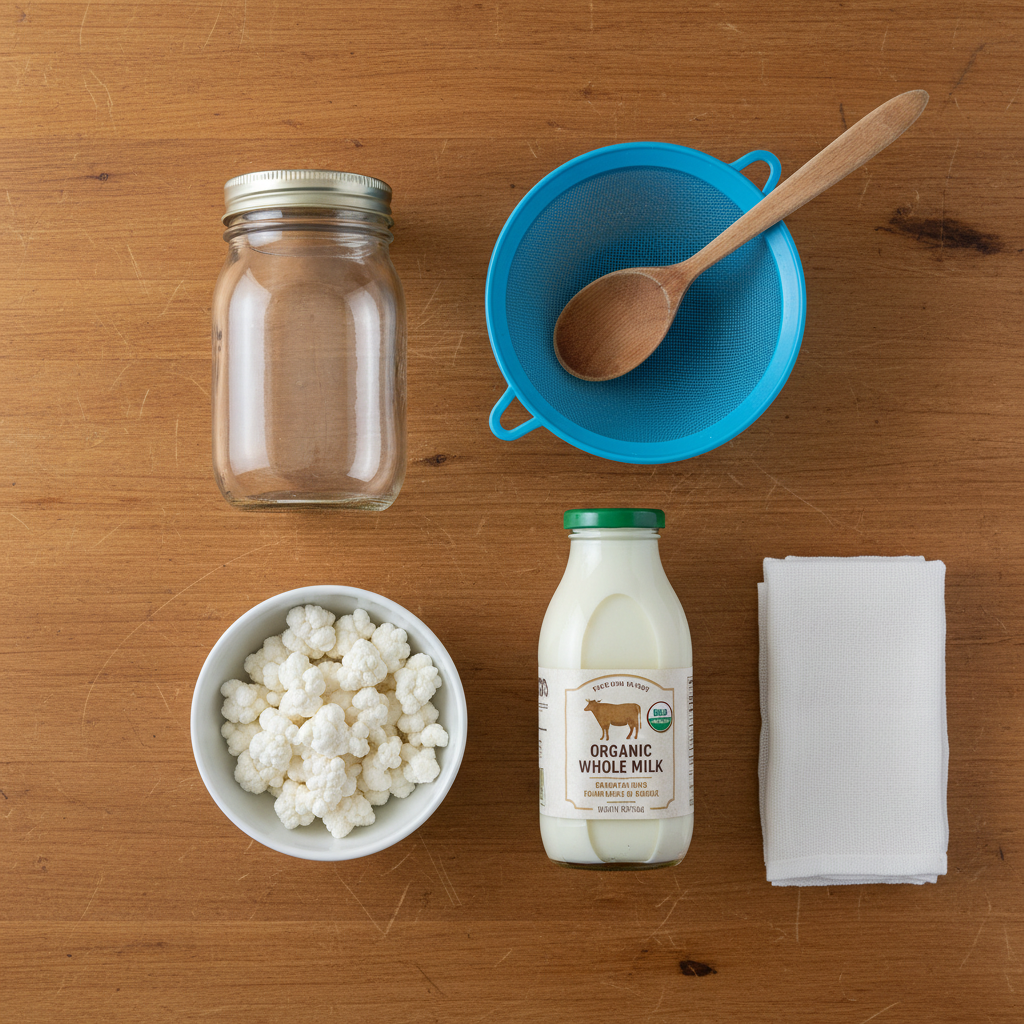
Getting started on your kefir-making journey is incredibly simple and doesn’t require any fancy, expensive equipment. You probably have most of what you need in your kitchen already. The one thing you’ll likely need to source is the star of the show: the live milk kefir grains.
Here’s your complete checklist:
- Live Milk Kefir Grains: This is the one essential you can’t skip. You can often buy them online from reputable sellers or even get them for free from local fermentation groups or friends who are already brewing. A single tablespoon is enough to start a lifetime supply!
- A Glass Jar: A quart-sized (32 oz) mason jar is perfect for making a decent batch.
- Non-Metal Utensils: It’s crucial to avoid prolonged contact between kefir grains and metal. Metal can react with the acidic kefir and damage the delicate grains over time. Use a plastic or nylon mesh strainer and a wooden or plastic spoon or spatula.
- A Breathable Cover: You don’t want to seal the jar tightly. A coffee filter, a small piece of cheesecloth, or a clean dish towel secured with a rubber band or the jar’s ring works perfectly. This lets the culture breathe while keeping dust and bugs out.
- High-Quality Milk: The better the milk, the happier your grains will be. Organic, full-fat cow’s or goat’s milk is ideal. Goat’s milk is often even easier for dogs to digest. Avoid ultra-pasteurized (UHT) milk, as it can be difficult for the grains to thrive on.
- For Making the Cheese: You’ll also need a larger bowl to catch the whey, and several layers of cheesecloth or a dedicated nut milk bag.
That’s it! With these simple tools, you’re ready to turn plain milk into a probiotic-rich treat that will have your dog’s tail wagging.
Step 1: Brewing the Basic Milk Kefir
This is where the magic begins! Making the initial batch of liquid milk kefir is the foundation for our cheese. The process is essentially just mixing two ingredients and letting them hang out on your counter. It’s that simple. Follow these steps, and you’ll be a fermentation pro in no time.
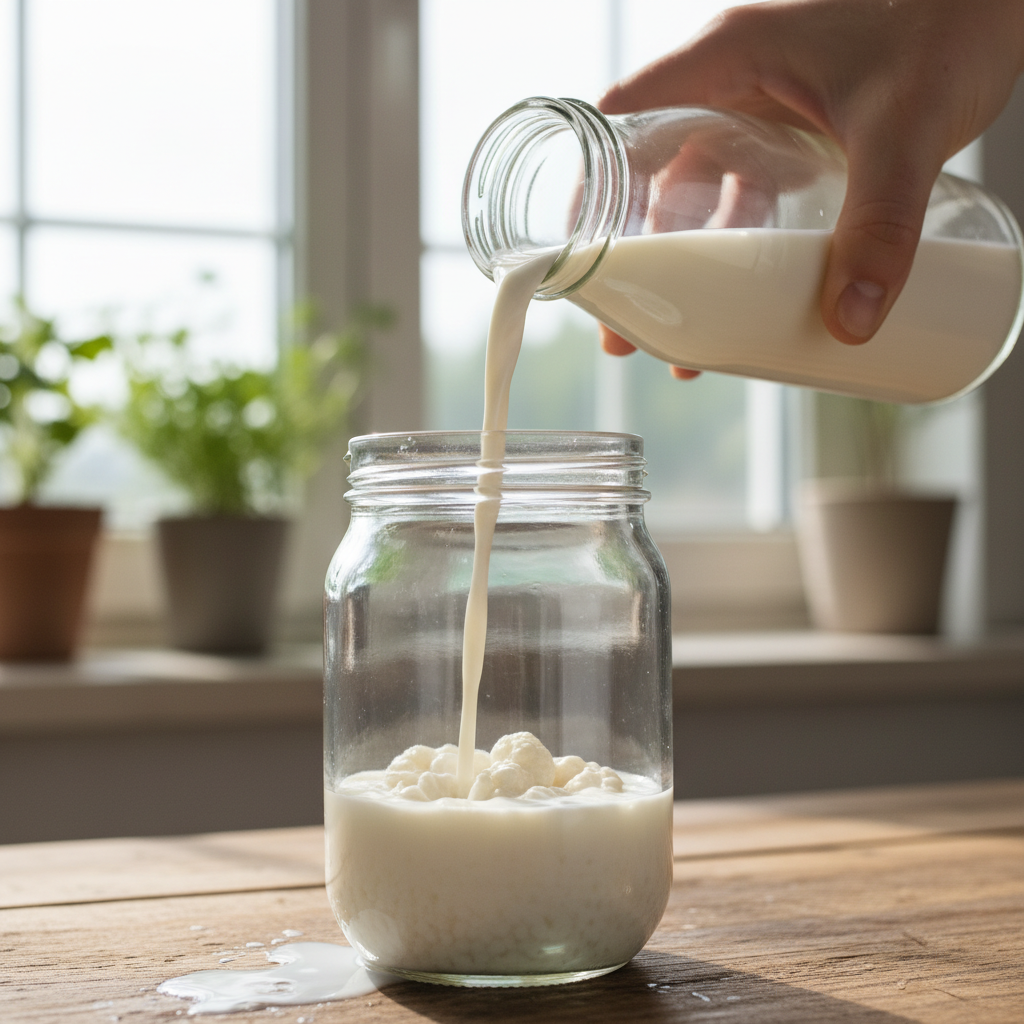
- Add Grains to the Jar: Place about one tablespoon of your live milk kefir grains into your clean, quart-sized glass jar.
- Pour in the Milk: Add about 2 to 3 cups of fresh milk over the grains. The exact ratio isn’t critical, but a good starting point is 1 tablespoon of grains for every 2-4 cups of milk. Don’t fill the jar to the very top; leave an inch or two of headspace.
- Cover It Up: Place your breathable cover (like a coffee filter) over the mouth of the jar and secure it with a rubber band or the jar’s screw-on ring (without the flat lid part).
- Let it Ferment: Place the jar in a relatively warm spot in your kitchen, away from direct sunlight. A pantry or a corner of your countertop works well. Let it sit for 12 to 48 hours. The fermentation time depends on the temperature of your home. In warmer weather, it will ferment faster (12-24 hours). In cooler weather, it may take longer (24-48 hours).
- Check for Doneness: You’ll know it’s ready when the milk has thickened to the consistency of buttermilk or a thin yogurt. You may also see little pockets of yellowish, clear liquid (this is the whey separating), which is perfectly normal.
- Strain Your Kefir: Place your non-metal strainer over a clean bowl or another jar. Gently pour the entire contents of the fermentation jar into the strainer. Use your non-metal spatula to stir the kefir around in the strainer, helping the liquid pass through while the grains remain.
- Start the Next Batch: Once you’ve collected all the liquid kefir in the bowl below, simply place your grains from the strainer back into your original jar, add fresh milk, and start the process all over again for a continuous supply!
Congratulations! The liquid in your bowl is now finished milk kefir, ready for the next step or to be served as-is to your pup.
Step 2: Turning Your Kefir into Delicious Dog-Friendly Cheese
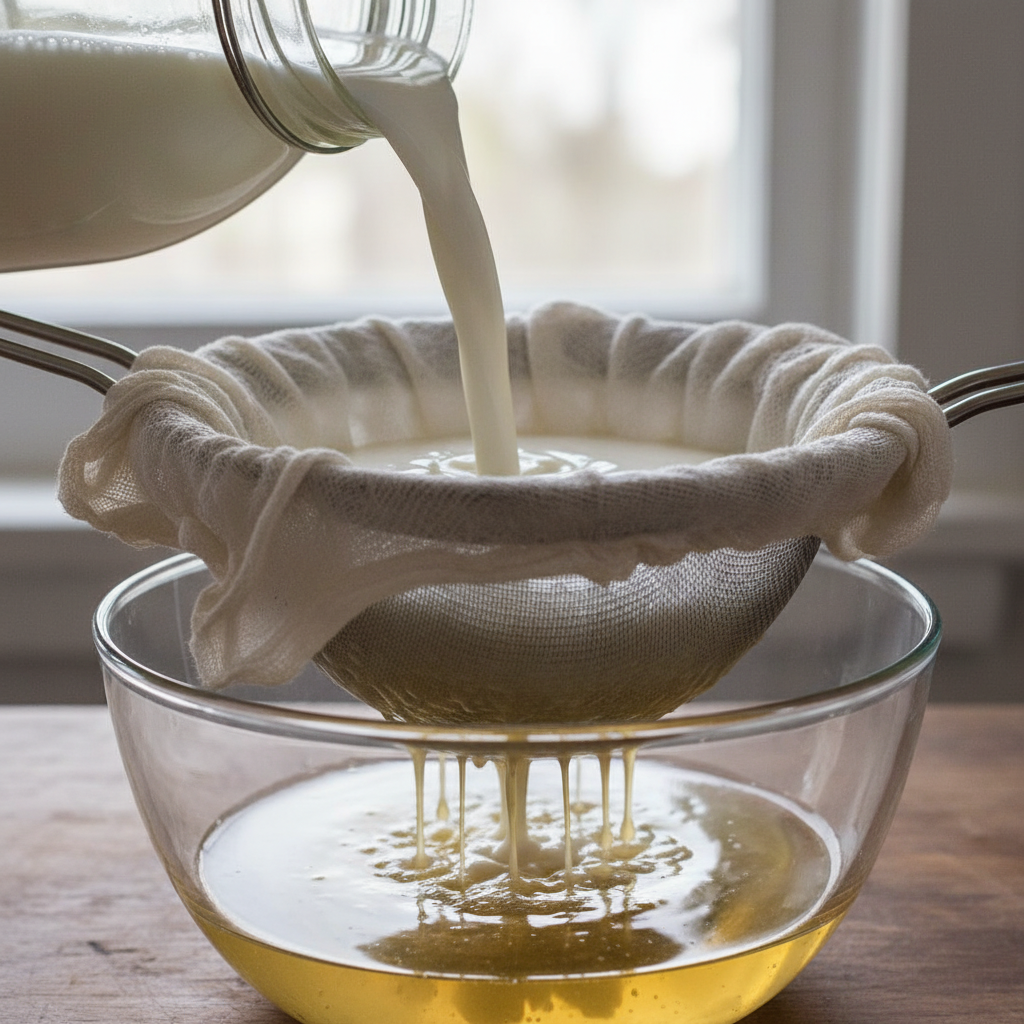
You’ve successfully made liquid kefir! Now for the incredibly simple step that transforms this probiotic drink into a creamy, spreadable cheese that dogs go absolutely wild for. This process is all about separating the solids (curds) from the liquid (whey).
- Set Up Your Straining Station: Get a large, deep bowl. Place a colander or your large mesh strainer on top of it. Line the strainer with a few layers of cheesecloth (at least 2-4 layers) or a single nut milk bag. Make sure the cheesecloth hangs over the sides.
- Pour in the Kefir: Gently pour your freshly made liquid milk kefir into the cheesecloth-lined strainer. The whey will immediately start to drip through into the bowl below.
- Let it Drain: Gather the corners of the cheesecloth and gently tie them together, or simply cover the top of the strainer with a plate or plastic wrap. Place the entire setup (bowl and strainer) in the refrigerator to drain.
- Patience is Key: The draining time determines the final consistency of your cheese.
- For a soft, cream-cheese-like consistency: Let it drain for 6-8 hours.
- For a firmer, thicker cheese: Let it drain for 12-24 hours.
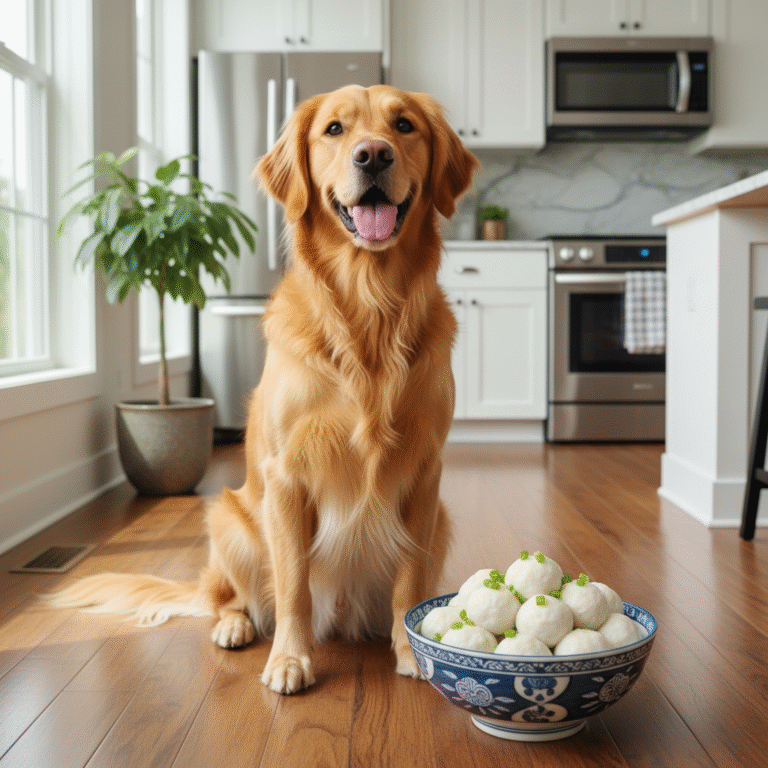
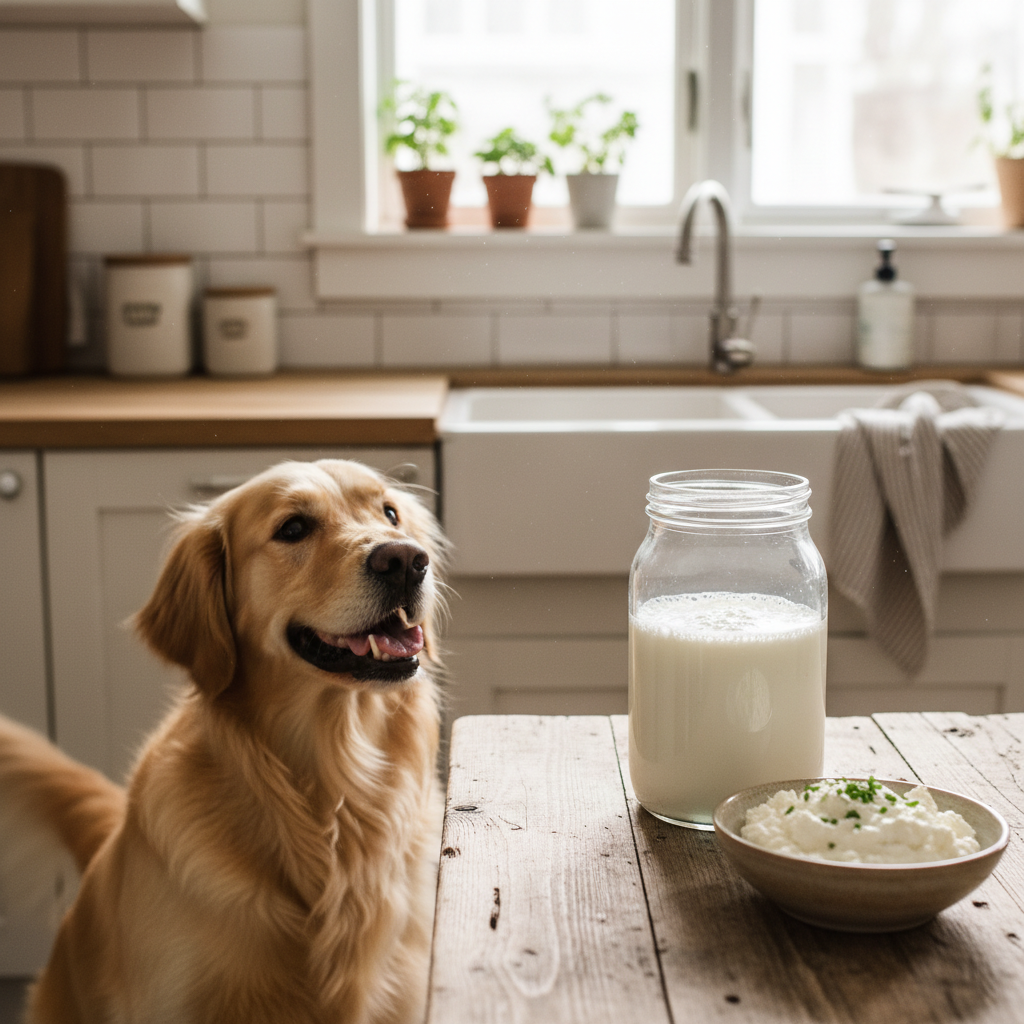
- Harvest Your Cheese: After the desired time has passed, open your cheesecloth bundle. You’ll find a beautiful, soft, tangy cheese inside! The yellowish liquid in the bowl below is the whey. Scoop the finished kefir cheese into an airtight container for storage.
Don’t Waste the Whey! The liquid whey you’ve collected is also a nutritional powerhouse, full of electrolytes and beneficial acids. You can add a splash of it to your dog’s water bowl or pour it over their food for an extra health boost.
Store your finished kefir cheese in the refrigerator, where it will stay fresh for about one to two weeks.
How to Introduce Kefir Cheese to Your Dog’s Diet Safely
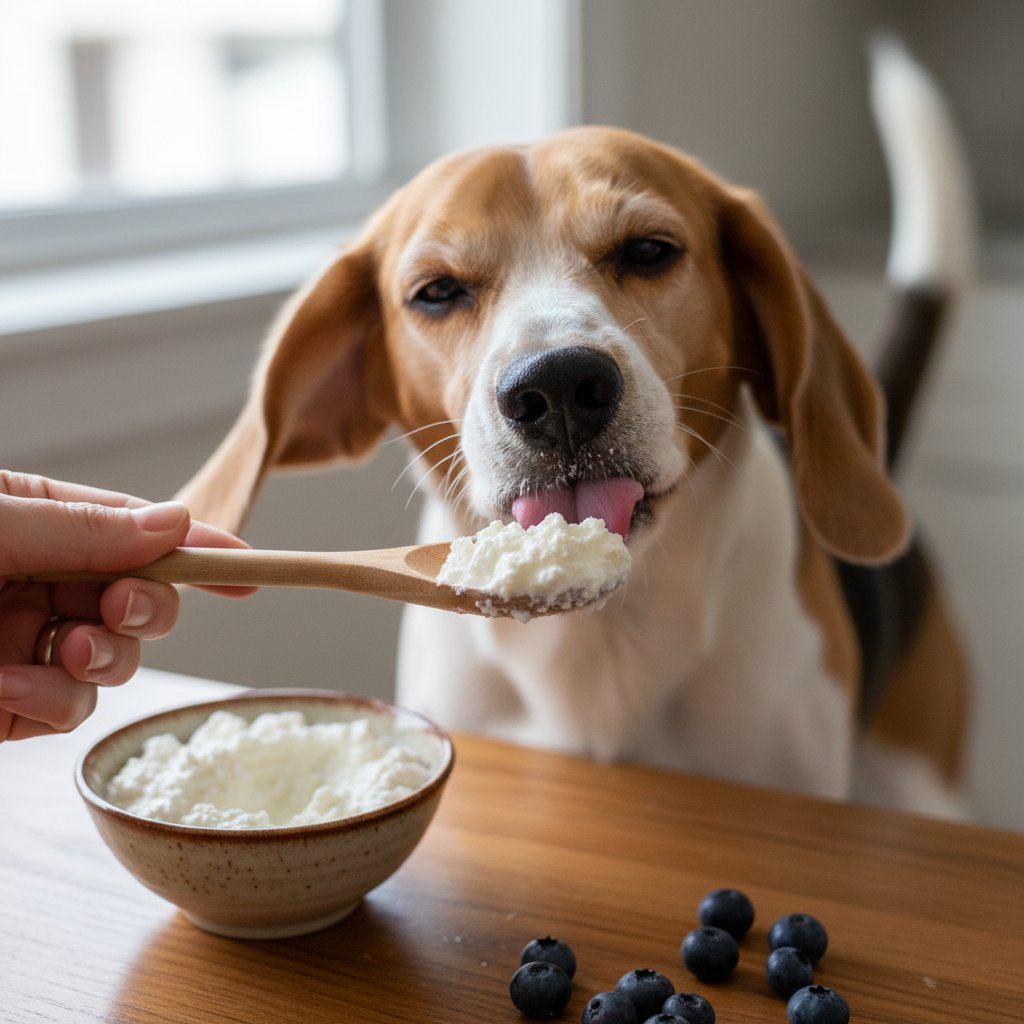
Now for the best part: sharing your homemade creation with your eager pup! While kefir cheese is incredibly healthy, it’s also a new, rich food. The golden rule with any new food is to start slow and introduce it gradually to allow their digestive system to adapt.
Start Small, Win Big
Begin by offering a tiny amount, perhaps just a lick off a spoon, and monitor them for the next day for any signs of digestive upset like loose stools or gas. If all is well, you can slowly increase the amount over a week or two until you reach the recommended serving size for their weight.
Serving Size Guide
Here is a general guideline for daily serving sizes. Remember, these are just suggestions, and you can adjust based on your individual dog’s tolerance.
| Dog Size | Weight Range | Daily Serving of Kefir Cheese |
|---|---|---|
| Toy / Small | Under 20 lbs | 1/2 to 1 teaspoon |
| Medium | 20-50 lbs | 1 to 2 teaspoons |
| Large | 50-90 lbs | 1 to 2 tablespoons |
| Giant | Over 90 lbs | 2 to 3 tablespoons |
Fun Ways to Serve Kefir Cheese
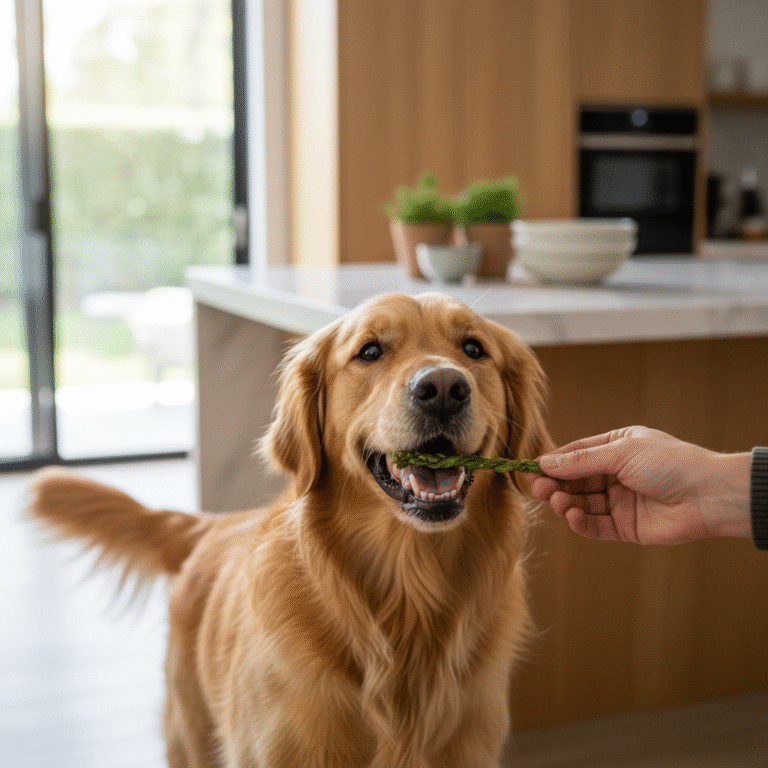
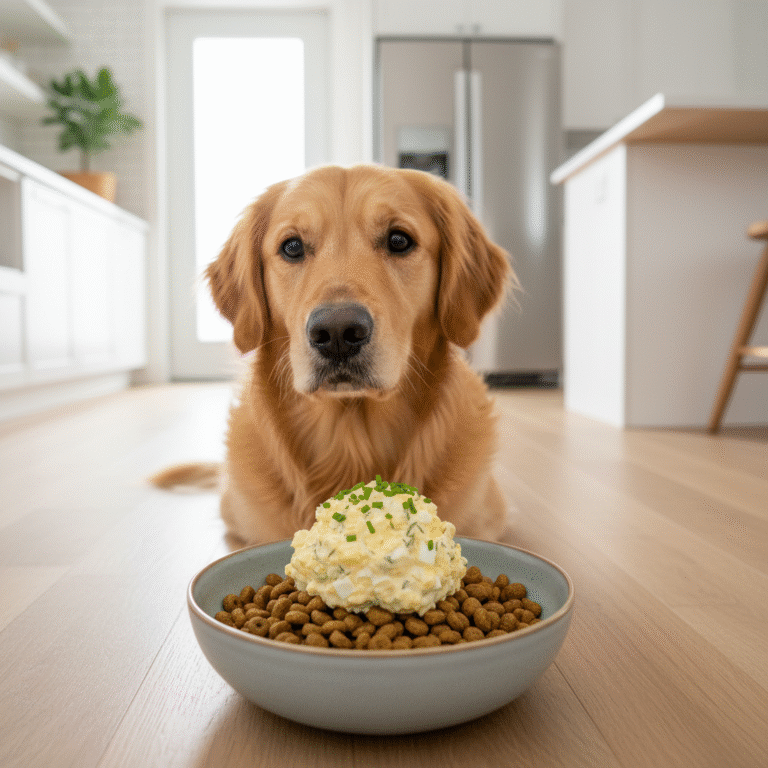
- As a Food Topper: The easiest way! Just plop the recommended amount right on top of their regular meal.
- A Perfect Pill Pocket: The soft, tangy cheese is great for hiding medication.
- Frozen Pupsicles: Mix the cheese with a little dog-safe fruit like blueberries or mashed banana, spoon it into an ice cube tray, and freeze for a refreshing and healthy summer treat.
- Lick Mat Fun: Spread it on a lick mat to provide a fun, mentally stimulating, and calming activity for your dog.
A quick note on lactose: The fermentation process consumes most of the lactose in milk, making kefir products very low in lactose and generally well-tolerated even by sensitive dogs. However, if your dog is severely lactose intolerant, it’s always best to consult with your veterinarian before introducing any new dairy product.
Conclusion
There you have it! You are now fully equipped to become your dog’s personal probiotic chef. By taking a few minutes every day or two to tend to your kefir grains, you’re not just making a simple cheese; you’re cultivating a powerhouse of health that can dramatically improve your dog’s well-being from the inside out. You’re saving money, avoiding fillers and artificial ingredients found in commercial supplements, and providing a whole-food solution that their body can readily use.
Embracing this simple, age-old practice is a wonderful way to take an active role in your pet’s nutrition. It’s rewarding, cost-effective, and above all, a powerful act of love. So go ahead, find some kefir grains, and give it a try. Your dog’s happy, healthy gut will thank you for it!