Stop Buying Expensive Chews: How To Bake Pig Ears At Home Safely
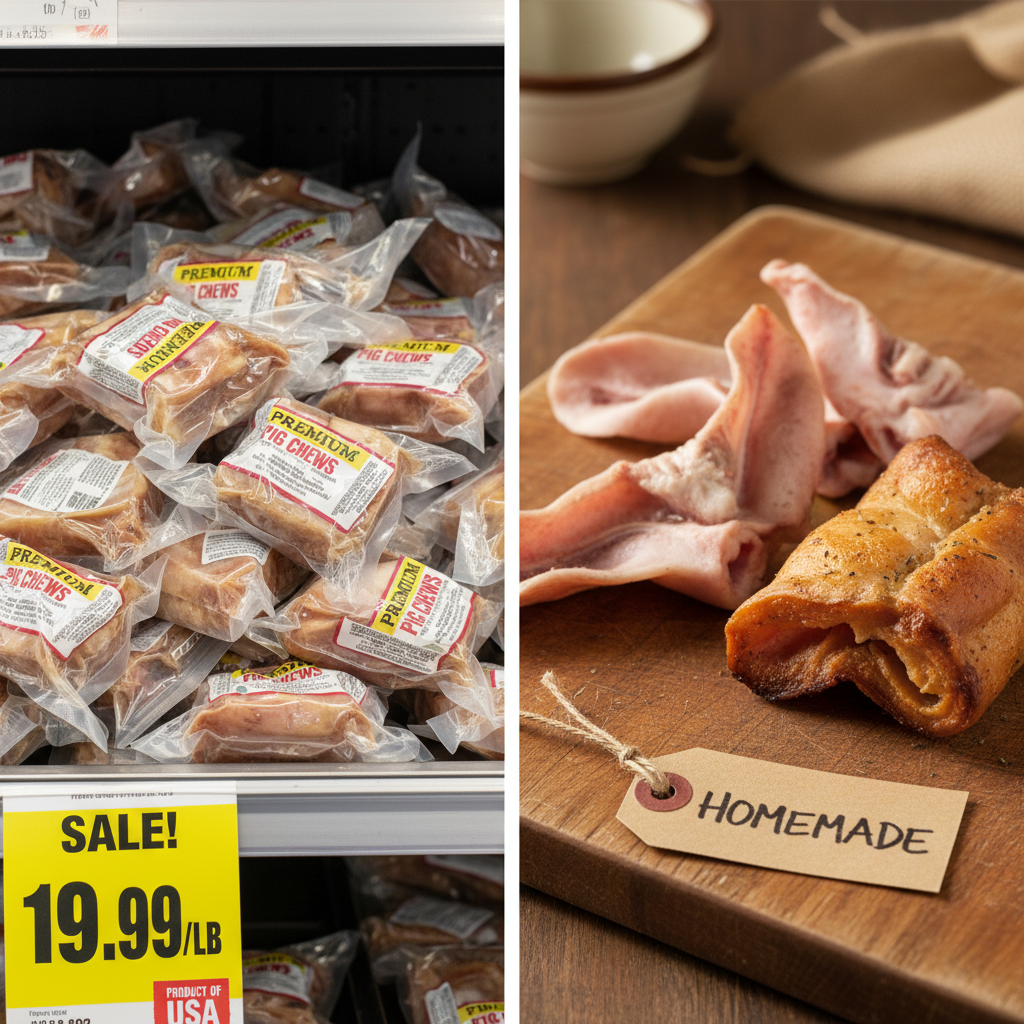
Walk down the treat aisle of any pet store, and you’ll see it: the wall of expensive chews. A single pig ear can cost a pretty penny, and if you have a power-chewer, that cost adds up fast! But what if you could give your pup that same satisfying, crunchy treat for a fraction of the price? Good news—you can! Making pig ears at home is not only incredibly cost-effective, but it also gives you complete control over what your dog is eating. No weird additives, no mysterious preservatives, just one simple ingredient. This guide will walk you through everything you need to know to bake pig ears at home, with a huge emphasis on doing it safely. Let’s get baking!
The Perks (and Precautions) of DIY Pig Ears
Before we roll up our sleeves and preheat the oven, let’s talk about why this is such a great project. It’s more than just saving money; it’s about providing the best for your best friend. But with any treat, especially one you make yourself, it’s vital to know both the good and the not-so-good.
The Awesome Benefits
- Cost-Effective: This is the big one! You can often buy a whole bag of raw pig ears from a local butcher or ethnic market for the price of just two or three packaged ones from a pet store.
- All-Natural Goodness: You are in complete control. The only ingredient is pig ear. You don’t have to worry about chemical coatings, artificial smoke flavoring, or preservatives that might upset your dog’s tummy.
- Super Fresh: You know exactly when they were made. No more guessing how long that chew has been sitting on a shelf or in a warehouse.
A Quick Word on Safety
While pig ears are a fantastic chew, there are two key things to be aware of. First, raw pork can carry bacteria like salmonella. This is why our baking process is so important—it’s designed to kill any harmful pathogens. Second, pig ears are naturally high in fat. They are a special-occasion treat, not a daily meal replacement. We’ll cover safe serving sizes later on, but it’s something to keep in mind from the start.
Gather Your Supplies: The Baker’s Toolkit
The best part about this recipe is its simplicity. You don’t need any fancy culinary gadgets. You probably have everything you need in your kitchen right now.
Ingredients
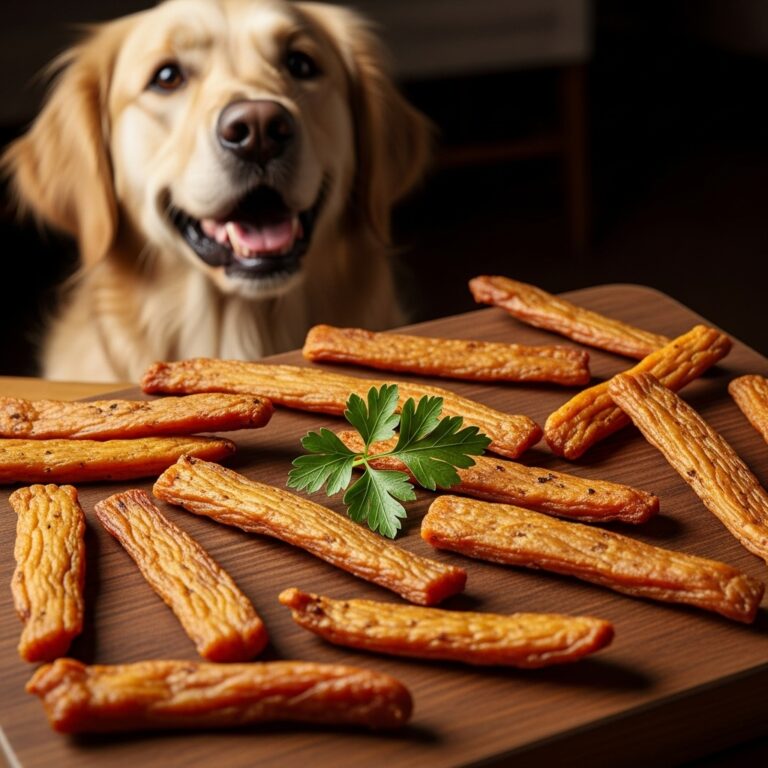
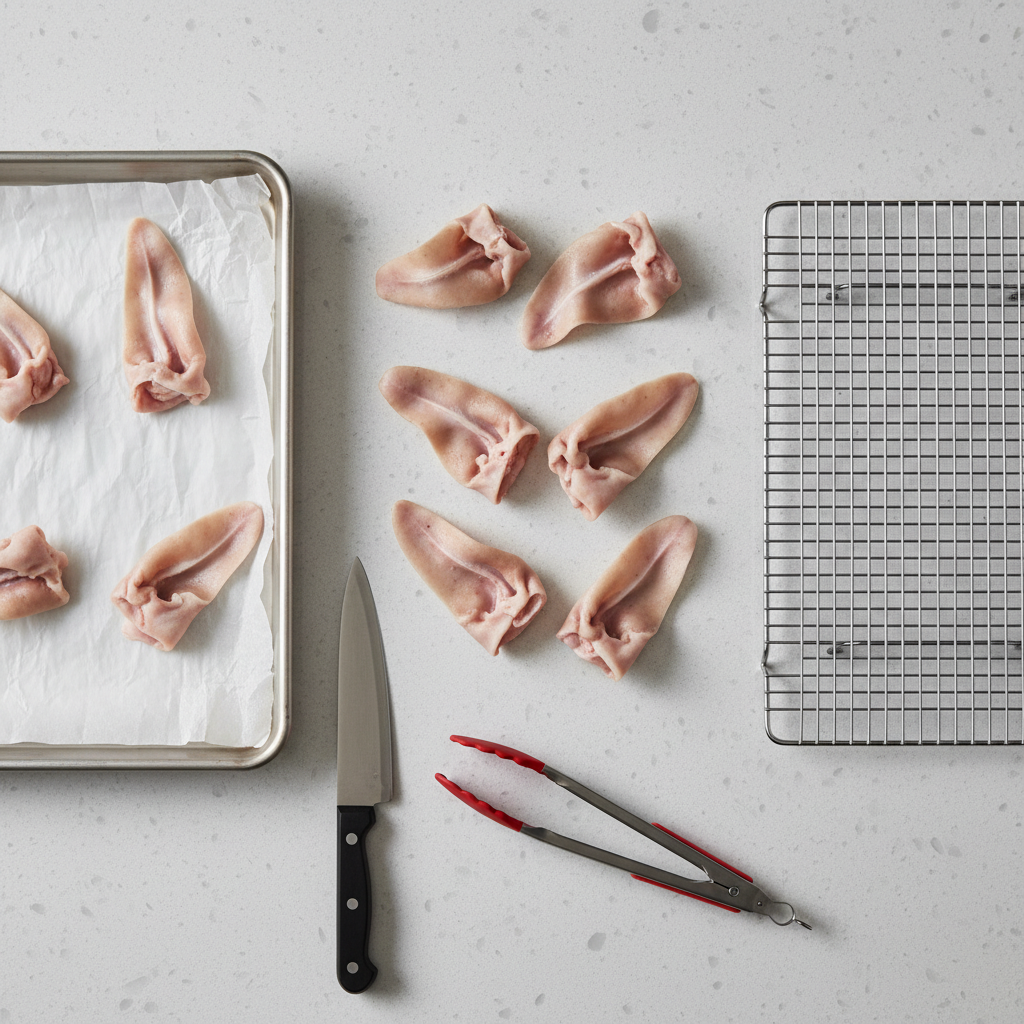
- Raw Pig Ears: The star of the show! Look for them at your local butcher, an abattoir, or an Asian or Latin supermarket. Aim for ears that look clean and fresh.
Equipment
- A Large Baking Sheet: Big enough to lay the ears out without them touching.
- Parchment Paper or a Silicone Mat: This makes cleanup a breeze.
- A Wire Cooling Rack: This is crucial for allowing air to circulate for even drying and for cooling them down properly.
- A Sharp Knife or Kitchen Shears: For trimming any excess fat.
- Tongs: For safely handling the hot ears.
- An Airtight Container: For storing your finished treats.
Your Foolproof Guide to Baking Perfect Pig Ears
Alright, it’s time for the main event! Follow these steps carefully to create chews that are both delicious for your dog and perfectly safe. The secret is a ‘low and slow’ cooking process.
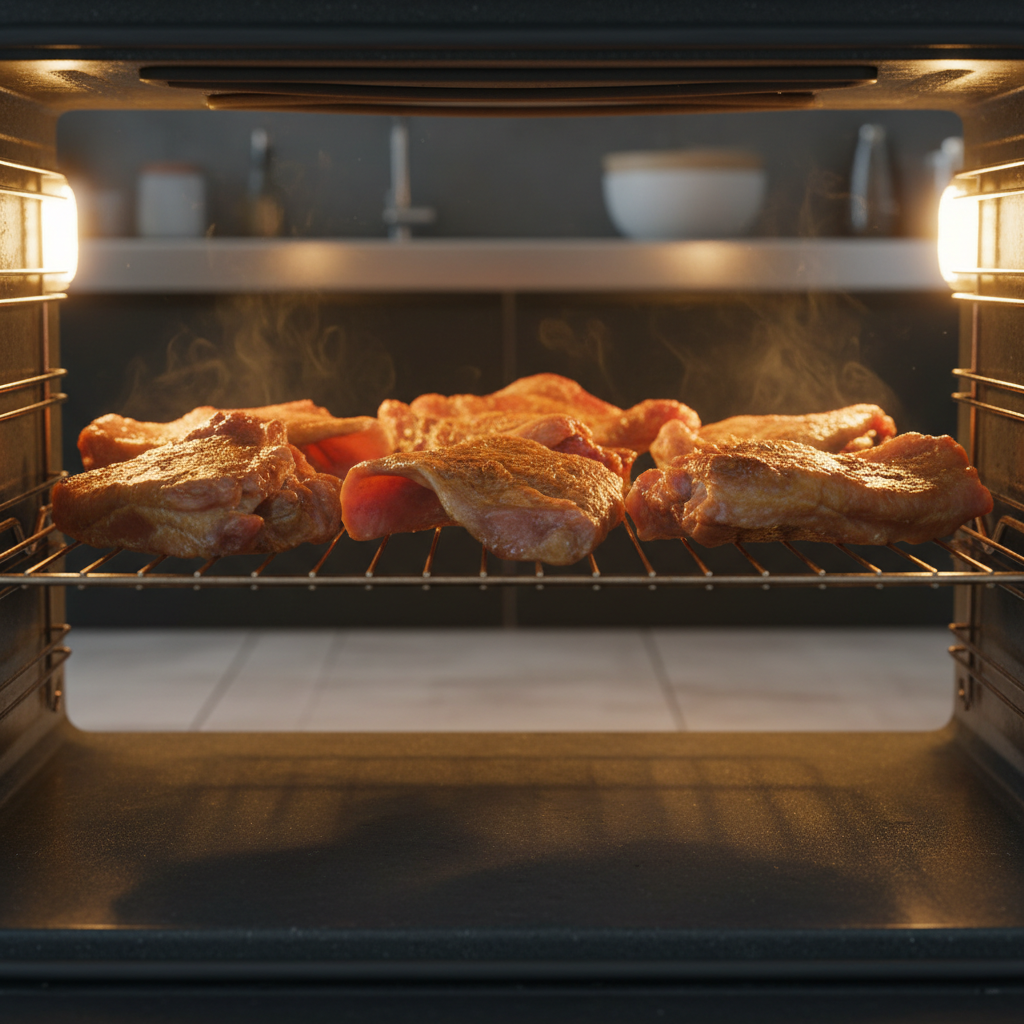
- Preheat Your Oven: Set your oven to a low temperature, around 250°F (or 120°C). A low temperature is key to rendering the fat and dehydrating the ear, not just cooking it.
- Prep and Clean: Rinse the pig ears thoroughly under cool running water. Pat them dry with a paper towel. Use your sharp knife or shears to trim off any large, visible chunks of fat. This helps reduce the overall fat content of the final chew.
- Arrange on the Baking Sheet: Place the wire rack inside your parchment-lined baking sheet. Arrange the pig ears on top of the wire rack, making sure they have some space between them. This setup allows hot air to circulate all around the ears, ensuring they dry out evenly.
- The Low and Slow Bake: Place the baking sheet in the preheated oven. Now comes the easy part: waiting. You’ll need to bake them for 6 to 8 hours. Yes, it’s a long time! This slow dehydration process is what makes them safe and digestible. Halfway through, use your tongs to flip the ears over for even cooking.
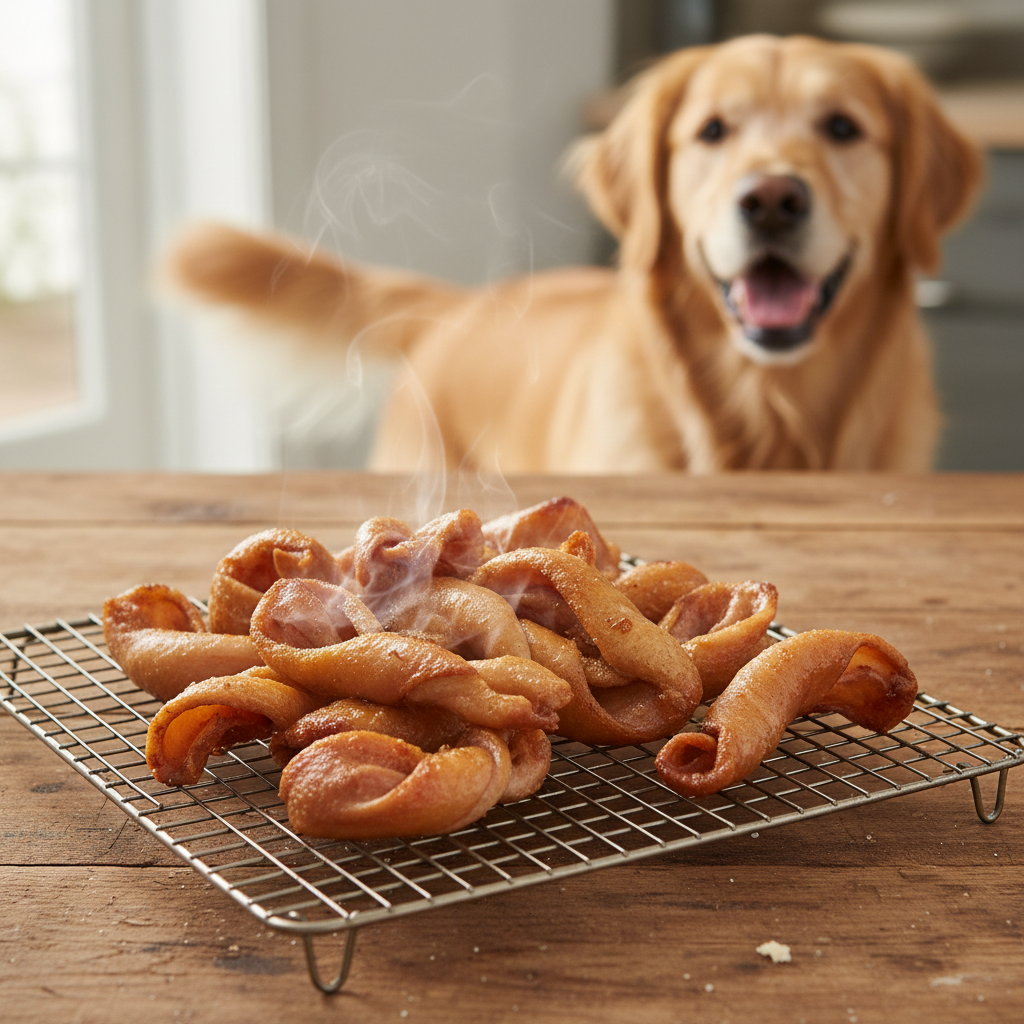
- Check for Doneness: A fully baked pig ear will be hard, shrunken, and golden brown. If you tap it, it should sound solid. It should not be flexible or feel greasy to the touch. If it still seems soft, give it another hour in the oven.
- The Cool Down: Turn off the oven and let the ears cool completely. You can leave them on the wire rack on your counter. They will get even harder and crunchier as they cool. Do not give a warm ear to your dog!
The Final Woof: Storing and Serving Safely
You did it! You have a batch of beautiful, homemade pig ears. But the safety measures don’t stop when the oven turns off. Proper storage and serving are just as important.
Proper Storage
Because these treats have no preservatives, they need to be stored correctly to prevent them from spoiling. Once the ears are 100% cool and dry, place them in an airtight container. You can store them in the refrigerator for up to two weeks or in the freezer for up to three months. Freezing is a great option if you make a large batch.
Smart Serving Suggestions
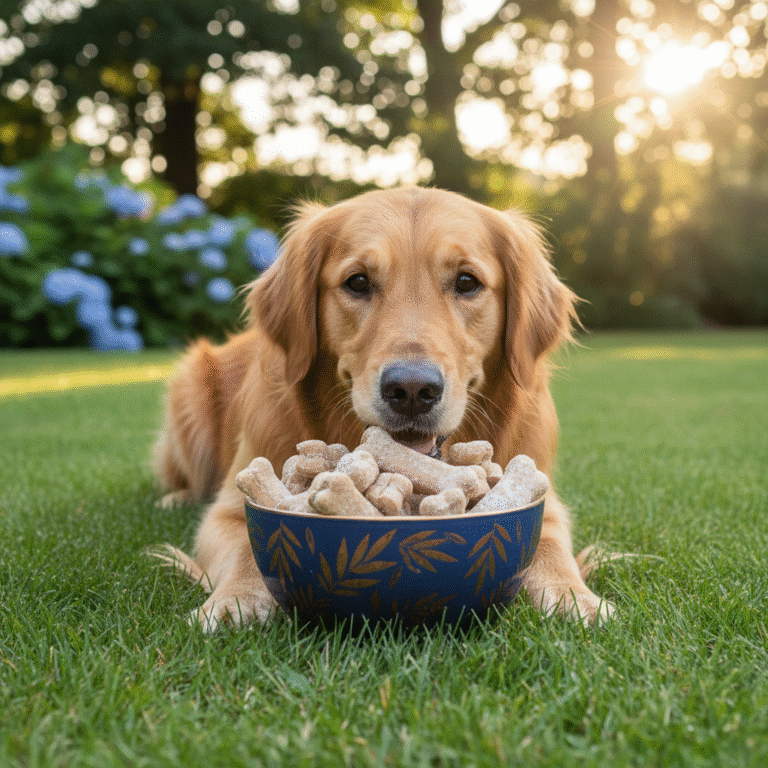
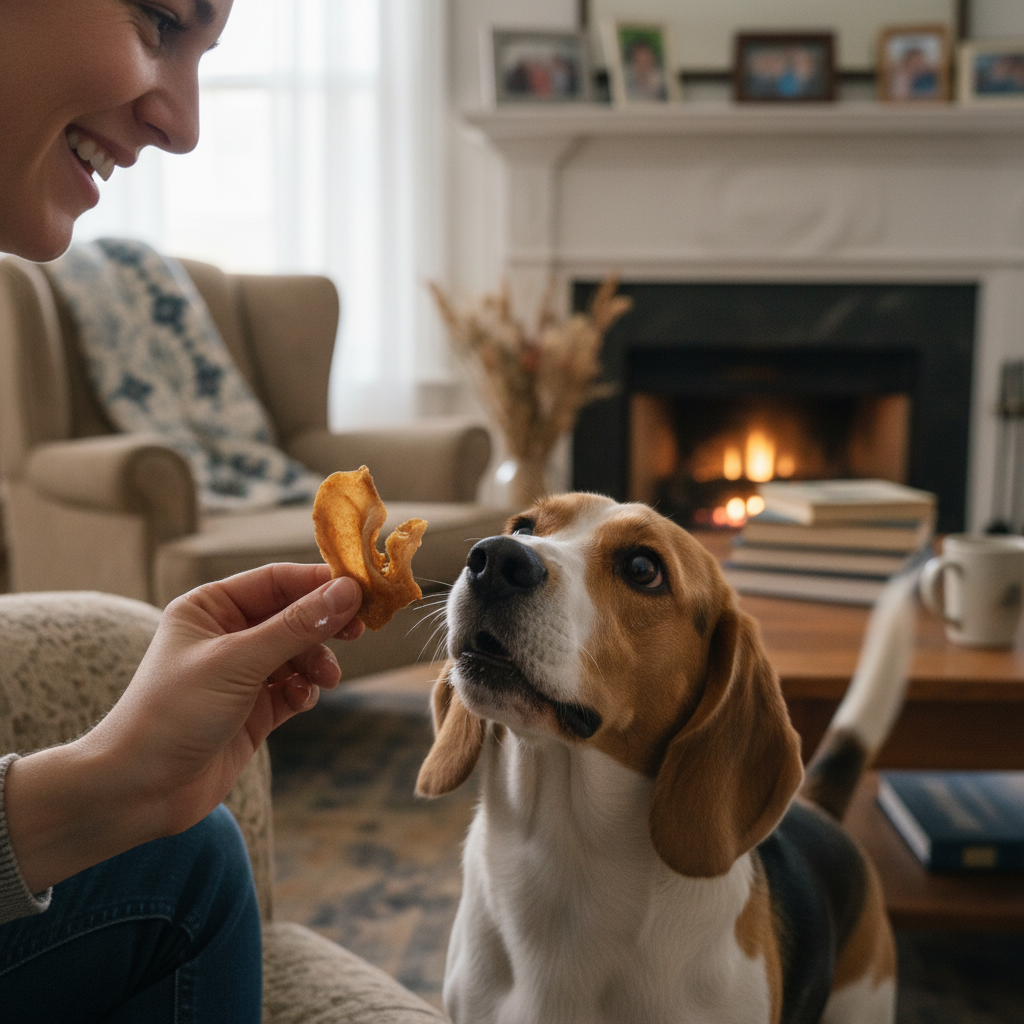
Pig ears are a rich, high-fat treat. They should be given in moderation. For most dogs, one ear per week is plenty. If you have a smaller dog, you can even cut the ears in half before baking to create more appropriate portion sizes. And the most important rule of all? Supervision.
Always supervise your dog when they are enjoying any chew, homemade or store-bought. Watch for any signs of choking and take the chew away if it becomes small enough to swallow whole.
Conclusion
Congratulations, you’re now a homemade dog treat chef! You’ve learned how to turn a simple, inexpensive ingredient into a high-value chew that your dog will go crazy for. By following these safety steps, you can feel confident that you’re providing a treat that’s not only delicious but also free from unwanted chemicals and additives. It’s a wonderful way to save money, control your dog’s diet, and show your furry family member just how much you love them. Happy baking!