
Stop at the Curb: The Life-Saving Command Every City Dog Needs
Welcome to the wonderful, chaotic world of city dog ownership! Navigating bustling sidewalks, dodging cyclists, and crossing busy intersections are all part of the daily routine. While it’s an exciting life for our four-legged friends, it also comes with unique risks. A squirrel, a dropped piece of pizza, or a friendly dog across the street can send your pup darting into traffic in a heartbeat. That’s where one simple, powerful command comes in: the curb stop. This isn’t just a neat trick; it’s a foundational safety skill that acts as an invisible barrier between your dog and the dangers of the road. In this guide, we’ll walk you through, step-by-step, how to teach this life-saving command in a fun, positive, and effective way. Let’s get started!
Why This Command is a Non-Negotiable for Urban Pups
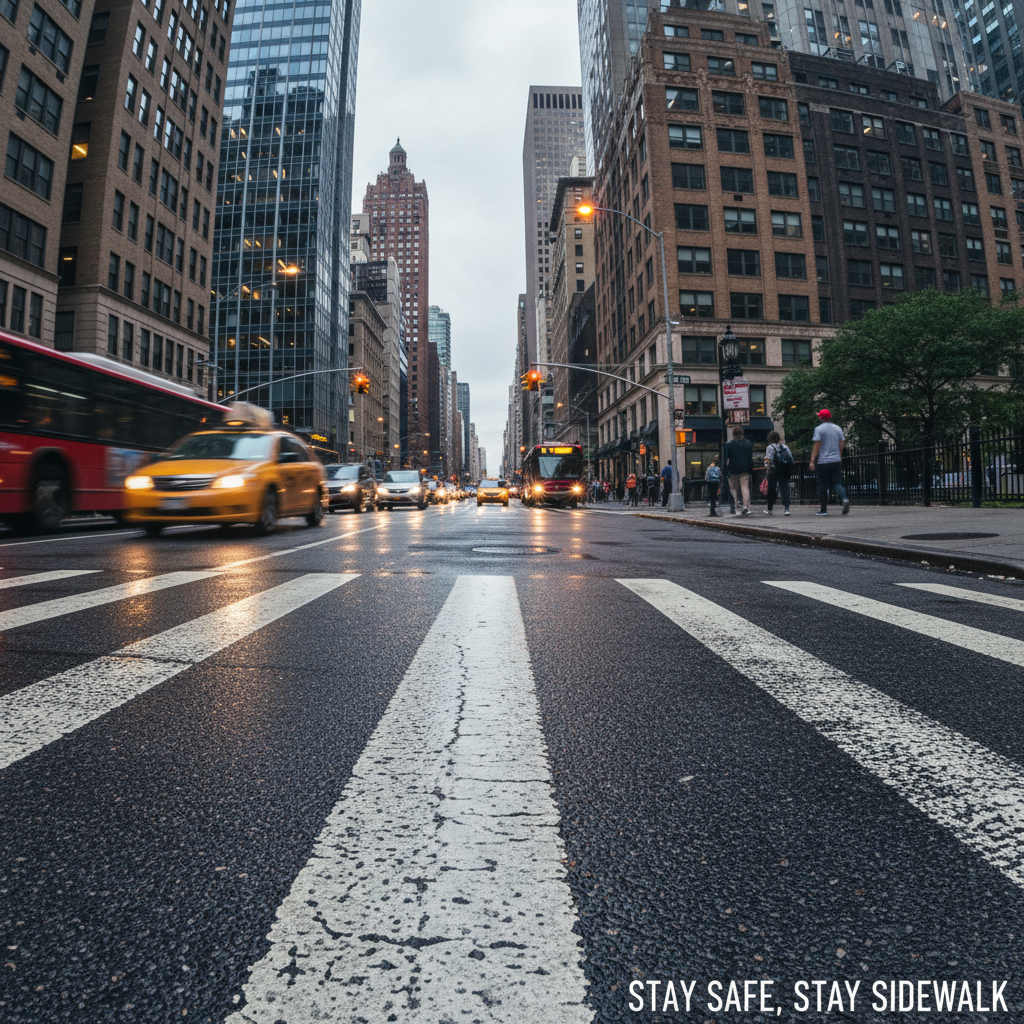
Think of the ‘stop at the curb’ command as your dog’s automatic emergency brake. In an urban environment, dangers can appear in a split second. A car pulling out of a hidden driveway, a silent electric scooter zipping by, or even a dropped leash can turn a pleasant walk into a tragedy. By teaching your dog to automatically pause at every single curb, you are building a reliable safety habit that functions even if you’re distracted for a moment.
This command does more than just prevent accidents. It also helps to:
- Reinforce Your Leadership: It teaches your dog to look to you for guidance in new situations, strengthening your bond.
- Build Impulse Control: It’s a fantastic exercise in self-control for excitable dogs who want to chase after everything they see.
- Create Calm Transitions: It turns the frantic energy of crossing a street into a calm, predictable routine, reducing anxiety for both you and your pup.
Teaching a solid curb stop is one of the most profound ways you can say ‘I love you’ to your dog, because you’re actively protecting their future.
Gearing Up for Success: What You’ll Need
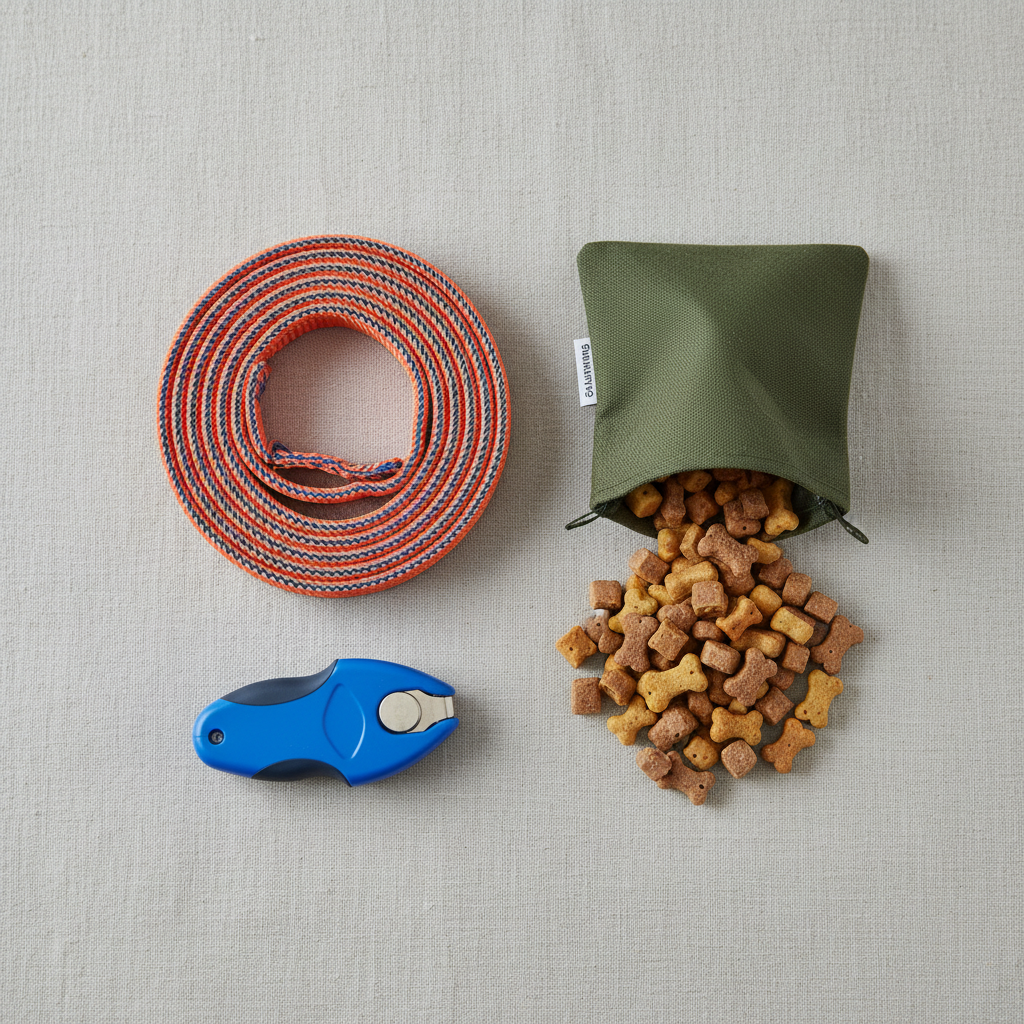
The best part about this training is that you don’t need a lot of fancy equipment! Simplicity is key. Before you start, gather these essential items to set yourself up for a smooth and positive training session.
The Essentials List:
- A Standard Leash: A 4-to-6-foot non-retractable leash (made of nylon or leather) is crucial. It provides clear communication and control, which you simply can’t get from a retractable leash.
- High-Value Treats: We’re talking top-tier goodies here! Think small, pea-sized pieces of cooked chicken, cheese, hot dogs, or a special soft training treat your dog goes wild for. The reward needs to be more exciting than the environment.
- A Treat Pouch: A simple belt pouch will keep your treats easily accessible so you can reward your dog the instant they perform the correct behavior. Fumbling in your pockets can cause you to miss the magic moment!
- A Clicker (Optional): If you’re familiar with clicker training, a clicker can be a powerful tool to precisely mark the moment your dog makes the right choice (pausing at the curb). If not, a consistent verbal marker like a happy “Yes!” works just as well.
The Step-by-Step Guide to a Perfect Curb Stop
Patience and positivity are your best friends here. Keep your training sessions short (5-10 minutes) and always end on a high note! We’ll build this skill from the ground up, starting where there are no distractions.
Step 1: Start Inside at a Doorway
Your front door is the perfect ‘practice curb.’ Walk your dog on leash towards the open door. Just before you reach the threshold, stop, plant your feet firmly, and say nothing. The leash should prevent them from going further. The moment your dog stops, even for a second (they might sit, stand, or just pause their forward motion), mark the behavior with “Yes!” or a click, and give them a high-value treat. Practice this 5-10 times.
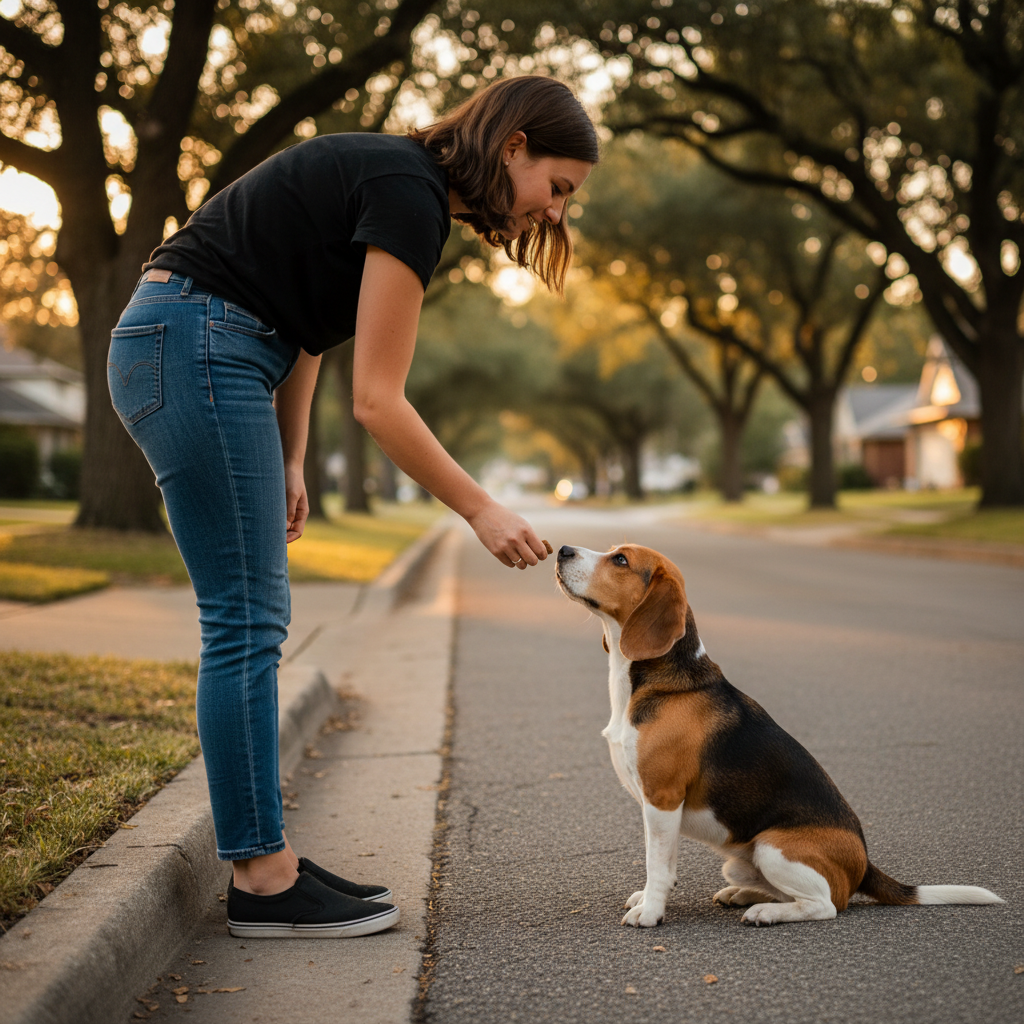
Step 2: Move to a Quiet Street
Find the quietest street in your neighborhood. As you approach the curb, slow down significantly. Just as you did at the door, stop your body right at the edge. Let the leash guide your dog to a stop with you. The instant they stop, mark and reward enthusiastically. Your body language is key here—a clear, decisive stop from you tells your dog what’s expected.
Step 3: Introduce a Verbal Cue
Once your dog starts to anticipate the stop at the curb (you’ll see them slow down as you approach), it’s time to add a cue. As you approach the curb, say your chosen word—like “Wait” or “Curb”—in a calm, clear voice, just a second before you stop. When they stop, reward them lavishly. The goal is for them to associate the word with the action of pausing at the edge.
Step 4: Add the ‘Release’ Cue
After your dog stops, you need to tell them when it’s safe to go. Use a release word like “Okay!” or “Let’s go!” in an upbeat tone, and take a step into the street. This teaches them that they must wait for your permission to proceed. Never cross until you give the release cue.
Proofing the Behavior: Making it Stick in the Real World
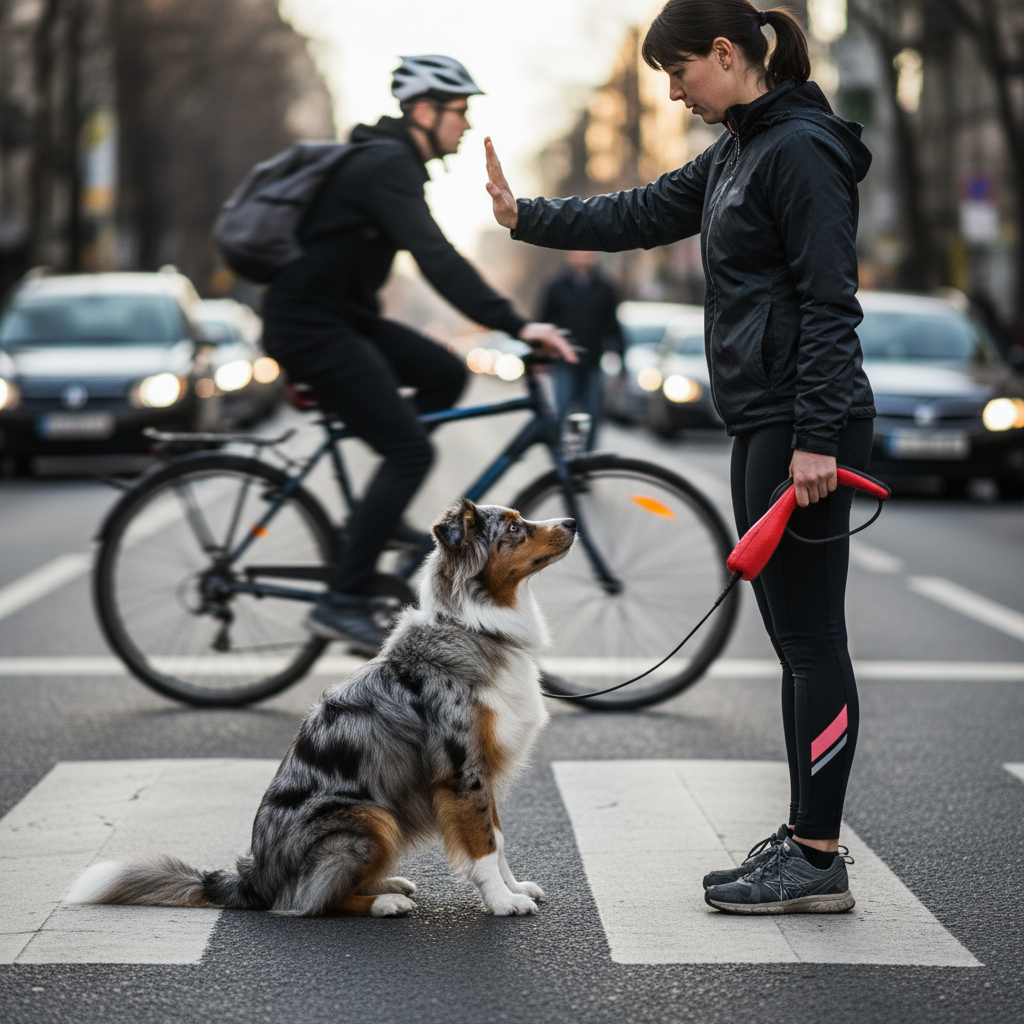
Your dog might have a perfect curb stop on your quiet home street, but what happens when a noisy bus rumbles by or another dog is across the road? ‘Proofing’ is the process of gradually adding distractions to make the command reliable anywhere, anytime.
Start small and build up slowly. The key is to set your dog up for success, not failure.
- Increase the Difficulty: Move your practice sessions to a street with slightly more foot traffic.
- Add Distractions: Ask a friend to walk by on the other side of the street. Or, practice near a park where they can see other dogs from a distance. If your dog breaks the ‘wait,’ don’t scold them. Simply use the leash to guide them back to the curb and try again with less distraction.
- Vary the Location: Practice at different intersections, in front of shops, and on different walking routes. The goal is to generalize the behavior so your dog understands that ‘curb’ means every curb, not just the one in front of your house.
Remember, every time your dog successfully holds their position despite a distraction, give them a ‘jackpot’ reward—a bunch of treats instead of just one—to show them they did an amazing job!
Troubleshooting Common Roadblocks
Training is never a straight line, and it’s perfectly normal to hit a few bumps in the road. Here’s how to handle some common challenges with a cool head and a pocket full of treats.
Problem: My dog keeps pulling ahead and won’t stop with me.
Solution: You might be moving too fast. Go back to basics. Practice ‘loose-leash walking’ skills inside your home first. On walks, if your dog pulls, simply stop and stand still like a tree. Don’t move forward again until the leash is slack. For the curb stop, make your own stop more obvious and use a higher-value treat to make staying with you more rewarding than pulling ahead.
Problem: My dog gets too distracted by everything to focus.
Solution: The environment is likely too challenging for their current skill level. Find a less distracting location to practice. Also, make sure you’re using treats that are truly irresistible. You can also try a ‘find it’ game on the grass before you start training to get their brain engaged and focused on you.
Problem: My dog stops, but then immediately tries to lunge into the street.
Solution: You need to work on the duration of the stop. After they stop, ask for a sit. Then, reward them for sitting for one second, then two, then five. Slowly build up the time they can hold the position. Also, ensure your ‘release’ cue (like “Okay!”) is very clear and distinct, so they learn to wait for it.
Conclusion
Teaching your dog to stop at the curb is more than just another command; it’s a lifelong gift of safety. It transforms chaotic city crossings into moments of connection and trust between you and your best friend. Be patient, stay positive, and celebrate every small success along the way. With consistency and a handful of tasty treats, you’ll build a reliable habit that will give you peace of mind on every walk you take together. Now, grab that leash and get ready to create a safer, happier life for your city pup!