Snow & Salt Protection: How To Get Your Dog To Actually Wear Boots
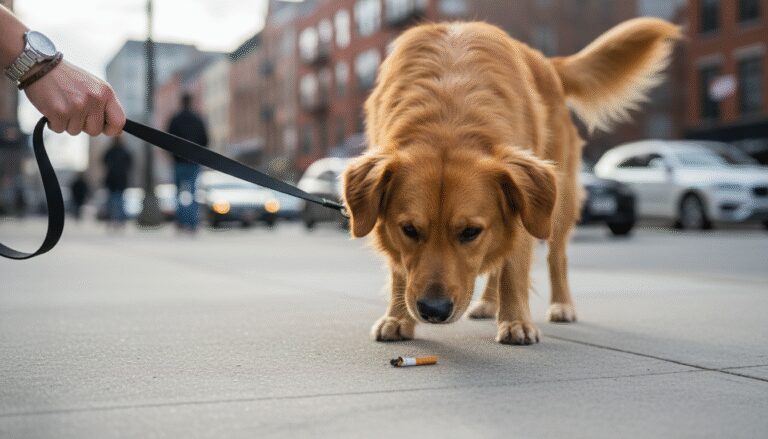
Winter brings a picturesque landscape, but for our canine companions, it introduces a hidden minefield of hazards. While many owners worry about the ambient temperature, the ground itself poses the most significant threat. Ice melt chemicals—specifically sodium chloride, calcium chloride, and magnesium chloride—are ubiquitous on sidewalks and roads. These substances can cause severe chemical burns to a dog’s paw pads and, if ingested through licking, lead to gastrointestinal toxicity.
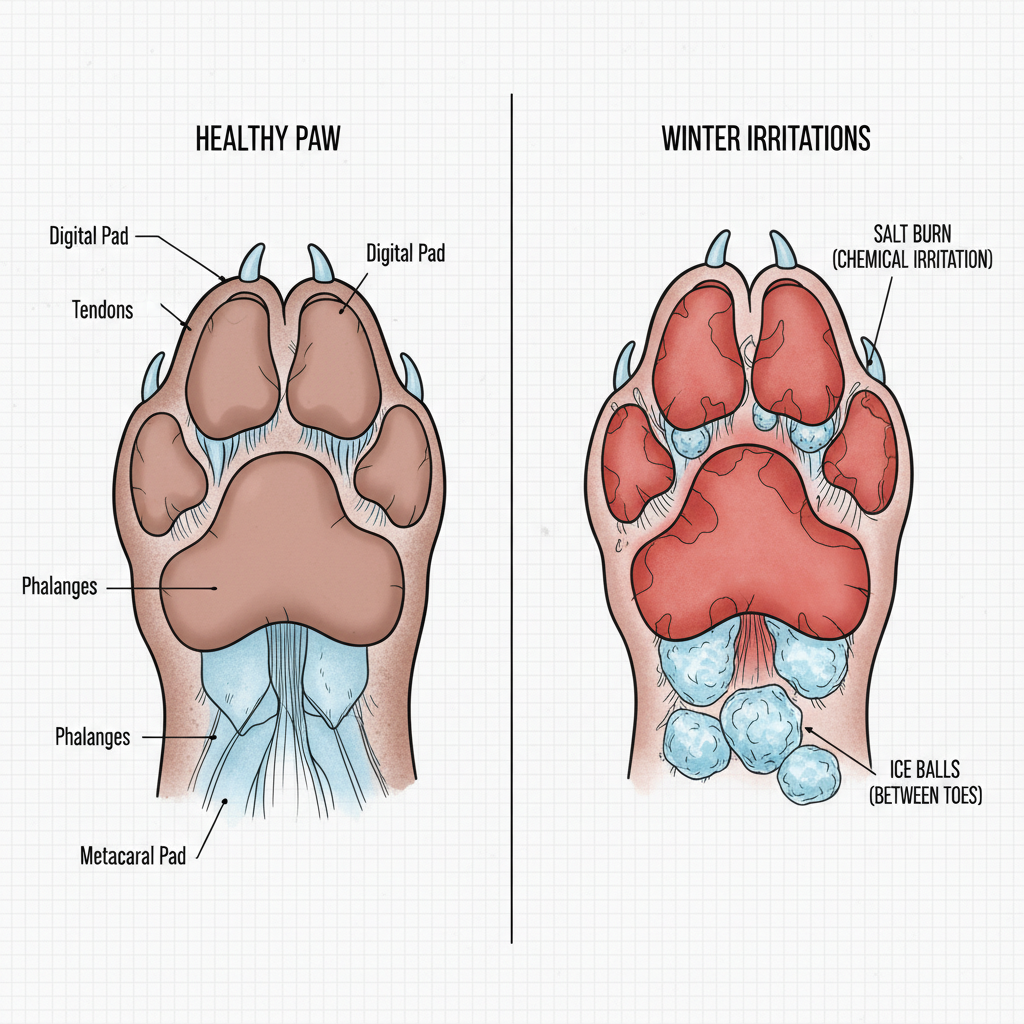
Furthermore, the accumulation of snow and ice between the toes can form painful ‘ice balls’ that stretch the skin and cause limping. The solution is simple in theory: dog boots. However, in practice, convincing a dog to wear footwear is often a comedic struggle involving high-stepping, freezing in place, or frantic kicking. As a canine specialist, I assure you that with the right desensitization approach and patience, almost any dog can learn to tolerate, and even appreciate, the protection boots offer. This guide will walk you through the physiological reasons for paw protection and the step-by-step training protocol to get your dog geared up for winter.
The Veterinary Perspective: Why Boots Are Not Just a Fashion Statement
Before diving into the training, it is crucial to understand the medical necessity of paw protection. The pads of a dog’s feet are tough, but they are not impervious to extreme chemistry or temperature. When temperatures drop significantly, the blood vessels in a dog’s extremities constrict to preserve core body heat, making paws susceptible to frostbite. However, the chemical threat is often more immediate.
Common Winter Hazards Include:
- Chemical Burns: Rock salt and de-icers are caustic. Prolonged contact can erode the pad surface, leading to raw, painful sores that take weeks to heal.
- Toxic Ingestion: Dogs naturally groom their paws after a walk. Ingesting de-icing salts can cause drooling, vomiting, and electrolyte imbalances.
- Mechanical Injury: Sharp ice shards can slice pads, while ice accumulation between toes acts like a rock in a shoe, causing bruising and abrasion.
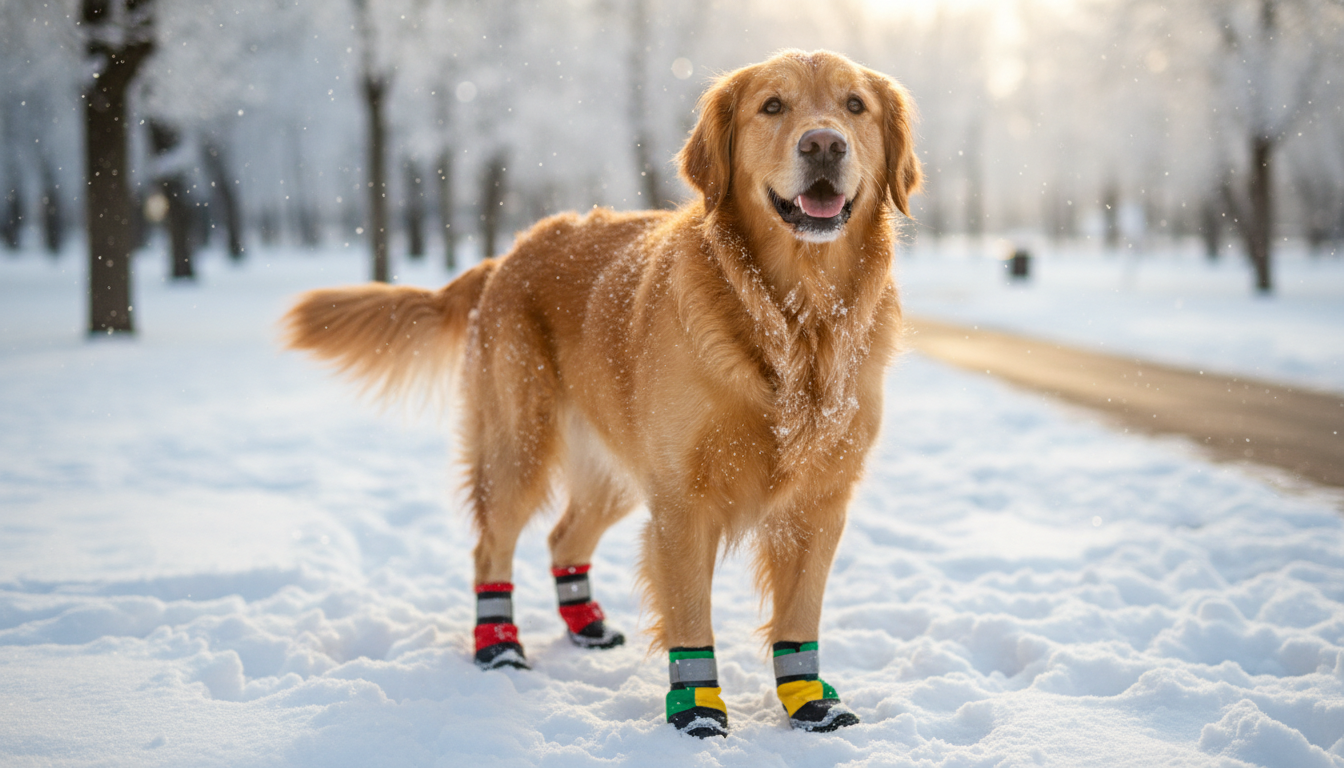
Boots provide a physical barrier against these elements, serving as preventative medicine that saves you from costly veterinary visits and your dog from unnecessary pain.
Selecting the Right Gear: Fit is Everything
The primary reason dogs reject boots is discomfort caused by poor fit. Unlike human shoes, dog boots are not standardized, and a dog’s front paws are often slightly larger than their rear paws. Attempting to train a dog to wear ill-fitting boots is counterproductive and creates a negative association with the equipment.
Key Selection Criteria
When shopping for boots, consider the following:
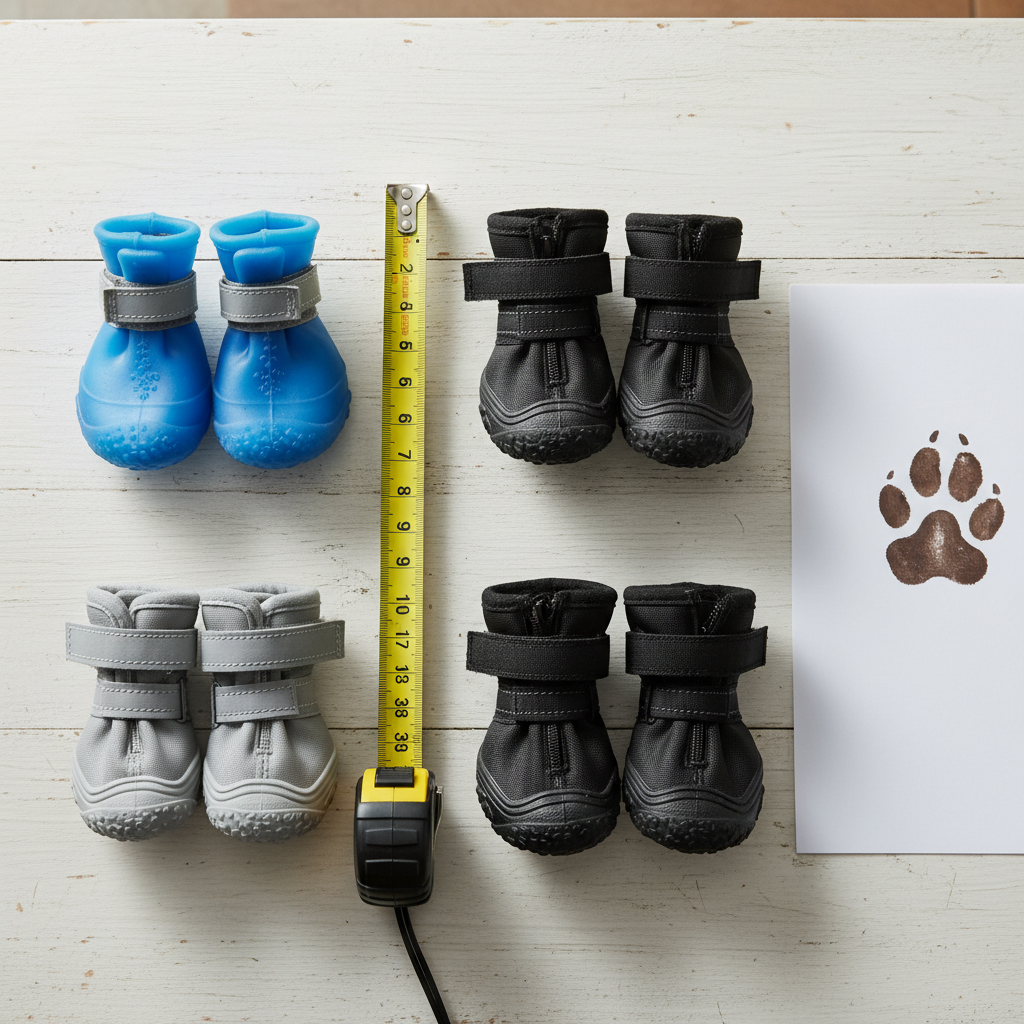
- Width vs. Length: Most manufacturers size by paw width. You must measure the widest part of the paw while the dog is standing (bearing weight), as the toes splay out.
- Sole Flexibility: A sole that is too rigid interferes with the dog’s proprioception (their sense of where their feet are). Look for flexible, rugged soles that mimic the natural movement of the paw.
- Closure System: Double-strap Velcro systems generally offer the most security. Boots that slip off during a walk can become a choking hazard or simply get lost in a snowbank.
If your dog has dewclaws, ensure the boot’s cuff does not rub against this sensitive nail, as friction here can cause significant irritation.
Phase 1: Desensitization and Handling

Do not attempt to put the boots on your dog five minutes before a walk. The training process begins days or weeks in advance, inside your home, in a low-stress environment. The goal is to change the dog’s emotional response to having their feet handled.
The Handling Protocol:
- Touch and Treat: Gently touch your dog’s paw. Immediately say “Yes” (or click) and give a high-value treat. Repeat this until the dog anticipates the treat when you reach for their paw.
- Introduce the Object: Place the boot on the floor. If the dog sniffs it, reward them. We want the presence of the boot to predict good things.
- Desensitize to Sound: If the boots have Velcro, the ripping sound can be startling. Open and close the Velcro at a distance, tossing a treat to the dog each time the sound occurs, gradually moving closer as they remain calm.
If at any point the dog pulls away or shows signs of stress (lip licking, yawning, turning away), you have moved too fast. Go back to the previous step.
Phase 2: The Cinderella Step (Putting Them On)
Once your dog is comfortable with handling and the sight of the boots, you can attempt to put them on. This should be done one paw at a time.
The Application Process
Start with a front paw, as these are easier for the dog to balance on while you manipulate the limb.
- Step 1: Open the boot as wide as possible.
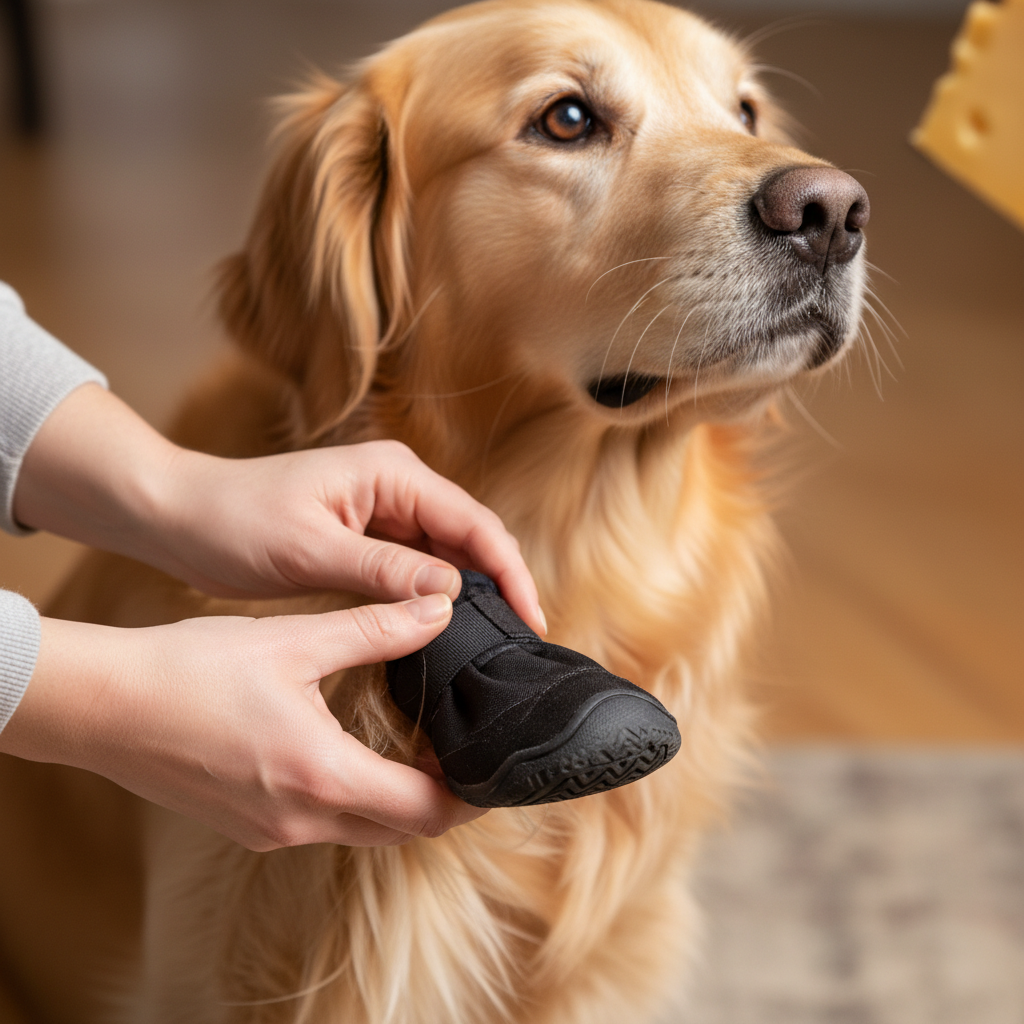
- Step 2: While feeding the dog a steady stream of treats (peanut butter on a lick mat works wonders here), slip the boot over the paw.
- Step 3: Do not fasten it yet. Just let the paw sit inside for 5 seconds, then remove it and stop the treats.
- Step 4: Repeat, gradually increasing the time. Once the dog ignores the boot on their foot, fasten the strap loosely, treat, and immediately remove.
Repeat this process for all four paws individually before attempting to put two or four boots on simultaneously.
Phase 3: Overcoming the ‘Statue’ Freeze
It is entirely normal for a dog to freeze or lift their legs in an exaggerated ‘high-step’ march when they first wear boots. This is a sensory processing reaction; they cannot feel the floor as they usually do, and the sensation of the cuff around their ankle is novel.
How to Get Them Moving:
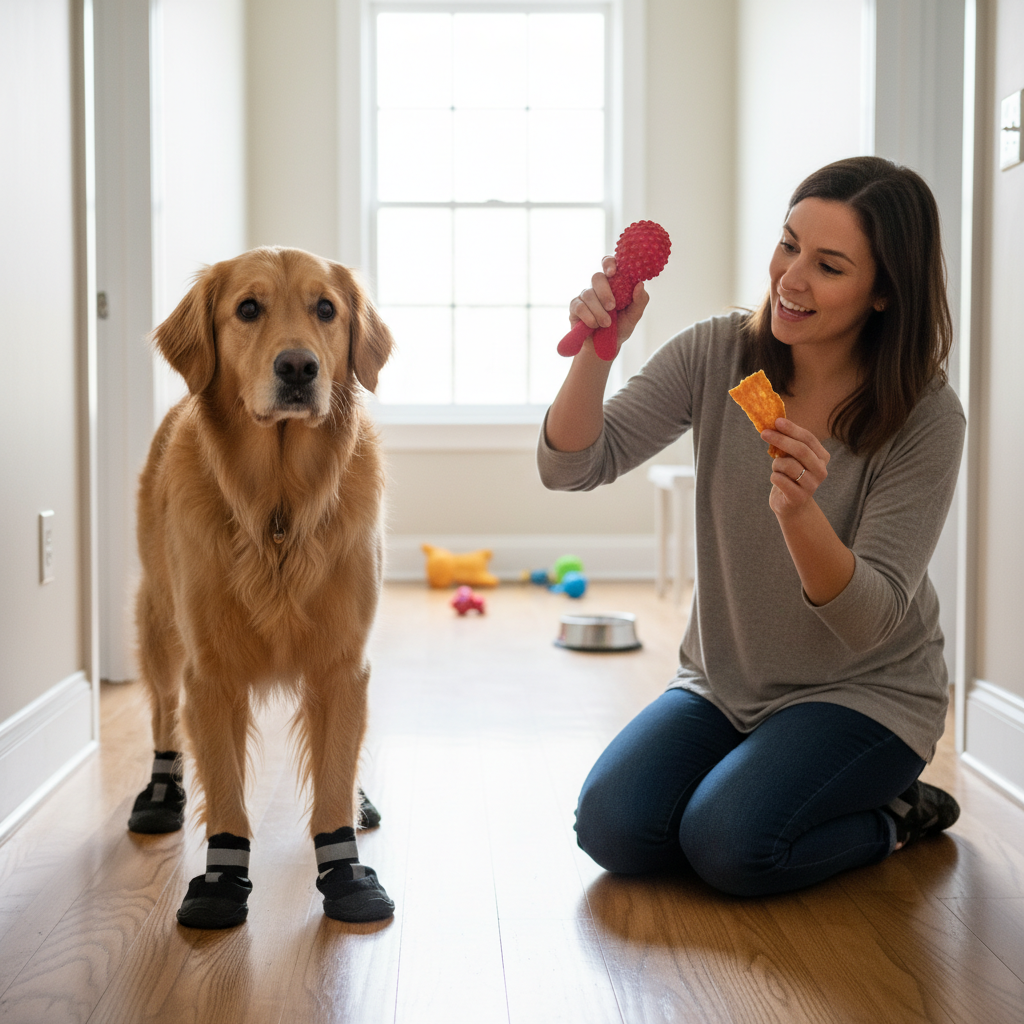
- High-Value Luring: Use a piece of boiled chicken or cheese to lure the dog forward. The moment they take a step, praise heavily.
- Engage Drives: If your dog is toy-motivated, toss a ball or engage in a game of tug. The excitement of play often overrides the weird sensation of the boots.
- Keep it Short: The first session with all four boots on should last no longer than 2-3 minutes. End the session on a high note before the dog tries to chew them off.
Never laugh at the dog during this phase. While the high-stepping is amusing to humans, the dog is feeling vulnerable. Your laughter can be interpreted as strange energy, adding to their anxiety.
Final Thoughts: Consistency is Key
Transitioning a dog to wearing boots is a process that requires empathy and patience. By breaking the training down into manageable steps—desensitization, fitting, and movement—you transform a scary, foreign object into a signal that an exciting outdoor adventure is about to begin. Remember that protection from salt and ice is a vital component of winter health care. The effort you put into training now will pay dividends in your dog’s comfort and paw health for years to come. Stay consistent, keep the rewards high, and enjoy your winter walks without the worry of injury.