Pure Omega-3: How to Dehydrate Fish Skins for Shiny Coats
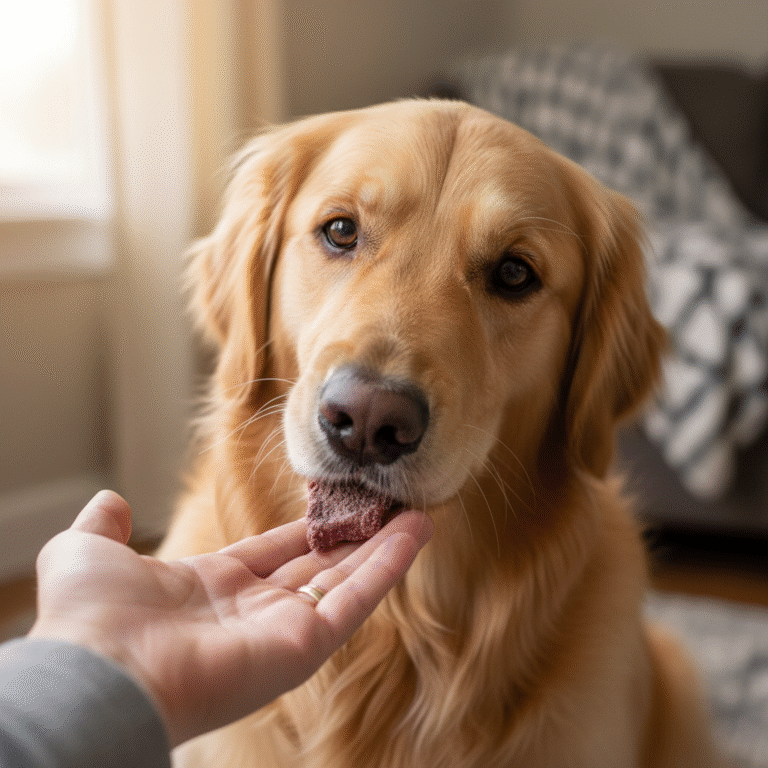
Hey there, fellow dog lover! Have you ever looked at your furry best friend and wished their coat had just a little more… sparkle? That glossy, touchably soft fur isn’t just for show dogs. A shiny coat is often a sign of great internal health, and one of the best-kept secrets to achieving it is hiding right in your kitchen: fish skins!
We all know about the amazing benefits of Omega-3 fatty acids, but supplements can be pricey and, let’s be honest, a bit of a hassle. What if I told you that you could make a delicious, high-value, Omega-3-packed treat for your dog using something you might normally throw away? Get ready to transform fish skins into crunchy, nutritious chews that will have your dog’s coat gleaming and their tail wagging. Let’s dive into the simple process of dehydrating fish skins at home!
The ‘Why’ Behind the Chew: Unpacking the Benefits of Fish Skins

Before we roll up our sleeves and get to the ‘how,’ let’s talk about the ‘why.’ What makes a simple fish skin so fantastic for your dog? It’s all about the powerful nutrients packed inside.
A Treasure Trove of Omega-3s
Fish skins are bursting with Omega-3 fatty acids, particularly EPA (eicosapentaenoic acid) and DHA (docosahexaenoic acid). These aren’t just fancy acronyms; they are essential fats that play a huge role in your dog’s well-being. Their most famous benefit is promoting healthy skin and a shiny coat. Omega-3s help reduce inflammation, soothe dry, itchy skin, and strengthen hair follicles, leading to less shedding and more luster.
More Than Just a Pretty Coat
The benefits don’t stop at skin deep. Omega-3s are also incredible for:
- Joint Health: Their anti-inflammatory properties can help soothe achy joints, making them great for senior dogs or active breeds.
- Brain Function: DHA is a critical component of brain tissue, supporting cognitive function and trainability, especially in puppies.
- Heart Health: These healthy fats contribute to a robust cardiovascular system.
The Collagen Connection
Fish skins are also a fantastic source of natural collagen. Collagen is a protein that acts like the ‘glue’ holding the body together, supporting healthy bones, joints, and skin elasticity. Giving your dog a collagen-rich chew can help maintain their mobility and youthful vigor.
Making your own fish skin treats means you have total control. You’re providing a single-ingredient, high-protein, low-fat snack without any of the weird fillers, preservatives, or artificial flavors found in many commercial treats.
Gearing Up: Tools and Ingredients for Your Fishy Feat
Ready to get started? The great news is you don’t need a lot of fancy equipment. The process is straightforward, and the ingredient list couldn’t be shorter!
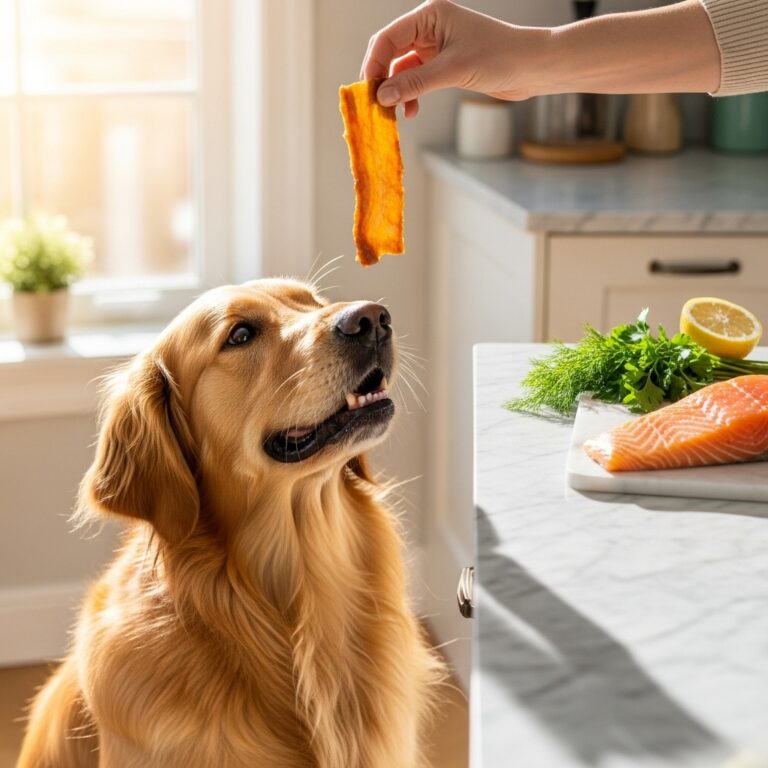
The Star Ingredient:
- Fish Skins: You’ll want skins from fatty, cold-water fish, as they are highest in Omega-3s. Excellent choices include salmon, cod, flounder, or rockfish. Crucially, ensure the skins are de-scaled. You can ask your fishmonger to do this for you, or you can do it yourself by scraping a knife against the grain of the scales.
Essential Tools:
- A Food Dehydrator: This is the best tool for the job. It provides consistent, low heat that safely dries the skins without cooking them, preserving the delicate nutrients.
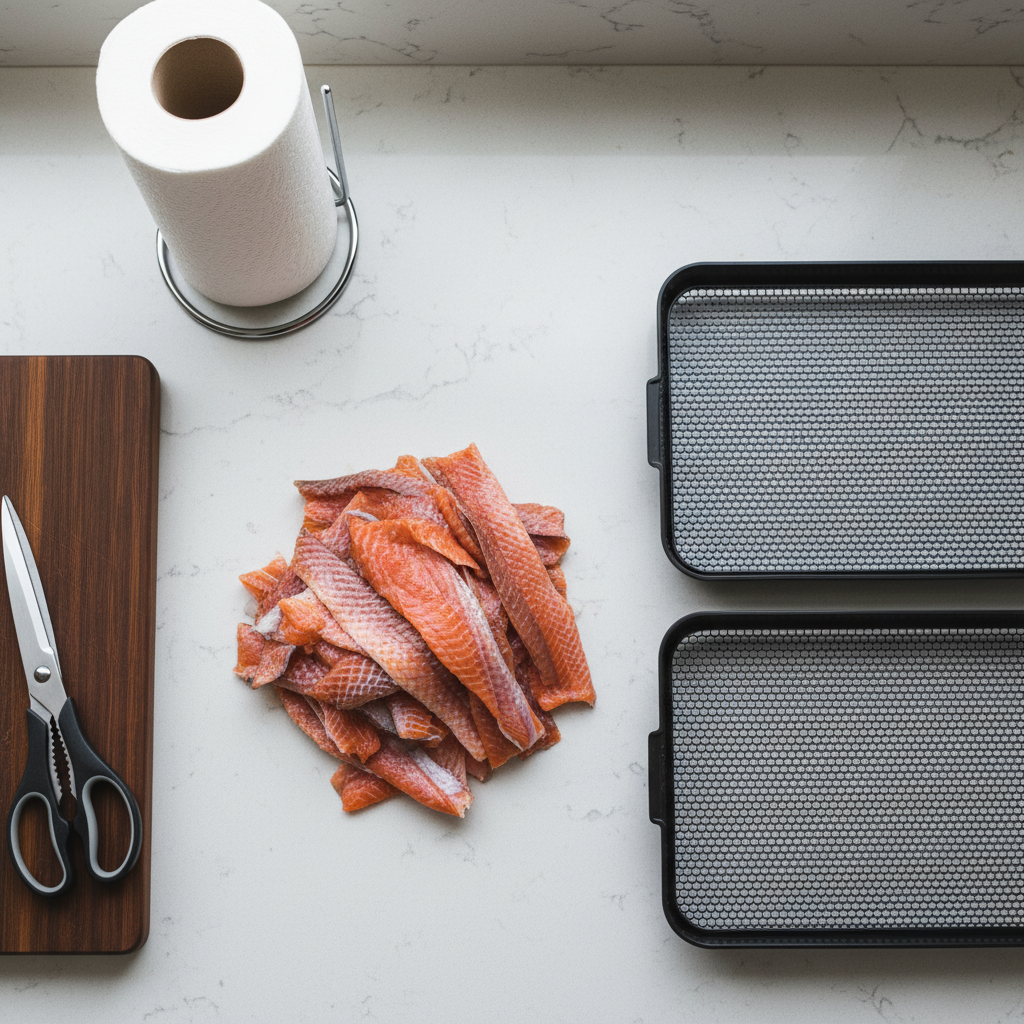
- A Good, Sharp Knife or Kitchen Shears: You’ll need this for cutting the skins into manageable strips. Shears are often easier for cutting through the tough skin.
- Cutting Board: A dedicated board for raw fish is recommended to prevent cross-contamination.
- Paper Towels: For patting the skins dry.
What If I Don’t Have a Dehydrator?
No dehydrator? No problem! You can use your oven. The key is to set it to the lowest possible temperature (usually around 170-200°F or 75-95°C) and prop the door open slightly with a wooden spoon to allow moisture to escape. You’ll also need a wire cooling rack placed on top of a baking sheet to allow for air circulation around the skins.
Your Step-by-Step Guide to Perfectly Crispy Fish Chews

This is where the magic happens! Follow these simple steps, and you’ll have a jar full of irresistible dog treats in no time.
- Source and Prep Your Skins: Start with high-quality, de-scaled fish skins. If they are attached to the fillet, carefully slice the skin away from the flesh. Give the skins a quick rinse under cold water to remove any leftover bits.
- Pat Them Dry: This step is super important! Lay the skins on a layer of paper towels and pat them until they are as dry as possible. The less moisture they start with, the more efficiently they will dehydrate.
- Cut into Strips: Using your sharp knife or kitchen shears, cut the skins into treat-sized pieces. For a fun chew, you can cut them into long, thin strips (about 1-2 inches wide). These will curl up into fun ‘twists’ as they dry. For smaller dogs, you might prefer to cut them into smaller ‘chips’.
- Arrange on Trays: Place the fish skin strips on your dehydrator trays (or your wire rack if using an oven). Make sure to leave a little space between each piece for good air circulation. Do not let them overlap!
- Dehydrate, Dehydrate, Dehydrate: Set your dehydrator to around 160°F (70°C). The drying time can vary widely depending on the thickness of the skins and the humidity in your home, but plan for anywhere from 6 to 10 hours. If using an oven, set it to its lowest temperature and use the wire rack setup.
- Check for ‘Doneness’: How do you know when they’re ready? The fish skins should be completely dry, hard, and brittle. They should snap easily. If a skin bends or feels leathery, it needs more time. Any remaining moisture can lead to mold, so it’s better to over-dry than under-dry.
- Cool Completely: Once they’re perfectly crispy, turn off the appliance and let the skins cool down to room temperature completely before storing them. This prevents condensation from forming in the storage container.
Smart Storage and Serving: Making the Goodness Last
You’ve made a beautiful batch of healthy treats, so let’s make sure you store and serve them correctly to keep your pup safe and happy.
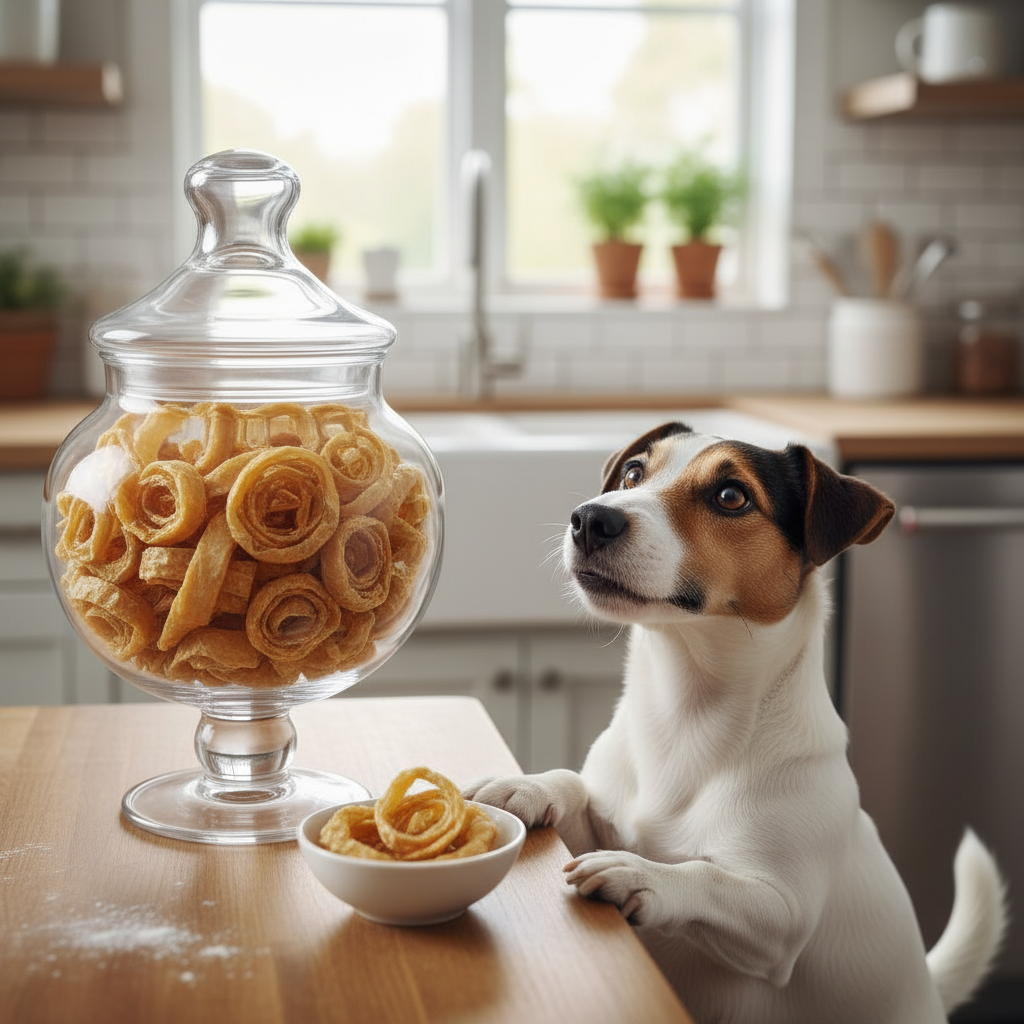
Storing Your Homemade Treats
Because these treats have no preservatives, proper storage is key. Once completely cool, place your dehydrated fish skins in an airtight container. A glass jar with a tight-fitting lid or a zip-top bag works perfectly. Store them in a cool, dark place like a pantry. For longer-term storage, you can keep them in the refrigerator for several weeks or even in the freezer for a few months.
Expert Tip: Toss a food-safe silica gel packet (the kind found in vitamin bottles or seaweed snacks) into your storage container. It will absorb any trace amounts of moisture and keep your chews extra crispy!
How Much is Too Much?
Fish skins are a fantastic treat, but they are still a treat! They should be given in moderation as part of a balanced diet. A good rule of thumb is that treats should not make up more than 10% of your dog’s daily caloric intake.
- For small dogs: A small chip or half of a long twist per day is plenty.
- For medium to large dogs: One or two of the longer chews per day is a good amount.
Always supervise your dog when they are enjoying any chew, including fish skins, to prevent any risk of choking. And, as with any new food, introduce it slowly to make sure it agrees with your dog’s digestive system.
Conclusion
And there you have it! You’re now equipped with the knowledge to turn a simple kitchen scrap into a super-powered snack for your four-legged family member. By making your own dehydrated fish skins, you’re not just saving money; you’re providing a pure, single-ingredient treat that directly contributes to your dog’s health and vitality. The next time you enjoy a salmon dinner, save those skins and treat your pup to a crunchy, delicious dose of Omega-3s. Get ready to watch them crunch, chew, and glow with health from the inside out!