Picasso Paws: How To Teach Your Dog To Paint A Masterpiece (Mess Free)
Have you ever looked at your dog and thought, ‘There’s a hidden artist in there’? Well, you might be right! Teaching your dog to paint is more than just a cute trick; it’s a fantastic form of mental enrichment that stimulates their brain and strengthens your bond. It allows them to engage in a creative process in a way that’s natural and fun for them.
But wait, are you picturing paint-splattered walls and colorful paw prints all over your clean floors? Don’t worry! We’re going to show you a brilliant, 100% mess-free method that uses your dog’s favorite activity (licking!) to create a one-of-a-kind masterpiece. Get ready to turn your pup into a paw-casso and create a piece of art you’ll cherish forever.
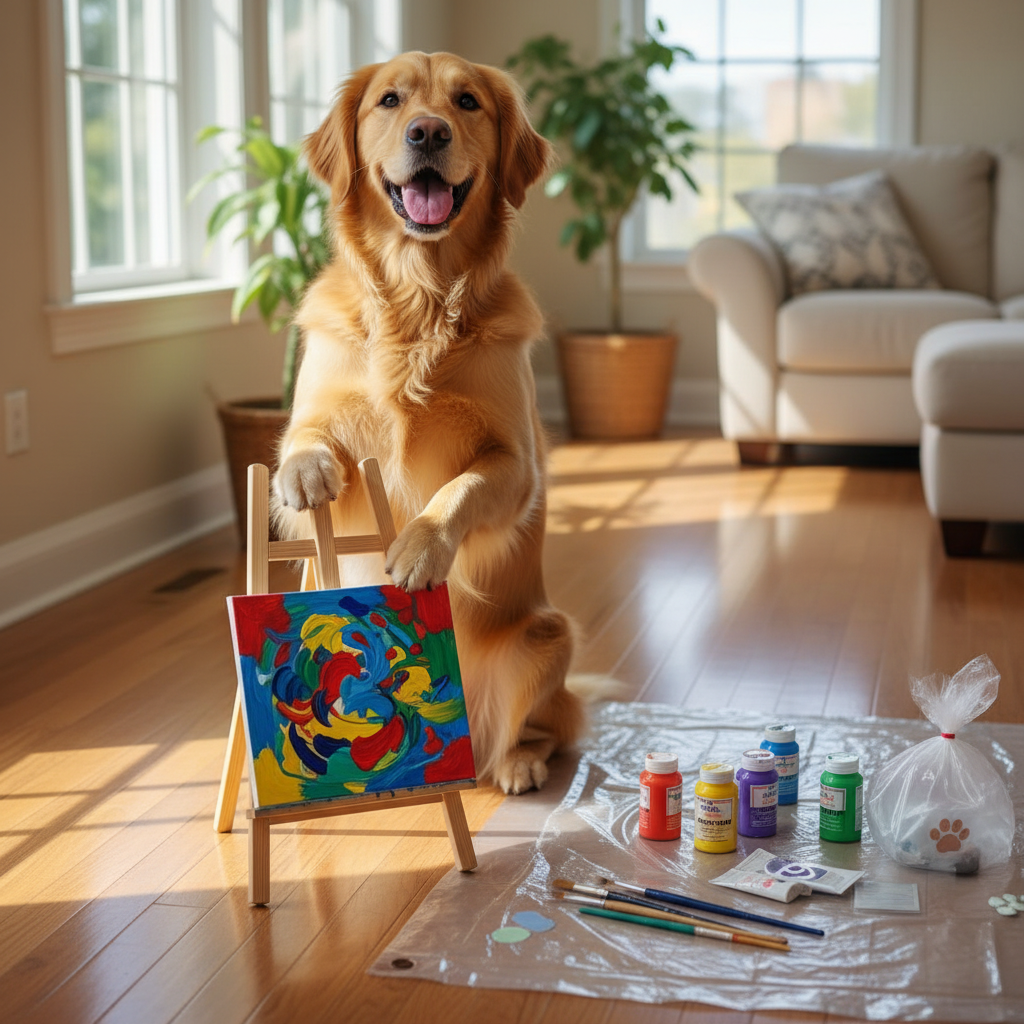
Gathering Your Canine Canvas & Colors: What You’ll Need

Before your furry friend can start their artistic journey, you’ll need to gather a few simple supplies. The key here is ensuring everything is completely safe for your pet. Here’s your shopping list:
- A Canvas: A small 5×7 or 8×10 canvas is perfect to start. You can find these at any craft store.
- Pet-Safe, Non-Toxic Paint: This is the most important item! Look for water-based, non-toxic paints like children’s finger paints or specific non-toxic acrylics. Always check the label to ensure it’s safe.
- A Large, Heavy-Duty Ziploc Bag: A gallon-size freezer bag works great. It needs to be large enough to fit your canvas inside and sturdy enough to withstand enthusiastic licking.
- A Lickable, High-Value Treat: Something you can smear! Think xylitol-free peanut butter, plain yogurt, cream cheese, or even pureed sweet potato. Choose something your dog absolutely loves.
- A Hard Surface (Optional): A clipboard or a small piece of cardboard can make it easier to handle the canvas, but it’s not essential.
Expert Tip: When choosing paint colors, pick 3-4 colors that blend well together. Classic combinations like blue, yellow, and white or pink, purple, and gold often produce beautiful results and are less likely to turn into a muddy brown.
Step 1: Prepping the Canvas for Paws-ibilities
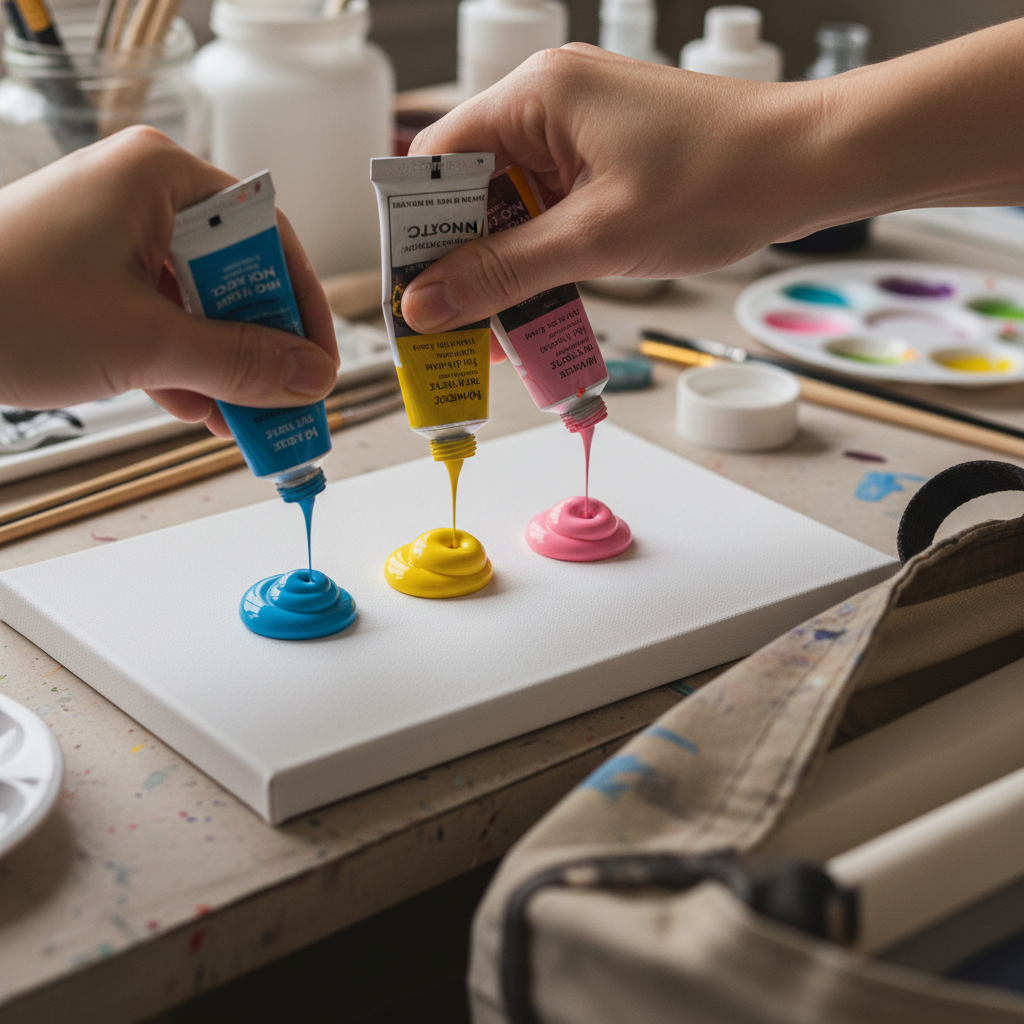
This is where the magic begins, and it’s your job as the ‘art assistant.’ The goal is to get the paint onto the canvas without it getting anywhere else. It’s simple!
- Add the Paint: Squeeze small dollops of your chosen paint colors directly onto the canvas. Don’t be afraid to experiment! You can place them in a random pattern, in lines, or in a circle in the middle. Remember, a little goes a long way. Too much paint will lead to a muddled final product.
- Bag the Art: Very carefully, open the large Ziploc bag. Without letting the paint touch the sides of the bag, slide the canvas all the way to the bottom.
- Seal it Up: Press out as much air as you can and seal the bag securely. Double-check that it’s completely closed. Your canvas is now prepped and safely contained, ready for the artist!
Step 2: Let the Licking & Painting Begin!

Now for the fun part! This step is all about letting your dog do what they do best. Find a comfortable spot on the floor for you and your pup.
Lay the bagged canvas flat on the ground. Take your dog’s favorite smearable treat and spread a thin layer of it all over the outside of the bag, directly on top of the canvas area. Introduce your dog to their ‘tasty canvas’ and encourage them to start licking!
As your dog licks and nudges the bag to get every last bit of the treat, their tongue and nose will push the paint around underneath. They are officially painting! Let them lick away until most of the treat is gone or until you see that the paint has been spread around nicely. Keep the session short and sweet, filled with praise and encouragement like ‘Good job!’ and ‘You’re an artist!’.
Important Safety Note: Always supervise your dog during this activity. While the method is mess-free, you want to ensure your dog doesn’t get frustrated and try to chew or ingest the plastic bag.
Step 3: The Grand Unveiling & Drying
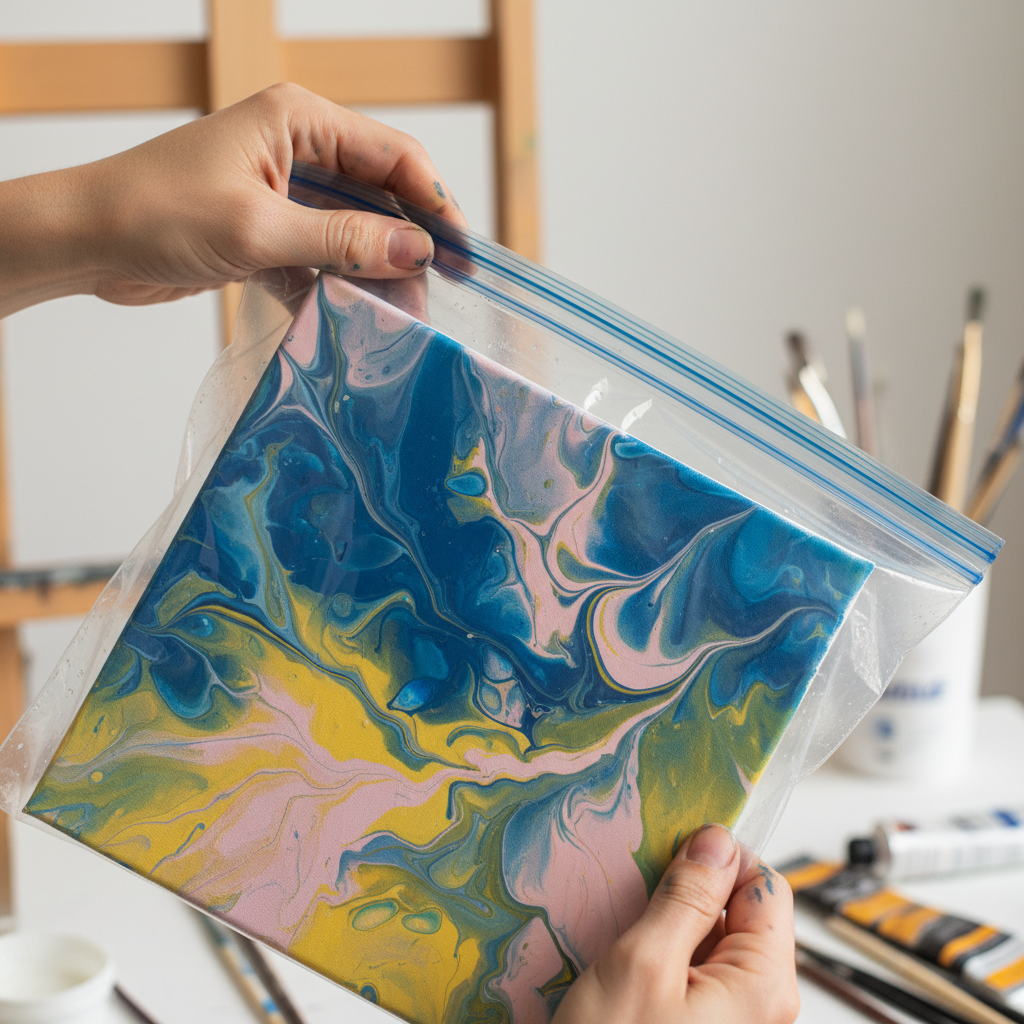
Once your pup has finished their creative session, it’s time to reveal the masterpiece. Take the bag from your dog and give them a final ‘well done’ pat or a small bonus treat for their hard work.
Find a clean area and carefully open the Ziploc bag. Gently grip the edges of the canvas and slide it out. You’ll have a unique, wet, abstract painting! Place it somewhere safe, flat, and out of reach of pets and children to dry completely. Depending on the thickness of the paint, this can take anywhere from 24 to 48 hours.
Once it’s fully dry, you have a finished piece of art made by your best friend! You can write your dog’s name and the date on the back to commemorate the occasion. Now all that’s left is to decide where to display it with pride.
Conclusion
And there you have it! You’ve successfully guided your dog through their first art project without a single drop of paint on your carpet. This activity is so much more than a novelty; it’s a sensory experience that builds confidence, busts boredom, and creates a tangible memory of the special bond you share.
So, the next time you’re looking for a fun, indoor activity, grab your supplies and let your dog’s inner Picasso shine. Frame it, hang it on the wall, or give it as a heartfelt gift. Every time you look at it, you’ll smile knowing your talented pup created it just for you.