Mobility Aid Safety: Desensitizing Dogs to Crutches, Canes, and Walkers
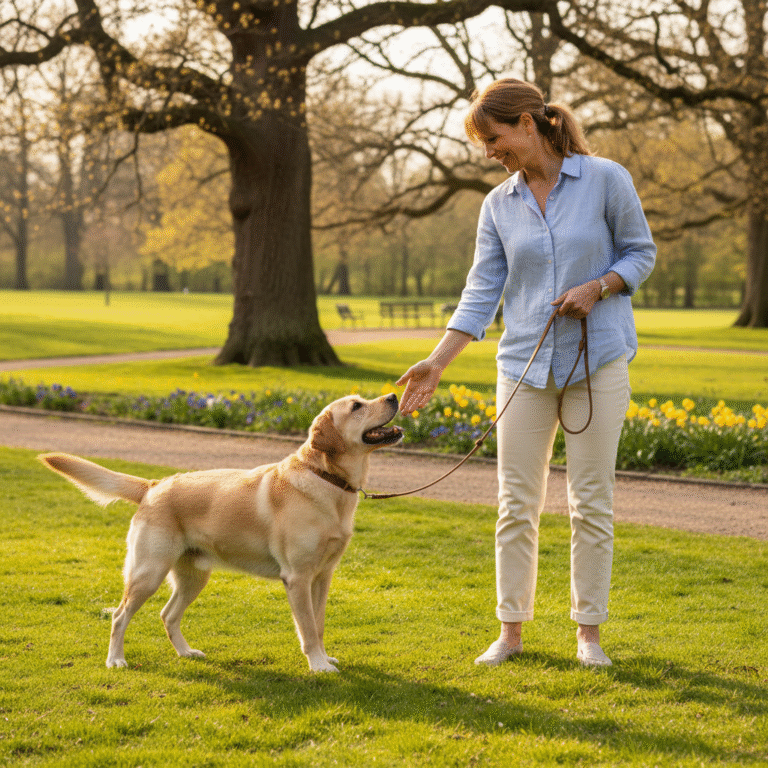
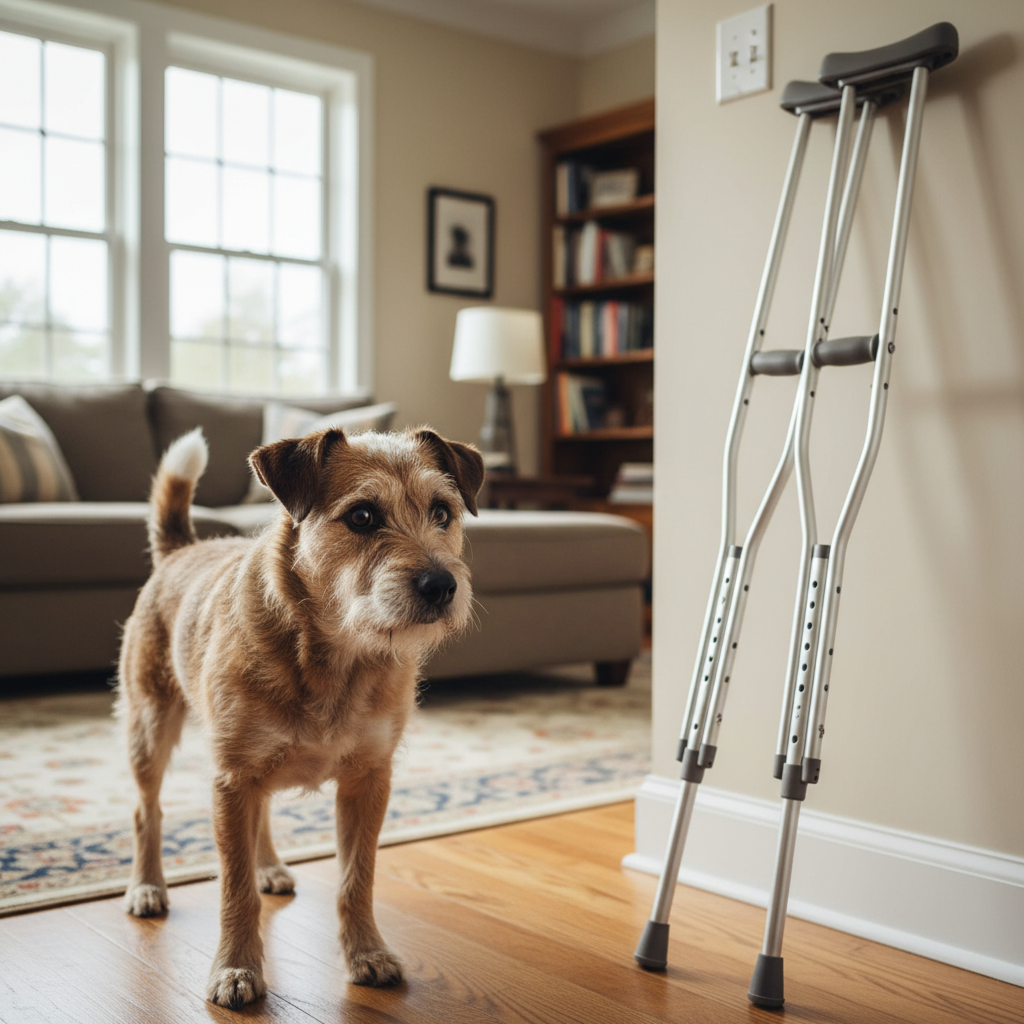
Bringing a new mobility aid—like a walker, cane, or crutches—into your home can be a big adjustment for you. But have you ever stopped to think about how it looks from your dog’s perspective? Suddenly, there’s a strange, new object that changes the way you move, sound, and even smell. For many dogs, this can be a source of fear, anxiety, or over-excitement, leading to tripping hazards and stress for everyone involved. The good news is that with a little patience and positive reinforcement, you can help your furry friend see that new walker as just another part of the furniture. This guide will walk you through the gentle process of desensitizing your dog, turning potential fear into comfortable acceptance.
Why Your Dog Might Be Wary of Walkers and Canes
Before we dive into the ‘how,’ let’s understand the ‘why.’ Dogs are creatures of habit and are highly sensitive to changes in their environment. A mobility aid is a triple threat to their sense of normalcy:
- It’s a Strange Object: It doesn’t look or smell like anything familiar. Is it a toy? A threat? A weird, lanky creature? Your dog doesn’t know, and that uncertainty can be scary.
- It Makes Weird Noises: The scrape of a walker, the tap-tap-tap of a cane, or the clank of crutches can be startling. Dogs have sensitive hearing, and these new sounds can trigger a fear response.
- It Changes You: The way you walk, stand, and move is fundamentally different when using a mobility aid. Your silhouette changes, and your movements might be less predictable. This can be confusing and unsettling for a dog who is used to your normal rhythm.
Recognizing that your dog’s reaction isn’t them being ‘bad’ but rather ‘scared’ or ‘confused’ is the first step. Our goal is to reframe the mobility aid from a scary monster into a boring, everyday object that predicts good things, like treats and praise.
Gathering Your Tools for a Peaceful Introduction
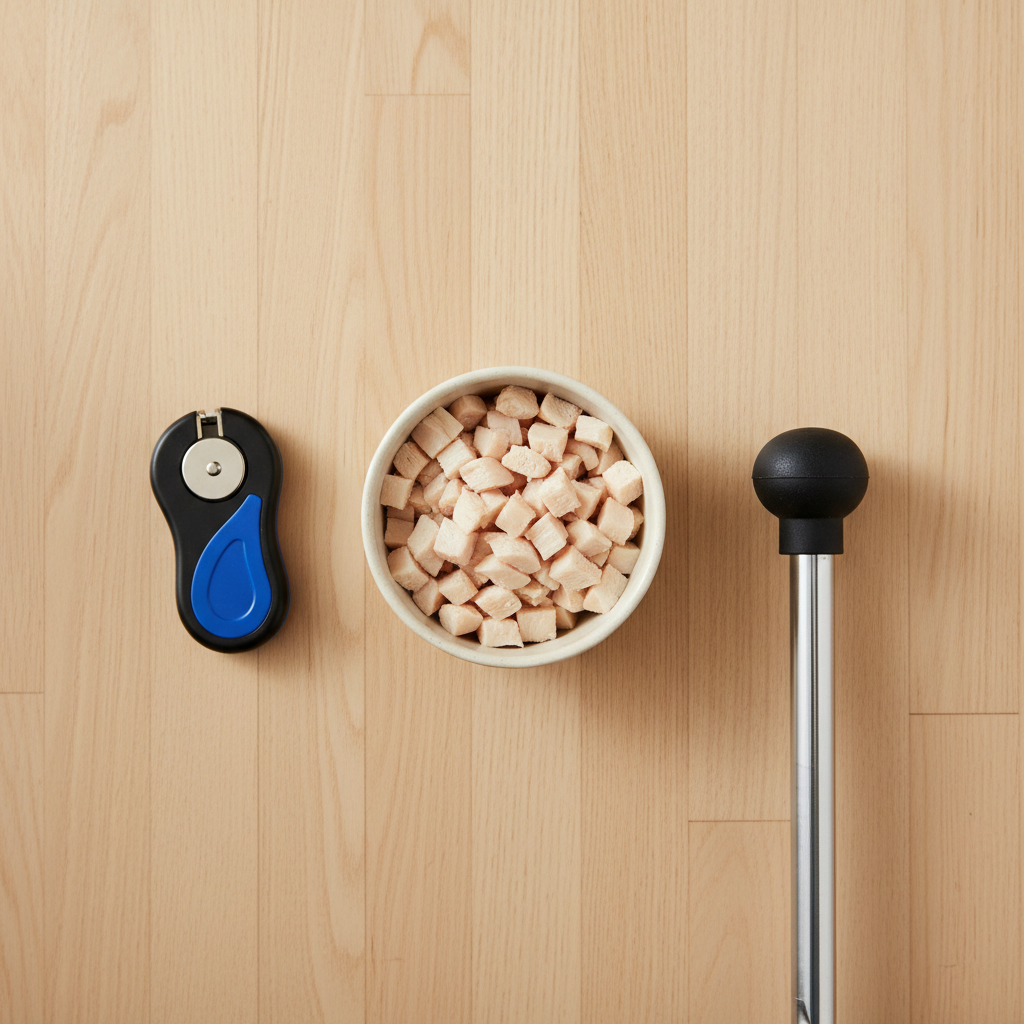
Success in dog training often comes down to preparation. You don’t need a lot of fancy equipment, just a few key items to make the process smooth and positive. Before you begin, get these things ready:
- High-Value Treats: We’re not talking about their regular kibble. Think small, pea-sized pieces of boiled chicken, cheese, hot dogs, or their absolute favorite store-bought treat. The yummier the reward, the faster your dog will build a positive association.
- The Mobility Aid: Have the crutches, cane, or walker nearby, but not so close that it’s already intimidating your dog.
- A Quiet, Comfortable Space: Choose a room where your dog feels safe and there are minimal distractions. Avoid starting this training during a busy time of day when people are coming and going.
- Patience and a Positive Attitude: This is the most important tool! This process can take a few minutes for a confident dog or a few weeks for a timid one. Go at your dog’s pace and keep every session short, fun, and upbeat.
Your Step-by-Step Guide to Desensitization

This process is all about baby steps. We’ll slowly increase the interaction with the mobility aid, rewarding our dog for calm behavior at every stage. Keep sessions to just 5-10 minutes once or twice a day to avoid overwhelming your pup.
-
Step 1: The Aid is Just… There
Place the mobility aid in the middle of the room and ignore it. Go about your business. Let your dog investigate it on their own terms. If they sniff it and walk away, calmly praise them and give them a treat. Don’t force interaction. The goal of this step is for the aid to become a boring part of the background.
-
Step 2: You and The Aid
Sit on the floor or a chair near the aid. When your dog approaches, give them a treat. Touch the aid yourself. If your dog stays calm, treat them again. We are teaching them that when you interact with the object, good things happen for them.
-
Step 3: A Little Bit of Motion
While sitting, gently rock or wiggle the mobility aid. Just a tiny movement. Is your dog calm? Treat! If they startle, stop and go back to the previous step for a bit. Repeat this until a small movement doesn’t bother them.
-
Step 4: Adding Sound
Gently tap the aid on the floor to make a soft sound. Treat your dog for staying relaxed. Gradually increase the sound to a normal level. This helps them get used to the noises it will make when you’re moving around.
-
Step 5: Upright and Moving (Slowly!)
Now, stand up and hold the mobility aid as you would normally. Don’t walk yet. Just stand there. Reward your dog for being calm around this new, taller shape. Take one, single, slow step. Reward. Take another. Reward. Keep it slow and positive.
-
Step 6: Walking Together
Take a few slow steps across the room. Toss treats on the floor ahead of you to keep your dog’s focus positive and to prevent them from getting underfoot. Practice walking short distances, rewarding your dog for giving you space and staying calm. This teaches them how to navigate the house with your new ‘accessory’ safely.
Expert Tip: If at any point your dog shows signs of significant fear (tucked tail, shaking, hiding), you’ve moved too fast. Take a break and go back to the last step where they were completely comfortable. It’s a marathon, not a sprint!
Troubleshooting Common Bumps in the Road

Sometimes, things don’t go exactly as planned. Here are a few common challenges and how to handle them:
My Dog Keeps Barking at It!
Barking is often a ‘distance-creating’ behavior fueled by fear. If your dog barks, you’re likely too close or moving too fast. Increase the distance between your dog and the aid, and go back to a simpler step in the process. Reward silence and calm behavior, no matter how brief.
My Dog Tries to Chew or Play With It!
This is common with puppies and playful dogs who see the aid as a giant new toy. Teach a solid ‘Leave It’ command separate from this training. If they try to mouth the aid, redirect their attention to an appropriate toy. Never encourage them to see the aid as a plaything, as this can lead to them knocking it over when you need it most.
My Dog Is Constantly Underfoot!
This is a major safety concern. Practice the ‘toss the treat’ game mentioned in Step 6 to teach them that good things happen when they are a few feet away from you and the aid. You can also train a ‘go to your mat’ cue, giving them a safe and rewarding place to be while you’re moving around.
Conclusion
Introducing a mobility aid into your dog’s life is a journey of trust and communication. By taking the time to desensitize them through positive, step-by-step training, you’re not just preventing a potential accident; you’re reinforcing your bond. You’re showing them that even when things change, they are safe and loved. Remember to be patient with your dog and with yourself. With consistency and a pocketful of tasty treats, your walker or cane will soon become a normal, non-scary part of your shared life, allowing you both to move around your home with confidence and safety.