Make 500 Tiny Training Treats In 15 Minutes With This Hack
Hey there, fellow dog lover! If you’re deep into the world of positive reinforcement training, you know the secret sauce: high-value treats. And lots of them! But let’s be real, the process can be a pain. You either shell out big bucks for tiny store-bought bags that vanish in a day, or you spend what feels like an eternity chopping hot dogs or cheese into minuscule, crumbly bits. It’s messy, time-consuming, and frankly, a bit of a drag.
What if I told you there’s a better way? A way to create a massive batch of over 500 perfect, pea-sized, healthy training treats with only about 15 minutes of actual work? It sounds too good to be true, but it’s not! Get ready to say goodbye to tedious prep and hello to more rewarding training sessions. This simple hack will completely change your treat-making game, save you money, and make your dog adore you even more (if that’s even possible!).
Gather Your Gear: The Simple Toolkit for Treat Success
The magic of this hack lies in its simplicity. You don’t need to be a professional chef or own any fancy kitchen gadgets. In fact, you probably have most of this stuff already. The one special item is the key to creating hundreds of treats at once, and it’s easily available online or in kitchen stores.
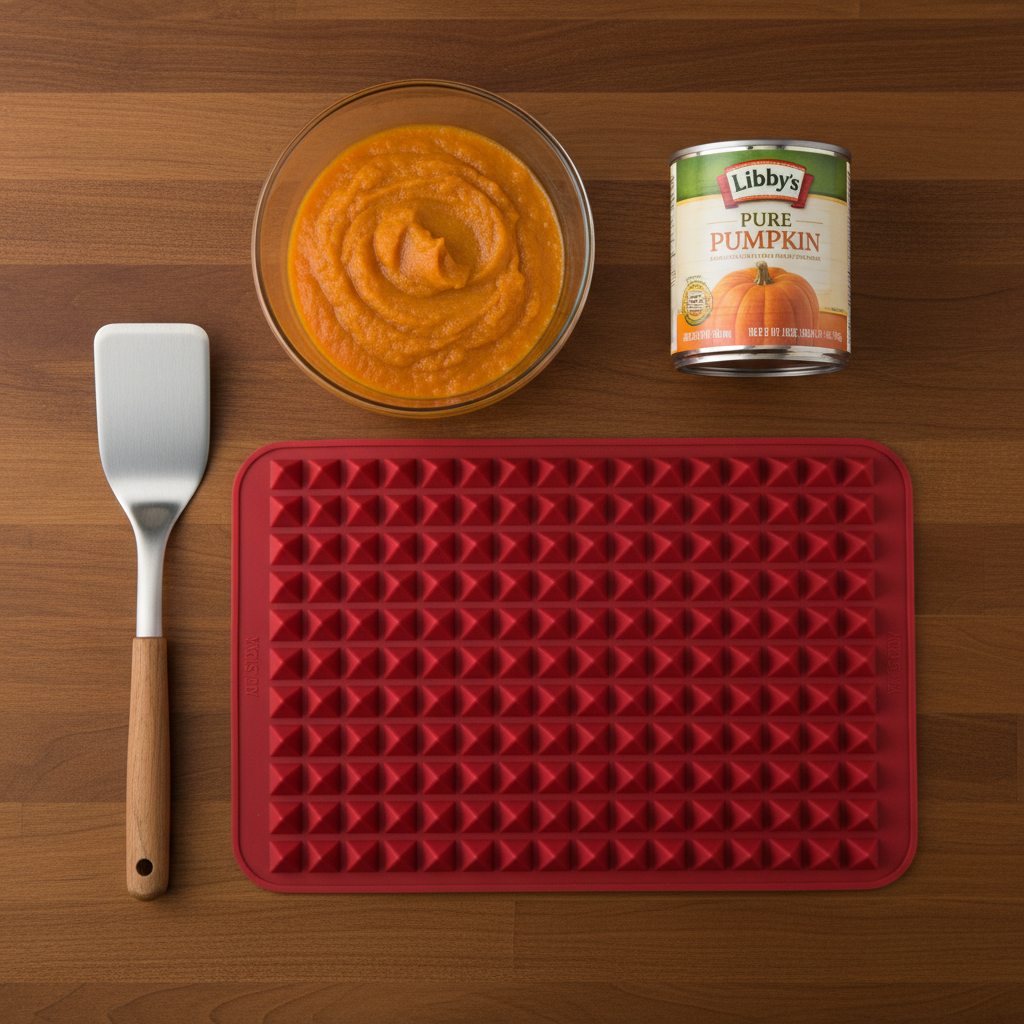
Here’s what you’ll need:
- The Secret Weapon: A silicone pyramid baking mat or a silicone candy mold with very small cavities (like a mini-dot mold). These mats are typically used for letting grease drain away from food, but we’re using them to create perfectly shaped, tiny treats. A standard mat can have over 500 cavities!
- A Blender or Food Processor: To get your ingredients into a smooth, spreadable puree.
- A Spatula: A simple silicone or rubber spatula is perfect for spreading your mixture.
- A Baking Sheet: To place your silicone mat on for stability in the oven.
And for the Ingredients (The Yummy Part!):
The beauty of this method is its versatility. You can use all sorts of dog-safe ingredients. The goal is to create a puree with a yogurt-like consistency. Here are a few simple combinations to get you started:
- The Meaty Classic: One 12.5 oz can of chicken or turkey in water (drained) blended with one egg.
- The Veggie Delight: One cup of plain pumpkin puree mixed with a quarter cup of plain, unsweetened yogurt.
- The Fishy Favorite: One can of sardines in water (no salt added) blended until smooth. (Warning: Your kitchen will smell fishy, but your dog will go wild for these!)
Expert Tip: Always ensure your ingredients are plain and free from harmful additives like salt, sugar, onions, garlic, or xylitol. When in doubt, stick to single-ingredient, dog-safe foods.
The 15-Minute Magic: Your Step-by-Step Guide
Alright, have you got your gear ready? This is where the fun begins. The active prep time here is incredibly short. The oven does most of the work! Follow these simple steps, and you’ll be a treat-making master in no time.
- Preheat Your Oven: Get your oven preheating to 350°F (175°C). Place your silicone mat on top of a baking sheet to make it easy to handle.
- Blend Your Ingredients: In your blender or food processor, combine your chosen ingredients. Blend until you have a completely smooth puree. You’re looking for a consistency that’s easily spreadable—not too watery, not too thick. If it’s too thick, add a tablespoon of water; if it’s too thin, a sprinkle of oat flour can help.
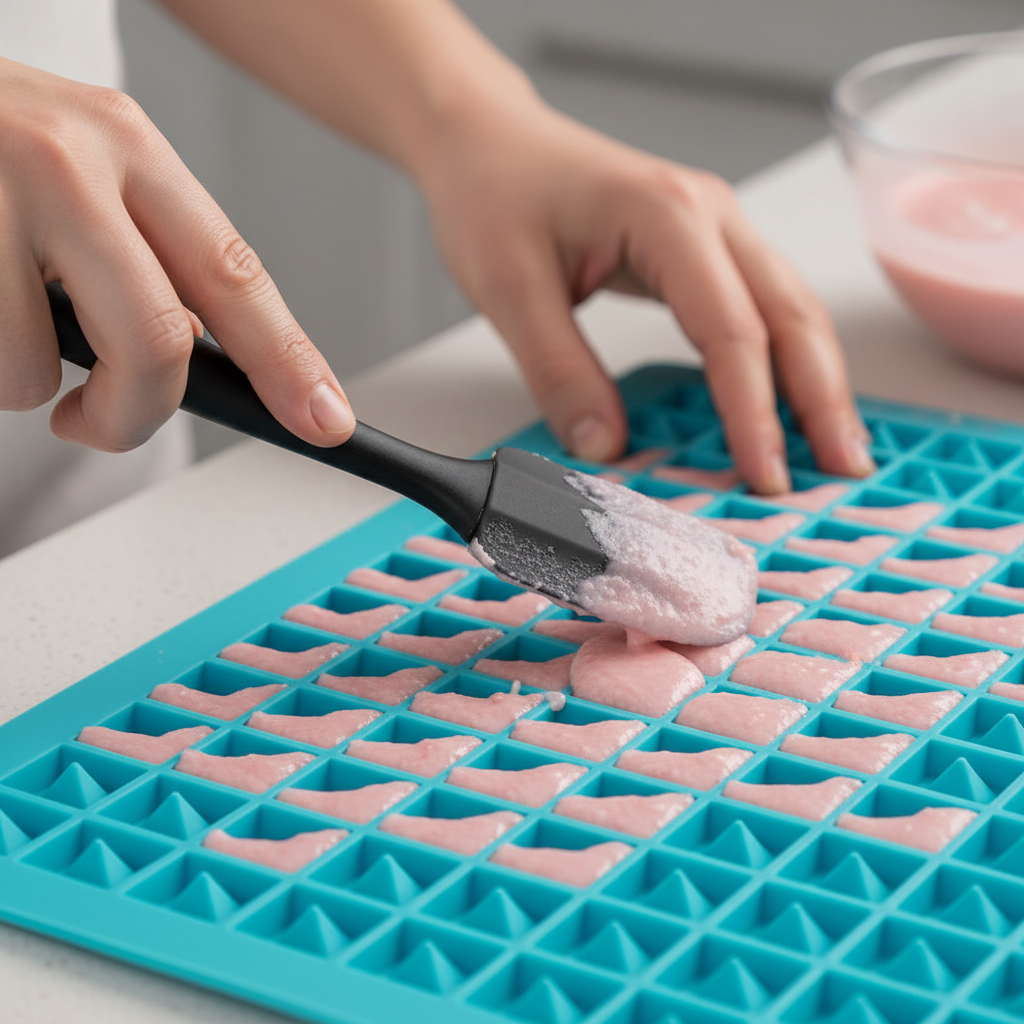
- Spread the Mixture: Pour your puree onto the center of the silicone mat. Using your spatula, spread the mixture evenly across the entire mat. The goal is to fill every single little pyramid or dot cavity. Use the flat edge of the spatula to scrape off any excess from the top, ensuring the treats will be individual units. This is the most ‘work’ you’ll do, and it only takes a few minutes!
- Bake to Perfection: Place the baking sheet with the filled mat into your preheated oven. Bake for approximately 15-20 minutes. The treats are done when they are dry to the touch and easily pop out of the mold. The exact time will depend on the moisture content of your ingredients.
- Pop ‘Em Out!: Let the mat cool for a few minutes until it’s safe to handle. Then, the most satisfying part: simply flex the mat or peel it back, and watch as hundreds of perfect little treats fall right out! You can also turn it upside down over a clean surface and push them out.
And that’s it! You’ve just turned a few simple ingredients into a massive stash of training gold.
Why This Hack is a Game-Changer for Dog Training

So, you’ve made the treats, but let’s talk about why this method is so revolutionary for you and your furry student. It goes way beyond just saving time.
Perfect Size for Rapid Reinforcement
In training, especially when you’re teaching a new skill, you need to reward your dog frequently. Large treats mean your dog gets full quickly or you spend too much time waiting for them to chew. These tiny, pea-sized treats are perfect for rapid-fire rewards. Your dog gets the taste and the positive association without breaking the training flow or consuming too many calories.
Huge Cost Savings
Let’s do the math. A small bag of high-quality training treats can cost anywhere from $5 to $15 and might last a week if you’re lucky. A can of chicken or pumpkin costs a fraction of that and yields hundreds of treats. Over a year, the savings are astronomical, freeing up your budget for more toys and adventures!
You Control the Ingredients
Is your dog a picky eater? Does he have allergies or a sensitive stomach? With this hack, you are the chef. You have 100% control over what goes into the treats. No more worrying about mystery fillers, preservatives, or allergens that can be found in some commercial products. You can tailor the recipe to your dog’s specific dietary needs and preferences.
High-Value Motivation
Because you can use potent, smelly ingredients like sardines or real meat, these homemade treats are often much higher value to your dog than dry, crumbly store-bought ones. This extra motivation can make a huge difference, helping your dog stay focused and eager to learn, even in distracting environments.
Storing Your Bounty & Fun Flavor Variations

You now have a mountain of treats, so how do you keep them fresh? Proper storage is key to making your 15-minute effort last for weeks or even months.
Storage Solutions:
- Refrigerator: For short-term use, you can store the treats in an airtight container in the fridge. They will typically last for 5-7 days, depending on the ingredients used (meaty treats will spoil faster).
- Freezer: This is the best option for long-term storage! Spread the treats on a baking sheet in a single layer and freeze them for an hour. Once frozen, transfer them to a freezer-safe bag or container. They won’t stick together, and you can easily grab a handful before each training session. They’ll last for up to 3 months in the freezer.
Get Creative with Flavors!
Don’t be afraid to experiment with other dog-safe purees. Keeping the flavors interesting will keep your dog engaged. Try blending these:
- Sweet & Simple: Unsweetened applesauce mixed with a little plain yogurt.
- Liver Lover: Cooked chicken or beef liver blended with a little water until smooth. (A little goes a long way with rich ingredients like liver).
- Berry Blast: A handful of blueberries or strawberries blended with a banana.
- Veggie Power: Cooked, pureed sweet potato or carrots.
Important Note: Always introduce new foods to your dog slowly and in small amounts to ensure they don’t cause any digestive upset. Consult your vet if you have any concerns about specific ingredients.
Conclusion
There you have it—the ultimate dog treat hack that delivers on its promise. In just 15 minutes of active work, you can stock your freezer with hundreds of healthy, perfectly-sized, and highly motivating treats. You’ll save money, have complete control over your dog’s nutrition, and most importantly, you’ll be armed with the best tool for fun and effective training sessions.
So, grab a silicone mat and get blending! Your dog will thank you for it with enthusiastic tail wags and lightning-fast sits. Happy training!