Is Your Dog Ready For A Fire? How To Run A Pet Evacuation Drill
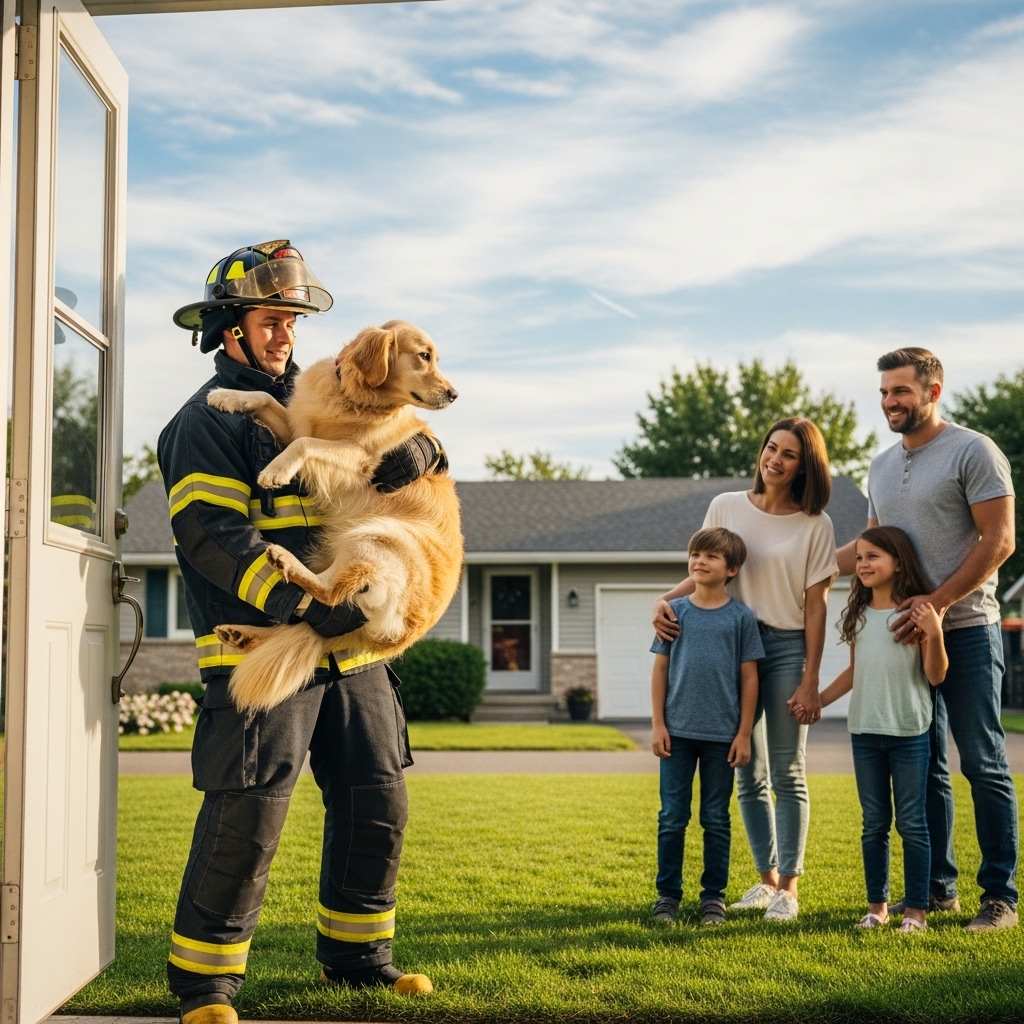
The shriek of a smoke alarm is a sound that sends a jolt of adrenaline through anyone. In that moment of panic, our first thought is to get our loved ones out. But what about our dogs? Unlike us, they don’t understand what the alarm means. Their instinct is often to hide, making them incredibly difficult to find in a smoke-filled, terrifying environment. That’s why simply hoping for the best isn’t a plan. A practiced pet evacuation drill transforms chaos into a calm, systematic routine, ensuring your furry best friend gets out safely right alongside you. It might sound a little intense, but a few minutes of practice every few months can truly save a life. Ready to get started? Let’s build a fire-safe plan for your pup.
Why You Can’t Just Wing It: Understanding Your Dog’s Fire-Time Reaction
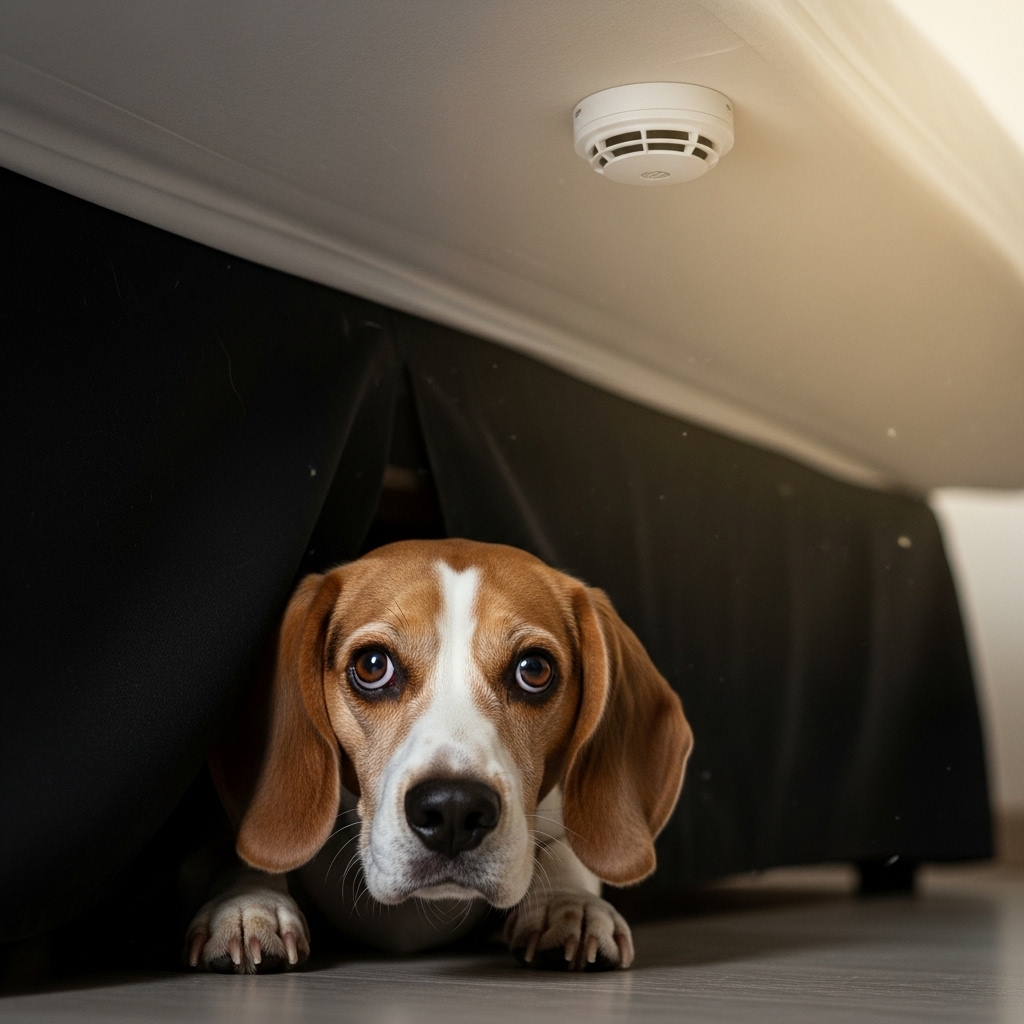
When a smoke alarm blares, your dog doesn’t think, ‘Danger! I must exit the building!’ They hear a terrifying, high-pitched noise and smell something strange and scary. Their natural survival instincts kick in, which usually means one of two things: fight or flight. Since they can’t fight a fire, they’ll choose flight—but that doesn’t always mean running out the door.
For most dogs, ‘flight’ means running to their safest, most enclosed space. This could be:
- Under a bed
- In the back of a closet
- Behind a sofa
- In their crate
While these spots make them feel secure, they are the worst places to be during a fire. It makes it nearly impossible for you or for first responders to find them quickly. Firefighters are heroes, but they can’t save a pet they can’t find. This is the number one reason a fire drill is so critical. You are training your dog to override their instinct to hide and instead follow your lead to safety. You’re creating a new, predictable, and positive routine associated with the ‘scary noise’ that ends with them outside, safe with you.
Step 1: Assemble Your Pet’s Emergency ‘Go-Bag’
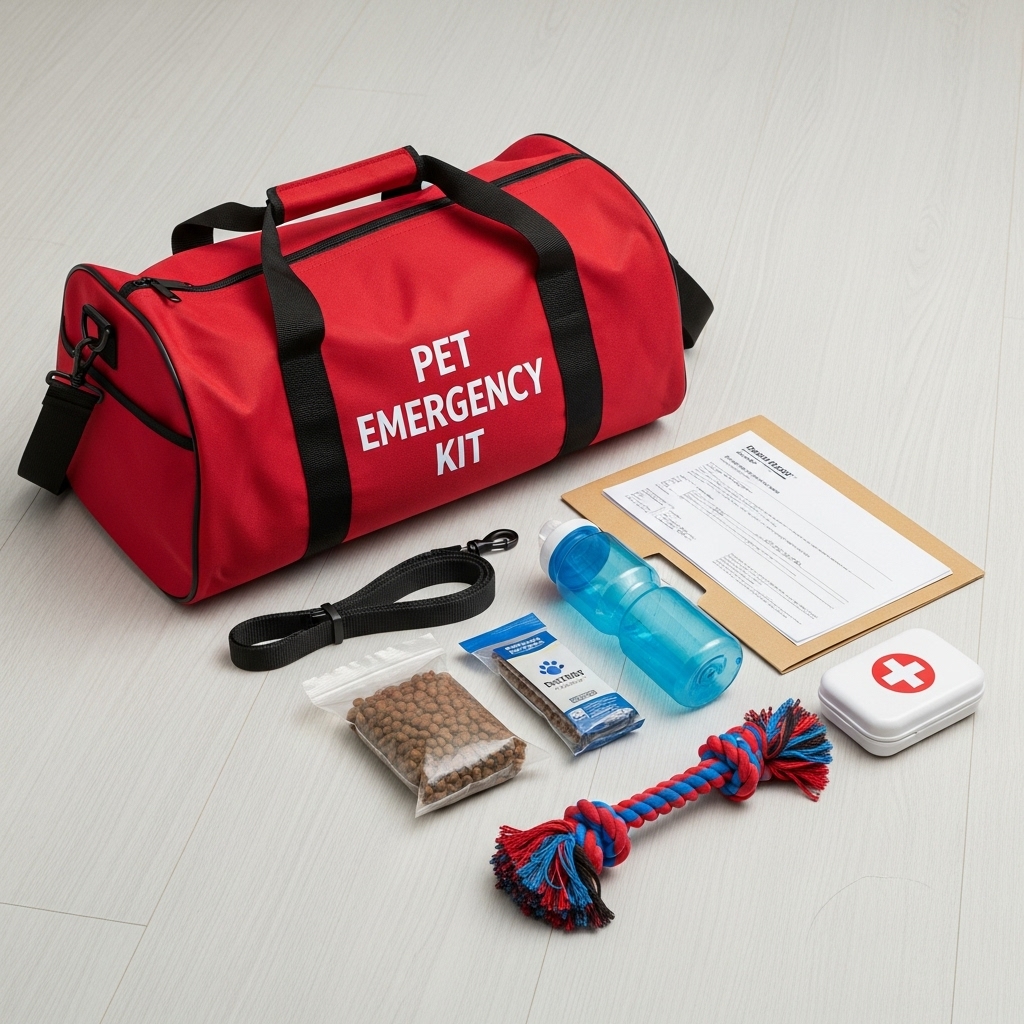
Before you can run a drill, you need your gear ready to go. In an emergency, you won’t have time to search for a leash or a bag of food. A pre-packed ‘Go-Bag’ ensures you can grab it and leave immediately. Keep it in a consistent, easy-to-access spot, like a mudroom closet or right by the door you’ll use most often for evacuation.
What to Include in Your Go-Bag:
- Leash, Collar with ID Tags, and Harness: Even if your dog has a great recall, a stressful situation is no time to test it. A physical lead is non-negotiable.
- Food and Water: Pack at least a three-day supply of your dog’s regular food in a waterproof container, along with a few bottles of water and a collapsible bowl.
- Medications: If your dog takes any daily medications, have a week’s supply ready. Don’t forget flea, tick, and heartworm preventatives if they’ll be due.
- Important Documents: Keep copies of vaccination records, registration information, and microchip details in a sealed plastic bag. A recent photo of you with your pet is also crucial in case you get separated.
- Comfort Items: A favorite toy, a small blanket, or a long-lasting chew can provide a sense of normalcy and comfort in a stressful new environment, like a shelter or a hotel room.
- First-Aid Kit: You can buy a pre-made pet first-aid kit or assemble your own with items like gauze, non-stick bandages, antiseptic wipes, and vet contact information.
Step 2: Practice the Drill – A Step-by-Step Guide

Now for the main event! The goal is to make this process calm, predictable, and even a little fun. You don’t want to terrify your dog; you want to teach them a new skill. Run this drill at least twice a year.
- Assign Roles: If you live with family or roommates, decide now who is responsible for what. One person’s job is to get the dog on the leash, and another’s is to grab the Go-Bag. This avoids confusion in the moment.
- Choose a ‘Drill’ Alarm: Do not use your actual smoke alarm for drills. This can desensitize your family and pet to the real thing. Instead, use a unique, loud sound from your phone. Play the sound at a low volume first and gradually increase it over several practice sessions.
- Initiate the Drill: Play the alarm sound. As soon as it starts, calmly but quickly move into action. Use a cheerful, upbeat tone of voice with your dog. Call them using your emergency recall word (e.g., ‘Treat-Time!’ or ‘Let’s Go!’).
- Leash Up and Grab the Bag: The designated person should call the dog, leash them, and head toward the exit. The other person grabs the Go-Bag.
- Exit to Your Safe Spot: Every family should have a designated meeting spot a safe distance from the home, like a specific tree or a neighbor’s mailbox across the street. Walk directly to this spot.
- Celebrate! This is the most important step. Once you reach your safe spot, throw a party! Give your dog their absolute favorite, high-value treats (think small pieces of chicken or cheese), lots of praise, and a fun game of fetch. You want them to associate this entire drill with a fantastic reward at the end.
Pro Tips and Troubleshooting Common Problems

Your first few drills might not go perfectly, and that’s okay! Practice makes perfect. Here are some tips for smoothing out the bumps.
What if my dog hides when they hear the sound?
This is very common. If your dog runs and hides, don’t chase them. This can make them more fearful. Instead, work on making the ‘drill alarm’ a predictor of amazing things. Start by playing it very quietly from another room, and the second it sounds, toss them a super high-value treat. Slowly, they will learn to come running to you when they hear the sound instead of away from it.
What if my dog is too scared to move?
For fearful dogs, focus on the individual steps first. Practice just putting the leash on quickly. Practice walking to the door. Practice going to the safe spot when there’s no alarm. Once they are comfortable with each piece, you can string them together. Keep sessions short and always end on a positive note.
Expert Tip: Practice from different areas of the house. A fire won’t always start when you’re conveniently in the living room. Run drills that start from the bedroom, the basement, or the kitchen so you and your dog are prepared for any scenario. Also, be sure to practice using your secondary exit, like a back door or garage service door.
Conclusion
Thinking about a house fire is unsettling, but preparing for one is one of the most responsible things we can do as pet owners. Your dog relies on you completely for their safety and well-being. By investing a little time into creating a Go-Bag and running regular evacuation drills, you are giving your best friend the best possible chance of survival. You’re replacing their fear-based instincts with a calm, practiced routine that leads them directly to safety with the person they trust most in the world—you. So, don’t put it off. Plan your drill and practice it this weekend. Your dog is counting on you.