How To Make Salt-Free Cured Egg Yolks (The Ultimate Superfood Treat)
Have you ever seen those gorgeous, jewel-like cured egg yolks on a fancy restaurant dish and thought, ‘Wow!’? They’re a chef’s secret weapon, adding a rich, savory, ‘umami’ flavor to everything they touch. Traditionally, they’re made with a lot of salt. But what if I told you that you could make a completely safe, salt-free version at home that’s an absolute superfood for your dog?
Get ready to level up your treat game! We’re diving into the simple, fun process of making salt-free cured egg yolks. It’s easier than you think, and the result is a nutrient-packed, flavor-bomb of a treat that can turn any boring bowl of kibble into a gourmet experience for your best friend.
The ‘Egg-cellent’ Benefits: Why Cured Yolks are a Canine Superfood
Before we roll up our sleeves and get to the recipe, let’s talk about why these little golden orbs are so fantastic for our dogs. An egg yolk is already a nutritional powerhouse, but the curing and dehydrating process concentrates these nutrients, making them an even more potent supplement.
A Treasure Trove of Nutrients
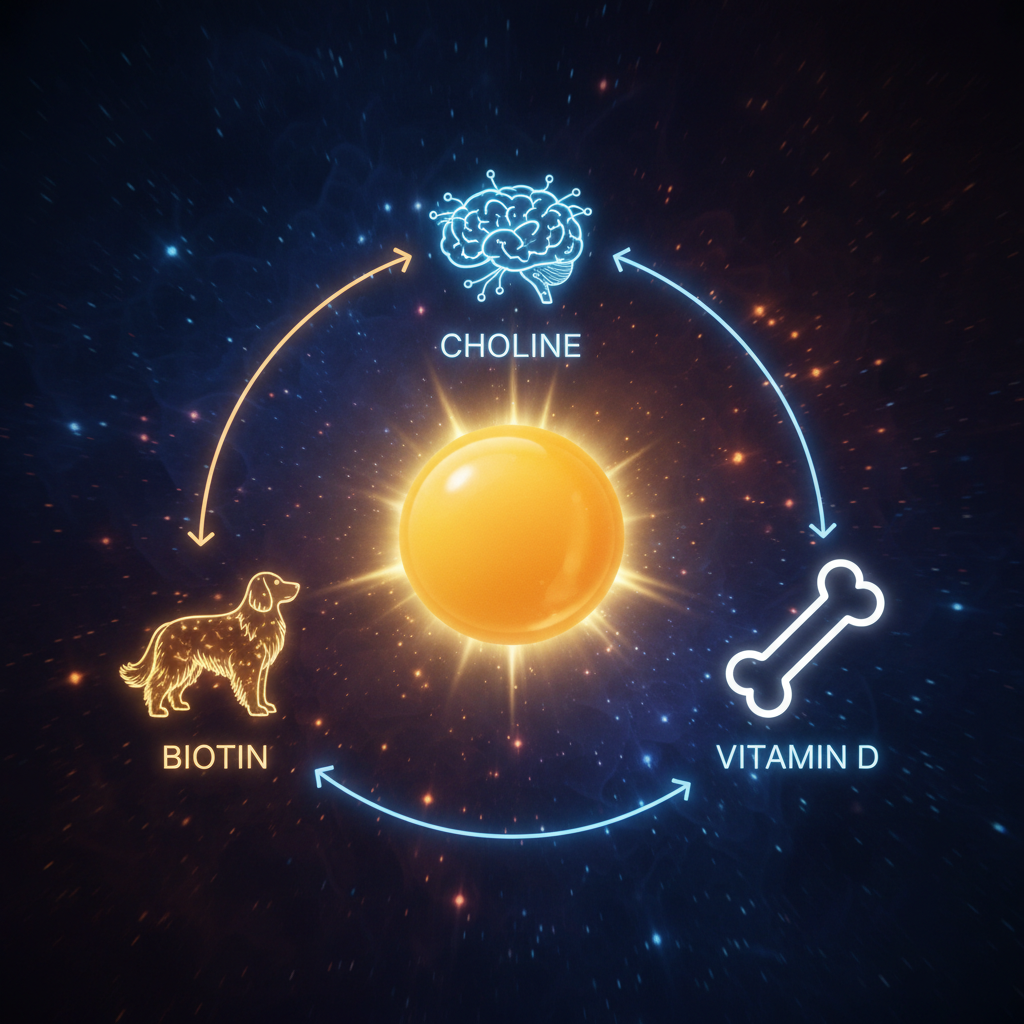
- Choline for Brain Power: Egg yolks are one of the richest natural sources of choline, a vital nutrient that supports healthy brain development and cognitive function. It’s literally brain food for your pup!
- Biotin for a Beautiful Coat: Want to boost that shine? Biotin (Vitamin B7) is famous for promoting healthy skin and a glossy, luxurious coat.
- Vitamins Galore: Yolks are packed with fat-soluble vitamins like Vitamin A (for vision and immune health), Vitamin D (for bone health), and Vitamin E (a powerful antioxidant).
- Healthy Fats & Proteins: They provide essential fatty acids and high-quality protein, which are the building blocks for strong muscles and overall vitality.
Expert Tip: The key here is salt-free. A dog’s sodium requirement is much lower than a human’s, and the high salt content in traditional cured yolks can be dangerous for them, potentially leading to dehydration or sodium ion poisoning. We use sugar for our cure, which draws out the moisture without the risks of salt.
Your Step-by-Step Guide to Making Salt-Free Cured Egg Yolks

Ready to become your dog’s personal chef? This process is mostly hands-off, requiring just a few minutes of prep and a lot of patience while the magic happens in your fridge and oven.
Ingredients & Equipment You’ll Need
- Fresh, high-quality eggs (pasture-raised if possible, for those deep orange yolks!)
- Plain white granulated sugar (enough to fill your container)
- A small, clean, airtight container
- Cheesecloth or paper towels
- A small bowl for separating eggs
Part 1: The Curing Process (3-4 Days)
- Create the Cure Bed: Fill your airtight container about halfway with sugar. You want a bed at least an inch deep.
- Make the Nests: Use the back of a spoon (or a whole egg) to press gentle indentations into the surface of the sugar. These are the little nests where your yolks will rest. Make as many as you have yolks, leaving space between them.
- Separate the Eggs: Carefully separate the egg yolks from the whites. The goal is to keep the yolk perfectly intact. Pro tip: it’s easiest to do this when the eggs are cold. Save the whites for your own omelet!
- Place the Yolks: Gently place one yolk into each sugar nest you created.
- Bury the Treasure: Once all your yolks are nestled in, gently cover them completely with more sugar. Make sure they are fully submerged.
- Chill Out: Seal the container and place it in the refrigerator. Now, the waiting game begins! Let them cure for at least 3, but preferably 4, days. The sugar will pull the moisture out of the yolks, leaving them firmer and slightly translucent.
Part 2: The Dehydrating Process (1.5-2 Hours)
- The Big Reveal: After 3-4 days, gently excavate your yolks. They will feel firm and jelly-like, almost like a gummy candy.
- Rinse and Dry: Carefully rinse each yolk under a very gentle stream of cool water to remove all the sugar. Pat them completely dry with a paper towel. Be gentle!
- Time to Dry: There are two easy ways to do this:
- Oven Method: Preheat your oven to its lowest possible temperature, usually around 150-170°F (65-75°C). Place the yolks on a rack over a baking sheet and bake for about 1.5 to 2 hours, or until they are firm and no longer sticky.
- Dehydrator Method: If you have a food dehydrator, place the yolks on a tray and dehydrate at 150°F (65°C) for about 2 hours.
Once they are done, they will be hard, dry, and a deep, beautiful orange-red color. Let them cool completely.
How to Serve and Store Your Golden Nuggets of Goodness
Congratulations, you did it! You now have a stash of gourmet, superfood dog treats. But what’s the best way to use them? Think of them less as a stand-alone treat and more as a ‘seasoning’ or a meal topper that adds a huge boost of flavor and nutrition.
Serving Suggestions
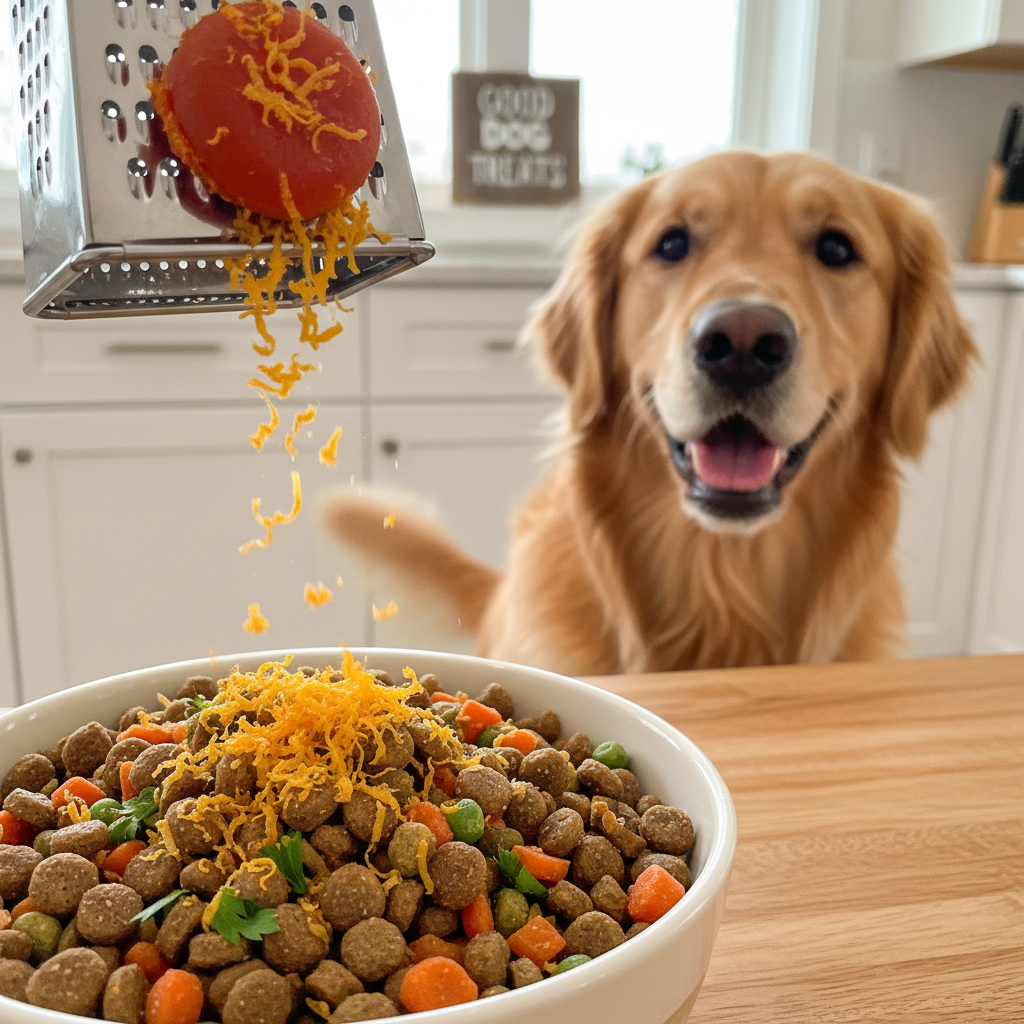
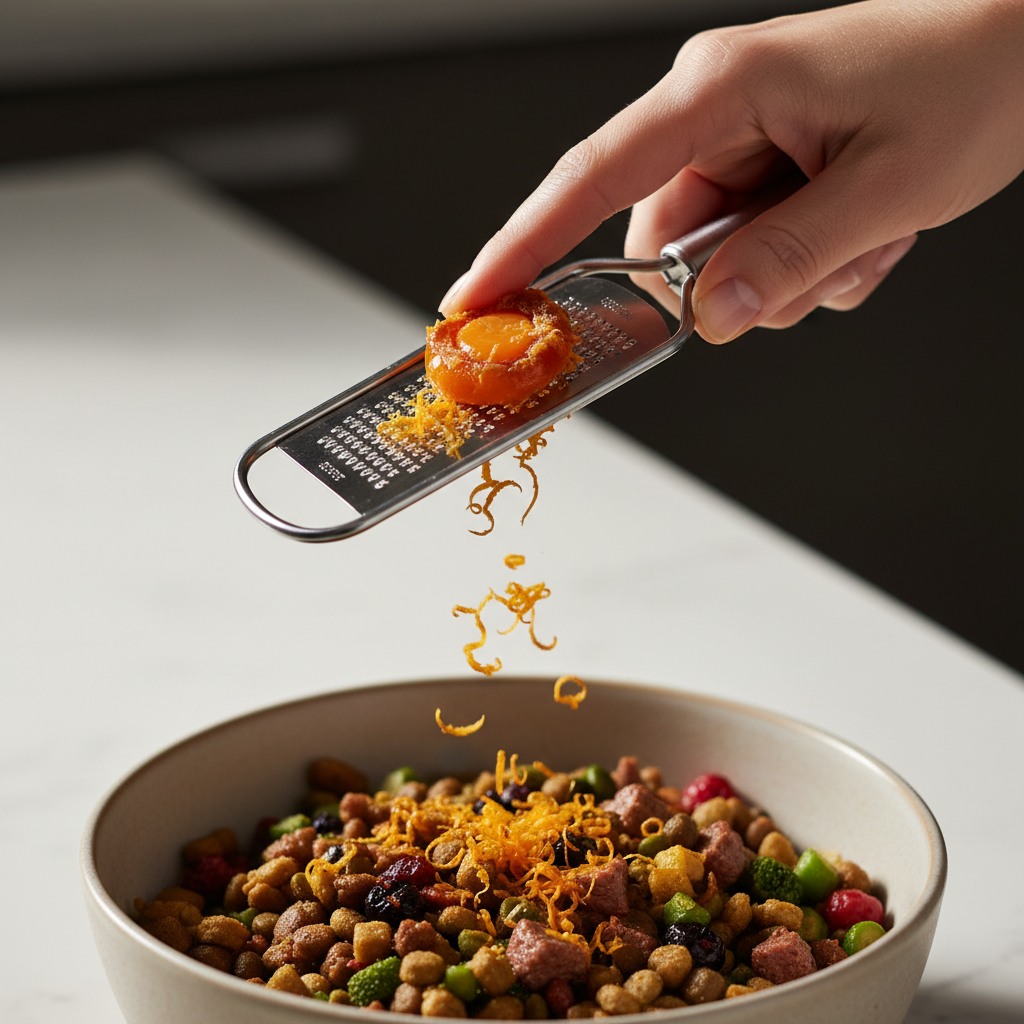
- The Ultimate Meal Topper: The best way to serve a cured egg yolk is to grate it over your dog’s food. A microplane or a fine cheese grater works perfectly. Just a light dusting is all you need to make their meal irresistible.
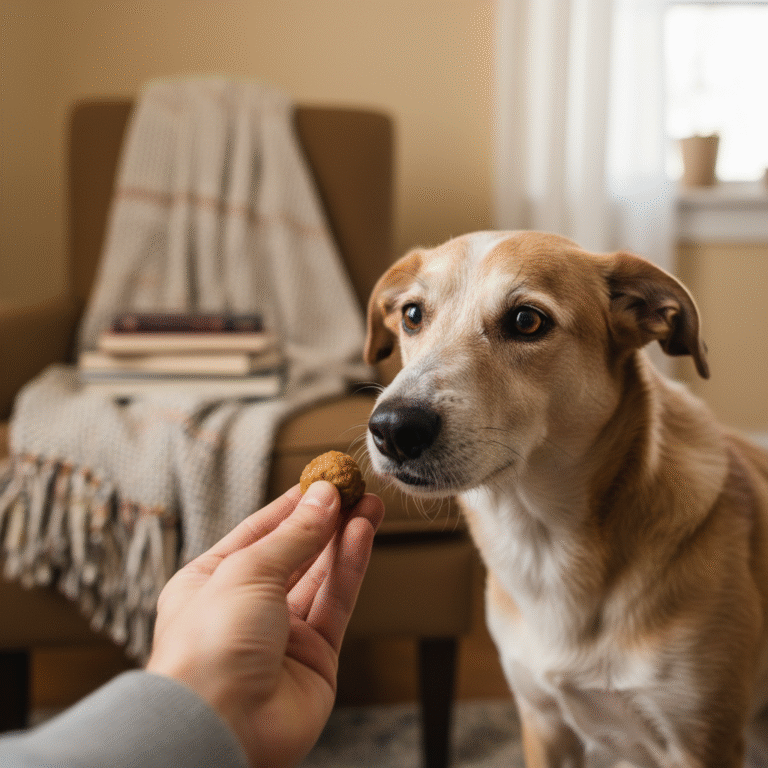
- High-Value Training Reward: For extra-special training sessions, a tiny piece of the cured yolk can be an incredibly high-value reward that will keep your dog focused and motivated.
- Pill Pockets: Grate some yolk ‘dust’ into a bit of cream cheese or a pill pocket to help the medicine go down in the most delicious way possible.
Serving Size and Storage
These are rich and calorically dense, so moderation is key. For most dogs, a sprinkle from grating the yolk over one meal a day is plenty. Think of it as a vitamin supplement.
Storage Tip: Once fully cooled, store your cured egg yolks in an airtight container in the refrigerator. They will last for several weeks, or you can freeze them for several months!
Safety First: Are There Any Risks?
While these treats are fantastic, it’s always smart to be mindful of a few safety considerations, just as you would with any new food you introduce to your dog’s diet.
- Egg Allergies: Eggs can be a common allergen for some dogs. When you first offer the grated yolk, start with a very tiny amount and watch for any signs of an allergic reaction, such as itchy skin, digestive upset, or ear infections.
- Calorie Control: These are nutrient-dense treats. If your dog is on a weight management plan, remember to account for these extra calories to avoid unwanted weight gain. A little goes a long way!
- Use Fresh Eggs: To minimize any risk of salmonella, always start with the freshest, highest-quality eggs you can find from a reputable source. The curing and dehydrating process helps to make them safer, but starting with good ingredients is the best practice.
- Moderation is Everything: Remember, these are a supplemental treat, not a meal replacement. Too much of any good thing can lead to an unbalanced diet or digestive upset.
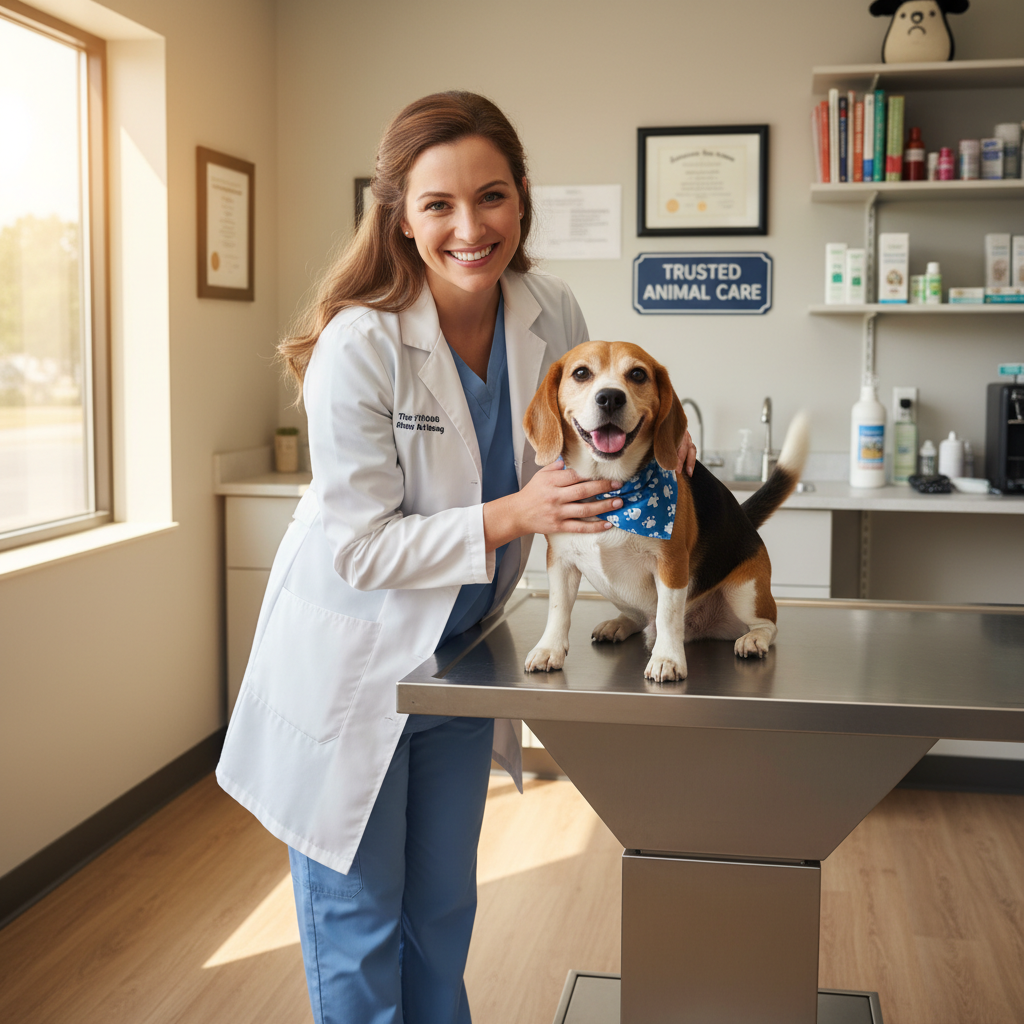
When in doubt, it’s always a great idea to chat with your veterinarian before introducing new, rich foods into your dog’s diet, especially if they have pre-existing health conditions.
Conclusion
Making salt-free cured egg yolks is a simple and rewarding way to show your dog some extra love. You’re not just giving them a treat; you’re providing a concentrated dose of incredible nutrients that support their brain, skin, coat, and overall health. It’s a fun kitchen project that transforms a simple ingredient into a gourmet superfood.
So go ahead, give it a try! Your dog will thank you for the delicious, savory surprise on top of their dinner. There’s nothing better than knowing exactly what goes into your best friend’s treats, and these little golden nuggets are pure, homemade goodness.