Frosting That Hardens: The Secret to Professional-Looking Dog Cakes
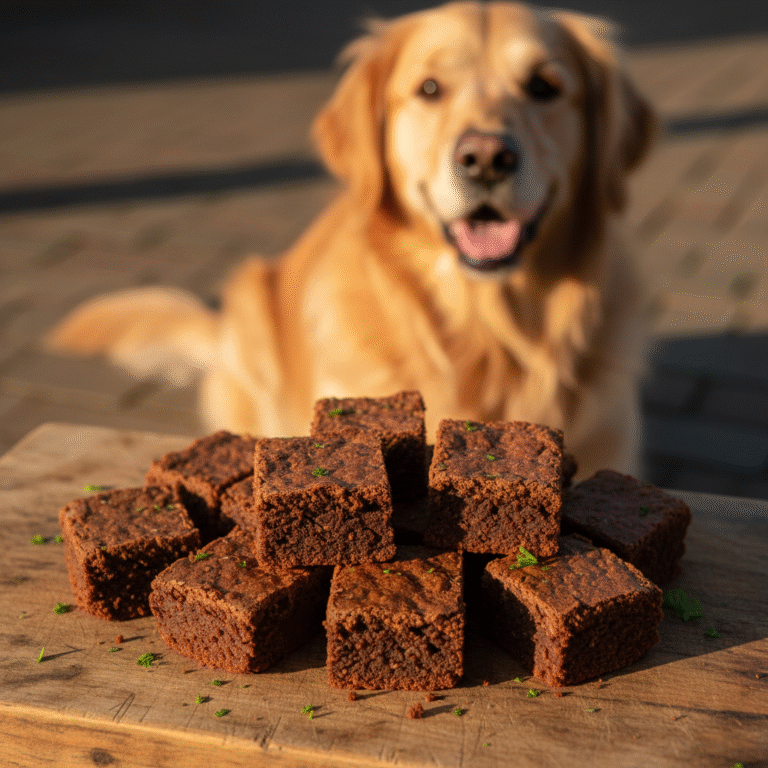
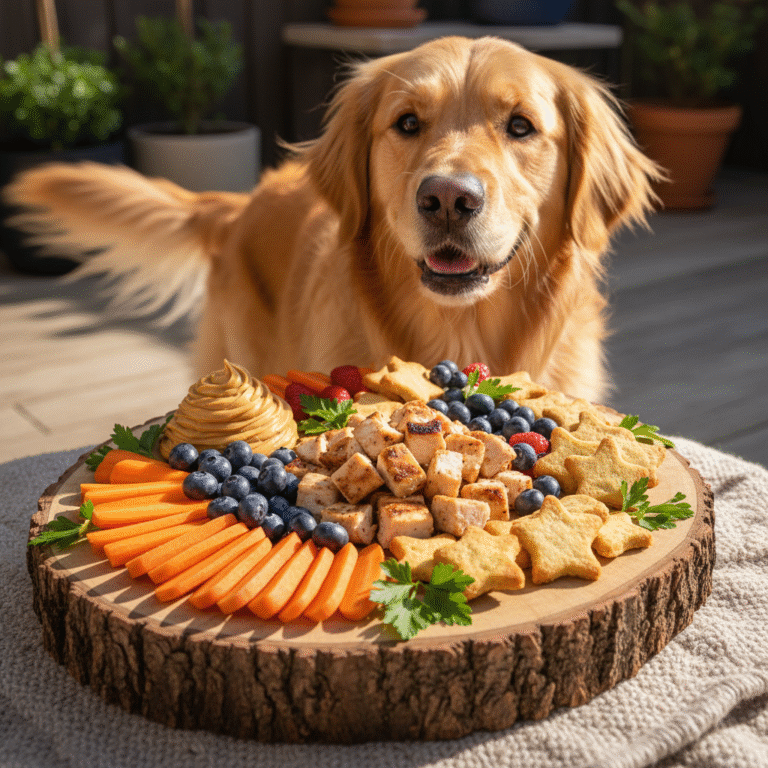
Celebrating your dog’s birthday or ‘gotcha’ day is one of the purest joys of being a pet parent. And what’s a celebration without a cake? But if you’ve ever tried to frost a homemade dog cake, you might be familiar with the struggle: runny, sticky frosting that gets everywhere except where you want it. It melts, it makes a mess, and it leaves your masterpiece looking a little… well, homemade.
What if I told you there’s a secret to getting that perfect, professional, bakery-style finish on your dog’s cake? The magic lies in a frosting that hardens! This game-changing recipe not only looks amazing but is also completely safe and delicious for your furry best friend. Forget the mess and say hello to beautiful, Instagram-worthy dog cakes that will make your pup’s tail wag with delight. Let’s dive into how you can whip up this fantastic frosting right in your own kitchen.
Why Regular Human Frosting is a Big No-Go for Pups
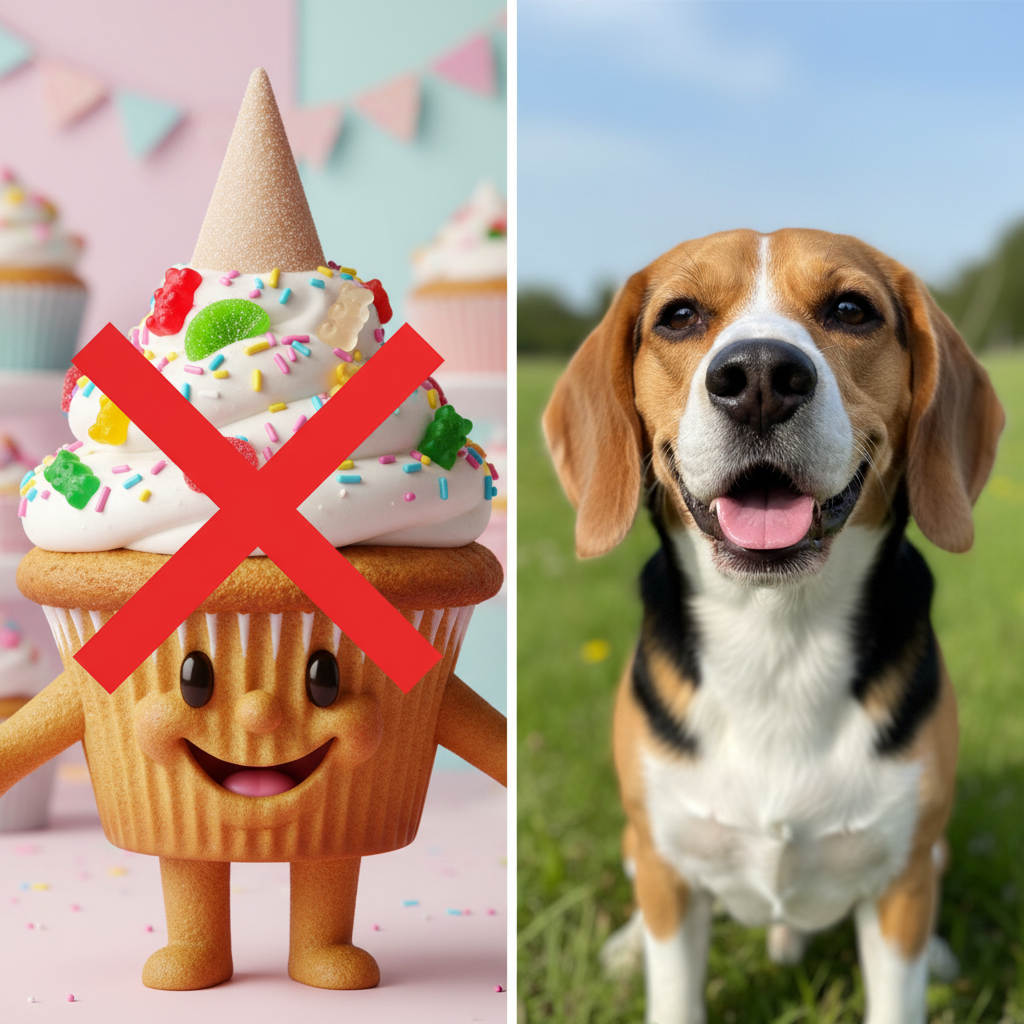
Before we get to the good stuff, it’s crucial to understand why you can’t just grab a can of Betty Crocker’s finest for your dog’s cake. Human frosting is packed with ingredients that are unhealthy and even downright dangerous for our canine companions.
The Danger Zone: Ingredients to Avoid
- Sugar: While not toxic, high amounts of sugar are terrible for dogs. It can lead to obesity, dental problems, and metabolic issues like diabetes. Their systems just aren’t designed to handle it.
- Xylitol: This is the big one. Xylitol is an artificial sweetener found in many ‘sugar-free’ products, and it is extremely toxic to dogs. Even a small amount can cause a rapid drop in blood sugar (hypoglycemia), seizures, liver failure, and can even be fatal. Always check labels for xylitol.
- Dairy: Many dogs are lactose intolerant. While a little plain yogurt is often fine, the high fat and lactose content in most buttercreams and cream cheese frostings can cause significant digestive upset, including gas, bloating, and diarrhea.
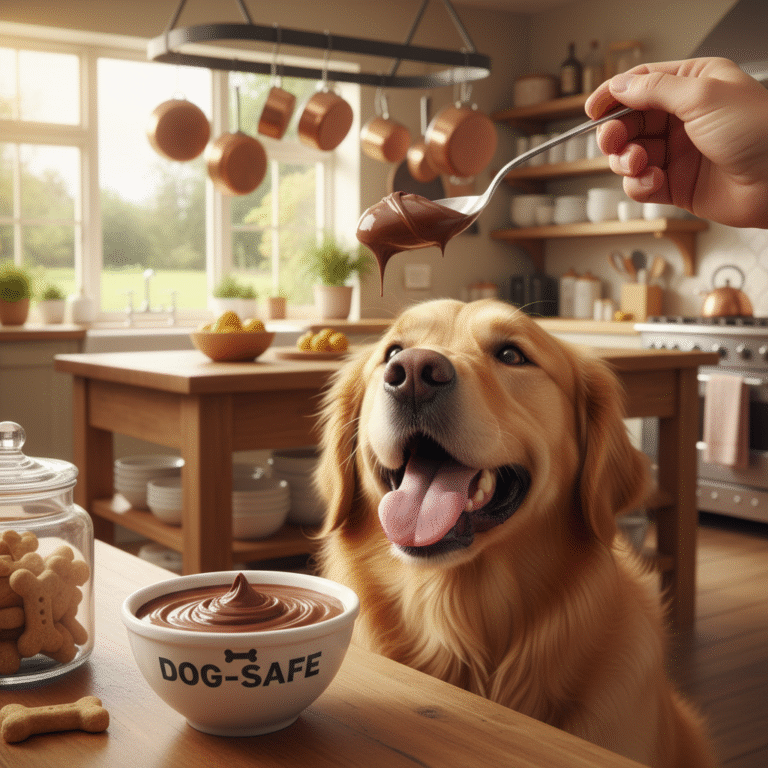
- Chocolate: Everyone knows chocolate is a major toxin for dogs due to theobromine. Never use chocolate frosting or decorations.
Never assume an ingredient is safe. When it comes to your dog’s health, it’s always better to stick to recipes specifically designed for them.
The Magic Ingredients for a Dog-Safe Hardening Frosting
So, how do we create a frosting that’s both safe and sets up firm? The secret is in using a few simple, clever ingredients that work together to create that perfect texture. You probably have most of them in your kitchen already!
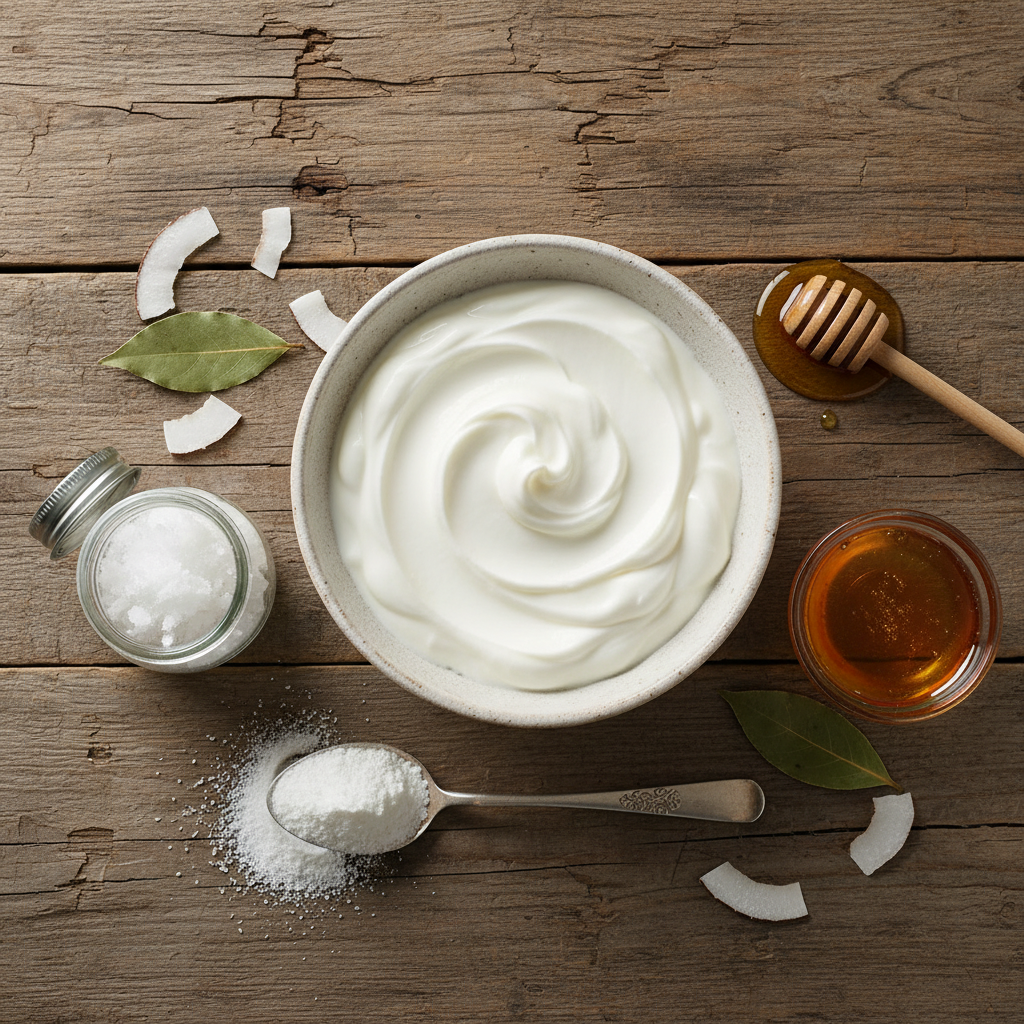
Your Go-To Frosting Toolkit
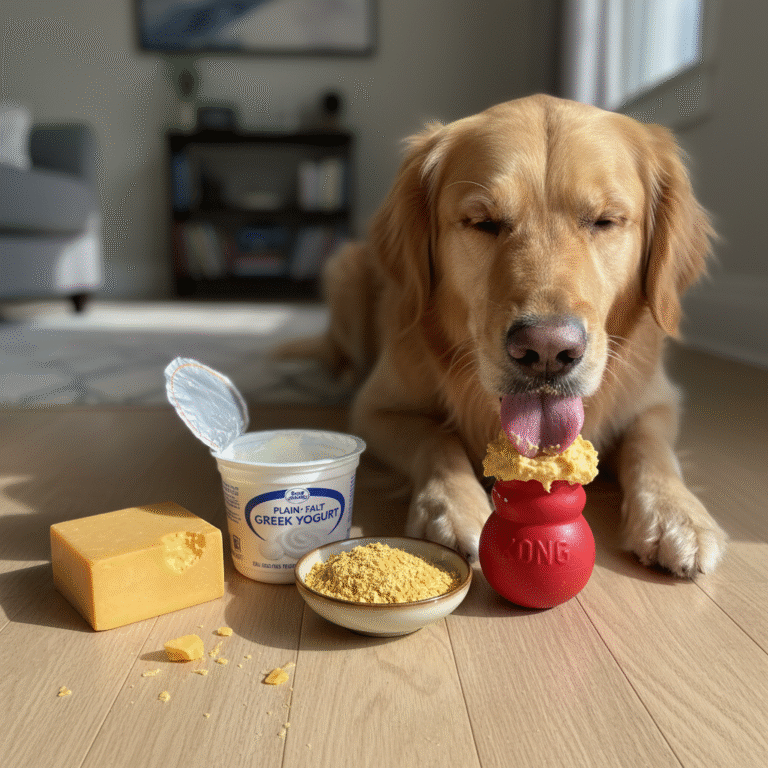
- The Base: Plain Greek Yogurt or Low-Fat Cream Cheese. This provides a creamy, tangy base. Always choose plain, unsweetened varieties. Greek yogurt is often a better choice as it’s lower in lactose. For a dairy-free option, you can use a base of pureed sweet potato or pumpkin, though it won’t be as firm.
- The Hardener: Tapioca Starch or Arrowroot Powder. This is the star of the show! These fine, starchy powders are gluten-free and act as a powerful thickener. When combined with the base and chilled, they create a smooth, firm, almost glaze-like surface that hardens beautifully.
- The Firming Agent: Coconut Oil. A small amount of melted coconut oil can really help the frosting set hard in the fridge, much like how it solidifies at room temperature. It also adds healthy fats that are great for your dog’s coat.
- A Touch of Sweetness (Optional): A Drizzle of Honey or Pure Maple Syrup. If you want to add a little sweetness, a tiny bit of raw honey or pure maple syrup is a dog-safe option. Use it sparingly, as we still want to keep the sugar content low.
Step-by-Step Recipe: The Perfect Hardening Dog Frosting
Ready to create the perfect topping for your pup’s cake? This recipe is simple, quick, and yields fantastic results. It creates a smooth, pourable icing that firms up in the fridge.
Ingredients
| Ingredient | Amount |
|---|---|
| Plain, Unsweetened Greek Yogurt | 1/2 cup |
| Tapioca Starch (or Arrowroot Powder) | 4-5 tablespoons |
| Coconut Oil, melted | 1 teaspoon (optional) |
| Raw Honey or Pure Maple Syrup | 1 teaspoon (optional) |
Instructions
- Combine the Wet Ingredients: In a medium bowl, add the Greek yogurt, melted coconut oil (if using), and honey or maple syrup (if using). Whisk them together until they are smooth and well combined.
- Add the Starch: Gradually sift the tapioca starch into the wet ingredients, whisking continuously to prevent lumps. Start with 4 tablespoons and continue adding more, one teaspoon at a time, until the mixture is the consistency of a thick glaze. It should coat the back of a spoon but still be pourable.
- Check for Smoothness: Keep whisking for another minute to ensure all the starch is fully dissolved and the mixture is perfectly smooth. If it’s too thick, add a tiny bit more yogurt. If it’s too thin, add a little more starch.
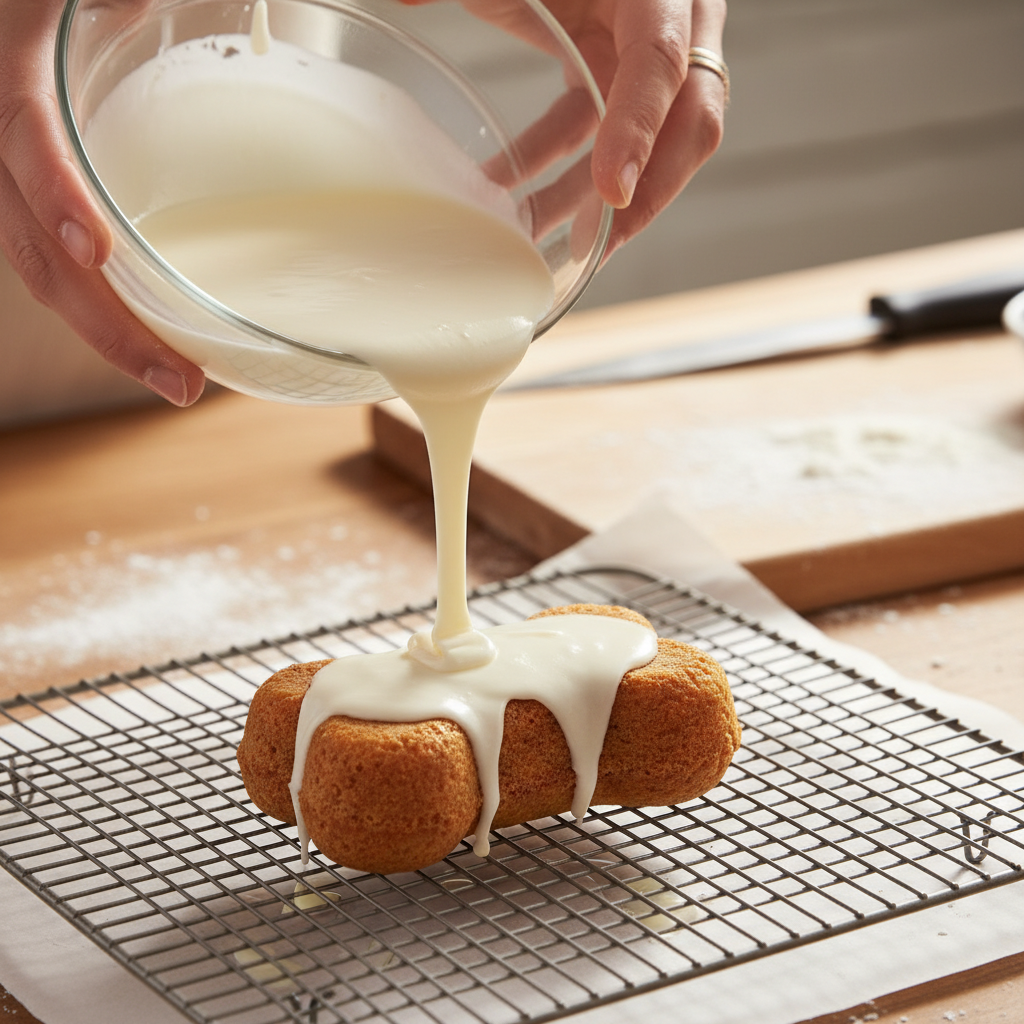
- Frost the Cake: Make sure your dog cake is completely cool. Place it on a wire rack with parchment paper underneath to catch drips. Pour the frosting over the cake, using a spatula to gently guide it over the sides.
- The Magic Step – Chill!: Place the frosted cake in the refrigerator. Let it chill for at least 1-2 hours. During this time, the tapioca starch and coconut oil will work their magic, and the frosting will set into a firm, dry-to-the-touch shell.
Pawsitively Pretty: All-Natural Coloring
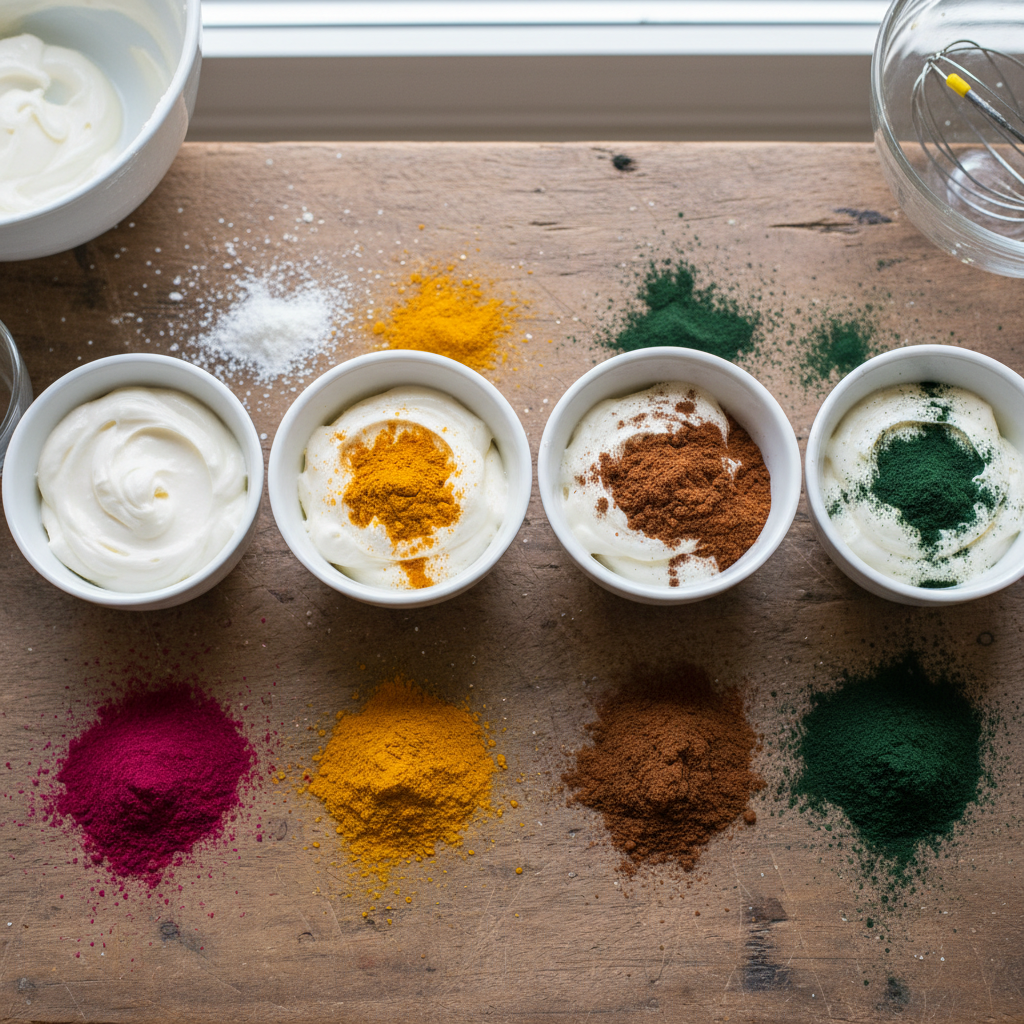
Want to add a pop of color to your creation? Skip the artificial food dyes, which can cause allergic reactions in some dogs. Nature provides a beautiful and safe palette to work with!
Simply mix a small amount of these natural powders or purees into your frosting base before adding the starch. A little goes a long way!
- Pink/Red: Beetroot powder or a tiny drop of puree from boiled beets.
- Yellow: A pinch of turmeric powder.
- Brown (for a ‘chocolate’ look): Carob powder. It’s a fantastic, dog-safe alternative to chocolate.
- Green: Spirulina powder.
- Purple/Blue: A small amount of blended blueberry or blackberry puree.
Application & Storage for a Flawless Finish

A few final tips will ensure your frosted masterpiece stays perfect from the fridge to your pup’s party.
Application Tips
- Cool is the Rule: Never, ever frost a warm cake. The frosting will melt and slide right off. Let the cake cool on a wire rack to room temperature, and even chilling it for 30 minutes in the fridge beforehand can help.
- Work Quickly: The frosting will start to thicken as it sits, so have your cake ready to go as soon as the frosting is mixed.
- Piping vs. Pouring: For the recipe above, pouring creates a lovely, smooth glaze. If you want to pipe decorations, you’ll need a much thicker frosting. To achieve this, use low-fat cream cheese instead of yogurt and add enough tapioca starch to get a very stiff consistency that holds its shape.
Storage Secrets
Because this frosting is dairy-based, it must be kept refrigerated. Store the finished cake in an airtight container in the fridge for up to 3 days. The frosting will stay hard and beautiful. You can serve the cake chilled directly from the fridge—your dog won’t mind one bit!
Conclusion
And there you have it! The secret to a gorgeous, mess-free, and dog-safe cake is unlocked. With just a few simple ingredients, you can say goodbye to runny frosting forever and create a special treat that looks as good as it tastes (to your dog, at least!). Baking for your pup is a wonderful way to show your love, and now you can do it with the flair of a professional baker. So go ahead, get creative with your colors and designs, and get ready to capture the perfect birthday photo of your furry friend enjoying their stunning, homemade cake.