Finally! A ‘Chocolate’ Chip Cookie Recipe That Is 100% Safe For Dogs
The classic chocolate chip cookie. It’s a symbol of comfort, a sweet treat that brings a smile to anyone’s face. But as you’re enjoying that gooey, chocolatey goodness, you might catch a pair of hopeful puppy eyes staring up at you. We’ve all been there, and we all know the number one rule: never give a dog chocolate.
Chocolate contains substances called theobromine and caffeine, which are toxic to dogs. Their bodies can’t metabolize these compounds, leading to serious health issues. But does that mean your best friend has to miss out on the cookie fun forever? Absolutely not! Today, we’re diving into a game-changing recipe that lets you bake a batch of delicious ‘chocolate’ chip cookies that are not only tasty but 100% safe for your canine companion. The secret? A wonderful, naturally sweet ingredient called carob. Let’s get baking!
The Secret Ingredient: Why Carob is a Canine Super-Substitute

Before we pull out the mixing bowls, let’s talk about our star ingredient: carob. If you’ve never heard of it, you’re in for a treat—and so is your dog! Carob comes from the pod of a carob tree and is often used as a chocolate substitute in human health food. But for dogs, it’s more than a substitute; it’s a safe and healthy alternative.
Unlike chocolate, carob contains absolutely no theobromine or caffeine, making it perfectly safe for dogs to consume. But the benefits don’t stop there. Here’s why carob is so fantastic for your furry friend:
- Naturally Sweet: Carob has a natural sweetness, so there’s no need to add harmful sugars to the recipe.
- Rich in Nutrients: It’s a good source of vitamins like A, B, and D, as well as minerals such as calcium, magnesium, and potassium.
- High in Fiber: The fiber in carob can help support a healthy digestive system for your pup.
- Low in Fat: It’s a leaner option compared to the high-fat content of most chocolates.
Essentially, carob gives you that rich, dark, ‘chocolatey’ look and a slightly sweet, roasted flavor without any of the risks. It’s the perfect way to mimic a classic cookie while keeping your dog’s health as the top priority.
Gather Your Pup-Approved Ingredients & Tools
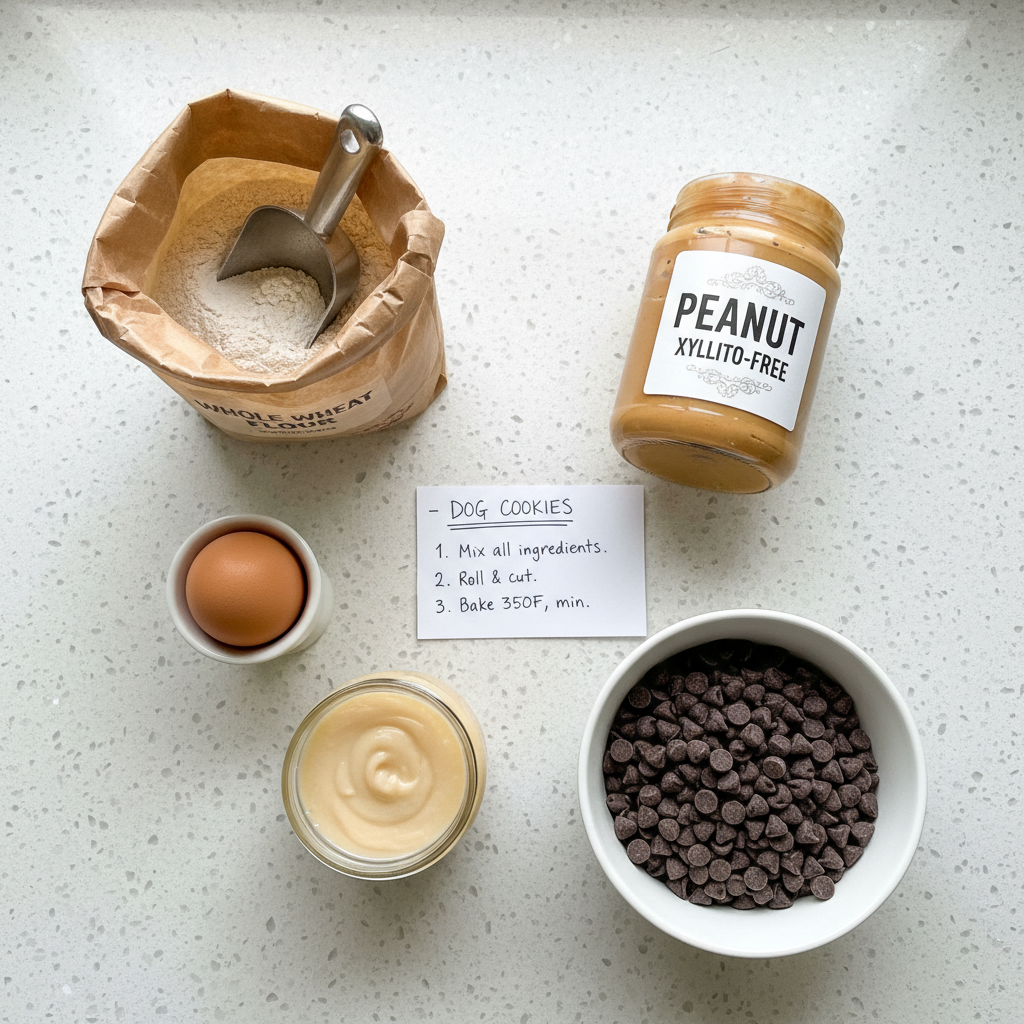
A great dog treat starts with great, safe ingredients. We’ve carefully selected each component of this recipe to be both delicious and beneficial for your dog. Remember to always check labels, especially on things like peanut butter, to ensure they are free of xylitol, an artificial sweetener that is extremely toxic to dogs.
Ingredients You’ll Need:
- 1 ½ cups whole wheat flour (or oat flour for a gluten-free option)
- 1 teaspoon baking soda
- 1 large egg
- ½ cup xylitol-free, unsalted, creamy peanut butter
- ¼ cup unsweetened applesauce
- ¼ cup water or unsweetened almond milk
- ½ cup carob chips
Kitchen Tools:
- Large mixing bowl
- Medium mixing bowl
- Whisk
- Spatula
- Measuring cups and spoons
- Baking sheets
- Parchment paper
- Cookie scoop or spoon
Step-by-Step Baking Instructions
Ready to fill your kitchen with the smell of freshly baked goodies? This recipe is super simple and fun to make. Let’s get to it!
- Preheat and Prep: First things first, preheat your oven to 350°F (175°C). Line two baking sheets with parchment paper to prevent the cookies from sticking.
- Mix Dry Ingredients: In your medium mixing bowl, whisk together the whole wheat flour and baking soda. This helps ensure the baking soda is evenly distributed for a perfect cookie rise.
- Mix Wet Ingredients: In the large mixing bowl, combine the egg, xylitol-free peanut butter, and unsweetened applesauce. Mix until everything is smooth and well-combined. Then, slowly stir in the water or almond milk until the mixture is creamy.
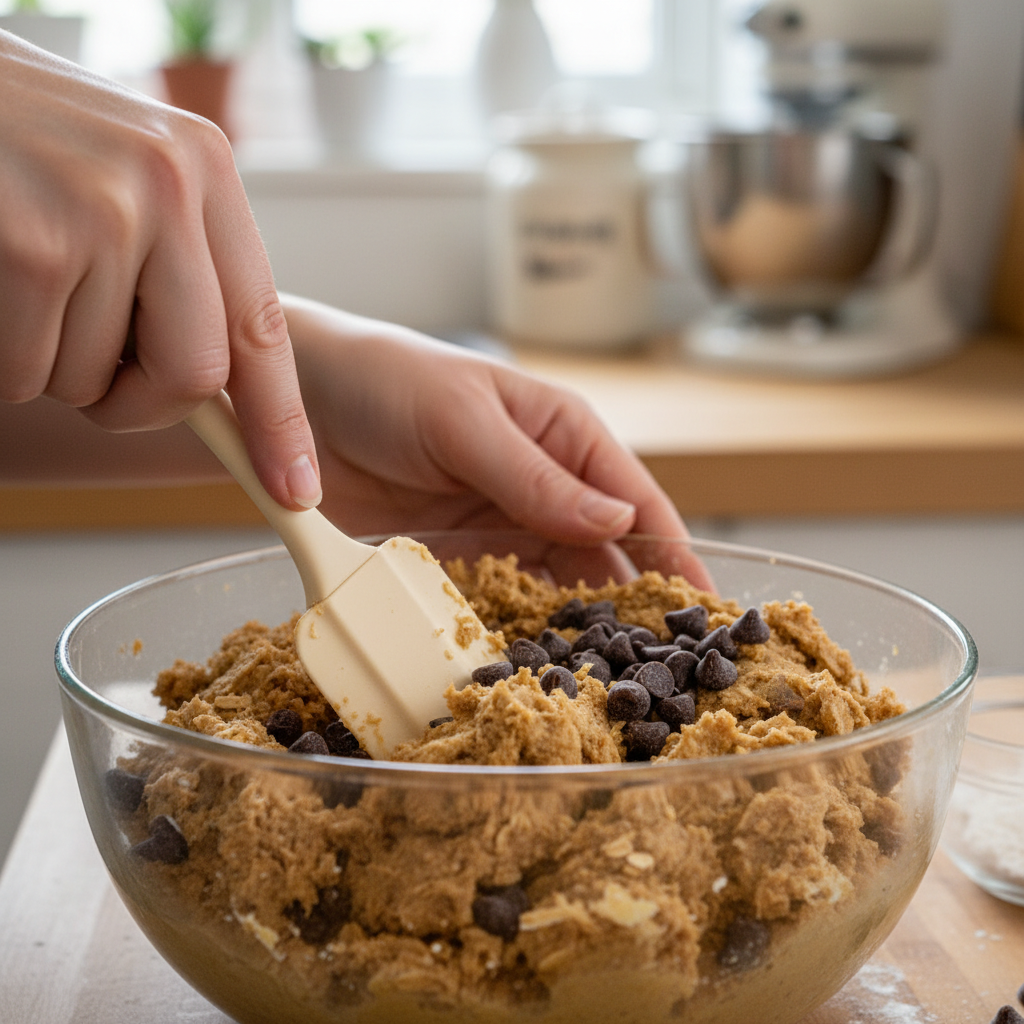
- Combine Wet and Dry: Gradually add the dry flour mixture to your wet ingredients. Mix with a spatula until just combined. Be careful not to overmix; you want a tender cookie! The dough will be thick.
- Fold in the ‘Chocolate’: Now for the best part! Gently fold the carob chips into the dough until they are evenly spread throughout.
- Scoop and Bake: Using a spoon or a small cookie scoop, drop rounded tablespoon-sized balls of dough onto your prepared baking sheets, about 2 inches apart. You can gently flatten them with the back of the spoon if you prefer a flatter cookie.
- Bake to Perfection: Place the baking sheets in the preheated oven and bake for 12-15 minutes, or until the edges are golden brown.
- Cool Completely: Let the cookies cool on the baking sheet for a few minutes before transferring them to a wire rack to cool completely. This is a crucial step! Never give a hot treat to your dog.
Serving Size and Storage: Keeping Treats Fun and Safe
Your cookies are baked, cooled, and have passed the sniff test with flying colors! Before you hand over the whole batch, let’s talk about responsible treating. Even though these cookies are made with safe ingredients, they are still treats and should be given in moderation.
Treats should make up no more than 10% of your dog’s daily caloric intake. When in doubt, ask your veterinarian for a recommendation based on your dog’s specific age, weight, and health needs.
General Serving Guide:
- Small Dogs (under 20 lbs): ½ to 1 cookie per day.
- Medium Dogs (20-50 lbs): 1 to 2 cookies per day.
- Large Dogs (over 50 lbs): 2 to 3 cookies per day.
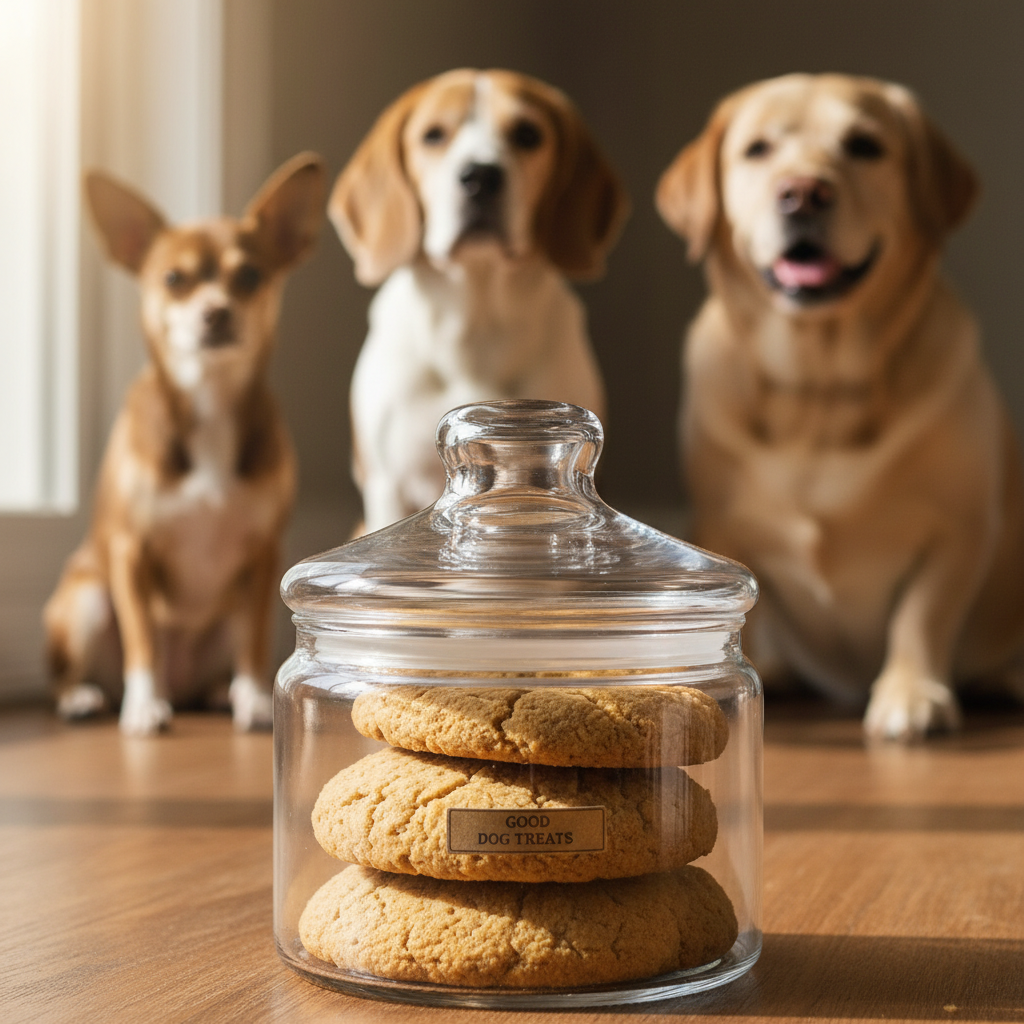
How to Store Your Homemade Cookies:
To keep your ‘chocolate’ chip cookies fresh, store them in an airtight container. They will last for about a week at room temperature or up to two weeks in the refrigerator. Want to make them last even longer? These cookies freeze beautifully! Just pop them in a freezer-safe bag or container, and they’ll be good for up to 3 months. You can thaw them as needed for a special treat.
Conclusion
There you have it! A simple, safe, and incredibly tasty ‘chocolate’ chip cookie recipe that you and your dog can both feel good about. Baking for your pup is a wonderful way to show them you love them, and with this recipe, you can be confident you’re giving them something that’s not only delicious but also healthy. So, the next time you’re craving a cookie, you can whip up a batch of these and share a special moment with your four-legged best friend. Happy baking!