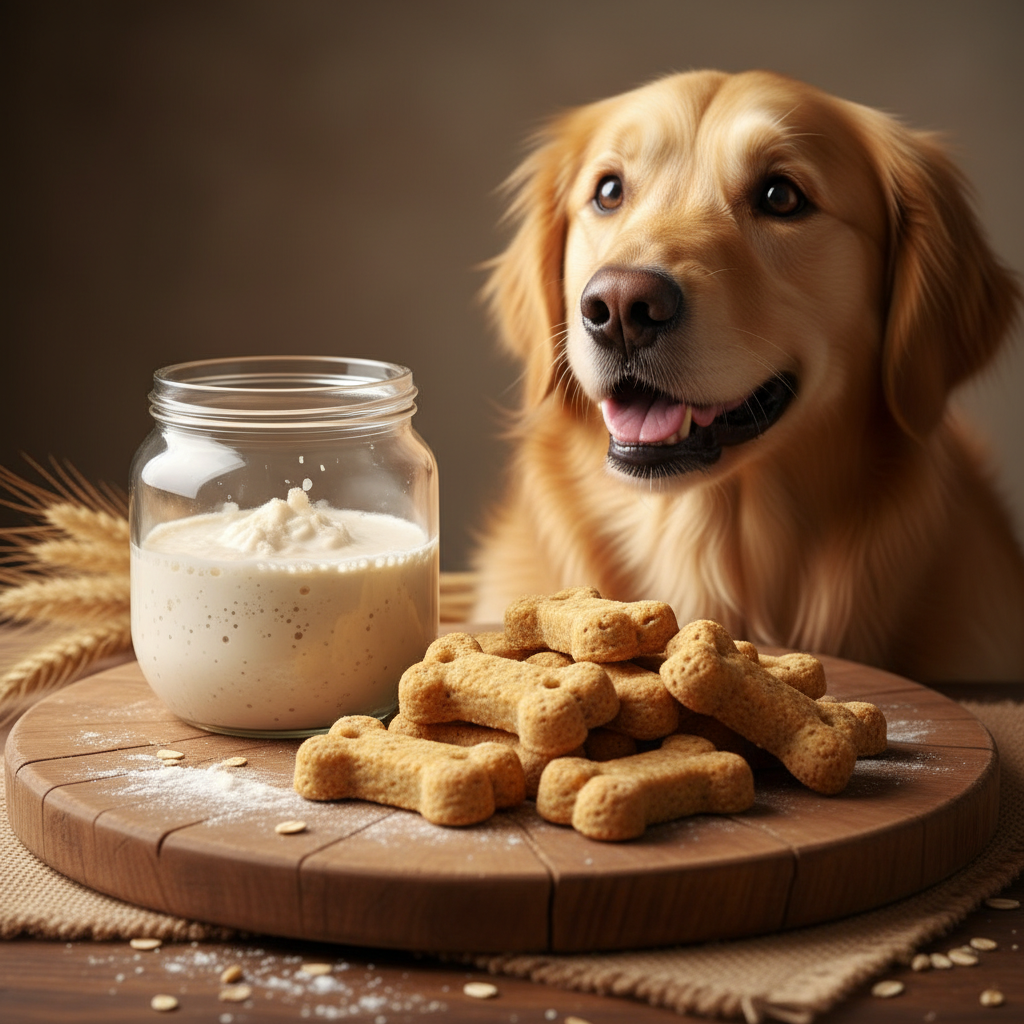
Don’t Trash That Starter: 3-Ingredient Sourdough Dog Treats
If you’re part of the sourdough baking craze, you know the feeling. You feed your precious starter, watch it bubble with life, and then… you have to discard a portion. It can feel so wasteful! But what if I told you that tangy, fermented goodness could be transformed into a delicious, crunchy treat that your dog will go wild for? Well, get ready to turn that ‘waste’ into wags!
This super-simple, 3-ingredient recipe for sourdough dog treats is the perfect solution. It’s not only incredibly easy to make, but it’s also a fantastic way to give your pup a healthy, homemade snack without any of the weird preservatives you might find in store-bought options. Let’s get baking and make your dog the happiest pup on the block!
First Things First: Is Sourdough Actually Safe for Dogs?
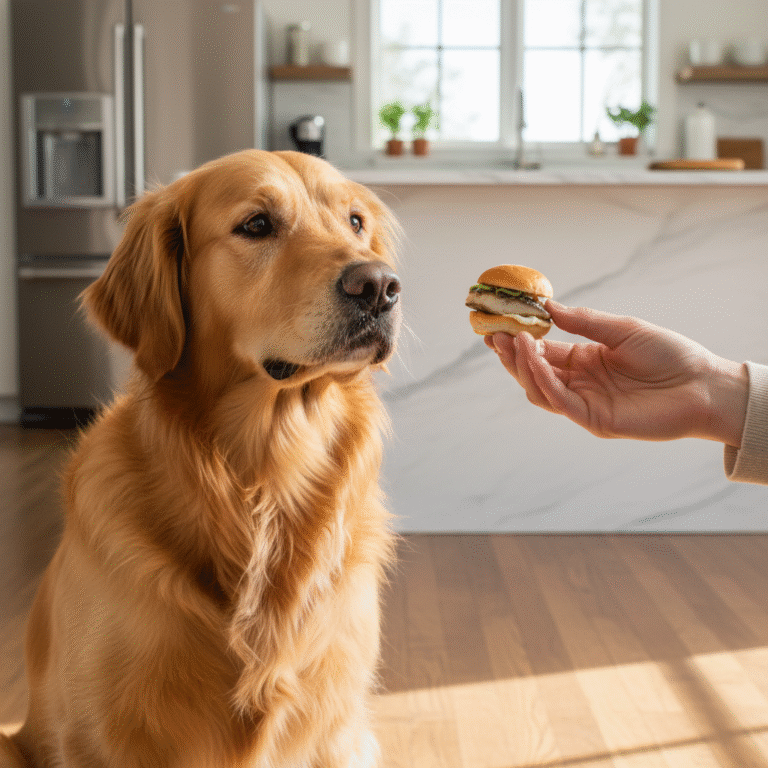
Before we pull out the mixing bowls, let’s tackle the most important question: can dogs safely eat sourdough? The answer is a little more nuanced than a simple yes or no, so listen closely!
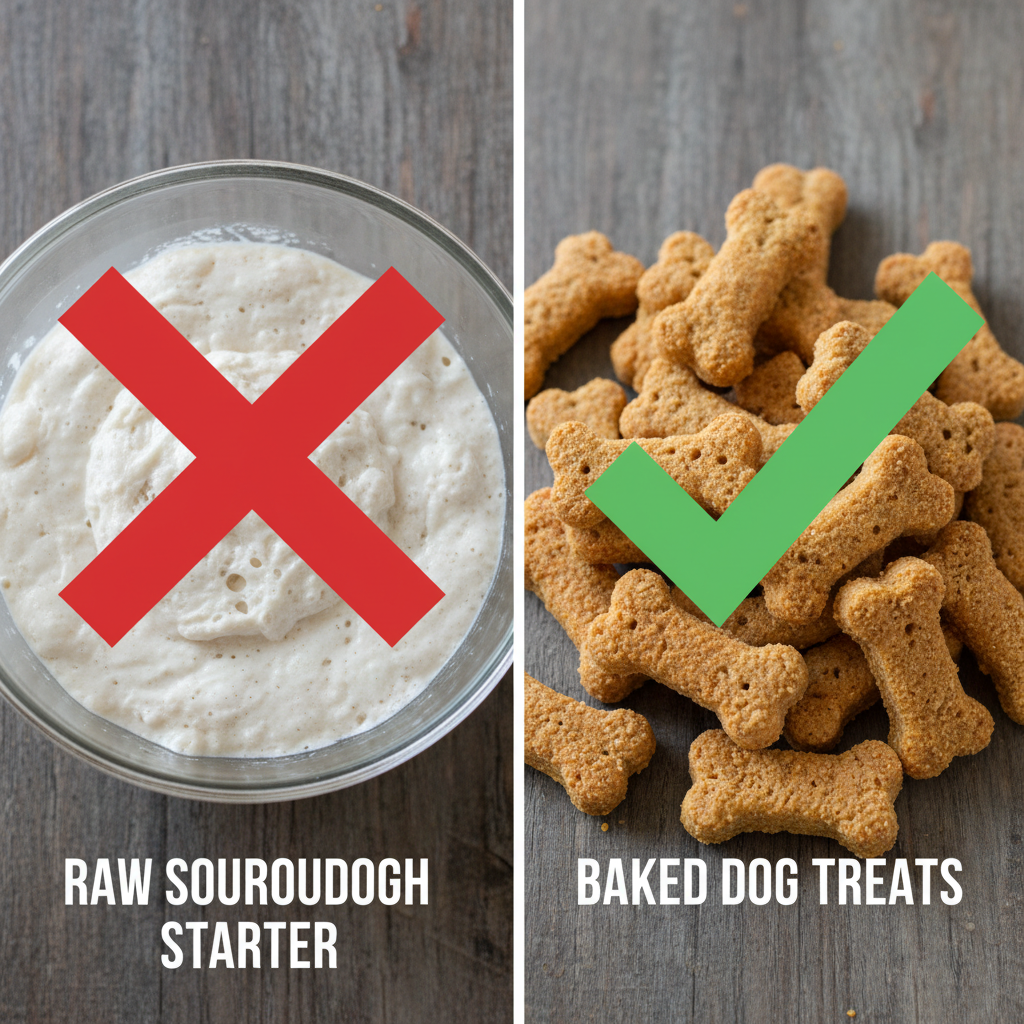
The biggest danger for dogs is raw, unbaked dough of any kind, including sourdough starter and dough. When ingested, the live yeast can continue to ferment in your dog’s warm stomach, producing alcohol (which can cause alcohol poisoning) and carbon dioxide gas. This gas can cause severe bloating, a life-threatening condition known as Gastric Dilatation-Volvulus (GDV), or ‘bloat’.
Expert Tip: Never, ever let your dog eat raw dough or starter. Keep rising bread and starter jars well out of reach of curious noses!
However, once the sourdough is fully baked, the story changes completely. The baking process kills the yeast and cooks off the alcohol, neutralizing the dangers. What’s left is a tasty, tangy baked good. In fact, the fermentation process in sourdough can make some nutrients more digestible and may even offer some gut-friendly benefits from the prebiotics and probiotics present. So, for our treats, we are using baked sourdough discard, which is perfectly safe and even potentially beneficial in moderation.
Gather Your Trio of Ingredients (and a Few Tools!)
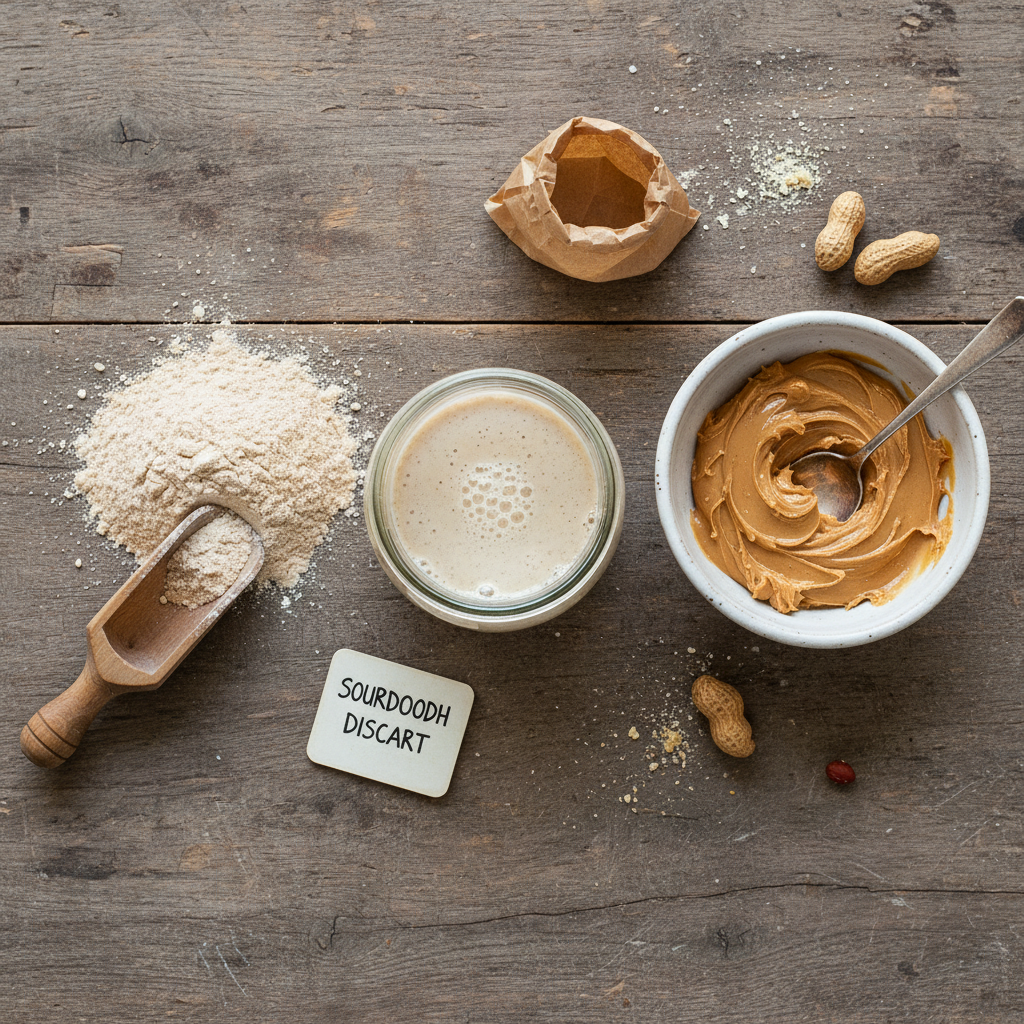
The beauty of this recipe is its simplicity. You don’t need a long list of fancy ingredients. In fact, you probably have everything you need in your kitchen right now!
The 3 Core Ingredients:
- 1 cup Sourdough Discard: This can be discard straight from the fridge or freshly fed. The tangier your discard, the tangier the treats!
- 1 cup Flour: Whole wheat flour is a great, sturdy choice. You can also use oat flour, brown rice flour, or a gluten-free all-purpose blend if your dog has sensitivities. Avoid all-purpose white flour as it has less nutritional value.
- 1/4 cup Flavor & Binder: This is where you can get a little creative! The most popular choice is natural, unsalted peanut butter. CRITICAL: Always check the label to ensure it does NOT contain xylitol, which is highly toxic to dogs. Other great options include plain pumpkin puree or unsweetened applesauce.
Essential Kitchen Tools:
- A medium-sized mixing bowl
- A spatula or wooden spoon
- A rolling pin
- Parchment paper
- A baking sheet
- Cookie cutters (bone shapes are classic, but any small shape works!)
The Super-Simple, Step-by-Step Baking Guide

Ready to make some magic? This process is so straightforward, you’ll be pulling a fresh batch of treats out of the oven in no time. Let’s walk through it step-by-step.
- Preheat and Prep: Start by preheating your oven to 350°F (175°C). Line a large baking sheet with parchment paper to prevent sticking.
- Mix It All Up: In your mixing bowl, combine the sourdough discard, your chosen flour, and your binder (peanut butter, pumpkin, etc.). Use a spatula to mix everything together until a stiff, shaggy dough forms. It might seem a bit dry at first, but keep working it.
- Knead and Roll: Turn the dough out onto a lightly floured surface. Knead it a few times with your hands until it comes together into a smooth ball. Then, using a rolling pin, roll the dough out to about 1/4-inch thickness.
- Cut ’em Out: Use your favorite cookie cutters to cut out shapes from the dough. Place the cut-out treats onto your prepared baking sheet. You can place them fairly close together as they won’t spread much.
- Bake to Perfection: Slide the baking sheet into the preheated oven. Bake for 25-30 minutes. For an extra crunchy treat that will help clean your dog’s teeth, turn off the oven, crack the door, and let the treats cool down and dry out inside for another hour.
- Cool Completely: Remove the treats from the oven and let them cool completely on a wire rack before giving one to your eager pup. This is an important step to ensure they are crunchy and safe to eat.
Customizing Your Canine Cookies: Fun & Safe Variations

While the 3-ingredient recipe is fantastic on its own, you can easily add some extra flair and nutrients with a few simple, dog-safe mix-ins. Here are a few ideas to get you started:
Tasty & Healthy Add-ins:
- Fresh Breath Power: Add a tablespoon of finely chopped fresh parsley or mint.
- Fruity Fun: Mix in a handful of finely chopped blueberries or a tablespoon of grated apple (no seeds!).
- Veggie Boost: A couple of tablespoons of finely shredded carrots or sweet potato can add flavor, fiber, and vitamins.
- Savory Delight: A sprinkle of nutritional yeast can give the treats a ‘cheesy’ flavor that dogs love, plus it’s packed with B vitamins.
Ingredients to ALWAYS Avoid:
It’s just as important to know what NOT to add. Never include these common toxic ingredients in your dog’s treats:
- Xylitol (an artificial sweetener)
- Chocolate
- Onions or Garlic (in any form)
- Grapes or Raisins
- Macadamia Nuts
- Excessive salt or sugar
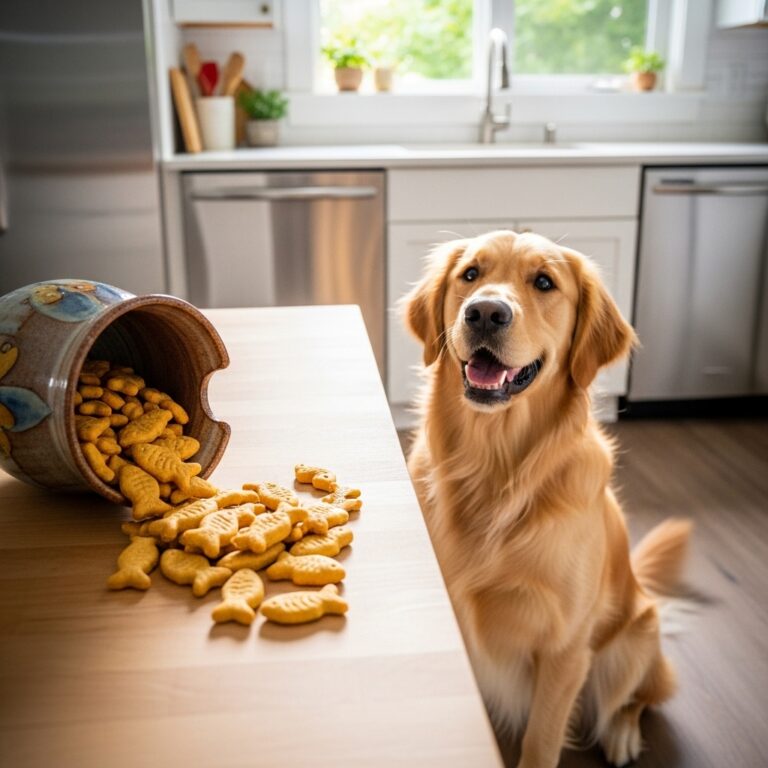
Storage Tips: Keeping Your Treats Fresh and Crunchy

You’ve baked a beautiful batch of treats, and your dog is in heaven! Now, how do you keep them fresh? Proper storage is key to making sure your hard work doesn’t go to waste (or get moldy).
The most important rule is to ensure the treats are completely cool and dry before you store them. Any residual warmth or moisture will create condensation, which leads to soft, soggy, and eventually moldy treats.
Room Temperature Storage:
For a crunch that lasts, store the treats in a container that isn’t completely airtight. A cookie jar with a loose-fitting lid or a paper bag works well. This allows a tiny bit of air circulation, which helps maintain their crispiness. They should last for about a week this way.
Long-Term Storage:
If you made a big batch, the freezer is your best friend! Place the completely cooled treats in a freezer-safe bag or container. They’ll keep for up to 3 months. You can pull them out a few at a time to thaw, or give them to your dog as a cool, crunchy treat on a warm day.
Conclusion
And there you have it! A simple, satisfying way to eliminate kitchen waste and shower your best friend with love and delicious, homemade goodness. Baking for your dog is more than just making a snack; it’s a way to connect with them and ensure they’re getting healthy, wholesome ingredients you can trust. So next time you go to feed your starter, remember that the discard isn’t trash—it’s the beginning of a tail-waggingly good treat. Happy baking!