Dog Scared Of Open Stairs? The Confidence Hack For Floating Risers
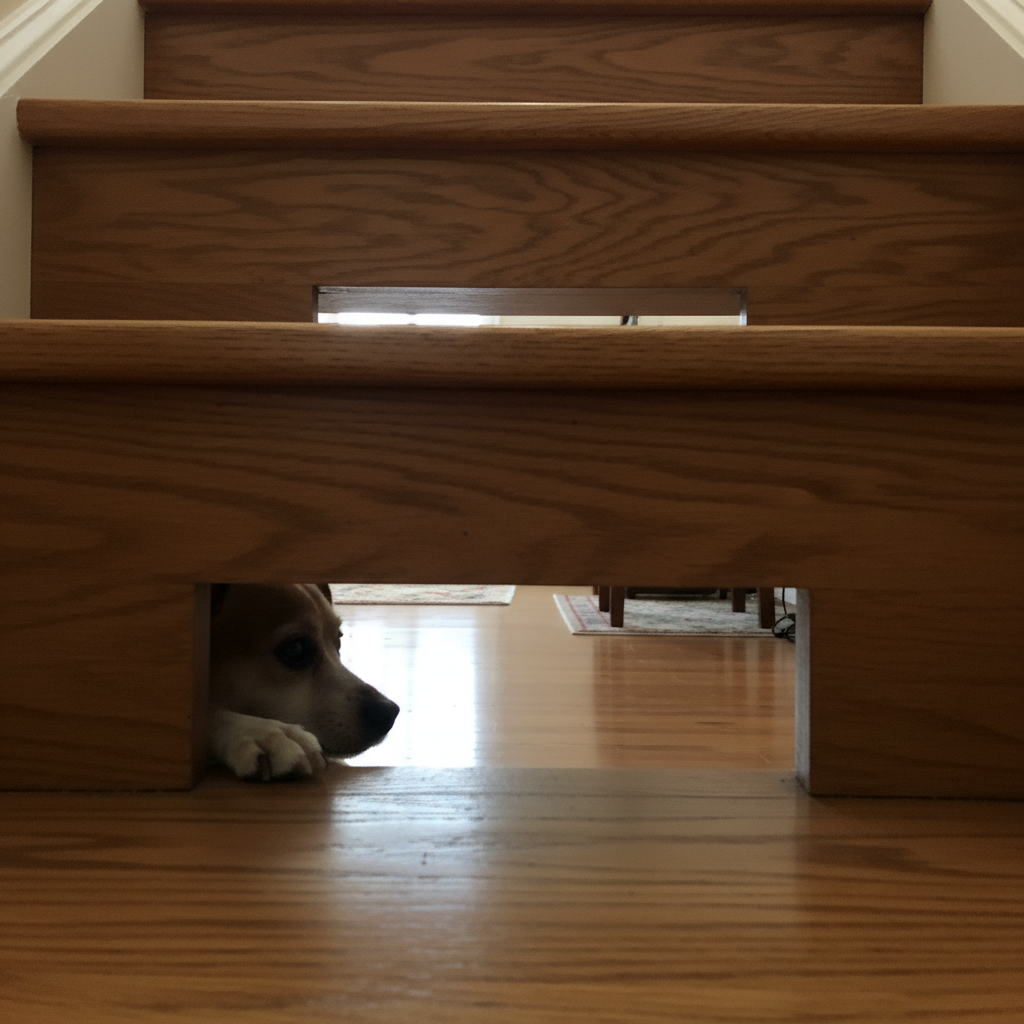
For many dog owners living in modern homes or apartments, a specific architectural feature can become a surprising source of daily stress: open stairs, also known as floating risers. You may find your otherwise confident canine companion freezing at the bottom of the flight, whining, or scrambling in a panic to get up or down. This behavior is not merely stubbornness; it is a genuine psychological response to what the dog perceives as a dangerous obstacle.
Open stairs present a unique challenge because they lack a visual barrier between steps. To a dog, looking through these gaps can create a sensation similar to standing on a cliff edge. The depth perception issues combined with the slippery texture of hardwood or laminate often found on these stairs create a perfect storm for anxiety. However, forcing a dog to traverse these stairs can worsen the fear and lead to injury.
In this guide, we will explore the root cause of this phobia and provide a specific ‘confidence hack’—a temporary environmental modification—along with a step-by-step training protocol. By combining environmental management with positive reinforcement, you can transform your dog’s fear into confidence, ensuring they can navigate your home safely and comfortably.
The Science of Fear: Why Floating Risers Scare Dogs
To solve the problem, we must first understand the canine perspective. The primary reason dogs fear open stairs is a phenomenon known as the Visual Cliff Effect. Unlike humans, who understand the structural integrity of a floating stair, a dog sees the empty space between the risers as a potential fall risk. Their depth perception tells them that there is nothing solid preventing them from slipping through that gap.
Furthermore, this visual fear is often compounded by physical insecurity. Floating stairs are frequently made of polished wood or smooth materials that offer little traction for canine paws. If a dog has ever slipped on a staircase, the combination of the slippery surface and the visual ‘drop’ creates a traumatic association. Understanding that this is a survival instinct, rather than disobedience, is the first step in empathetic and effective training.
Preparation: The Confidence Hack Toolkit
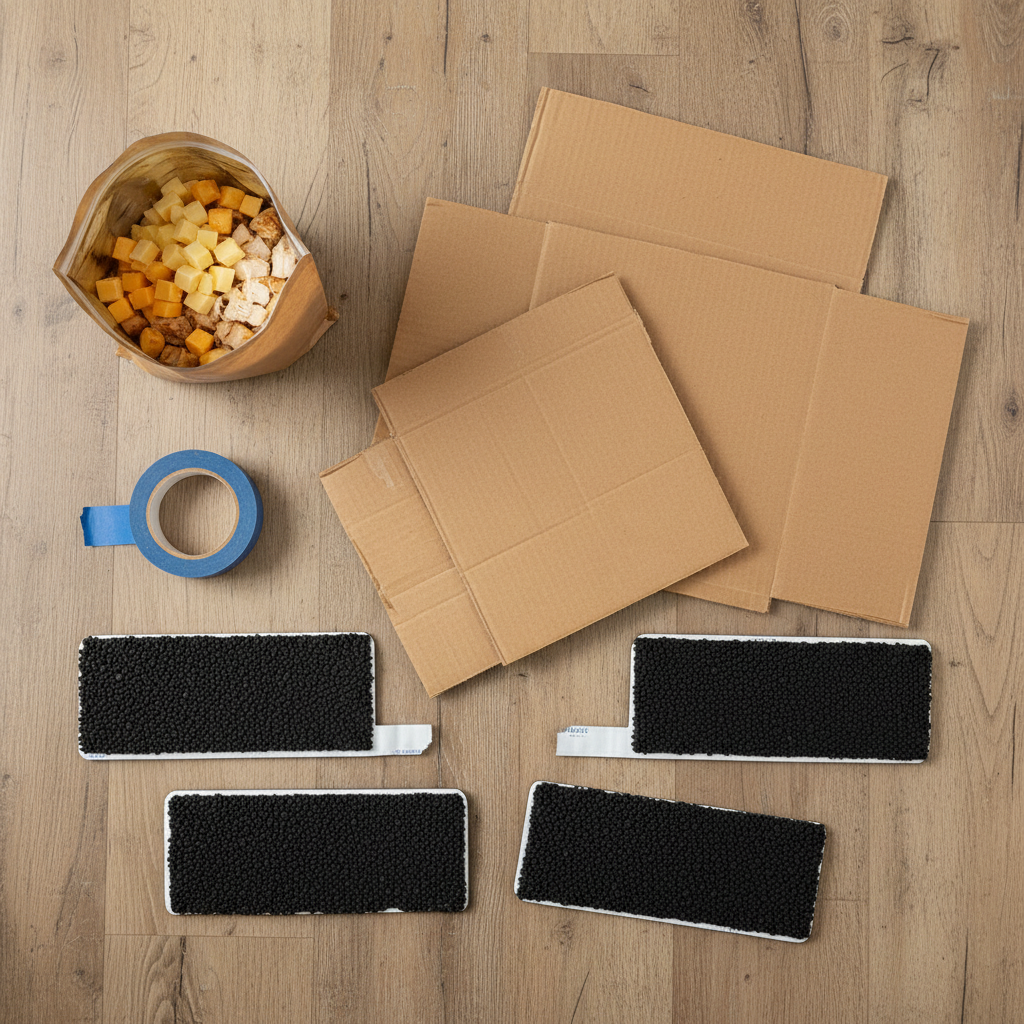
Before attempting to train your dog on the stairs, you need to prepare the environment and gather the right motivators. Attempting this training without preparation often leads to failure. Here is what you will need for the confidence hack:
- High-Value Treats: Dry kibble is rarely enough to overcome fear. Use small pieces of hot dog, cheese, or freeze-dried liver.
- Non-Slip Treads: If your stairs are slippery, applying temporary or permanent carpet treads is non-negotiable. Traction equals confidence.
- The ‘Hack’ Materials: You will need large sheets of cardboard, poster board, or even a dark sheet, along with painter’s tape (which won’t damage your finish).
- A Long Leash: Use a standard 6-foot leash for safety, but never for pulling.
Once you have these items, you are ready to set the stage for success.
The Confidence Hack: Closing the Gap
The core of this strategy involves temporarily removing the trigger—the visual gap—to help the dog learn the mechanics of climbing without the fear of the ‘cliff.’ This is the confidence hack.
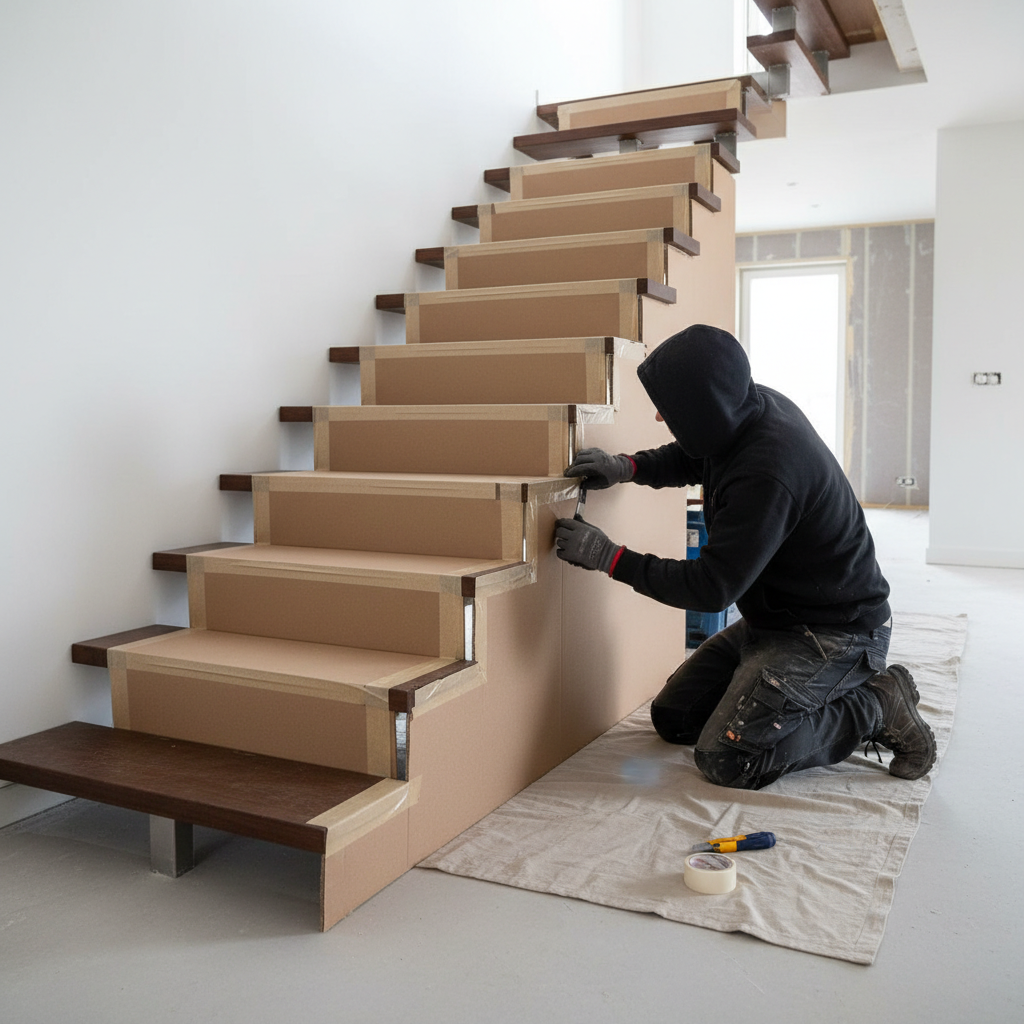
Step 1: Apply the Visual Barrier
Take your cardboard or heavy paper and tape it to the back of the risers (or the front, depending on your stair design) to close the gaps. You do not need to make this structural; it just needs to block the dog’s view through the stairs. By making the stairs appear solid, you instantly reduce the visual intensity of the obstacle.
Step 2: Ensure Traction
If the stairs are slippery, place your non-slip treads on the steps. If you cannot install treads, you can use yoga mats cut to size for the training sessions (ensure they are secure and do not slip). A dog that feels secure in their footing is 80% more likely to attempt a climb.
This environmental modification acts as training wheels. Once the dog builds muscle memory and confidence, you will gradually remove these barriers.
Step-by-Step Desensitization Protocol
With the gaps visually blocked and traction secured, you can begin the active training process. Do not rush this; it may take several short sessions over a few days.
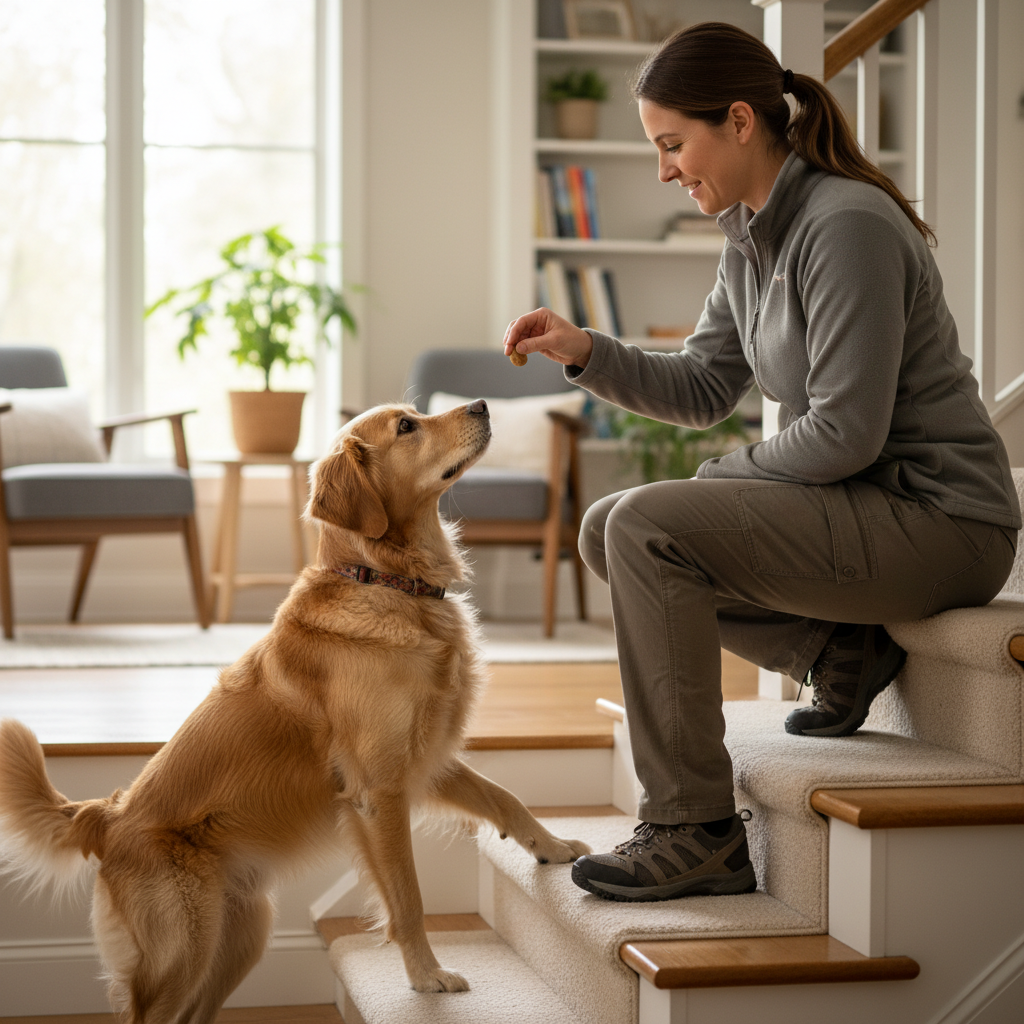
- Phase 1: The Approach: Start on the ground floor. Lure your dog to the base of the stairs with a high-value treat. Reward them heavily just for standing near the stairs without showing anxiety. Repeat this until they are happy to approach the base.
- Phase 2: Paws Up: Encourage the dog to place just their front two paws on the first step. Place a treat on the step if necessary. Once they do, mark the behavior with a verbal ‘Yes!’ or a clicker, and reward. Allow them to back off immediately. Do not force them to climb yet.
- Phase 3: The First Climb: Place a treat on the second step. Encourage the dog to climb up to get it. Because the gaps are blocked by your cardboard hack, the dog is less likely to freeze. If they climb up, celebrate enthusiastically.
- Phase 4: The Descent: Going down is often scarier than going up. Ensure you are below the dog to act as a safety net (without crowding them). Lure them down one step at a time.
Keep sessions short—no more than 5 to 10 minutes—to prevent mental fatigue.
Fading the Hack and Troubleshooting
Once your dog is confidently traversing the ‘closed’ stairs for several days, it is time to return the stairs to their original state. This must be done gradually.
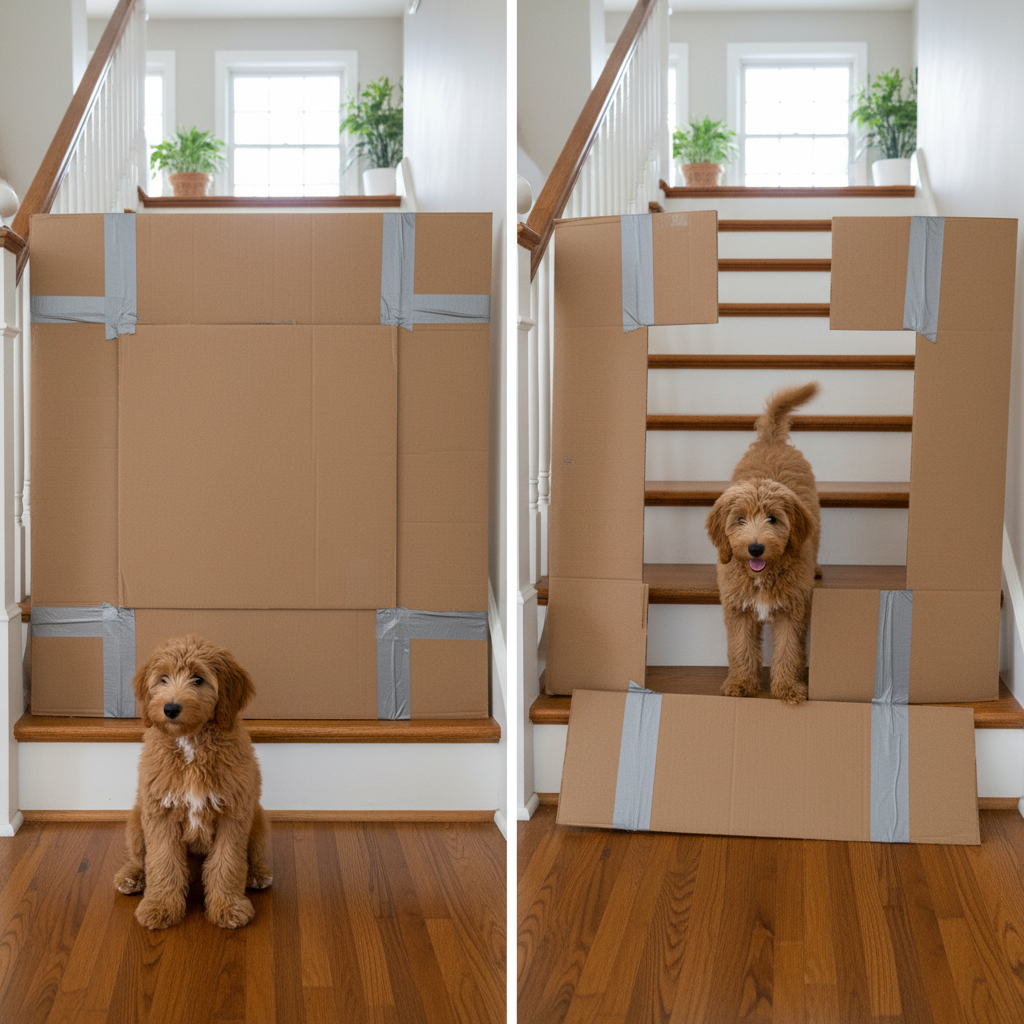
Fading the Barrier
Start by removing the cardboard from the bottom two steps only. Practice the climb. The dog may hesitate at the gap, but their momentum and previous success should carry them through. Over the course of a week, remove the barriers from one or two additional steps at a time, working your way up. If the dog regresses, simply re-apply the barrier for a few more days.
Common Mistakes to Avoid
Never pull the dog: Dragging a dog onto the stairs creates a negative association and can cause injury. Avoid flooding: Do not carry the dog to the top and force them to find their way down. This usually results in panic and scrambling. Watch the nails: Ensure your dog’s nails are trimmed; long nails reduce traction on hard surfaces, contributing to the fear of slipping.
Building Lasting Confidence
Fear of open stairs is a natural biological response for many dogs, but it is a hurdle that can be overcome with patience and the right strategy. By utilizing the ‘confidence hack’ of temporarily blocking the visual gaps and ensuring proper traction, you remove the source of the anxiety, allowing your dog to focus on the physical act of climbing.
Remember that every dog learns at a different pace. Some may conquer the stairs in an afternoon, while others may need two weeks of the cardboard barrier before they feel safe. Respect your dog’s timeline, celebrate small victories, and maintain a positive attitude. With consistency, your dog will soon be navigating those floating risers with the grace and confidence of a pro.