DIY Edible Birthday Candle: The Safest Way to Celebrate
Is there anything better than seeing your dog’s tail wag with pure joy on their birthday? We shower them with new toys, extra cuddles, and maybe even a special dog-friendly cake. But when it comes to that picture-perfect moment, the traditional birthday candle can feel a bit… risky. Between the open flame and the non-edible wax, it’s a recipe for a party foul.
Well, get ready to have your cake and let your dog eat it, too! We’re diving into the ultimate birthday hack for pet parents: the DIY Edible Birthday Candle. It’s a completely safe, surprisingly easy, and incredibly fun way to add that celebratory sparkle to your pup’s big day without any of the worry. Let’s get this paw-ty started!
Why Go DIY? The Pawsome Perks of an Edible Candle
Before we roll up our sleeves and get to a-mixin’, let’s talk about why a homemade edible candle is the best thing since sliced pupperoaf. It’s about more than just avoiding a little melted wax on the cake.
- Safety First, Always: This is the big one. There’s no open flame, which means no risk of singed whiskers or a curious nose getting too close. Plus, there’s no wax or wick for your dog to accidentally ingest, which could cause digestive upset.
- 100% Dog-Friendly & Delicious: Unlike a regular candle, this one is designed to be eaten! It becomes part of the birthday treat, adding an extra layer of flavor and fun for your furry friend.
- Total Ingredient Control: Is your pup allergic to grain? Sensitive to certain proteins? When you make it yourself, you know exactly what’s going into it. You can tailor the recipe to your dog’s specific dietary needs and preferences.
- Instagram-Worthy Moments: Let’s be honest, we love to share our pet’s milestones. A colorful, custom-made edible candle looks fantastic in photos and shows just how much you care. It’s a unique touch that will have your friends asking for the recipe!
Expert Tip: Always introduce any new food or treat to your dog in small amounts to ensure it agrees with their digestive system. Even with dog-safe ingredients, moderation is key!
Gathering Your Ingredients & Tools

The best part about this project is its simplicity. You probably have most of what you need in your kitchen right now! Here’s your checklist to create a basic, but brilliant, edible candle.
Required Ingredients:
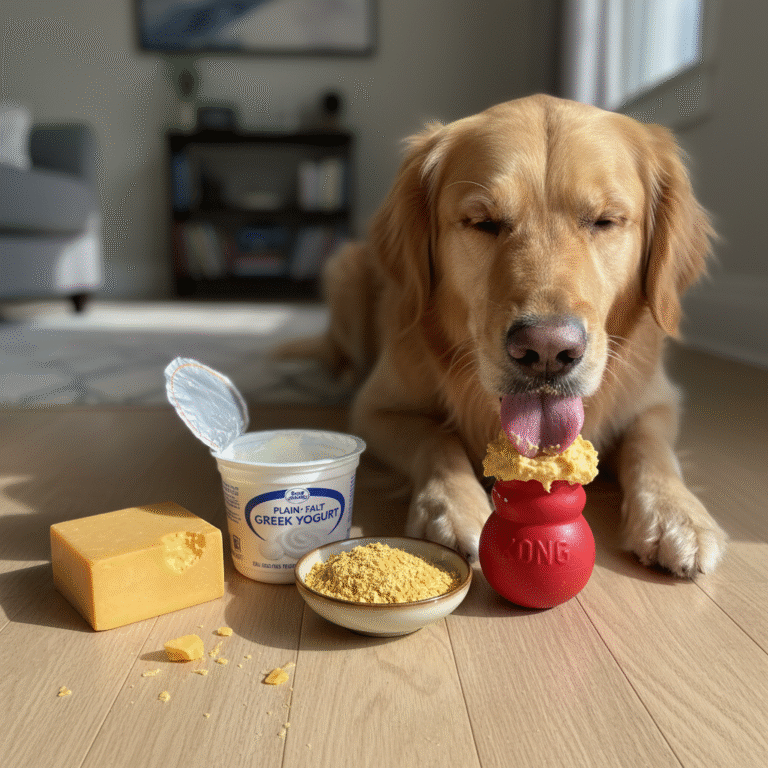
- The Base (Choose one): About 1/4 cup of plain, unsweetened Greek yogurt OR 1/4 cup of virgin, unrefined coconut oil. Important: If using yogurt, ensure it contains no artificial sweeteners like Xylitol, which is highly toxic to dogs.
- The ‘Wick’ (Choose one): A thin carrot stick, a sliver of apple, a small piece of dried sweet potato, or a thin, plain jerky stick. This should be sturdy enough to stand upright.
- Natural Color (Optional): A tiny pinch of turmeric for yellow, a spoonful of beet puree for pink, or a bit of spirulina for green.
Essential Tools:
- A thin, cylindrical silicone mold. If you don’t have one, an ice cube tray or even a small paper cup can work in a pinch.
- A small mixing bowl.
- A spoon or small spatula for mixing and pouring.
Step-by-Step: Crafting the Perfect Edible Candle
Ready to become your dog’s favorite chef? Follow these simple steps to create the candle. The whole process takes just a few minutes of prep time!
- Prepare Your ‘Wick’: Cut your chosen wick (carrot, apple, etc.) to be slightly taller than your mold. You want a little bit sticking out the top to look like a real wick. Set it aside.
- Mix Your Base: In your small mixing bowl, place your base ingredient. If you’re using coconut oil and it’s solid, gently melt it in the microwave in 10-second intervals until it’s liquid. If you’re using yogurt, just give it a good stir.
- Add a Pop of Color (Optional): If you want a colorful candle, now’s the time to add your natural food coloring. Stir in a tiny amount of turmeric, beet puree, or your chosen colorant until the base is evenly tinted.
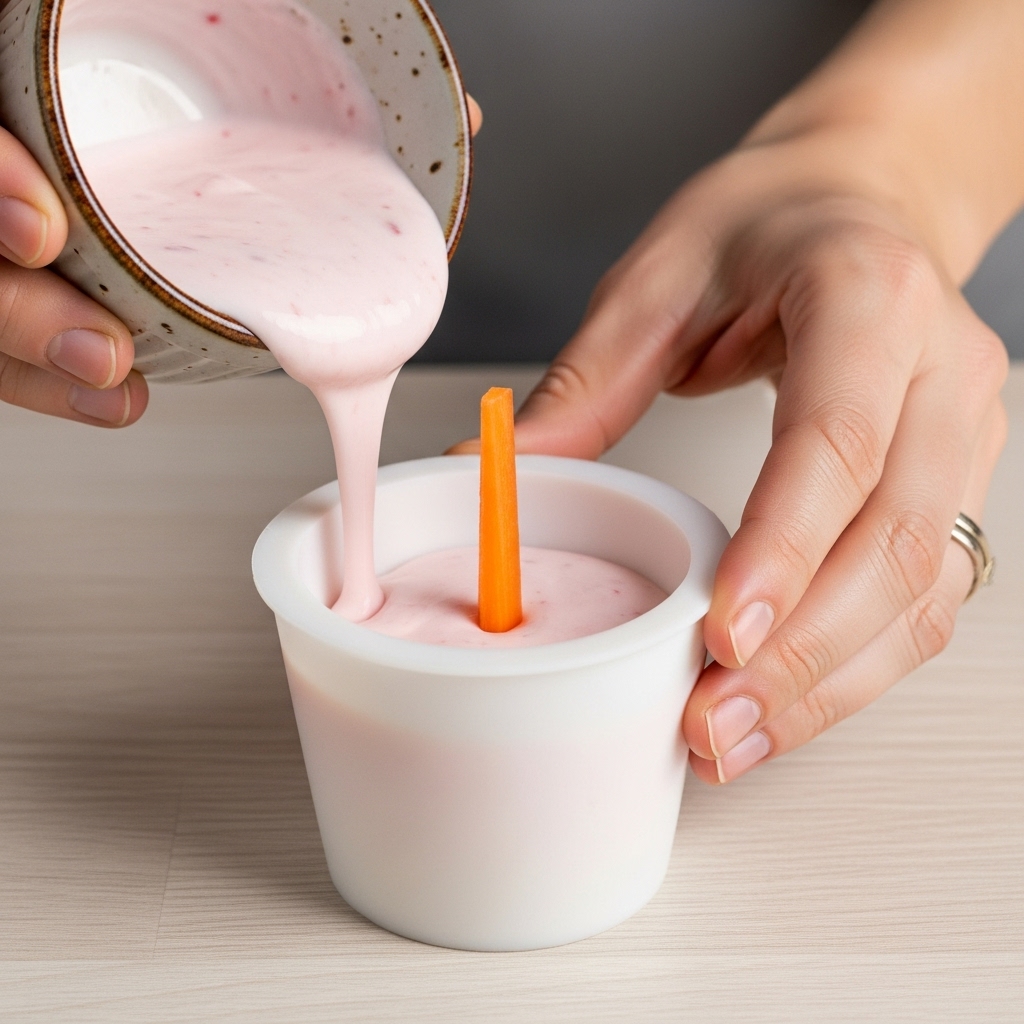
- Assemble the Candle: Place your ‘wick’ in the center of the silicone mold, holding it upright. Carefully pour or spoon the base mixture into the mold around the wick. Fill it to the top.
- Freeze and Firm Up: Place the mold in the freezer on a level surface. Let it freeze for at least 1-2 hours, or until completely solid.
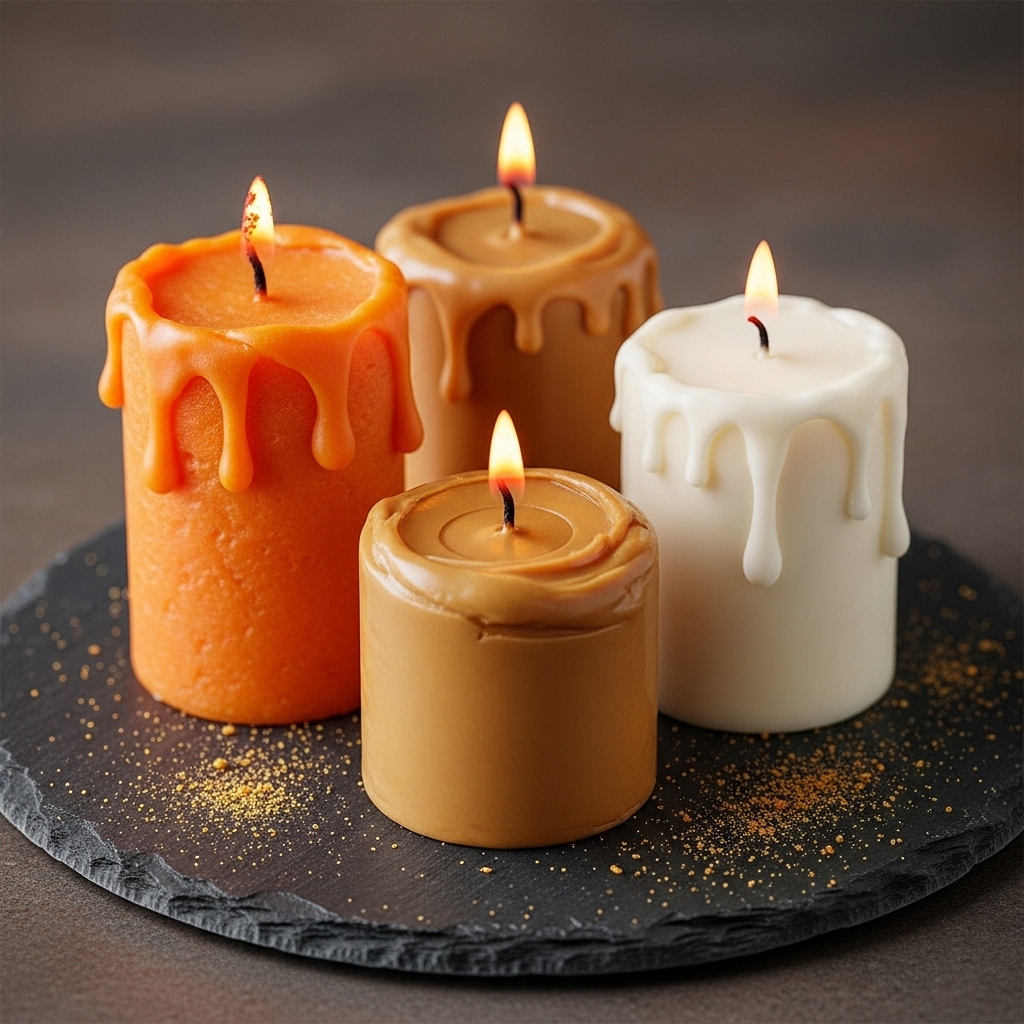
- The Big Reveal: Once frozen solid, gently pop the edible candle out of its mold. It’s now ready to be placed on top of your dog’s birthday cake or special meal!
Fun Flavor Variations to Spoil Your Pup
Once you’ve mastered the basic recipe, why not get creative? You can mix and match ingredients to find your dog’s absolute favorite combination. Here are a few ideas to get you started:
Tasty Base Alternatives:
- Peanut Butter Power: Mix a tablespoon of all-natural, xylitol-free peanut butter with melted coconut oil for a nutty, irresistible base.
- Pumpkin Spice: A spoonful of plain pumpkin puree mixed with yogurt not only adds flavor but is also great for digestion. A tiny sprinkle of cinnamon is a safe and tasty addition!
- Savory Broth Base: For a less sweet option, freeze low-sodium chicken or beef broth in the mold. This is especially great for dogs who prefer savory treats.
Wick-edly Good Ideas:
- A thin slice of dehydrated chicken or beef jerky.
- A stick of cucumber for a refreshing crunch.
- A dog-safe pretzel stick.
Remember to always check that any new ingredient is safe for canine consumption before you use it. When in doubt, a quick search on the ASPCA’s website or a call to your vet is the best course of action.
Common Mistakes & Safety Reminders
This DIY project is very safe, but it’s always good to keep a few things in mind to ensure the celebration is happy and harmless for everyone.
Mistakes to Avoid:
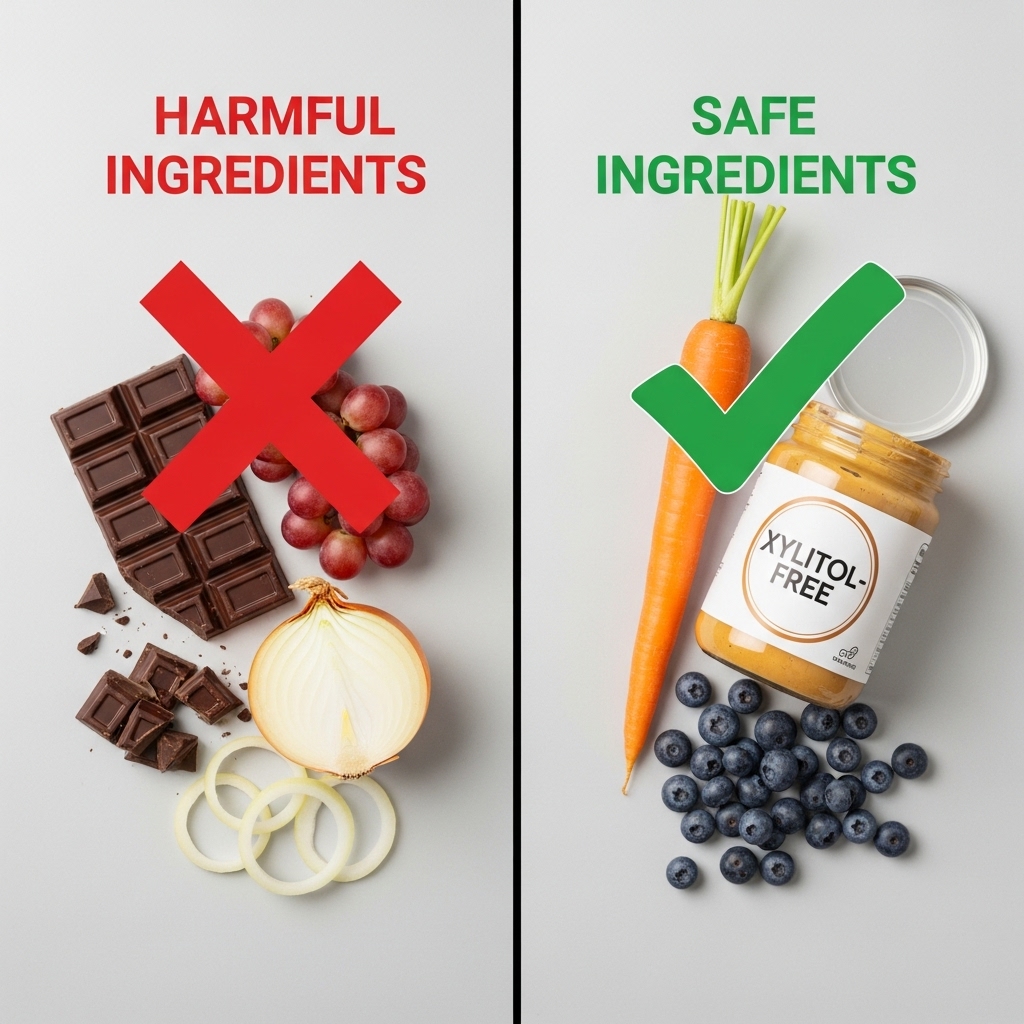
- Using Unsafe Ingredients: This is the most critical point. Never use chocolate, onions, garlic, grapes, raisins, or artificial sweeteners like xylitol. Stick to the list of known dog-safe foods.
- Forgetting About Allergies: Be mindful of your own dog’s specific sensitivities. If they have a dairy intolerance, opt for the coconut oil or broth base instead of yogurt.
- Making It Too Big: This is a treat, not a meal. Keep the candle a reasonable size for your dog to avoid adding too many extra calories to their diet.
Final Safety Check:
Even though it’s not a real candle, always supervise your dog while they enjoy their special treat. This prevents any potential choking hazards, especially with the ‘wick’ portion. The goal is a fun memory, and supervision is the key to a safe celebration.
Conclusion
And there you have it! A simple, safe, and super fun way to make your dog’s birthday even more special. With a DIY edible candle, you can capture that classic birthday photo-op without any of the risks, and give your best friend an extra tasty treat they’re sure to love. It’s a small gesture that shows a whole lot of love.
So next time a birthday or gotcha-day rolls around, skip the store-bought wax and head to the kitchen. Your dog will thank you with plenty of happy wags and birthday kisses. Happy celebrating!