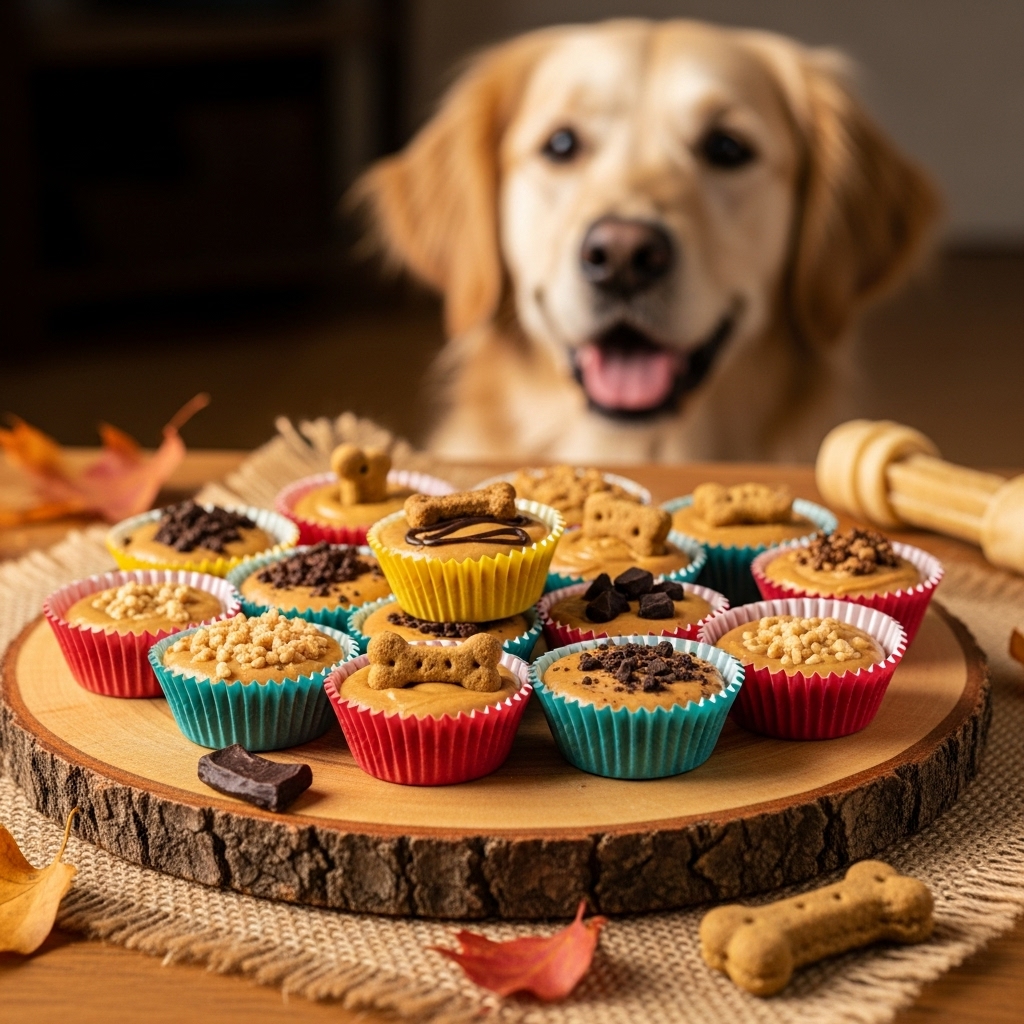
DIY Dog Safe Peanut Butter Cups (Better Than Reese’s!)
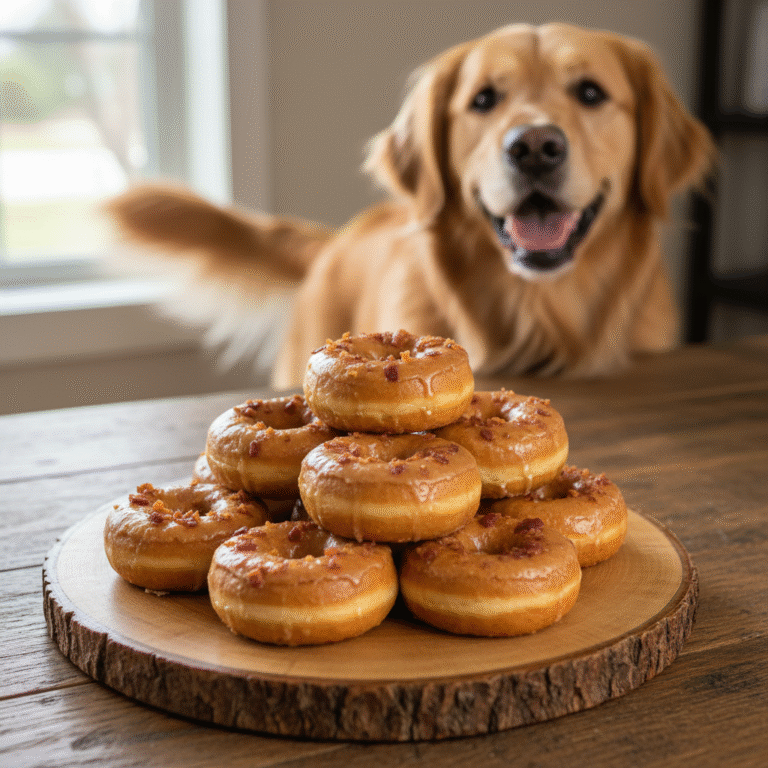
Is there anything better than kicking back with a delicious peanut butter cup? That perfect combination of creamy, salty peanut butter and a rich, sweet coating is pure bliss. It’s a treat so good, you might be tempted to share a tiny piece with your furry best friend who’s giving you those heart-melting puppy-dog eyes. But please, put that candy down! Human peanut butter cups, especially the famous Reese’s brand, are a major no-go for our canine companions.
Don’t worry, this isn’t a story with a sad ending! We believe that the joy of treats is something that can, and should, be shared. That’s why we’ve crafted the ultimate recipe for DIY Dog-Safe Peanut Butter Cups. They have all the deliciousness you’d expect, but they’re made with simple, safe ingredients that are actually good for your pup. So, let’s head to the kitchen and make a batch of treats that will earn you the ‘Best Pet Parent of the Year’ award!
The Dangers Lurking in Human Peanut Butter Cups

Why Your Pup Can’t Share Your Reese’s
Before we dive into the fun stuff, let’s get serious for a moment. Understanding why human candy is dangerous is the first step to being a responsible pet owner. It’s not just about avoiding a little tummy ache; some ingredients are downright toxic to dogs.
The Big Three Dangers:
- Chocolate: This is the most well-known offender. Chocolate contains theobromine and caffeine, two stimulants that dogs cannot metabolize effectively. Even a small amount can cause vomiting, diarrhea, rapid heart rate, seizures, and in severe cases, can be fatal. The darker the chocolate, the more dangerous it is.
- Xylitol: This is a sugar substitute found in many ‘sugar-free’ products, including some brands of peanut butter. For dogs, xylitol is extremely toxic. It causes a rapid, life-threatening drop in blood sugar (hypoglycemia) and can lead to liver failure. Always, always, always check the label on your peanut butter to ensure it does not contain xylitol.
- Sugar and Fat: Even if the candy doesn’t contain chocolate or xylitol, the high levels of sugar and fat are a recipe for disaster. They can lead to pancreatitis, a painful and serious inflammation of the pancreas, as well as obesity and dental problems down the line.
Expert Tip: When in doubt, just assume a human treat is unsafe. It’s much better to stick to snacks and recipes specifically designed for your dog’s unique dietary needs.
Gathering Your Pup-Approved Pantry Staples
What You’ll Need for Paws-itively Perfect Cups
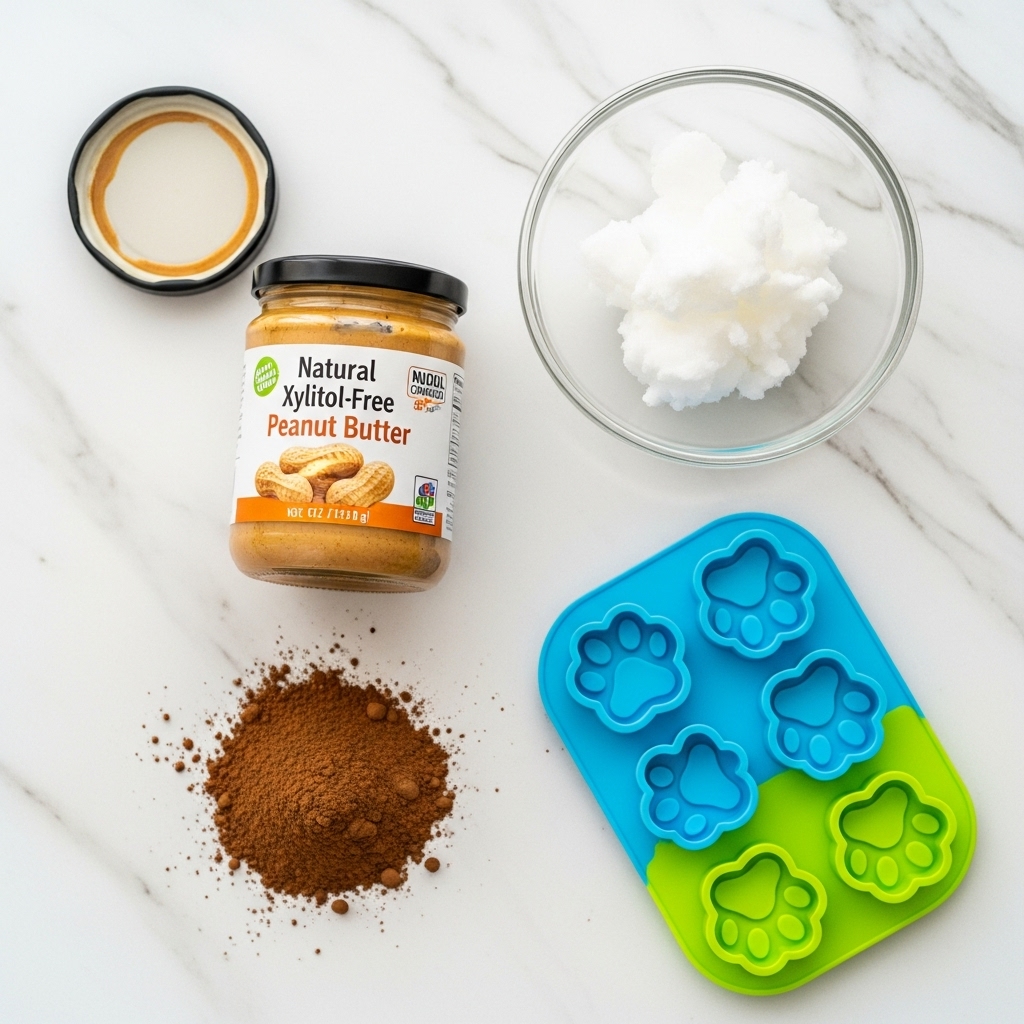
The beauty of this recipe is its simplicity. You only need a handful of ingredients, all of which are easy to find. The key is to choose high-quality, dog-safe versions of each.
Your Shopping List:
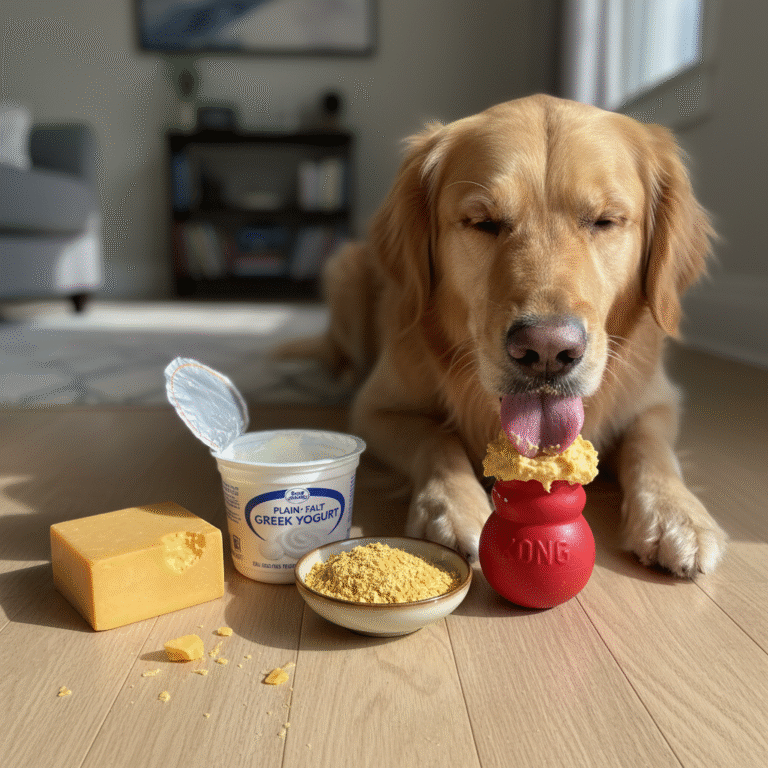
- Xylitol-Free Peanut Butter: This is non-negotiable. Look for a natural peanut butter where the only ingredients are peanuts and maybe a little salt. Creamy or crunchy works, but creamy will give you a smoother filling.
- Solid Coconut Oil: This is the magic ingredient that helps everything set up nicely. We’ll use it for both the filling and the ‘chocolatey’ coating. Look for organic, virgin coconut oil if possible. It’s packed with healthy fats that are great for your dog’s coat and skin.
- Carob Powder: Welcome to your new best friend in dog-friendly baking! Carob comes from the pod of a carob tree and is a fantastic, 100% dog-safe substitute for chocolate. It’s naturally sweet, caffeine-free, and theobromine-free, but gives you that rich, dark look and flavor we’re going for.
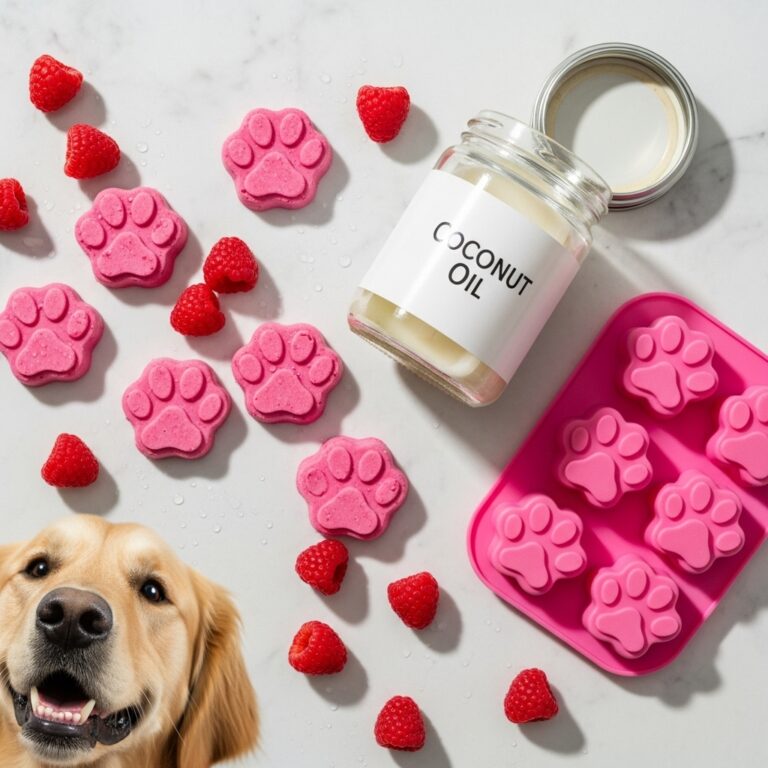
- A Silicone Mold: While not an ingredient, this is a key piece of equipment. Mini muffin trays or any fun-shaped silicone candy molds will work perfectly. The flexibility of silicone makes it super easy to pop the finished treats out.
That’s it! Just three simple ingredients to create a treat that’s not only safe but also offers some health benefits. The healthy fats from the coconut oil and the protein from the peanut butter make this a much smarter choice than any store-bought, preservative-filled biscuit.
The Ultimate Dog-Safe Peanut Butter Cup Recipe (Step-by-Step)
Let’s Get Cooking: Your Step-by-Step Guide
Alright, aprons on! This recipe is so easy, you’ll have it memorized after the first try. It’s a fun activity that older kids can even help with (under supervision, of course!).
The Recipe (Makes about 12 mini cups):
- Prepare the ‘Chocolate’ Layer: In a microwave-safe bowl, combine 1/2 cup of solid coconut oil and 1/2 cup of carob powder. Microwave in 30-second intervals, stirring in between, until the coconut oil is fully melted and the mixture is smooth and glossy.
- Create the Base: Carefully spoon a small amount of the melted carob mixture into the bottom of each cup in your silicone mold. You want just enough to cover the bottom, creating the first layer. Place the mold in the freezer for about 10-15 minutes to let this layer harden completely.
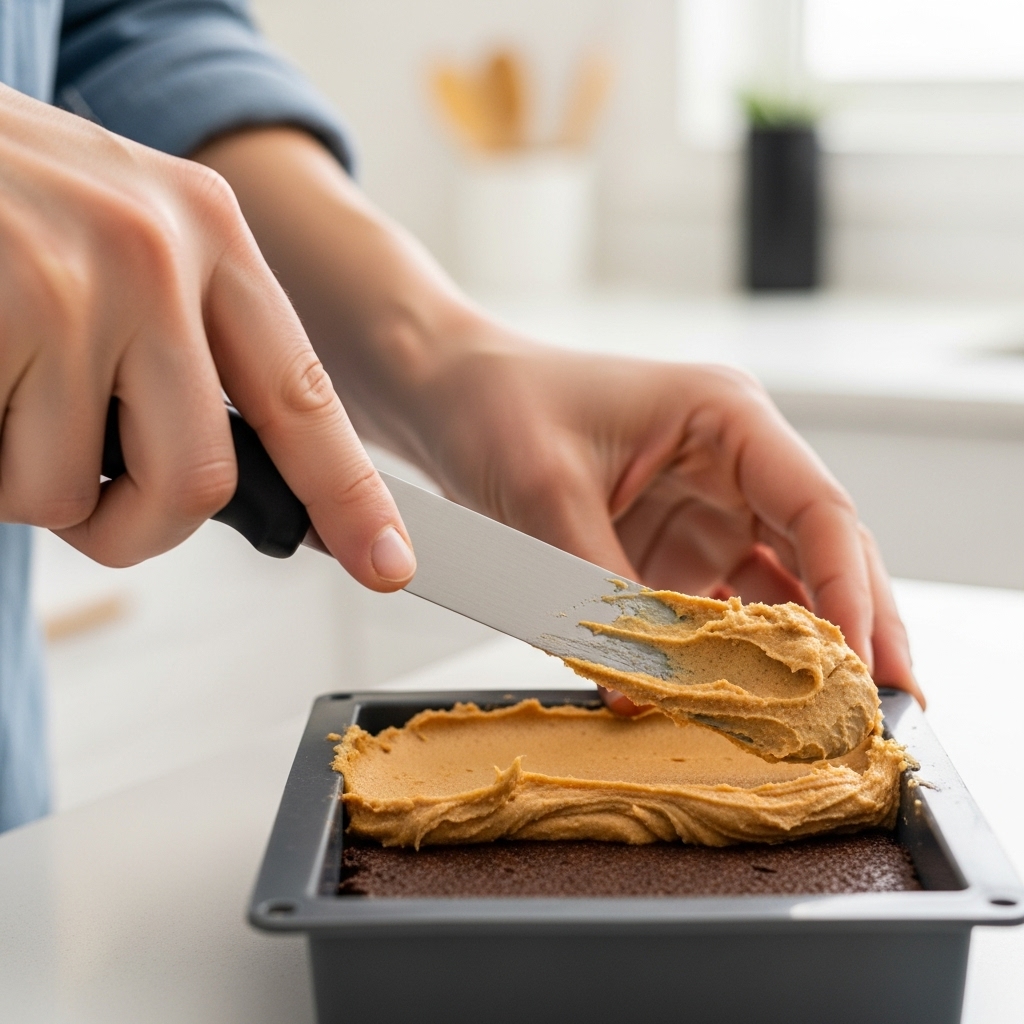
- Mix the Peanut Butter Filling: While the base is chilling, mix 1 cup of your xylitol-free peanut butter with 1/4 cup of melted coconut oil in a separate bowl. This thins the peanut butter, making it easier to spoon and helping it set.
- Add the Filling: Remove the mold from the freezer. Spoon a dollop of the peanut butter mixture on top of the hardened carob layer in each cup. Gently spread it out, leaving a little room at the top.
- Top It Off: Pour the remaining carob mixture over the peanut butter filling, making sure to cover it completely and create a smooth top layer.
- The Final Chill: Place the mold back into the freezer for at least 30-45 minutes, or until the cups are completely firm. Once solid, they’re ready!
Serving, Storing, and Spoilin’ Your Pup
How to Treat Your Good Boy (or Girl) Right
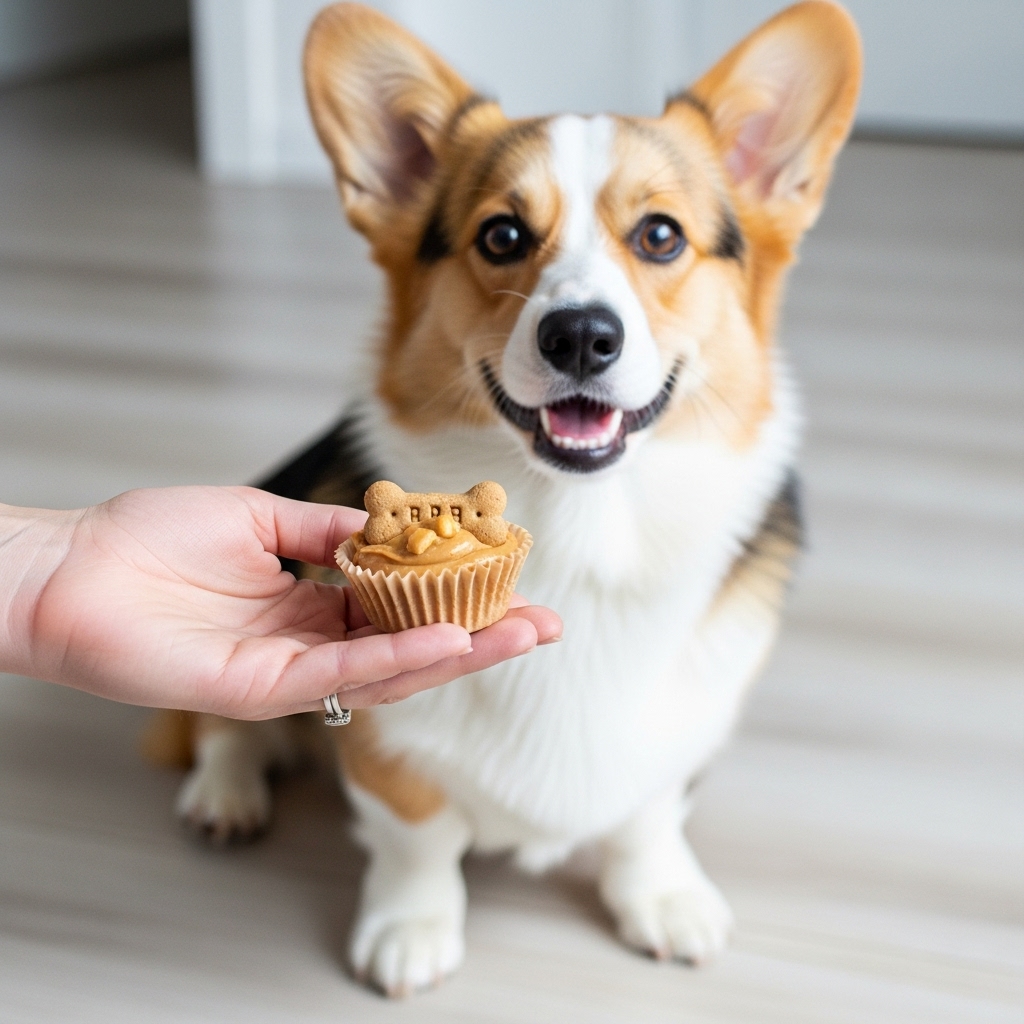
Your beautiful, dog-safe peanut butter cups are ready! Now comes the best part: seeing the look of pure joy on your dog’s face. But before you let them gobble up the whole batch, let’s talk about portion control and storage.
Serving Size Matters:
These are treats, not a meal replacement. They are rich due to the peanut butter and coconut oil, so moderation is key. Here’s a general guideline:
- Small Dogs (under 20 lbs): Half a mini cup per day.
- Medium Dogs (20-50 lbs): One mini cup per day.
- Large Dogs (over 50 lbs): One to two mini cups per day.
Always introduce any new food slowly and watch for any signs of digestive upset. These are general rules, so you know your dog best!
Storage Instructions:
Because these treats are made with coconut oil, they will melt at room temperature! You must store them in the refrigerator or freezer.
- Refrigerator: Store them in an airtight container for up to two weeks.
- Freezer: For longer storage, keep them in a freezer-safe bag or container for up to three months. They make a wonderful, cooling treat on a hot day straight from the freezer!
Bonus: Fun Variations & Healthy Add-Ins
Get Creative in the Canine Kitchen
Once you’ve mastered the basic recipe, feel free to get creative! There are plenty of dog-safe ingredients you can add to the peanut butter filling to boost the flavor and nutritional value.
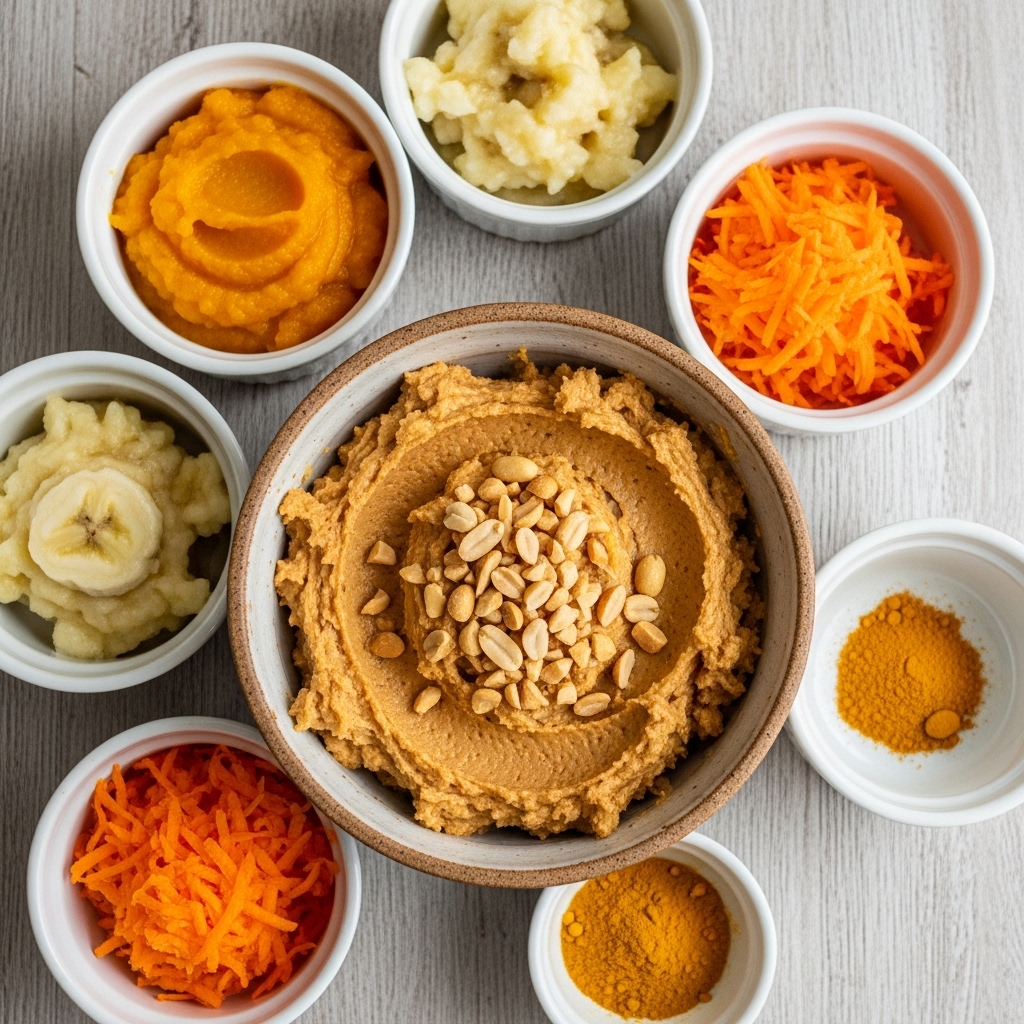
Tasty Mix-In Ideas:
- Pumpkin Purée: Add a tablespoon of 100% pure pumpkin purée (not pie filling!) to the peanut butter mixture. It’s fantastic for digestive health.
- Mashed Banana: A little mashed banana adds natural sweetness and a boost of potassium.
- Finely Grated Carrots: For a bit of texture and a dose of Vitamin A, mix in some finely grated carrots.
- Unsweetened Apple Sauce: Another great option for adding moisture and a different flavor profile to the filling.
- A Sprinkle of Turmeric: A tiny pinch of turmeric can be added for its anti-inflammatory properties. Don’t go overboard, as it has a strong flavor!
When adding extras, especially wet ingredients like pumpkin or banana, you might need to add a little less melted coconut oil to the filling to get the right consistency. Have fun experimenting and find your dog’s favorite custom combination!
Conclusion
And there you have it! A simple, safe, and incredibly delicious treat that you can feel great about giving to your dog. Making these DIY peanut butter cups is more than just cooking; it’s an act of love. You’re taking the time to create something special while ensuring your pup’s health and safety are the top priority. So next time you’re enjoying your own favorite snack, your dog doesn’t have to be left out. They can have their very own, much healthier, version. Happy treating!