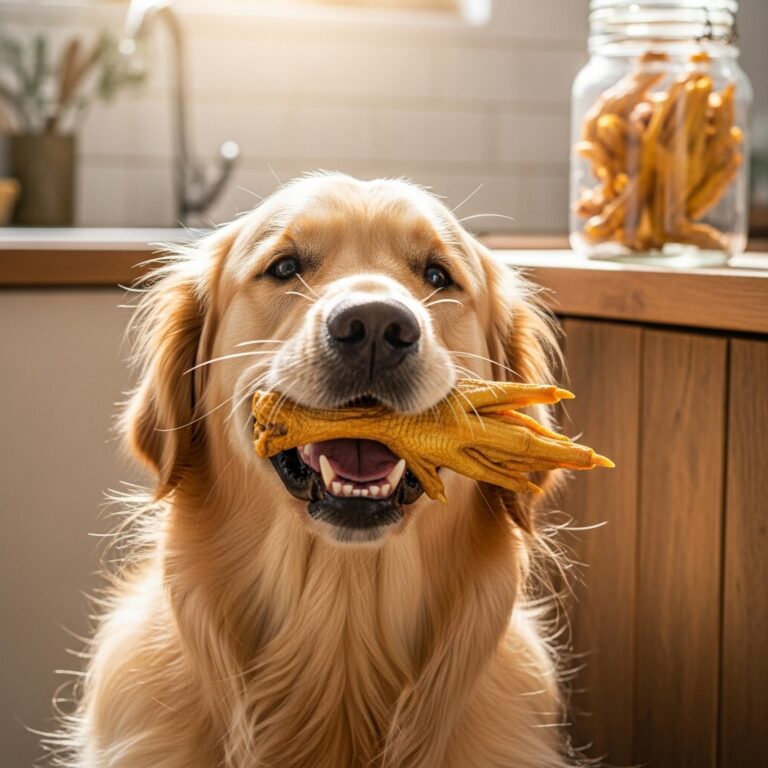
DIY Dehydrated Turkey Necks: The Ultimate Natural Toothbrush
Let’s talk about something every dog owner thinks about: dental health. We all know that keeping our pup’s chompers clean is crucial, but vet cleanings can be expensive, and many store-bought dental chews are full of questionable ingredients or last all of five seconds. So, what’s a loving pet parent to do? Enter the humble turkey neck!
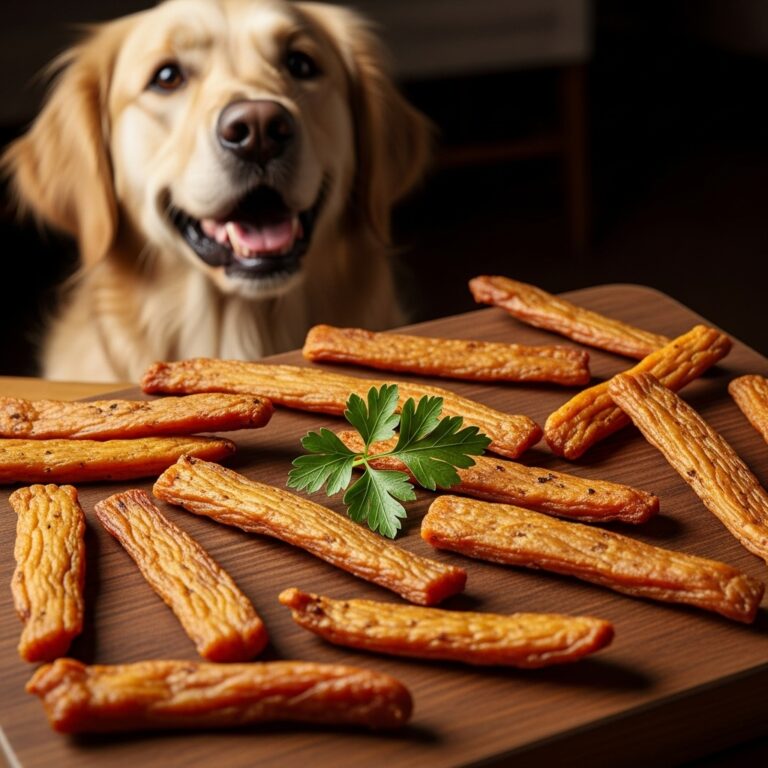
You might not think of it as a dental tool, but a dehydrated turkey neck is one of the best ‘natural toothbrushes’ you can give your furry friend. The crunchy, bony texture is fantastic for scraping away plaque and tartar, and it’s packed with nutrients. Best of all, making them at home is surprisingly easy and way more affordable. In this guide, we’ll walk you through everything you need to know to safely make this dental super-treat in your own kitchen.
The Amazing Benefits of a Crunchy Turkey Neck

So, what makes a dehydrated turkey neck so special? It’s more than just a tasty, long-lasting chew. It’s a powerhouse of health benefits wrapped in a crunchy package.
- Natural Teeth Cleaning: This is the star of the show! As your dog chews, the bone and cartilage create an abrasive action that physically scrapes plaque and tartar off their teeth. It’s like a deep-cleaning session that your dog actually enjoys.
- Joint Health Superstar: Turkey necks are naturally loaded with glucosamine and chondroitin. These are the building blocks of cartilage and are essential for keeping your dog’s joints healthy, mobile, and pain-free, especially for seniors or breeds prone to arthritis.
- Rich in Nutrients: They are a fantastic source of essential minerals like calcium and phosphorus, which are vital for strong bones and teeth.
- Mental Stimulation: The act of gnawing and working on a chew like a turkey neck is incredibly enriching for a dog. It helps relieve boredom, reduces anxiety, and satisfies their natural instinct to chew, which can save your shoes and furniture!
Expert Tip: Unlike cooked bones, which become brittle and can splinter dangerously, properly dehydrated bones crush and crumble, making them much safer for consumption.
Safety First: Is This Treat Right for Your Dog?

While turkey necks are fantastic, they aren’t a one-size-fits-all treat. Safety should always be your top priority. Before you start, let’s cover a few crucial points to ensure a happy and safe chewing experience.
Size and Chewing Style Matter
The most important factor is your dog’s size and how they chew. A giant turkey neck might be too much for a Chihuahua, while a tiny piece could be a choking hazard for a Great Dane. Always choose a size that is appropriate for your dog.
This treat is best for dogs that are moderate chewers. If you have a ‘gulper’ who tries to swallow things whole, a turkey neck might not be the best option. Aggressive chewers who can break off large, hard pieces could also be at risk. Always supervise your dog, especially the first few times you give them a new treat.
Raw vs. Dehydrated vs. Cooked
Let’s be crystal clear on this: NEVER give your dog a cooked turkey neck. Cooking makes bones brittle, causing them to splinter into sharp shards that can cause serious internal damage. The goal of dehydrating is to remove moisture at a low temperature, which keeps the bone’s structure safe to eat—it will crush rather than splinter. Raw turkey necks are also a good option for dogs on a raw diet, but dehydrated ones are less messy and have a much longer shelf life.
Your DIY Toolkit: What You’ll Need
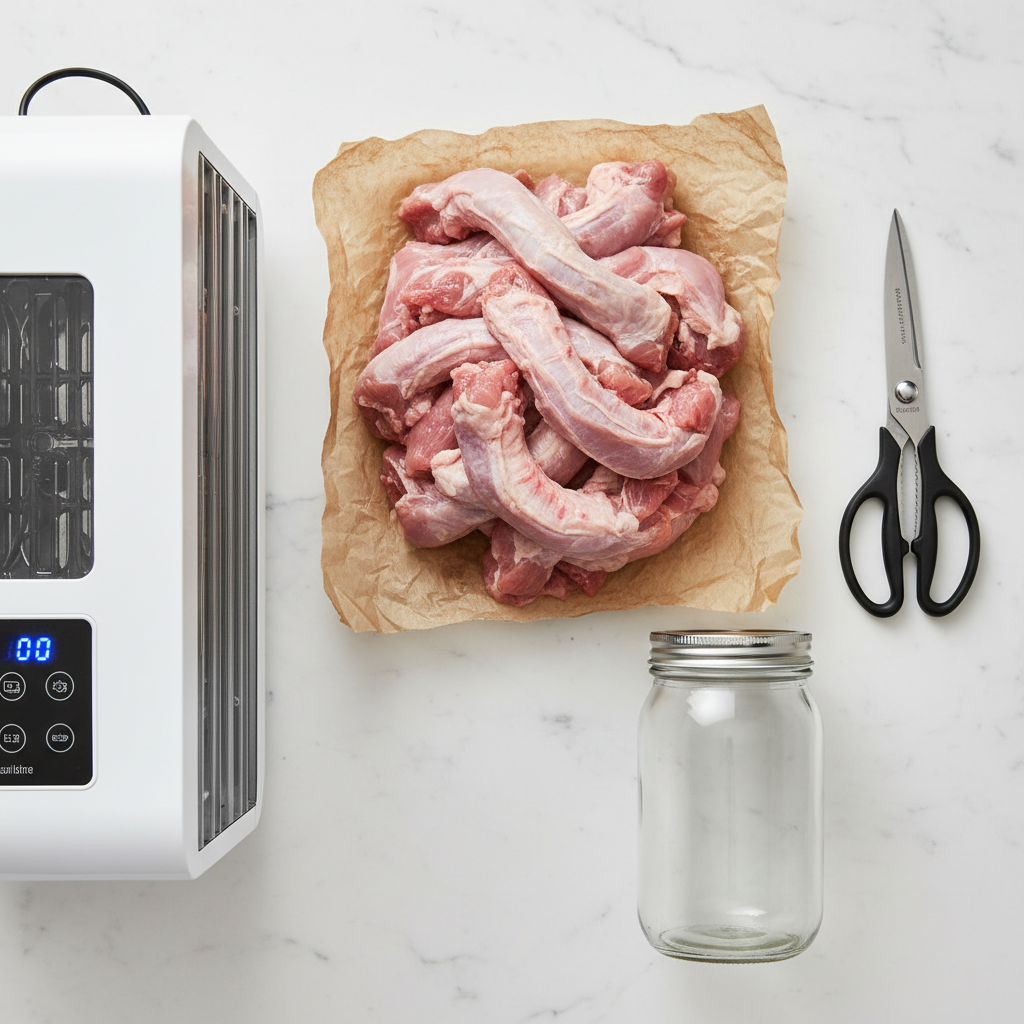
Ready to become your dog’s favorite chef? The good news is, you don’t need a lot of fancy equipment. Here’s a simple checklist of everything you’ll need to get started:
- Raw Turkey Necks: The main event! Look for high-quality, human-grade necks from your local butcher or grocery store.
- A Food Dehydrator: This is the highly recommended method. It provides consistent, low heat and excellent air circulation, which is key for safety and a perfect final product.
- An Oven (Alternative): If you don’t have a dehydrator, you can use your oven, but it requires more attention. You’ll need to prop the door open slightly to allow moisture to escape and ensure the temperature stays consistently low.
- Kitchen Shears or a Sharp Knife: For trimming any excess fat or skin.
- A Cutting Board: A dedicated one for raw meat is always a good idea.
- Airtight Storage Containers: Glass jars or BPA-free plastic containers work great for keeping the finished treats fresh.
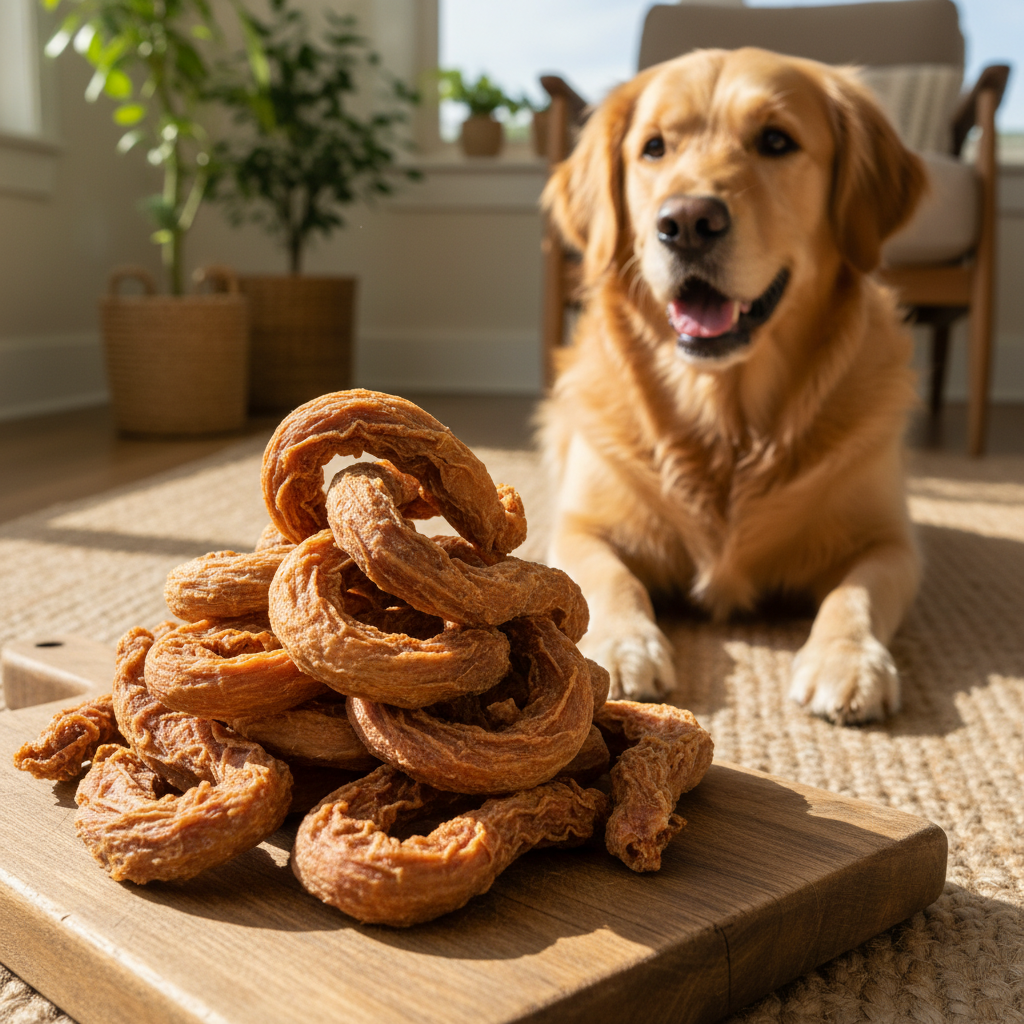
Step-by-Step Guide to Perfect Dehydrated Turkey Necks
Here comes the fun part! Follow these simple steps to create a batch of delicious and healthy dental chews for your pup.
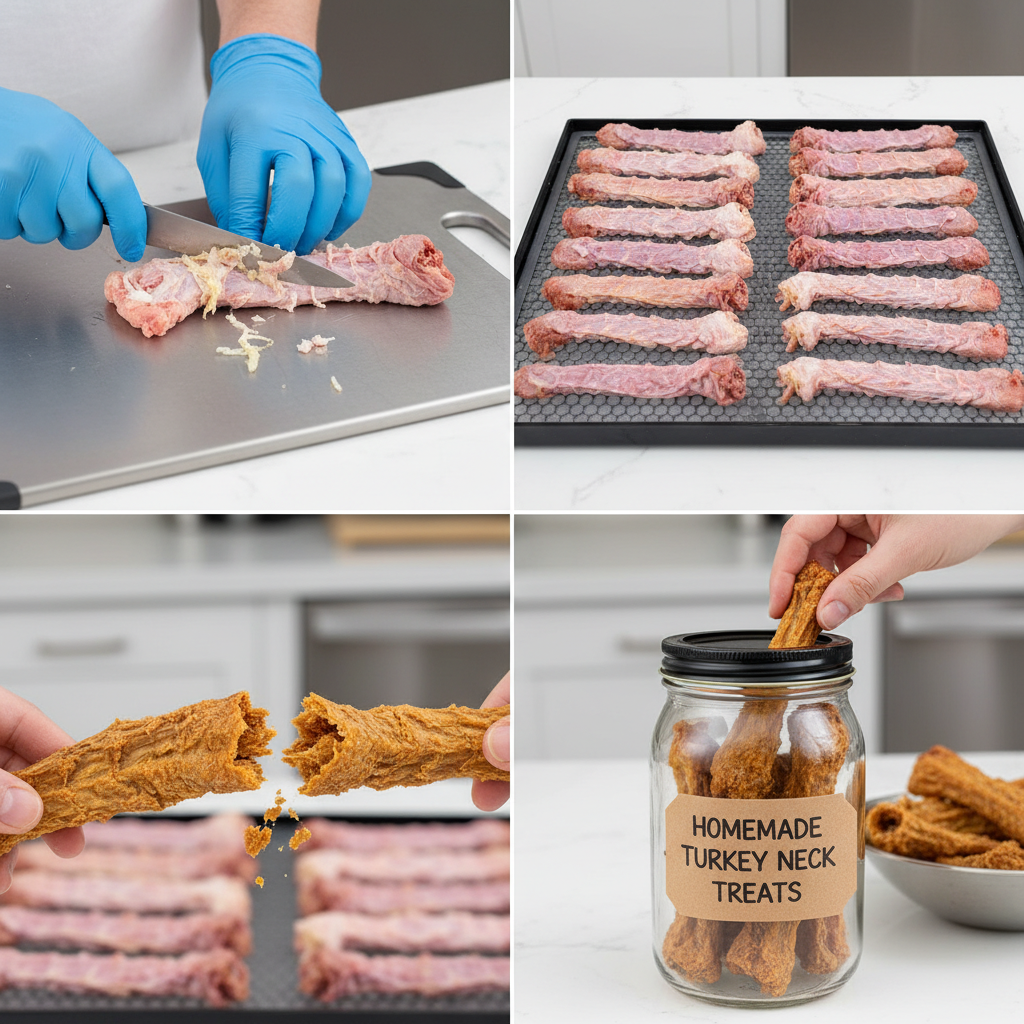
- Prep the Necks: Start by rinsing the raw turkey necks under cool water and patting them completely dry with paper towels. Use your kitchen shears to trim off any large, excessive pieces of fat or skin. A little fat is okay, but too much can slow down the drying process.
- Arrange on Trays: Place the turkey necks on your dehydrator trays in a single layer. Make sure to leave a little space between each neck to allow for proper air circulation. Don’t let them touch!
- Set It and Forget It (Almost!): Place the trays in the dehydrator and set the temperature. For poultry, a temperature between 155-165°F (68-74°C) is ideal. This is hot enough to kill off any potential bacteria like Salmonella but low enough that it won’t cook the bones.
- The Waiting Game: Dehydrating is a marathon, not a sprint. This process will take anywhere from 24 to 48 hours, depending on the size of the necks and your machine’s efficiency.
- Check for Doneness: The necks are ready when they are hard and brittle. Try to bend one—it should snap or crack, not bend. If you see any signs of moisture or soft spots, they need more time. When in doubt, dehydrate for a few more hours.
- Cool and Store: Once they’re perfectly dried, turn off the dehydrator and let the necks cool completely to room temperature. This is an important step, as storing them while warm can create condensation and lead to mold. Once cool, place them in your airtight container. They can be stored in the pantry for several weeks or in the freezer for months.
Conclusion
And there you have it! With a little bit of time and effort, you’ve created a batch of high-value, healthy, and all-natural dental chews that your dog will go crazy for. You get the peace of mind of knowing exactly what’s in your dog’s treats, and your dog gets a cleaner mouth, healthier joints, and a super satisfying chew session. It’s a win-win!
Remember to always introduce new treats slowly and supervise your dog while they enjoy their new favorite toothbrush. Happy dehydrating!