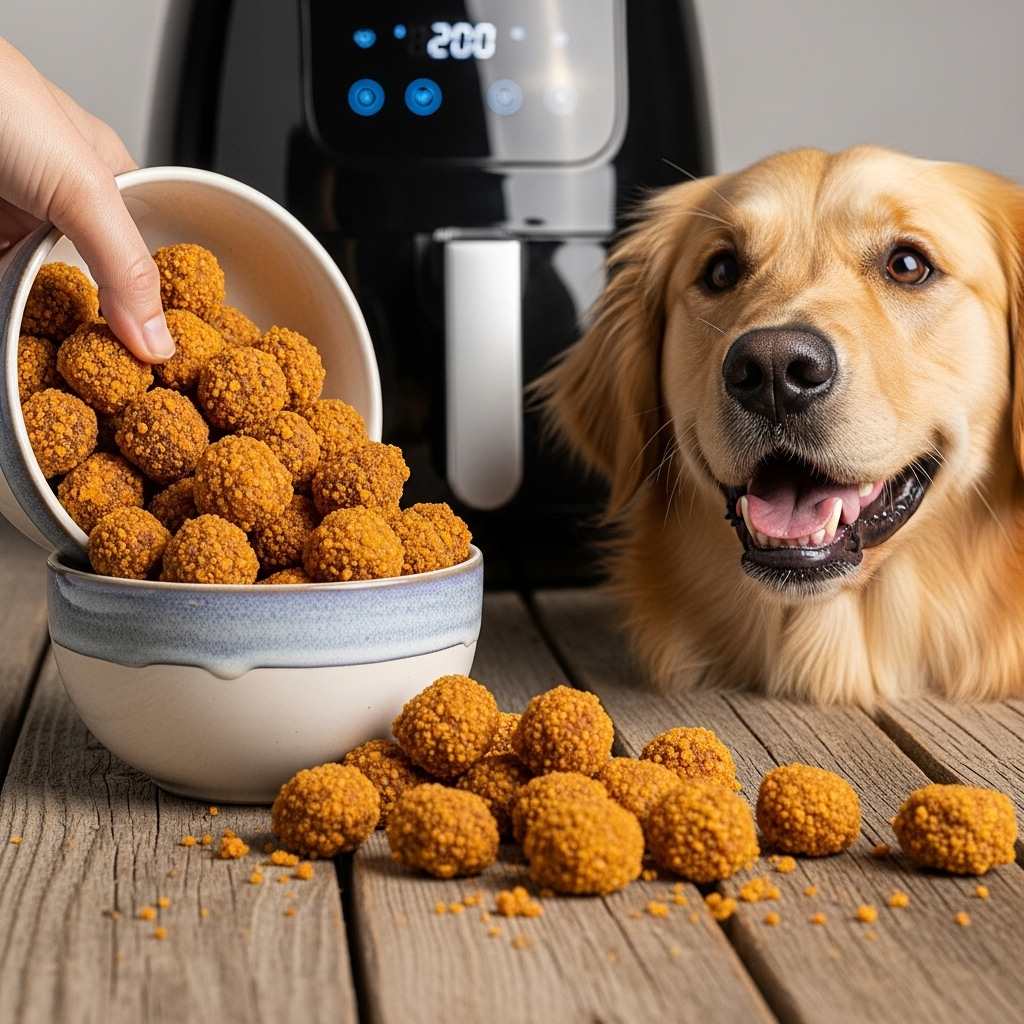
Crispy Air Fryer Liver Bites Ready In 10 Minutes (No Smell!)
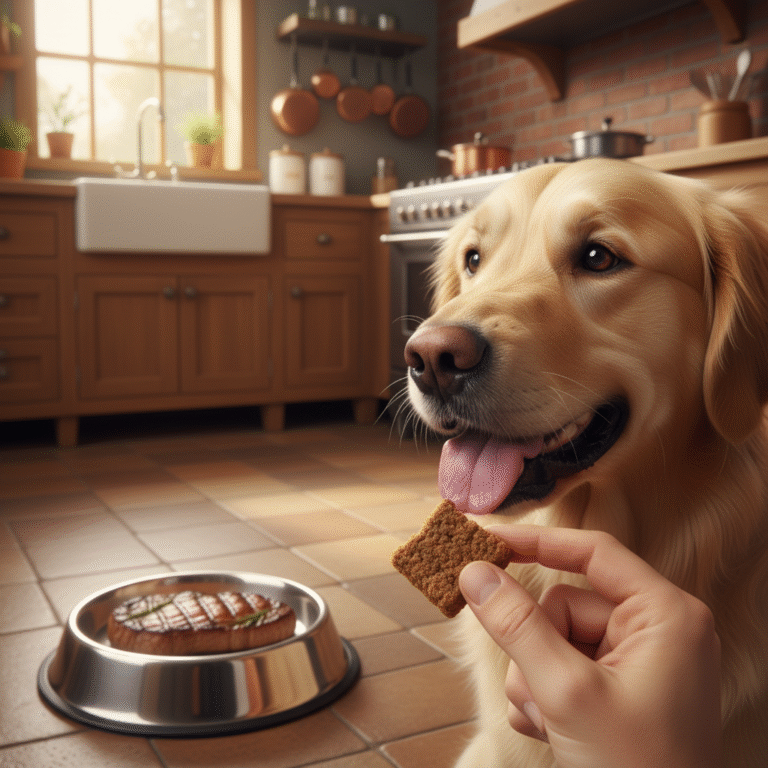
Hey there, fellow dog lover! Do you ever find yourself staring at the pet store aisle, overwhelmed by the sheer number of dog treats? The labels can be confusing, the ingredients questionable, and the prices… well, let’s just say they add up! If you’ve ever wished for a healthier, easier, and more affordable way to spoil your furry best friend, you’ve come to the right place.
We’re about to unlock the secret to making an irresistible, high-value treat that will have your dog doing backflips: Crispy Air Fryer Liver Bites. And the best part? They’re ready in about 10 minutes, and thanks to the magic of the air fryer, your kitchen won’t smell like liver for days. It’s a win-win!
Liver is a nutritional powerhouse for our canine companions, packed with vitamins and minerals. In this guide, we’ll walk you through everything from the incredible benefits of liver to the super-simple, step-by-step recipe that will make you your dog’s personal five-star chef. Let’s get cooking!
Why Liver is a Canine Superfood (In Moderation!)
Why Liver is a Canine Superfood (In Moderation!)
Before we fire up the air fryer, let’s talk about why liver is such a fantastic addition to your dog’s diet. It’s not just a tasty morsel; it’s what nutritionists call ‘nutrient-dense.’ This means a small amount packs a huge nutritional punch. Organ meats, like liver, are a natural part of a canid’s ancestral diet, providing essential nutrients that are harder to find in muscle meat alone.
The Good Stuff: Nutritional Benefits
Here’s a peek at the incredible benefits hiding inside every bite of liver:
- Vitamin A Powerhouse: Liver is one of the most concentrated sources of Vitamin A, which is crucial for vision, immune function, and skin and coat health.
- B-Vitamin Bonanza: It’s loaded with B vitamins, especially B12, riboflavin (B2), and folate (B9). These are vital for energy metabolism, enzyme function, and maintaining a healthy nervous system.
- Iron-Rich: Liver provides a highly bioavailable form of iron, which is essential for creating red blood cells and preventing anemia.
- Rich in Copper & Zinc: These minerals play a key role in bone and joint health, immune function, and metabolism.
- High-Quality Protein: It provides all the essential amino acids your dog needs to build and repair tissues.
Expert Tip: Think of liver treats as a healthy supplement, not a meal replacement. Their richness is their strength but also why portion control is key!
The Golden Rule: Moderation is Everything
Now for the important part. Because liver is so incredibly rich in Vitamin A, which is a fat-soluble vitamin, it can build up in the body over time. Too much Vitamin A can lead to a condition called hypervitaminosis A, which can cause bone problems and other health issues. But don’t let that scare you! The solution is simple: moderation. Treats should only make up about 10% of your dog’s daily caloric intake, and rich treats like liver should be an even smaller part of that. We’ll cover specific serving sizes later on, but just remember that these are special occasion goodies, not an all-day snack.
Gather Your Gear: What You’ll Need

Gather Your Gear: What You’ll Need
One of the best things about this recipe is its beautiful simplicity. You don’t need a long list of fancy ingredients or complicated gadgets. In fact, you probably have most of what you need already!
Ingredients (Yes, It’s Really This Simple!)
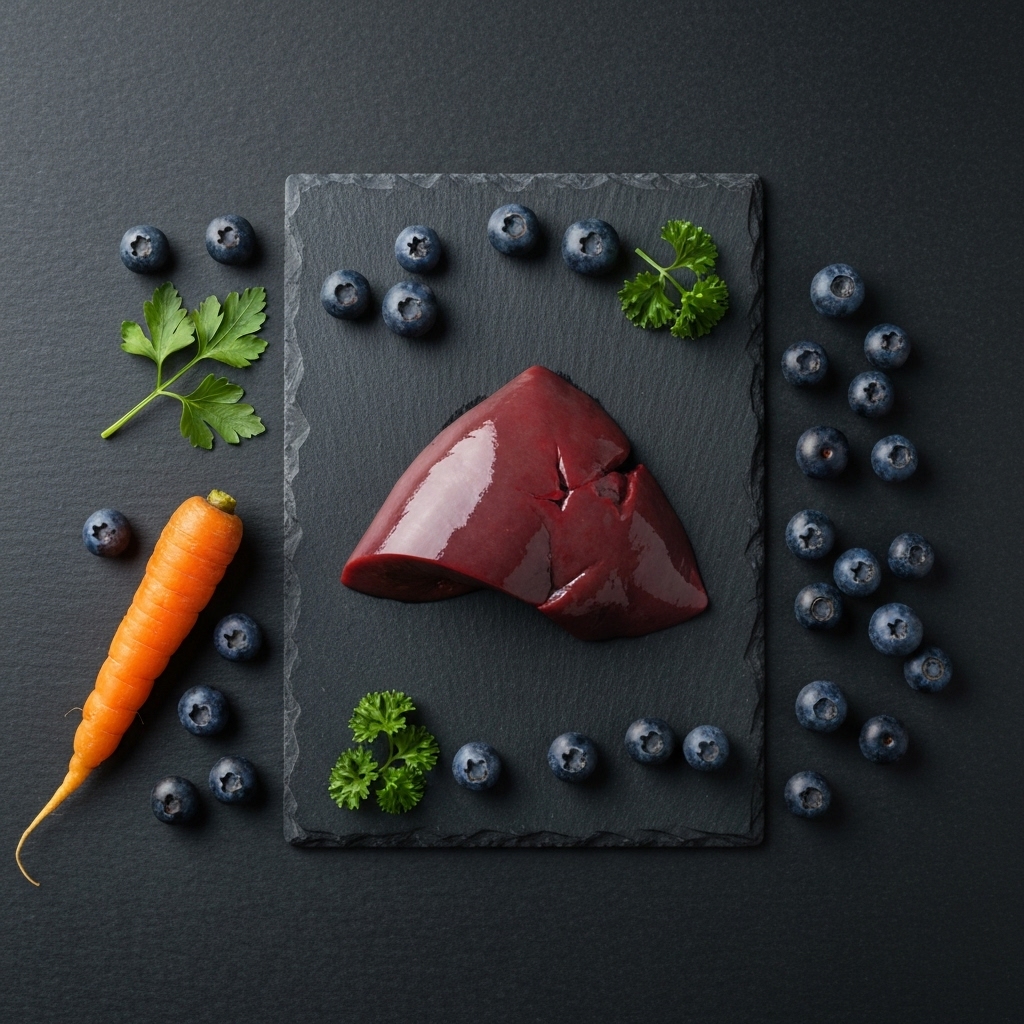
- ~1 lb of Liver: You can use beef, chicken, or lamb liver. Beef liver is often the most nutrient-dense and easy to find. Look for fresh, high-quality liver from a trusted source, like your local butcher.
- Optional: A Pinch of Parsley: Finely chopped fresh parsley can help freshen your dog’s breath. Just a little bit is all you need! Make sure you are using Italian Flat-Leaf or Curly Parsley, as Spring Parsley can be toxic to dogs.
Equipment
- An Air Fryer: This is our magic tool! Any brand or size will work. The circulating hot air is what makes the bites crispy on the outside and tender on the inside, all while containing the cooking smell.
- A Sharp Knife: For cubing the liver into bite-sized pieces.
- A Cutting Board: We recommend using a separate cutting board for raw meat to prevent cross-contamination.
- A Bowl: For tossing the liver if you decide to add parsley.
- Paper Towels: Essential for patting the liver dry, which is the secret to getting that perfect crispy texture.
That’s it! No oils, no complicated spices, no fuss. Just pure, simple goodness for your pup.
The 10-Minute, No-Smell Recipe: Step-by-Step
The 10-Minute, No-Smell Recipe: Step-by-Step
Alright, it’s time for the fun part! Get ready to be amazed at how quickly these delicious treats come together. Just follow these simple steps.
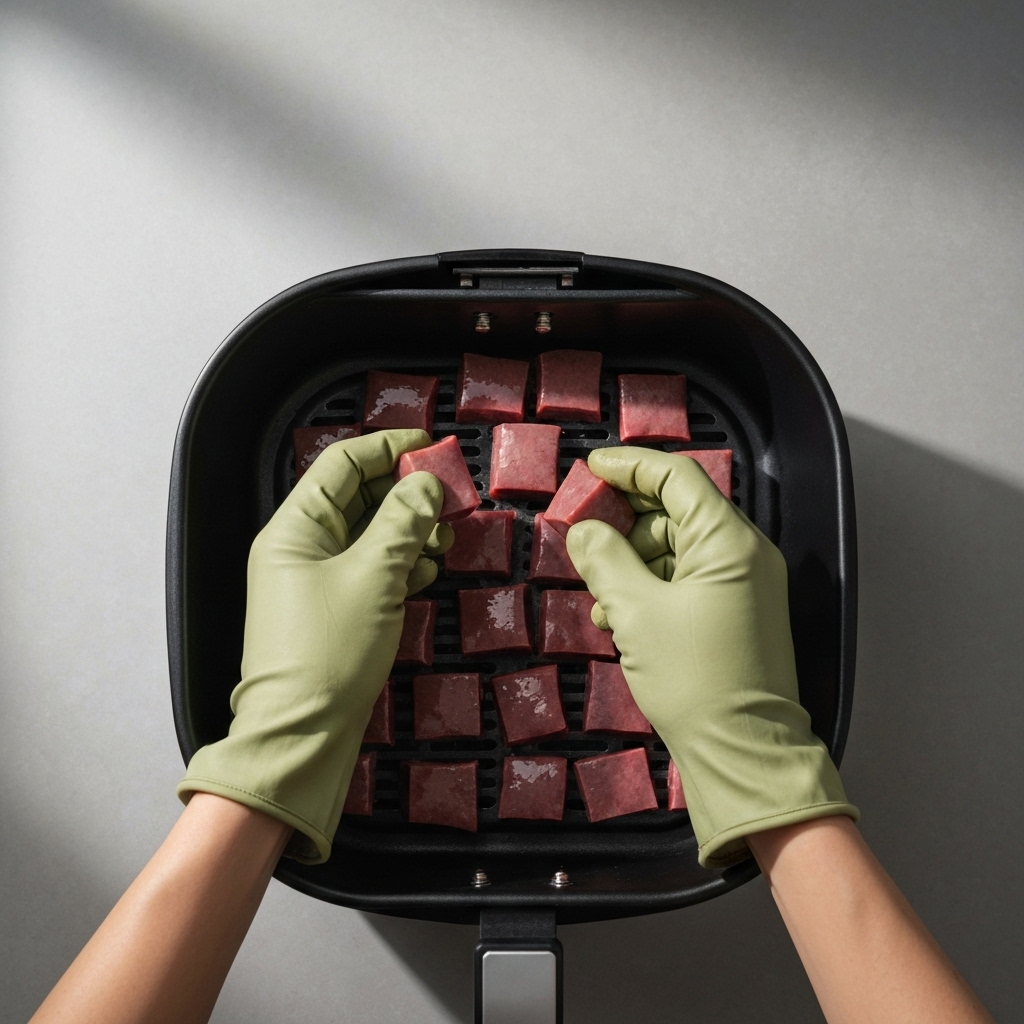
- Prep the Liver: Start by rinsing the liver under cool water. Then, place it on a layer of paper towels and pat it thoroughly dry. This step is critical! Removing the excess moisture is what allows the air fryer to crisp up the outside of the bites rather than just steaming them.
- Cut into Cubes: Move the dry liver to your cutting board. Using a sharp knife, carefully slice the liver into small, uniform cubes. Aim for about ½-inch to ¾-inch pieces. Keeping the size consistent ensures that all the bites cook evenly.
- Optional Seasoning: If you’re using parsley, place the liver cubes in a bowl and sprinkle the finely chopped parsley over them. Give it a gentle toss to coat the pieces lightly.
- Arrange in the Air Fryer: Place the liver cubes in the air fryer basket in a single layer. Don’t overcrowd the basket! The pieces shouldn’t be touching. This allows the hot air to circulate around each piece, which is the secret to maximum crispiness. If you have a lot of liver, it’s better to cook it in two smaller batches.
- Let the Magic Happen: Set your air fryer to 375-400°F (about 190-200°C). Cook for 8-12 minutes, shaking the basket halfway through the cooking time. The exact time will depend on your air fryer model and the size of your cubes. The bites are done when they are dark, firm, and crispy on the outside.
- Cool Completely: This is the most important safety step! Remove the bites from the air fryer and spread them on a plate or cooling rack. Let them cool down completely before offering one to your very patient (or not-so-patient) pup. They will be extremely hot on the inside.
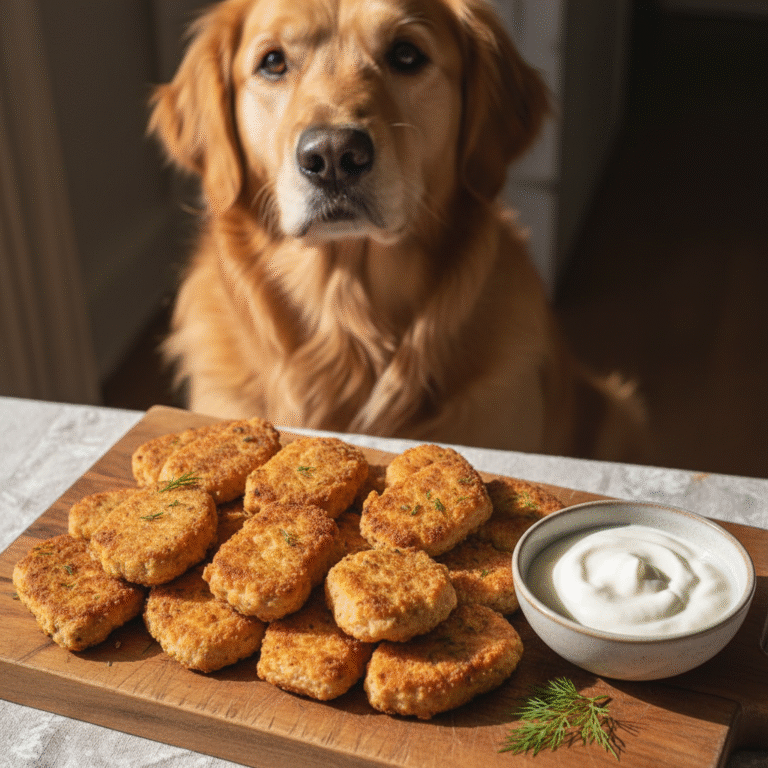
And that’s all there is to it! You’ve just made a batch of gourmet-quality dog treats with minimal effort and, most importantly, without making your house smell like a butcher shop. The air fryer contains all those potent aromas, leaving your kitchen smelling fresh and clean.
Safe Serving & Smart Storage

Safe Serving & Smart Storage
You’ve made the perfect treats, and they’ve cooled down. Now, how many can your dog actually have? And how do you keep them fresh? Let’s cover the essentials of serving and storage to keep your pup happy and healthy.
Portion Control is Key
Remember our chat about moderation? Here are some general guidelines for serving these nutrient-rich treats. These are starting points; always observe your own dog and consult your vet if you have concerns, especially if your dog has pre-existing health conditions.
- Extra-Small Dogs (under 10 lbs): 1-2 bites per day.
- Small Dogs (11-25 lbs): 2-3 bites per day.
- Medium Dogs (26-50 lbs): 4-5 bites per day.
- Large Dogs (51+ lbs): 6-7 bites per day.
Always introduce any new food slowly. Start with just one bite and see how your dog’s system handles it over the next 24 hours before making it a regular treat.
Keeping Your Treats Fresh
Because these treats are homemade without any preservatives, they need to be stored properly.
- Refrigerator: Place the completely cooled liver bites in an airtight container. They will stay fresh in the fridge for up to 5-7 days. This is the best option for immediate use.
- Freezer: For longer-term storage, the freezer is your best friend! Spread the cooled bites on a baking sheet and ‘flash freeze’ them for about an hour. Once they’re frozen solid, transfer them to a freezer-safe bag or container. They can be stored in the freezer for up to 3 months. This is a fantastic way to have a healthy treat ready at a moment’s notice. You can give them to your dog frozen for a crunchy, cooling treat in the summer, or let them thaw for a few minutes first.
FAQs: Your Top Air Fryer Treat Questions

FAQs: Your Top Air Fryer Treat Questions
It’s totally normal to have questions when you’re trying a new recipe for your beloved pet. Here are answers to some of the most common queries we get about these air fryer liver bites.
Can I use chicken liver instead of beef liver?
Absolutely! Chicken liver is also a fantastic source of nutrients. It’s a bit more delicate and smaller than beef liver, so you’ll need to adjust your cooking time. Start checking them around the 6-7 minute mark. They’ll cook much faster!
Is it okay to add other spices or ingredients?
It’s best to keep it simple. Dogs don’t need the salt, pepper, onion powder, or garlic powder that we humans love. In fact, onions and garlic are toxic to dogs. If you want to add a little something extra, stick to small amounts of dog-safe herbs like parsley, rosemary, or thyme. Always research an ingredient before giving it to your dog.
My liver bites didn’t get crispy. What did I do wrong?
The most common culprits for soggy treats are: 1) Not drying the liver enough before cooking, and 2) Overcrowding the air fryer basket. Make sure you pat the liver completely dry with paper towels, and always cook in a single, spaced-out layer to allow the air to circulate and work its magic.
Can I make these in a regular oven?
You can! It’s not quite as fast or smell-free, but it’s doable. Spread the liver pieces on a parchment-lined baking sheet and bake at 375°F (190°C) for about 15-20 minutes, flipping them halfway through. They won’t be quite as crispy as the air fryer version, but they’ll still be delicious.
Why are homemade treats better than store-bought?
With homemade treats, you have 100% control over the ingredients. You know there are no weird fillers, artificial preservatives, colors, or flavors. It’s just one simple, whole-food ingredient. Plus, the love you put into making them is something your dog can definitely sense!
Conclusion
And there you have it! A simple, healthy, and lightning-fast way to show your dog some extra love. By taking just a few minutes out of your day, you can provide your best friend with a treat that’s not only delicious but also packed with incredible health benefits. You get the satisfaction of making something wholesome, and your dog gets a high-value reward they’ll go crazy for—all without any lingering smells in your kitchen.
So next time you’re at the grocery store, grab some liver and give this recipe a try. It’s a wonderful way to bond with your pet and take an active role in their nutrition. Happy cooking, and enjoy the happy tail wags!