Beat The Heat: Step-By-Step Training For Dog Cooling Vests
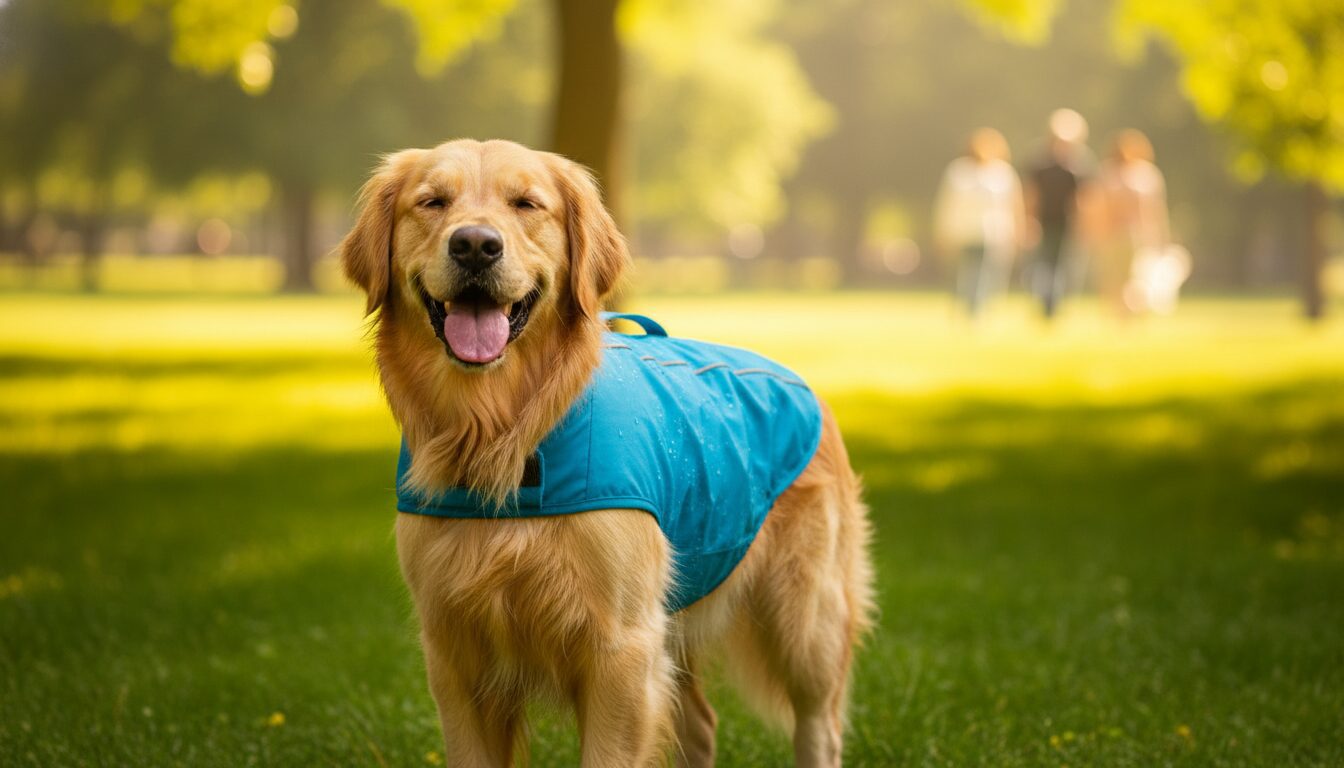
As temperatures rise, the risk of heat-related illnesses in our canine companions increases significantly. Unlike humans, dogs cannot sweat through their skin to cool down; they rely primarily on panting and minor sweating through their paw pads. This physiological limitation makes them highly susceptible to heatstroke, particularly during vigorous exercise or in high-humidity environments. Cooling vests have emerged as a vital piece of safety equipment, utilizing evaporative cooling or ice pack technology to help regulate a dog’s core temperature.
However, introducing a new piece of gear is rarely as simple as purchasing it and putting it on your dog. Many dogs find the sensation of a wet, heavy, or snug garment intrusive or frightening if not introduced correctly. A dog that freezes, cowers, or attempts to chew off the vest is not benefiting from its cooling properties and is likely experiencing increased stress, which can paradoxically raise their body temperature.
To ensure the cooling vest serves its purpose effectively, we must approach the process through the lens of behavioral conditioning. By creating positive associations and gradually desensitizing your dog to the sensation of the vest, we can turn a potentially scary apparatus into a signal that fun, safe outdoor adventures are about to begin. This guide will walk you through the professional method for acclimating your dog to their new summer gear.
Preparation: Selecting the Right Gear and Tools
Before beginning the training process, it is imperative to ensure you have the correct equipment. An ill-fitting vest can cause chafing, restrict movement, and create a permanent negative association for the animal. When selecting a cooling vest, measure your dog’s girth (the widest part of the ribcage), neck circumference, and back length. The vest should be snug enough to facilitate heat transfer but loose enough to allow full range of motion in the shoulders and legs.
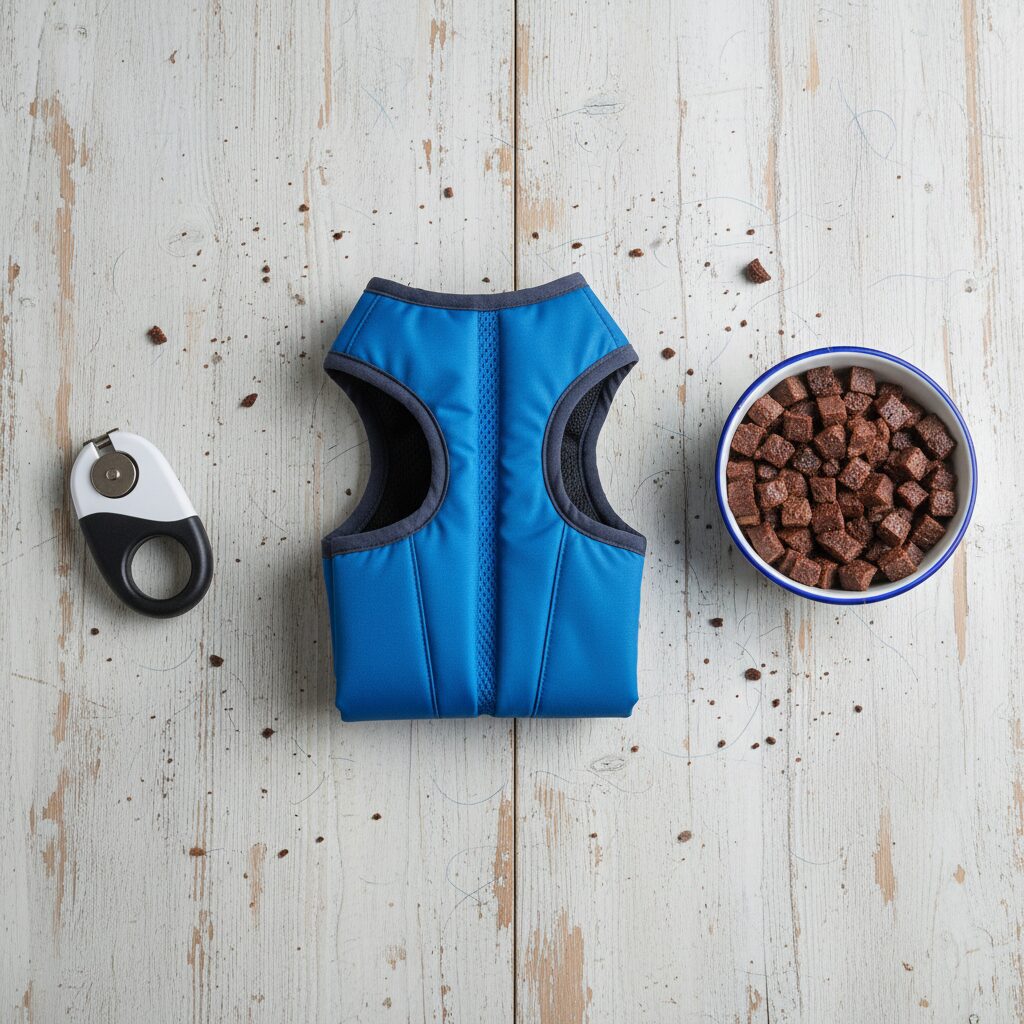
Tools Required for Training:
- The Cooling Vest: Ensure it is dry for the initial steps to avoid the shock of cold water.
- High-Value Treats: Use something soft and smelly like boiled chicken, cheese, or freeze-dried liver. Kibble is often insufficient for overcoming gear sensitivity.
- A Clicker or Marker Word: If you use clicker training, have your clicker ready. Otherwise, choose a consistent marker word like "Yes!" to mark the desired behavior.
- A Quiet Environment: Begin in a distraction-free room where your dog feels safe and relaxed.
Phase One: Visual and Olfactory Introduction
The goal of the first phase is to establish a Conditioned Emotional Response (CER). We want the dog to see the vest and immediately anticipate a reward. Do not attempt to put the vest on the dog at this stage.
The Steps:
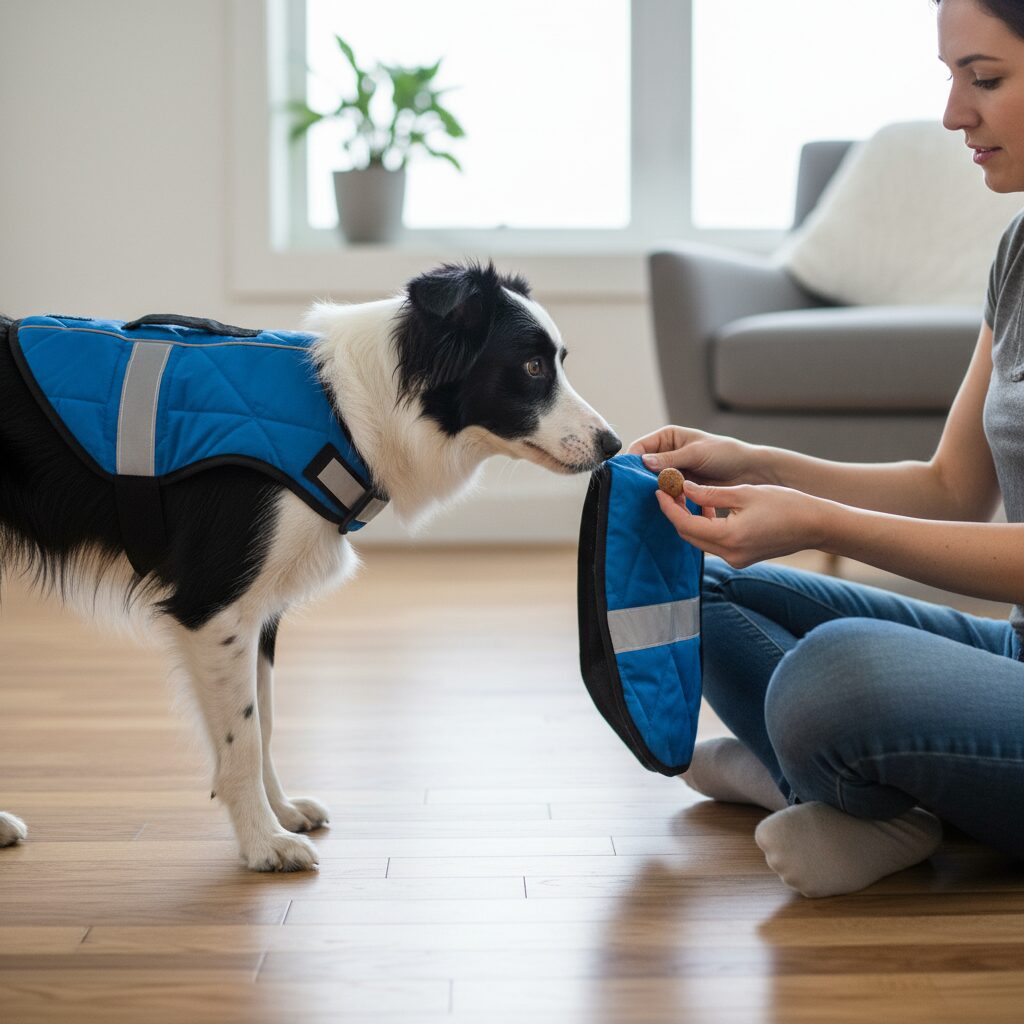
- Place the vest on the floor. If your dog investigates it on their own, mark (click/"Yes") and reward immediately.
- If the dog ignores it, pick up the vest and hold it out. As soon as the dog looks at the vest or leans in to sniff it, mark and reward.
- Repeat this process 10 to 15 times. You are looking for the dog to brighten up and look for a treat the moment the vest appears.
- Pro Tip: If your dog shows signs of fear (tucked tail, whale eye, backing away), place the vest at a distance and toss treats toward the vest, allowing the dog to approach at their own pace.
Phase Two: Tactile Desensitization
Once the dog is happy to see the vest, we must prepare them for the sensation of the material against their body. Cooling vests can feel heavy or strange compared to standard harnesses.
The Process:
- Hold the vest in one hand and a treat in the other.
- Gently touch the dog’s shoulder with the vest for one second. Mark and reward simultaneously.
- Gradually move the vest along the dog’s back and sides, marking and rewarding for calm behavior.
- If the vest requires going over the head, practice passing a loop (you can use the vest opening) over the dog’s head without resting it on the neck yet. Lure the head through with a treat, then immediately remove it and reward.
This phase teaches the dog that contact with the vest predicts a reward, rather than restriction.
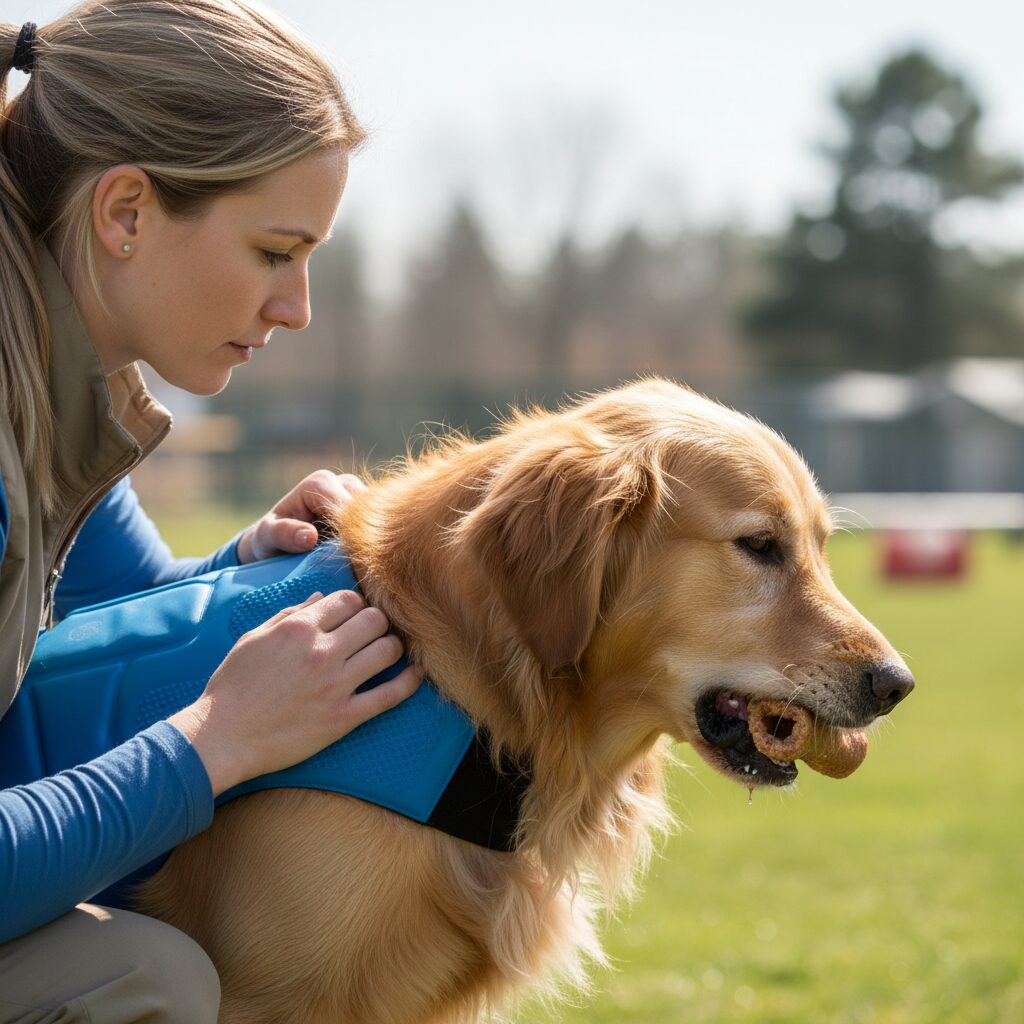
Phase Three: Fitting and Fastening

Now that the dog accepts the touch of the vest, we can proceed to putting it on. This step should be taken slowly. If the dog freezes or panics, go back to Phase Two.
Step-by-Step Fitting:
- Drape the Vest: Place the vest over the dog’s back (or over the head if it is a pullover style). Feed a stream of treats continuously while the vest is on.
- The Buckle Sound: Many dogs are startled by the click of plastic buckles. Click the buckle closed away from the dog, then give a treat. Repeat this until the sound predicts food.
- Secure the Vest: Fasten the straps loosely at first. Mark and reward heavily.
- Immediate Removal: Once fastened, leave it on for only 5 to 10 seconds, then remove it. We want to end the session before the dog feels uncomfortable.
Phase Four: Acclimatization and Movement
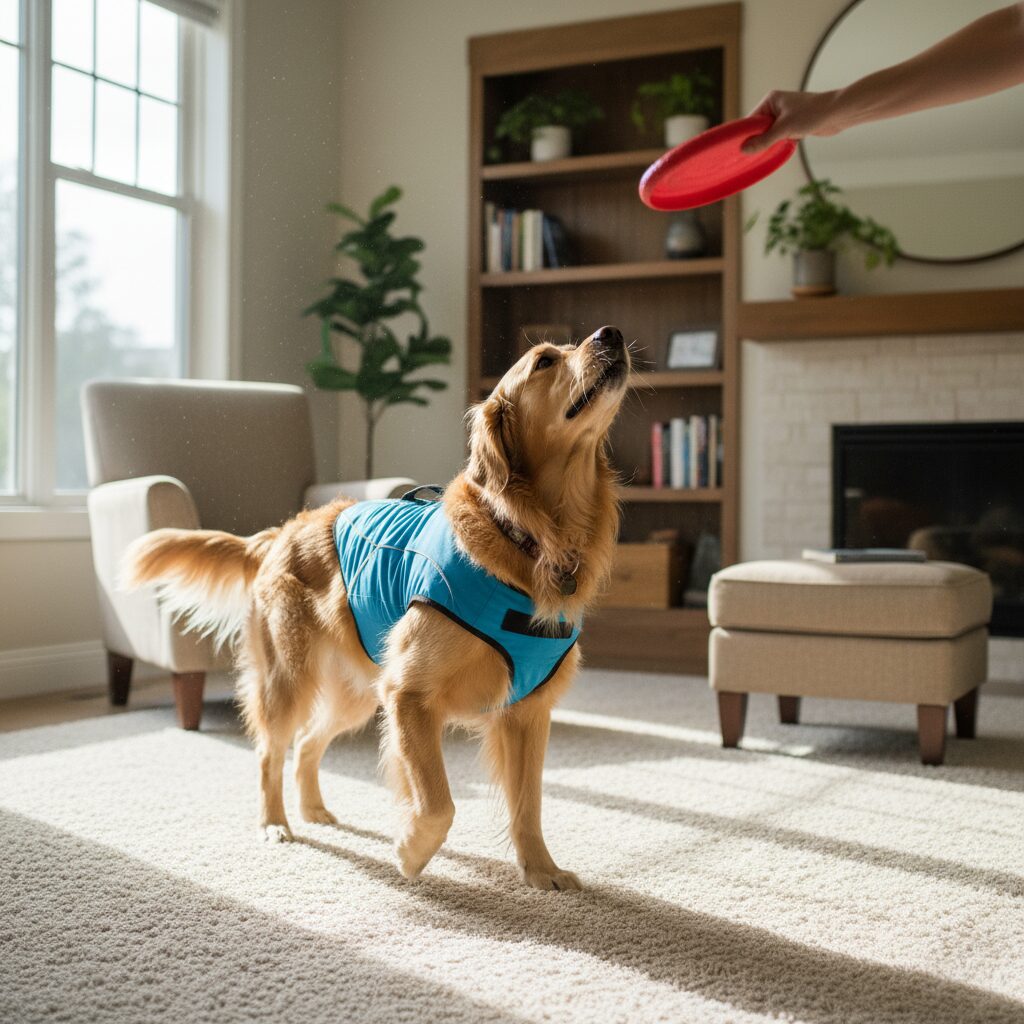
A common reaction to wearing a new vest is the "statue" response, where the dog refuses to move. We must encourage movement to help them realize the vest moves with them.
Encouraging Movement:
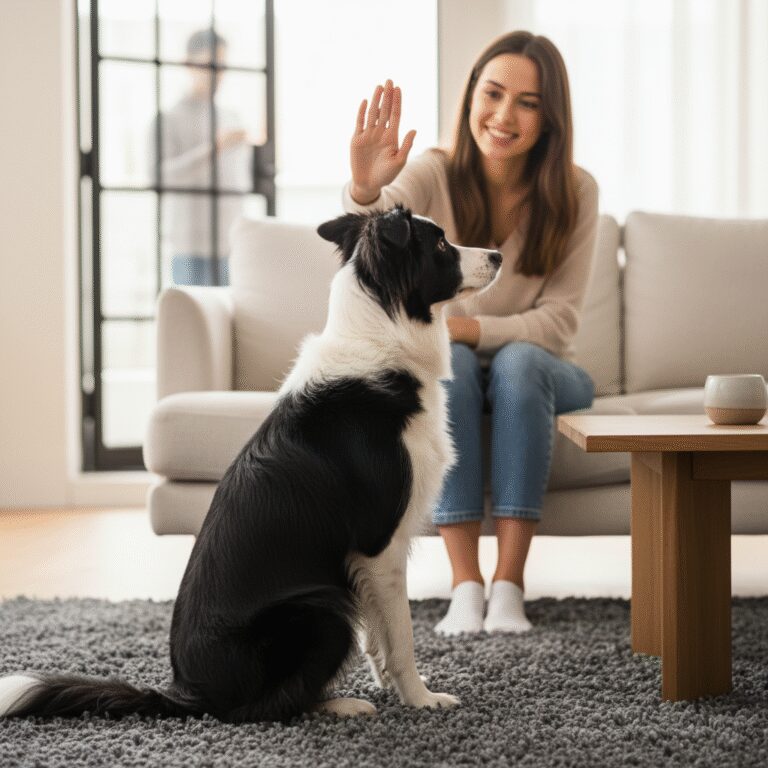
- Put the vest on and immediately engage the dog in a high-energy activity they love, such as chasing a ball or performing simple tricks (sit, hand touch, spin).
- Keep the first few sessions short (1-2 minutes) and indoors.
- Gradually increase the duration. Once the dog is moving freely dry, you can wet the vest (for evaporative models) and repeat the process. Note that a wet vest is heavier, so you may need to increase your rate of reinforcement initially.
Troubleshooting Common Issues
Even with careful training, issues can arise. Here is how to handle common behavioral challenges regarding cooling vests.
The Dog Freezes
If your dog refuses to move, do not pull them by the leash. This adds pressure and anxiety. Instead, use a high-value lure to coax them forward step-by-step, or toss a treat a few feet away to engage their prey drive.
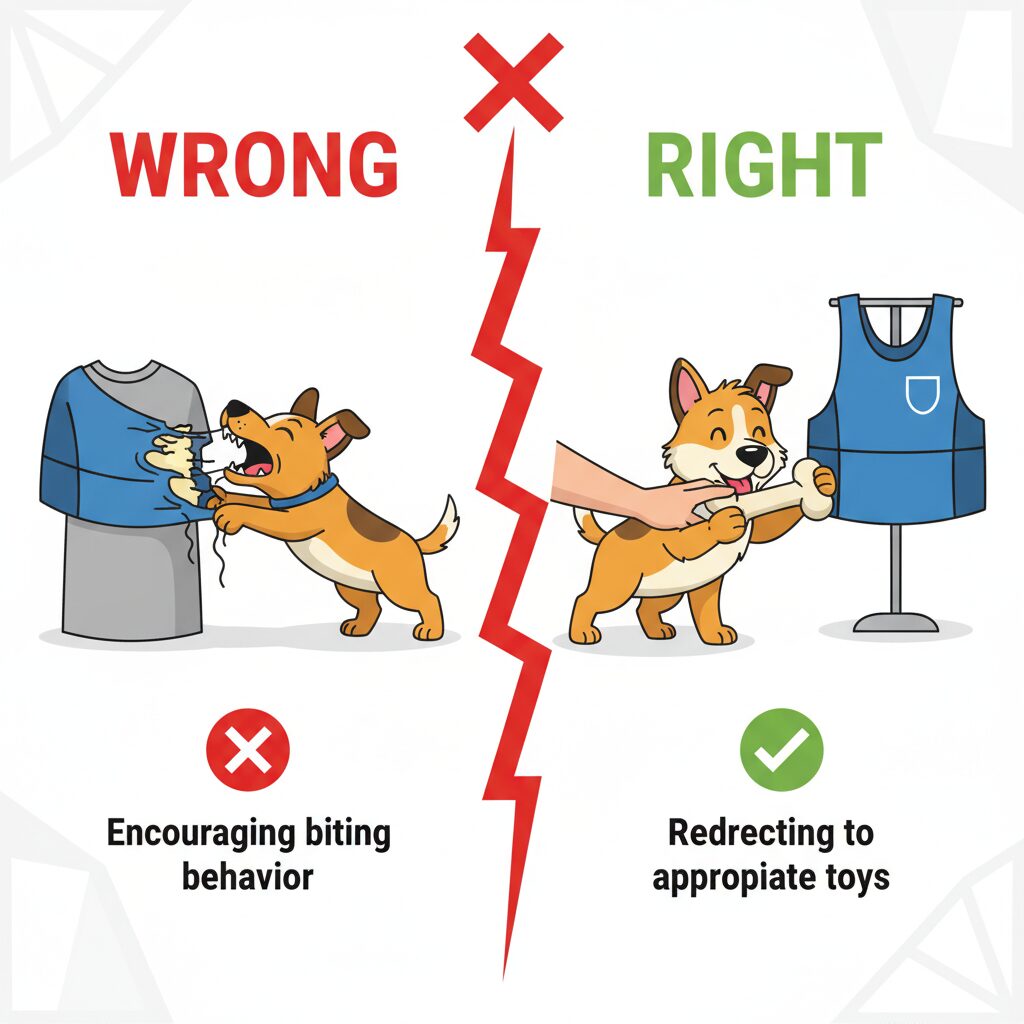
The Dog Bites the Vest
Chewing usually indicates frustration or confusion. If the dog turns to nip at the vest, interrupt the behavior with a positive interrupter sound (like a kissy noise) and redirect their attention to a toy or a command. Ensure the vest fits properly; a loose vest that flaps is more likely to trigger a chase/bite instinct.
Rubbing Against Furniture
If the dog tries to rub the vest off against walls or furniture, the fit may be uncomfortable, or the sensation is irritating. Check for burrs, tight straps, or pinching. If the fit is correct, increase the value of your rewards and decrease the duration the vest is worn until their tolerance builds.
Final Thoughts on Summer Safety
Training your dog to wear a cooling vest is an investment in their health and longevity. By taking the time to introduce this equipment using positive reinforcement and step-by-step desensitization, you ensure that the vest becomes a signal for relief and adventure rather than a source of stress. Remember that while cooling vests are highly effective, they do not make a dog invincible. Always monitor your dog for signs of heat exhaustion, provide ample shade and fresh water, and avoid strenuous activity during the peak heat of the day. With patience and the right gear, you and your dog can safely enjoy the summer months together.