How to Make DIY Dog Treat Decorating Icing Pens That Don’t Smudge
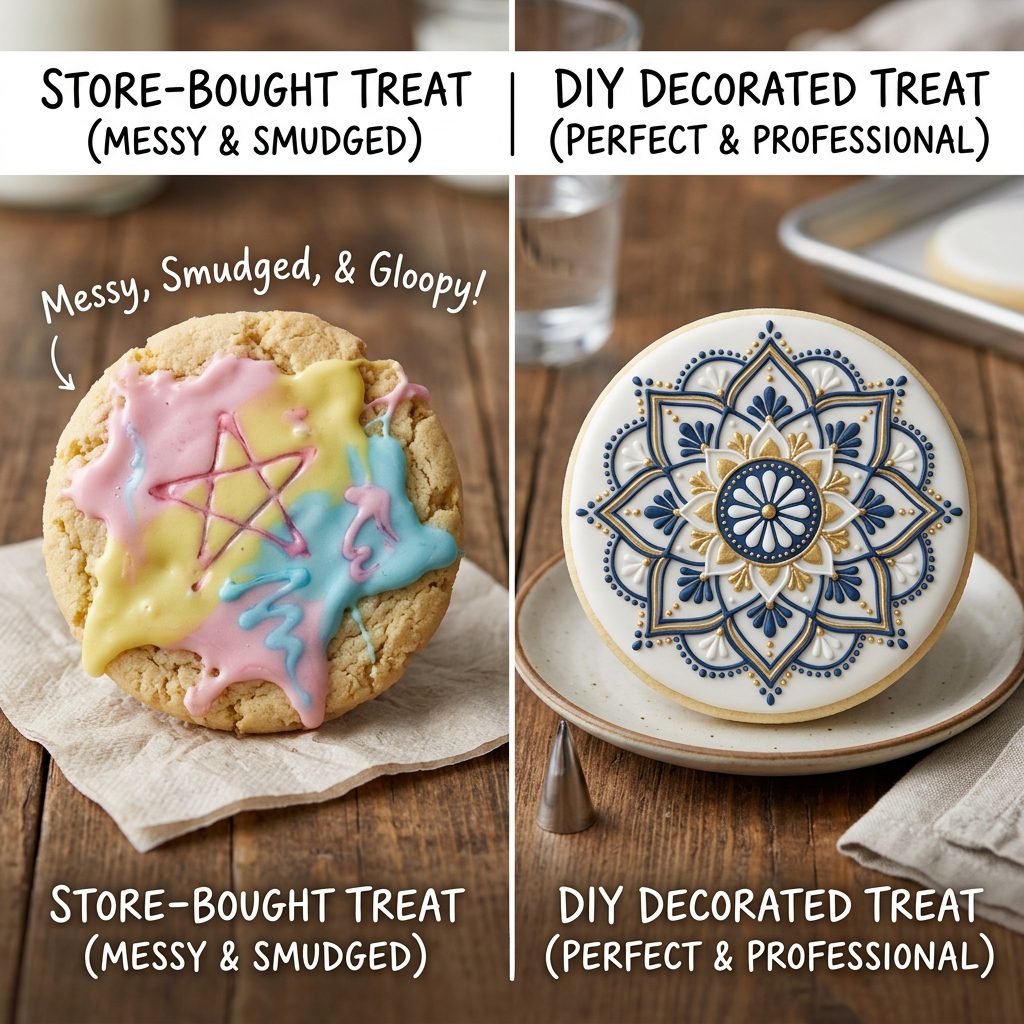
Let’s get real for a second: most dog treat ‘icing’ is a nutritional nightmare. If you’ve ever walked into a boutique pet bakery and seen those beautifully decorated cookies, your first thought was probably, ‘How do I do that?’ and your second thought—if you’re a savvy owner—was likely, ‘What on earth is in that stuff?’ Most commercial dog icings are loaded with refined sugars, corn syrup, and artificial food dyes like Red 40 or Yellow 5. Not only are these ingredients metabolic disasters for your pup, but the icing itself often stays tacky, smudging the moment you stack the treats or put them in a bag. As a canine nutrition hacker, I don’t settle for ‘good enough.’ I want icing that is rock-hard, smudge-proof, and actually contributes to your dog’s health. In this guide, we are going to bypass the chemical-laden ‘frosting mixes’ and build our own DIY icing pens from the ground up. We’re talking about a professional finish that won’t budge, even if you’re shipping treats to friends or stacking them in a jar for a week. Grab your lab coat—or your apron—and let’s dive into the science of the smudge-proof dog treat.
The Forensic Audit: Why Store-Bought Icing Fails
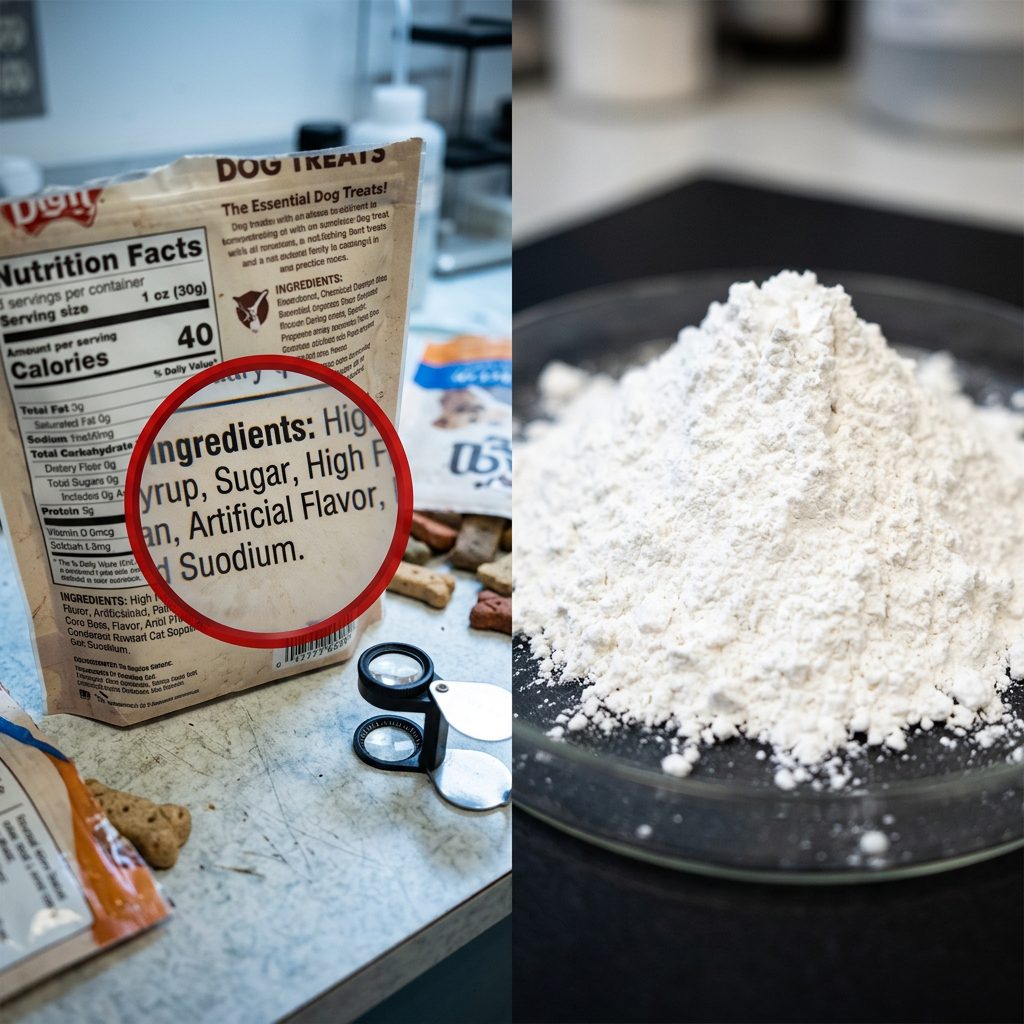
Before we build, we must deconstruct. If you look at the back of a standard ‘Dog Cake Mix’ or ‘Treat Frosting’ at the big-box pet stores, you’ll see a list of ingredients that look more like a chemistry project than food. We often see maltodextrin, sugar, and hydrogenated vegetable oils. These are used because they are cheap fillers that provide a shelf-stable sheen, but they offer zero nutritional value and can lead to inflammation or blood sugar spikes in your dog.
The Smudge Factor
The reason most DIY recipes (like those using peanut butter or plain yogurt) fail to dry is the fat content. Fat doesn’t ‘dry’; it stays oily. To get that ‘snap’ and a smudge-proof finish, we need to utilize low-fat proteins and starches that undergo a process called retrogradation. This is the ‘insider secret’ to getting that professional matte look. By using tapioca starch as our primary hardening agent, we create a structure that locks in moisture initially but releases it quickly in the air, leaving behind a solid, dry surface.
Hacker Tip: Never use ‘Royal Icing’ recipes meant for humans. The egg whites are fine, but the pounds of powdered sugar are toxic to a dog’s long-term health and can lead to pancreatitis or obesity.
The Safe Chef Guide: Safety Disclaimer & Ingredient Analysis

SAFETY DISCLAIMER: I am a canine nutrition hacker and a dedicated dog owner, but I am not a veterinarian or a board-certified veterinary nutritionist. These recipes are intended for supplemental feeding and decoration only. Always introduce new ingredients slowly to ensure your dog doesn’t have an individual sensitivity or allergy. If your dog has specific medical conditions like kidney disease or diabetes, consult your vet before adding new starches or proteins to their diet.
The Hero Ingredients
To make these icing pens work, we need three specific components:
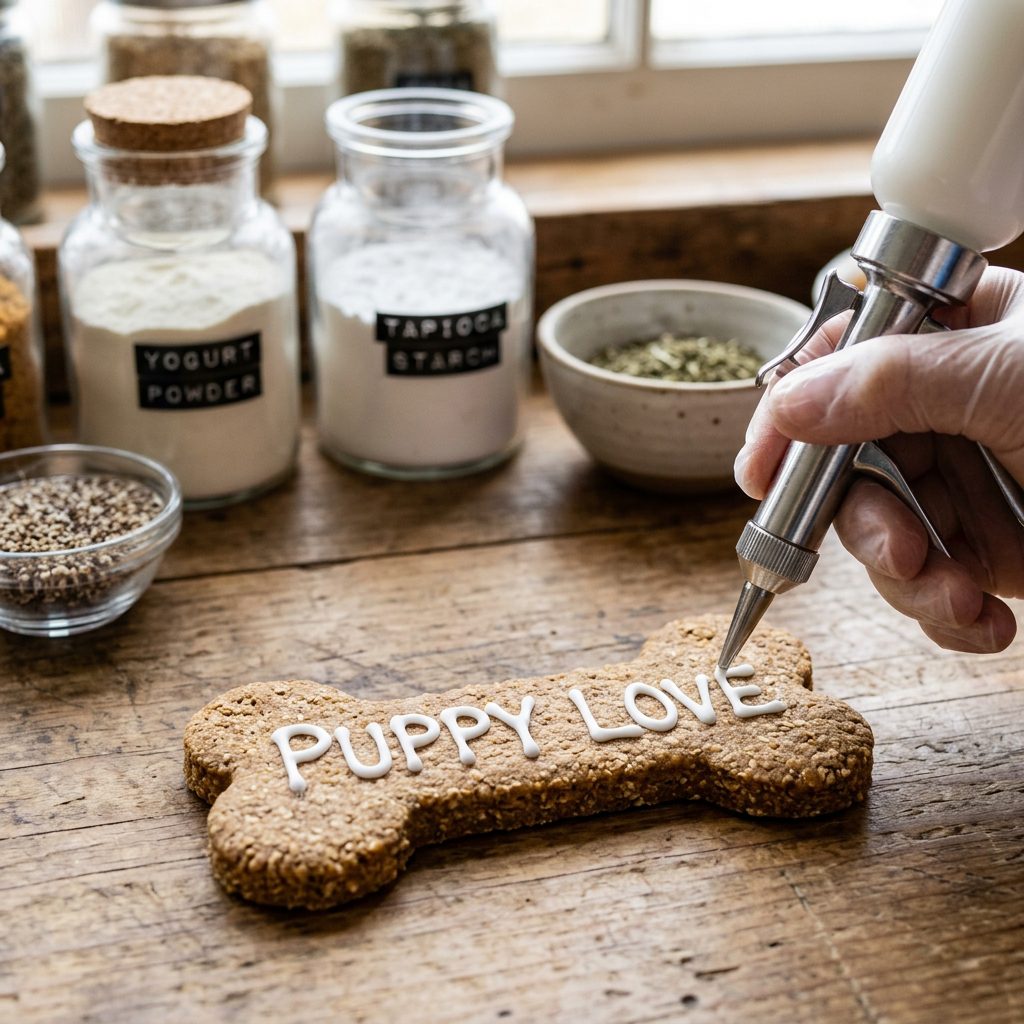
- The Base: Non-Fat Yogurt Powder or Goat Milk Powder. These provide the opaque white color and a high-protein base that dries much better than liquid dairy.
- The Hardener: Tapioca Starch (Flour). This is the ‘magic’ ingredient. It creates a smooth, glossy finish that hardens as it dries. Unlike cornstarch, it doesn’t get chalky.
- The Binder: Water or Low-Sodium Bone Broth. We use just enough to create a ‘flooding’ consistency.
By avoiding oils and sugars, we ensure the icing actually cures. Think of it like ‘dog-safe cement’ that tastes like a creamy snack.
The Master Recipe: DIY Smudge-Proof Icing Pens
This recipe is designed to be thick enough for precision writing but smooth enough to flow through a small nib. We aren’t just making a glaze; we are making a tool.
Ingredients & Ratios
The ‘Golden Ratio’ for smudge-proof icing is 2 parts powder base to 1 part starch, with liquid added drop-by-drop. Use the table below for a standard batch.
| Ingredient | Amount | Purpose |
|---|---|---|
| Non-Fat Yogurt Powder | 1/2 Cup | Protein base & opaque color |
| Tapioca Starch | 1/4 Cup | Hardening agent (smudge-proof) |
| Filtered Water | 2-3 Teaspoons | Hydration and flow control |
| Natural Pigment | 1/4 Teaspoon | Color (Optional) |
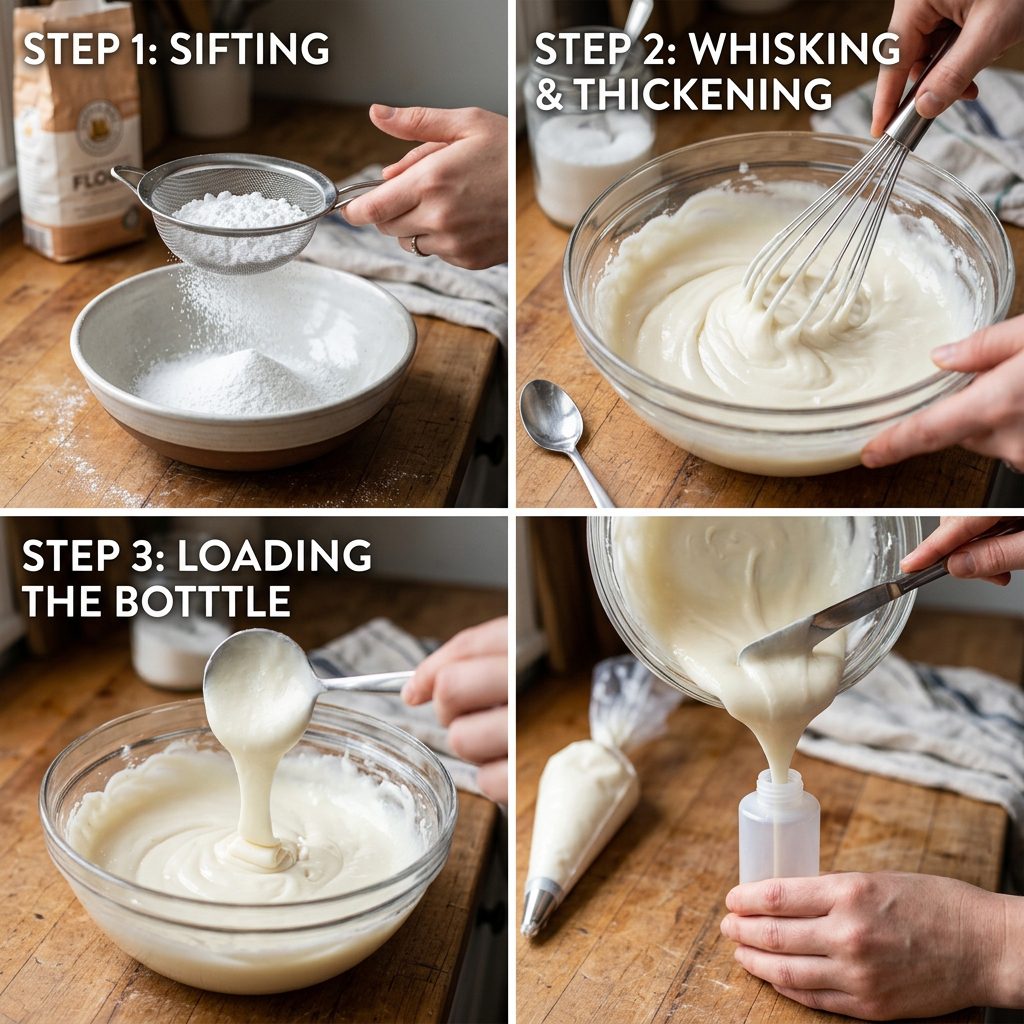
Instructions
- Sift the Powders: Use a fine-mesh strainer to combine the yogurt powder and tapioca starch. Clumps are the enemy of icing pens; they will clog your tip instantly.
- Hydrate Slowly: Add your liquid one teaspoon at a time. Whisk vigorously. You are looking for ’15-second icing.’ This means if you drop a bit of icing from a spoon back into the bowl, it takes 15 seconds for the line to disappear completely.
- The Pen Hack: Instead of expensive professional pens, use plastic condiment squeeze bottles with a precision tip or disposable piping bags with a #1 or #2 metal tip. For a true ‘pen’ feel, use a 60ml catheter-tip syringe (unused, obviously).
- Decorate: Apply to fully cooled treats. If the treat is even slightly warm, the icing will melt and smudge.
Natural Pigment Hacks: Vibrant Colors Without the Chemicals
Don’t reach for that bottle of neon food coloring. We can achieve a full spectrum of colors using ‘hacked’ kitchen staples that actually provide antioxidants. This is where the forensic nutrition comes in—we want every calorie to count.
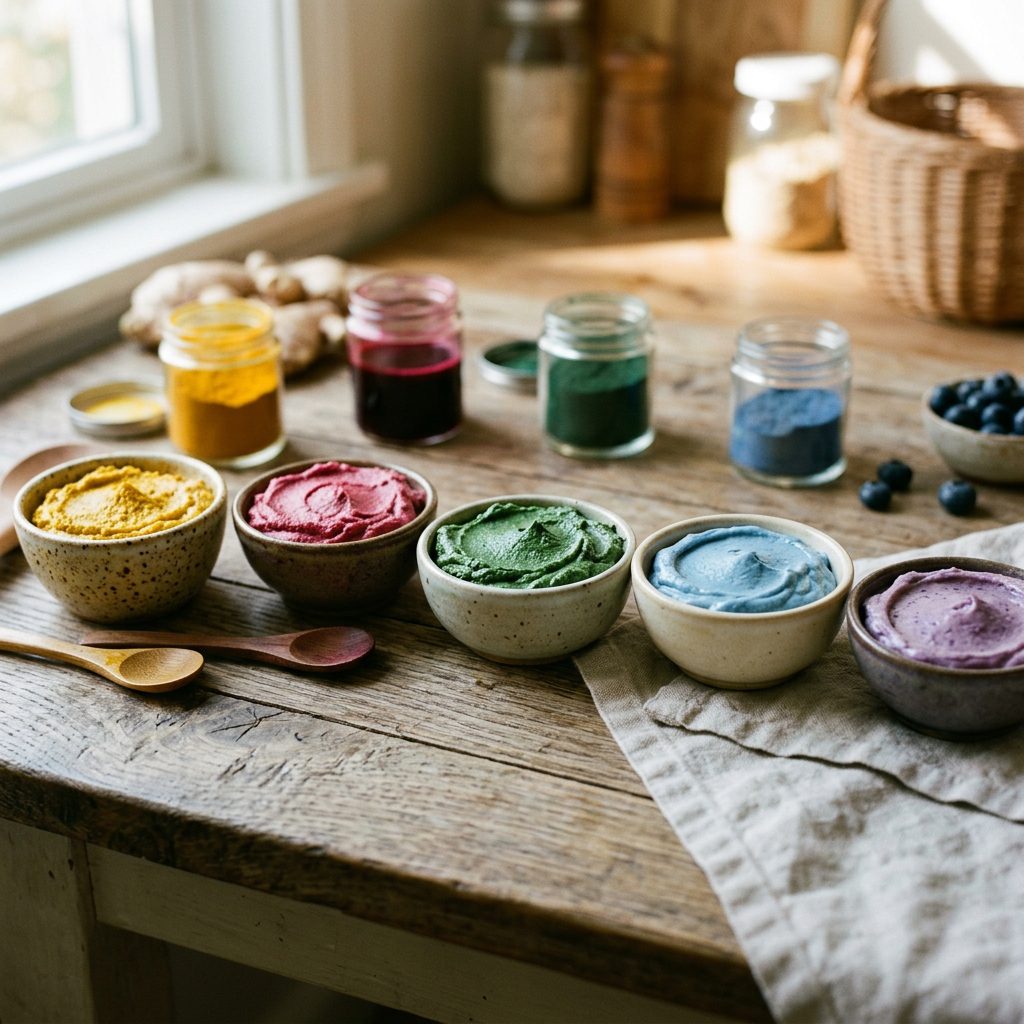
The Color Palette
- Yellow: A pinch of Turmeric. It’s anti-inflammatory but strong, so use sparingly!
- Pink/Red: Beet Powder. It provides a deep magenta that looks stunning against a brown biscuit.
- Green: Spirulina or Wheatgrass powder. High in chlorophyll and vitamins.
- Blue: Blue Spirulina or a tiny drop of boiled red cabbage juice mixed with a pinch of baking soda.
- Purple: Freeze-dried blueberry powder.
Warning: Avoid using liquid juices (like beet juice) as they can throw off your moisture ratio. Stick to powders to keep the icing ‘smudge-proof’ and thick.
The Economics of DIY: Store-Bought vs. Hacker Method
Is it worth the effort? Let’s look at the numbers. A single 4oz jar of ‘Dog Treat Frosting’ can cost upwards of $12.00. Our DIY method using bulk ingredients costs a fraction of that, and the quality is significantly higher.
| Feature | Store-Bought Mix | Hacker DIY Method |
|---|---|---|
| Price per Ounce | $3.00 – $4.00 | $0.45 – $0.60 |
| Main Ingredient | Sugar / Maltodextrin | High-Protein Yogurt/Goat Milk |
| Drying Time | 4-12 hours (often tacky) | 1-2 hours (rock hard) |
| Smudge Resistance | Low | High |
| Verdict | Overpriced Filler | Gold Standard |
By making your own icing pens, you are saving roughly 85% per batch. For a 50lb dog, the ‘cost per treat’ remains negligible, allowing you to spend that saved money on high-quality proteins like grass-fed beef or wild-caught salmon for their main meals.
Curing & Storage: The Final Step to a Professional Finish
The biggest mistake owners make is bagging treats too early. Even if the icing feels dry to the touch, it might still have internal moisture that will cause ‘humidity bloom’ inside a plastic bag, leading to softening and—you guessed it—smudging.
The Curing Process
Place your decorated treats on a wire cooling rack. Do not leave them on a silicone mat or parchment paper, as air needs to circulate underneath the treat to pull moisture out. Let them sit at room temperature for at least 4 to 6 hours. If you live in a high-humidity environment, you can place them in a dehydrator on the lowest setting (95°F) for 30 minutes to ‘set’ the icing instantly.
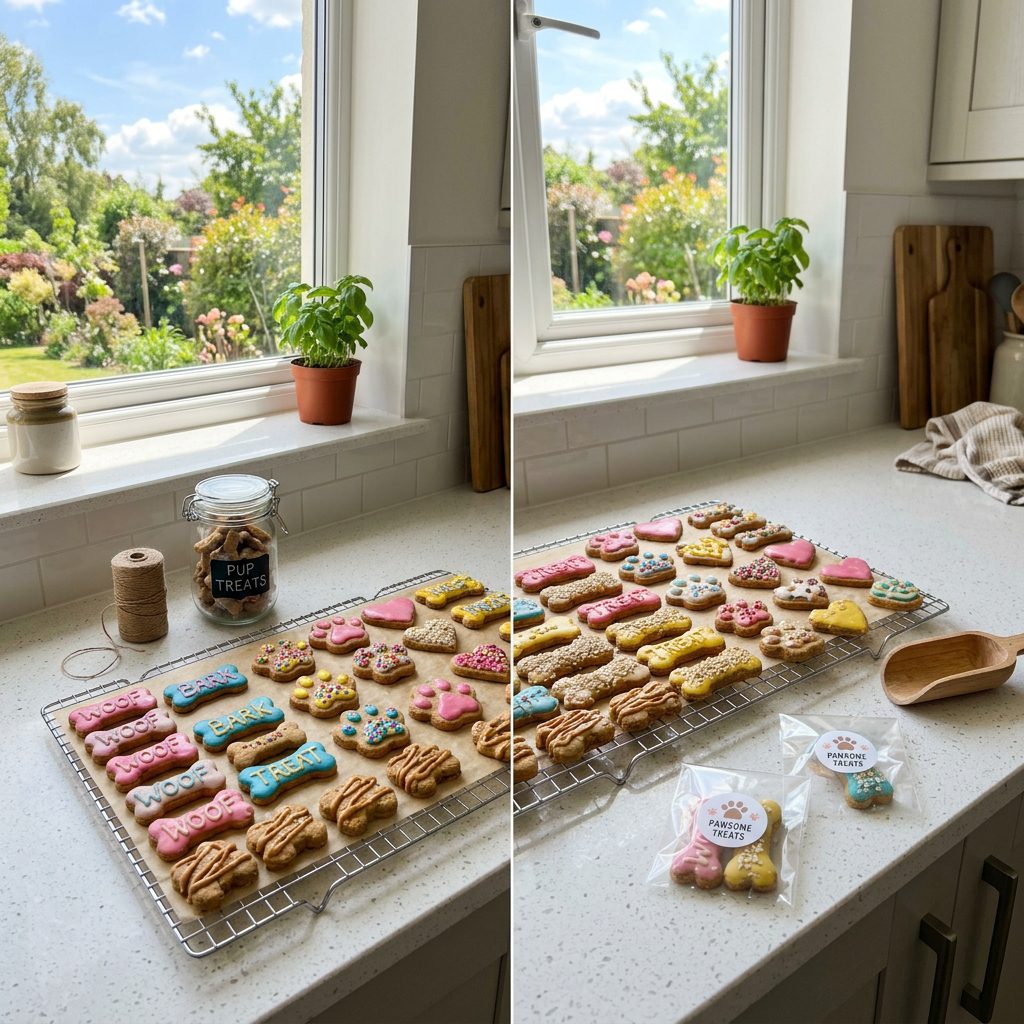
Storage Secrets
Once cured, these treats are incredibly hardy. You can stack them without parchment paper between layers. Store them in an airtight glass jar. In the fridge, they will last 2 weeks; in the freezer, up to 3 months. Because we used yogurt powder instead of fresh yogurt, the risk of mold is significantly reduced.
Insider Secret: If your icing starts to crack, you added too much starch. If it won’t dry, you added too much liquid. The ‘sweet spot’ is a thick paste that barely holds its shape on a spoon.
Conclusion
Creating professional-grade, smudge-proof dog treats doesn’t require a degree in pastry arts—it just requires a little bit of nutritional ‘hacking.’ By ditching the sugars and fats found in commercial icings and embracing the hardening power of tapioca starch and yogurt powder, you’ve created a snack that is as beautiful as it is healthy. Your dog doesn’t care about the intricate lace patterns you pipe onto their biscuits, but they do care about the taste, and you care about their longevity. You’ve now mastered the art of the smudge-proof icing pen, saving money and protecting your pup’s health in the process. Now go out there, get creative, and show the boutique bakeries how a savvy dog owner does it!