The 10-Year Shelf Life Secret: How to Freeze-Dry Your Own Dog Treats at Home!
Hey there, fellow dog lovers! The Canine Nutrition Hacker here. If you are anything like me, you love spoiling your pup, but you absolutely despise getting ripped off by the pet food industry. Have you looked at the price tag on a bag of premium, single-ingredient freeze-dried dog treats lately? It is enough to make you want to bury your wallet in the backyard. But what if I told you there is a way to bypass the pet store completely, save a massive amount of money, and create treats that will safely last in your pantry for a decade? Welcome to the ultimate insider secret: home freeze-drying.
SAFETY DISCLAIMER: Before we dive into the meat and potatoes of this guide, let’s get one thing straight. I am a savvy, label-reading dog owner, not a veterinarian. While single-ingredient treats are generally incredibly safe and healthy, always consult your vet before making major dietary changes to your dog’s routine, especially if they have underlying health conditions like kidney disease or severe allergies. Treats should never make up more than 10% of your dog’s daily caloric intake!
Today, we are taking the power back. No more mystery fillers, no more unpronounceable preservatives, and definitely no more paying $10 for three ounces of liver. We are going to learn how to create the ultimate, high-value training treats right in your own kitchen.
The Truth About Commercial Treats (Why We DIY)
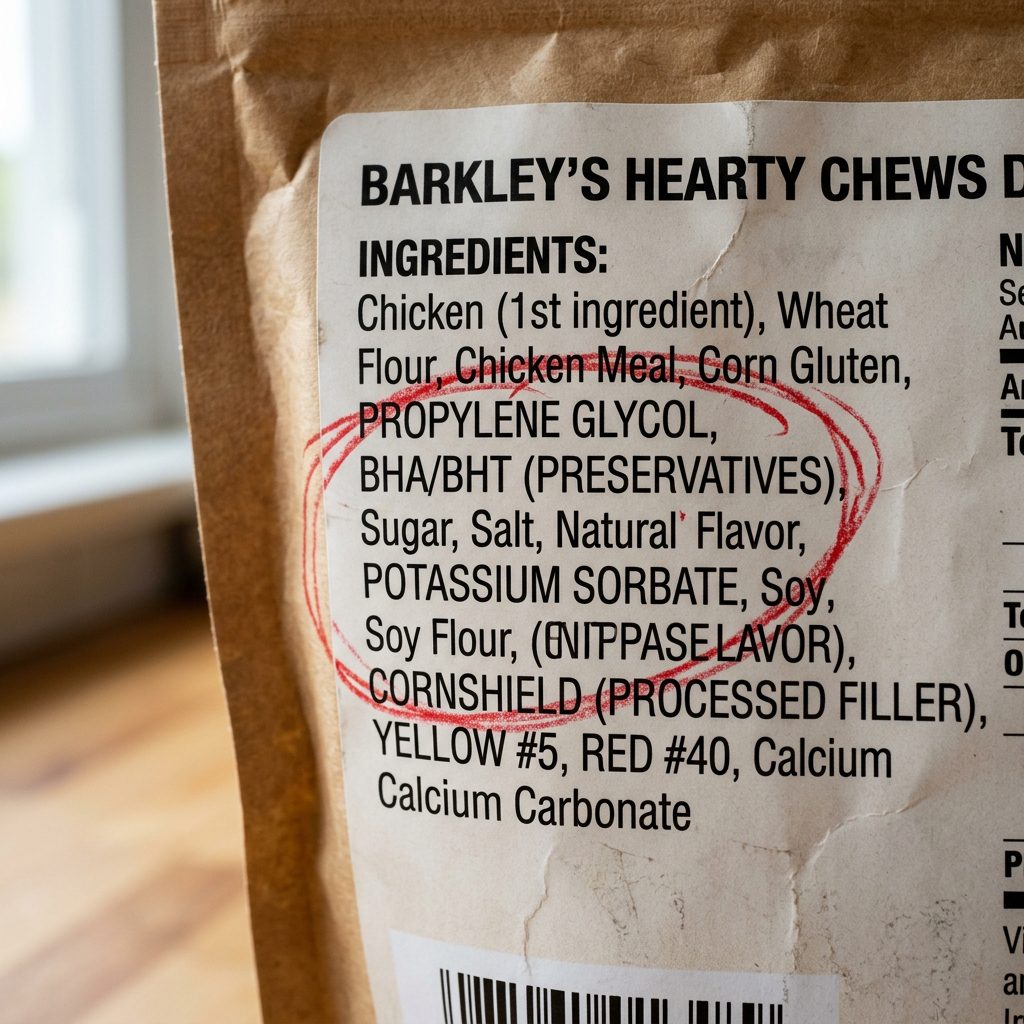
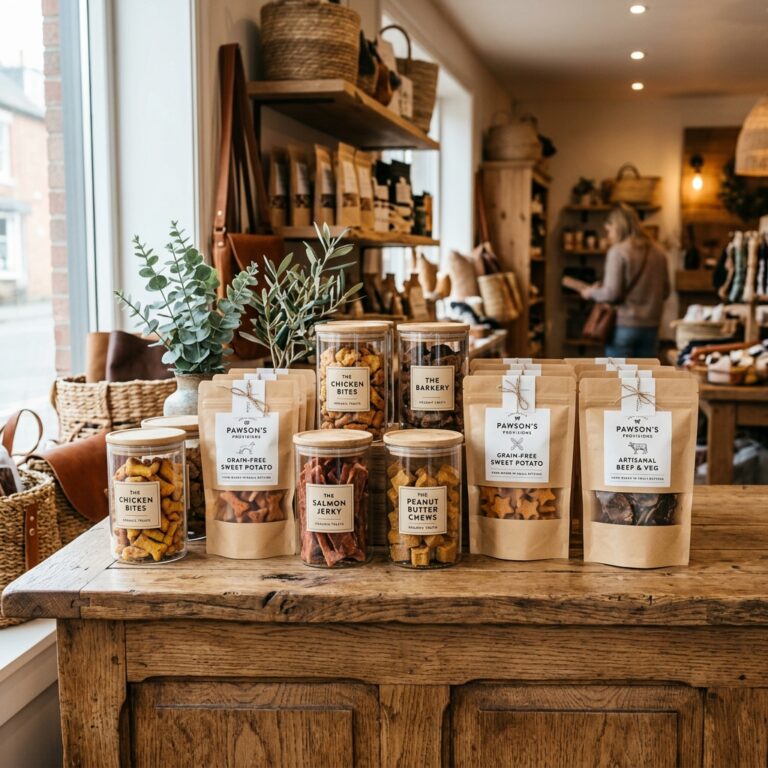
Let’s play a game I like to call ‘Forensic Label Reading.’ Next time you are at the big box pet store, pick up a bag of standard dog treats. What do you see? Sure, the front of the bag might scream ‘REAL BEEF!’ in big, bold letters, but flip that bag over. The ingredient list tells a much darker story.
You are going to find things like corn gluten meal, highly processed soy, artificial dyes (because your dog totally cares what color their treat is, right?), and chemical preservatives like BHA and BHT. Even the ‘premium’ treats often use vegetable glycerin to keep the treats soft and chewy. Glycerin is a sugar alcohol that can cause gastrointestinal upset in sensitive dogs. Why are we paying top dollar to feed our best friends a chemistry experiment?
- Filler Overload: Cheap carbohydrates are used to bulk up the treat and reduce manufacturing costs.
- Chemical Preservatives: Used to extend shelf life artificially, often at the expense of your dog’s long-term health.
- Sourcing Mysteries: Many commercial treats source their base ingredients from overseas where quality control is questionable at best.
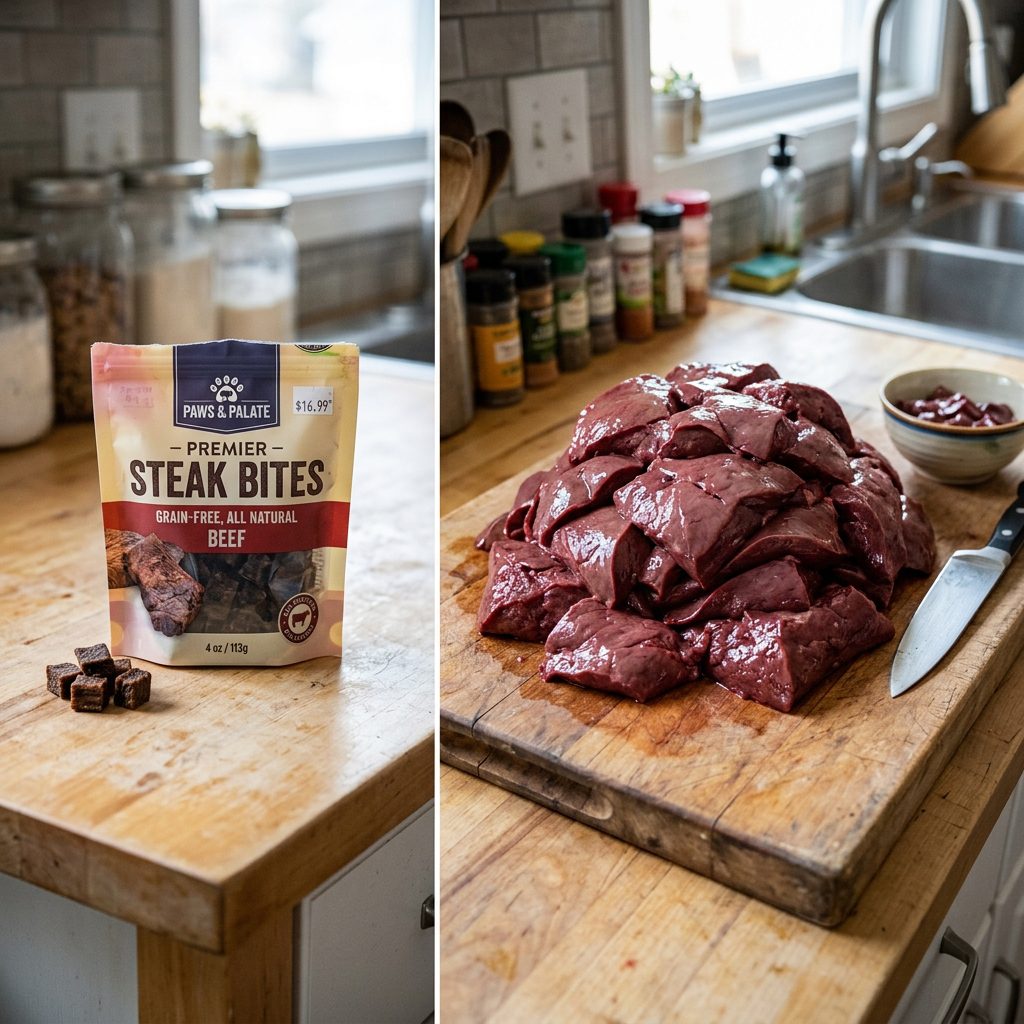
By freeze-drying your own treats at home, you have 100% control over the supply chain. You buy the meat from your local butcher or grocery store, you slice it, and you dry it. Zero fillers. Zero chemicals. Just pure, unadulterated nutrition.
The Real Cost Breakdown: Store-Bought vs. Homemade
I know what you are thinking: ‘But Hacker, isn’t freeze-drying equipment expensive?’ Yes, an at-home freeze dryer is an investment. However, if you have a multi-dog household, train frequently, or feed a raw diet, the machine pays for itself faster than you would believe. Let’s look at the cold, hard numbers for a standard 50lb dog.
| Treat Type (Beef Liver) | Average Cost Per Ounce | Ingredients | The Verdict |
|---|---|---|---|
| Commercial Premium Brand | $3.50 – $4.00 | Beef Liver, Mixed Tocopherols | Overpriced and unnecessary markup. |
| Commercial Budget Brand | $2.00 – $2.50 | Beef Liver, Glycerin, Fillers | Cheap, but full of gut-wrecking junk. |
| DIY Homemade Freeze-Dried | $0.25 – $0.40 | 100% Human-Grade Beef Liver | The undisputed champion of value and health. |
When you buy raw beef liver at the grocery store, you are paying around $3.00 to $5.00 per pound. After the freeze-drying process removes the water weight, you are left with a massive yield of treats for literally pennies on the dollar compared to retail. We are talking about saving hundreds of dollars a year just on treats alone.
The Freeze-Drying Process: Sublimation Magic
Do not confuse freeze-drying with dehydrating. They are completely different beasts. Dehydrating uses low heat to slowly evaporate water. It changes the texture, shrinks the meat, and degrades some of the heat-sensitive nutrients (like certain vitamins and enzymes). Plus, dehydrated treats only last a few weeks to a few months before they go rancid.
How Freeze-Drying Works
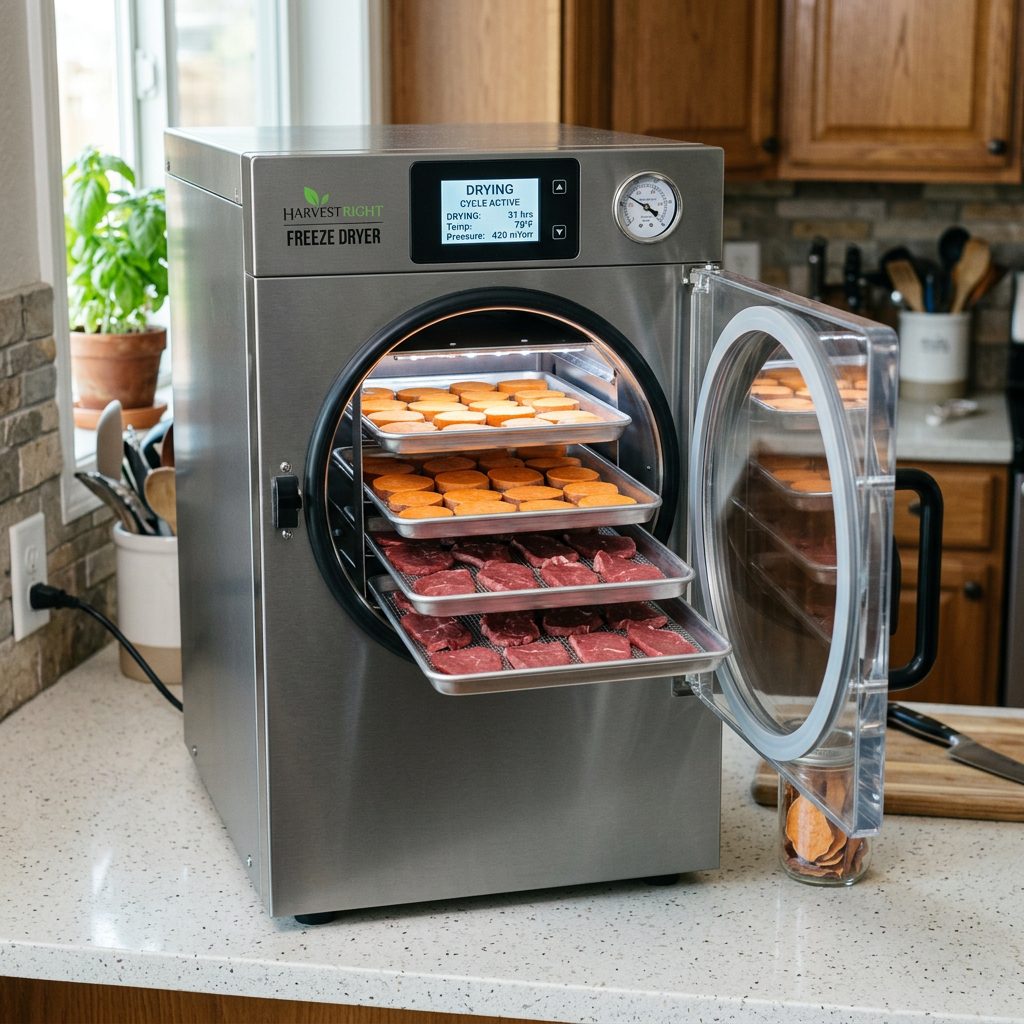
Freeze-drying uses a scientific process called sublimation. The machine freezes the raw ingredients to roughly -40 degrees Fahrenheit. Then, it creates a powerful vacuum chamber. As the machine gently warms the trays, the solid ice inside the meat turns directly into a gas, completely bypassing the liquid phase. The result?
- Nutrient Retention: Because there is no high heat, 97% of the raw nutritional value is preserved.
- Perfect Texture: The treats retain their original shape and become light, airy, and incredibly crunchy—dogs go absolutely wild for this texture.
- No Shrinkage: A one-inch cube of raw meat becomes a one-inch cube of freeze-dried meat.
Insider Secret: You can freeze-dry almost anything! Beef liver, chicken hearts, sliced sweet potatoes, green beans, and even whole raw eggs. The only enemy of the freeze dryer is fat. High-fat items do not freeze-dry well and will spoil faster, so always choose lean cuts of meat!
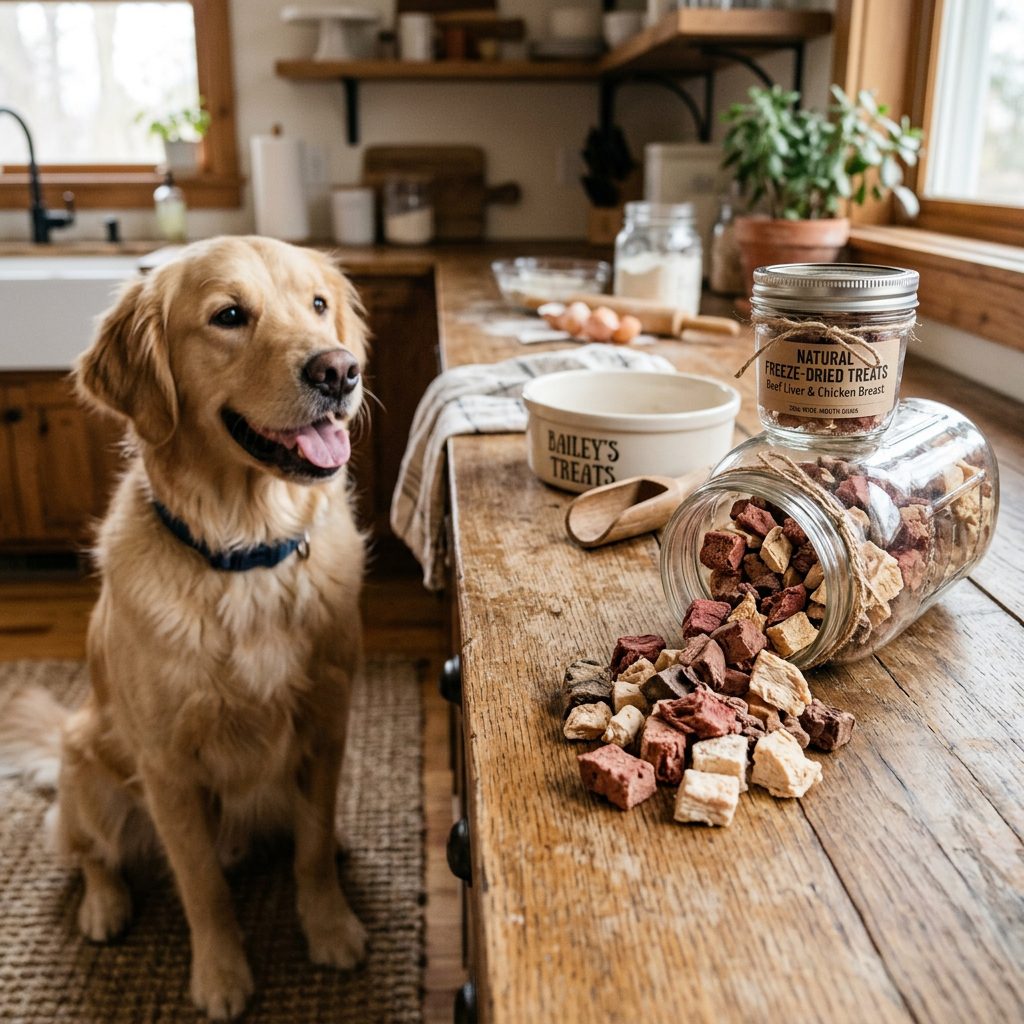
Actionable Recipe: The Ultimate Single-Ingredient Beef Liver Crunch
Ready to play safe chef? Here is my foolproof, step-by-step guide to making the most high-value training treat on the planet. Your dog will literally do backflips for these.
Ingredients & Tools Needed:
- 3-5 lbs of fresh, raw Beef Liver (or Chicken Breast for sensitive stomachs)
- A sharp chef’s knife
- Parchment paper (optional, for easy cleanup)
- A home freeze-dryer unit
The Step-by-Step Method:
- The Pre-Freeze Hack: Raw liver is incredibly slippery and hard to cut uniformly. Hacker Tip: Throw the raw liver into your standard kitchen freezer for about 45 to 60 minutes before prep. You want it firm, but not frozen solid. This makes slicing it a breeze.
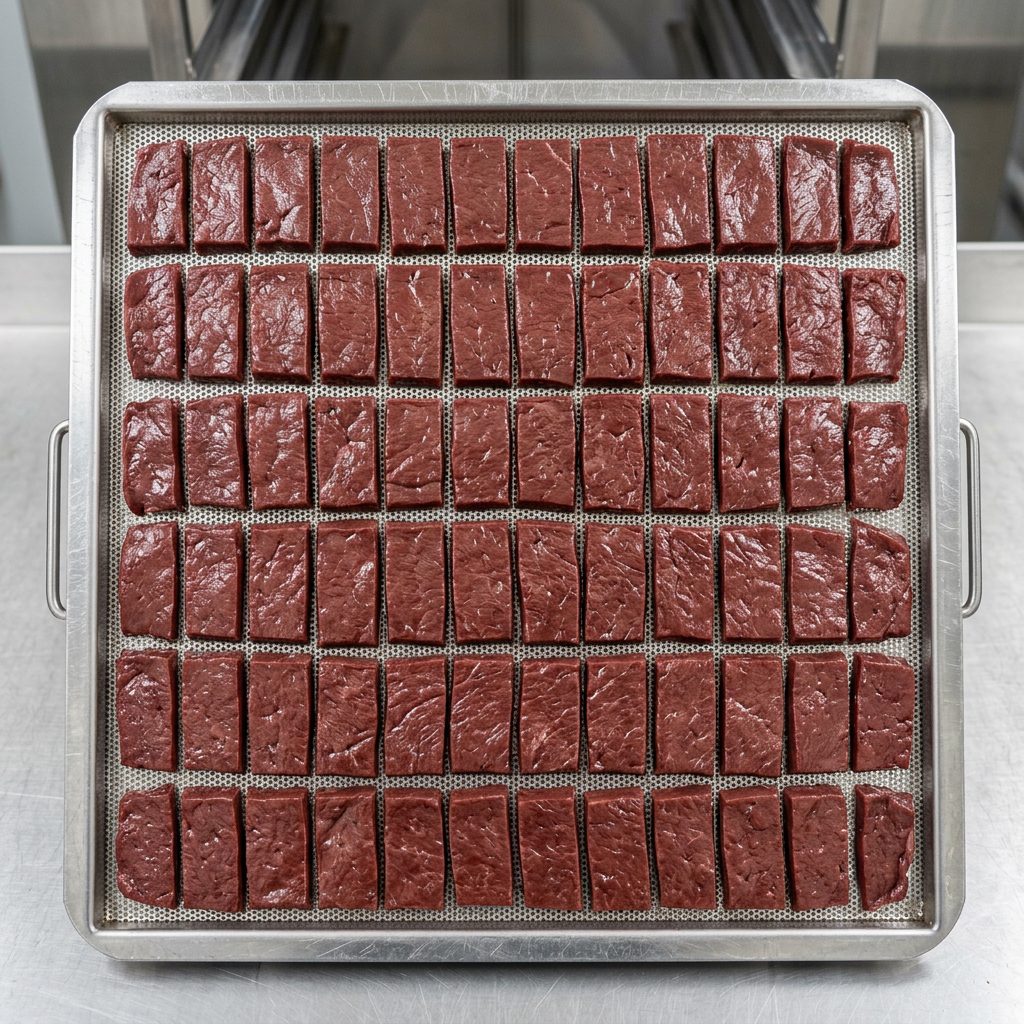
- Uniform Slicing: Slice the meat into uniform cubes or strips. Aim for about 1/2 inch thick. Consistency is key here; if some pieces are huge and others are tiny, they will not dry evenly.
- Tray Loading: Lay the pieces out on your freeze-dryer trays. They can be close together, but make sure they are not overlapping or stacked on top of each other.
- The Drying Cycle: Load the trays into your machine and start the cycle. Depending on the moisture content and your specific machine, this will take anywhere from 24 to 36 hours. Let the machine do the hard work!
- The Snap Test: Once the cycle is complete, take the thickest piece of liver and break it in half. It should snap easily and be completely dry and porous all the way through the center. If it feels cold or rubbery in the middle, put the trays back in for extra dry time.
Batch Cooking & The 10-Year Storage Secret
Here is where the real magic happens. If you throw your freshly freeze-dried treats into a Ziploc bag, they will absorb moisture from the air and get soggy within a week. To get that legendary 10-year shelf life, you need to store them like a prepper.
The Ultimate Storage Protocol
Because freeze-drying removes 99% of the moisture, the only things that can ruin your treats are oxygen, light, and humidity. Here is how we defeat all three:
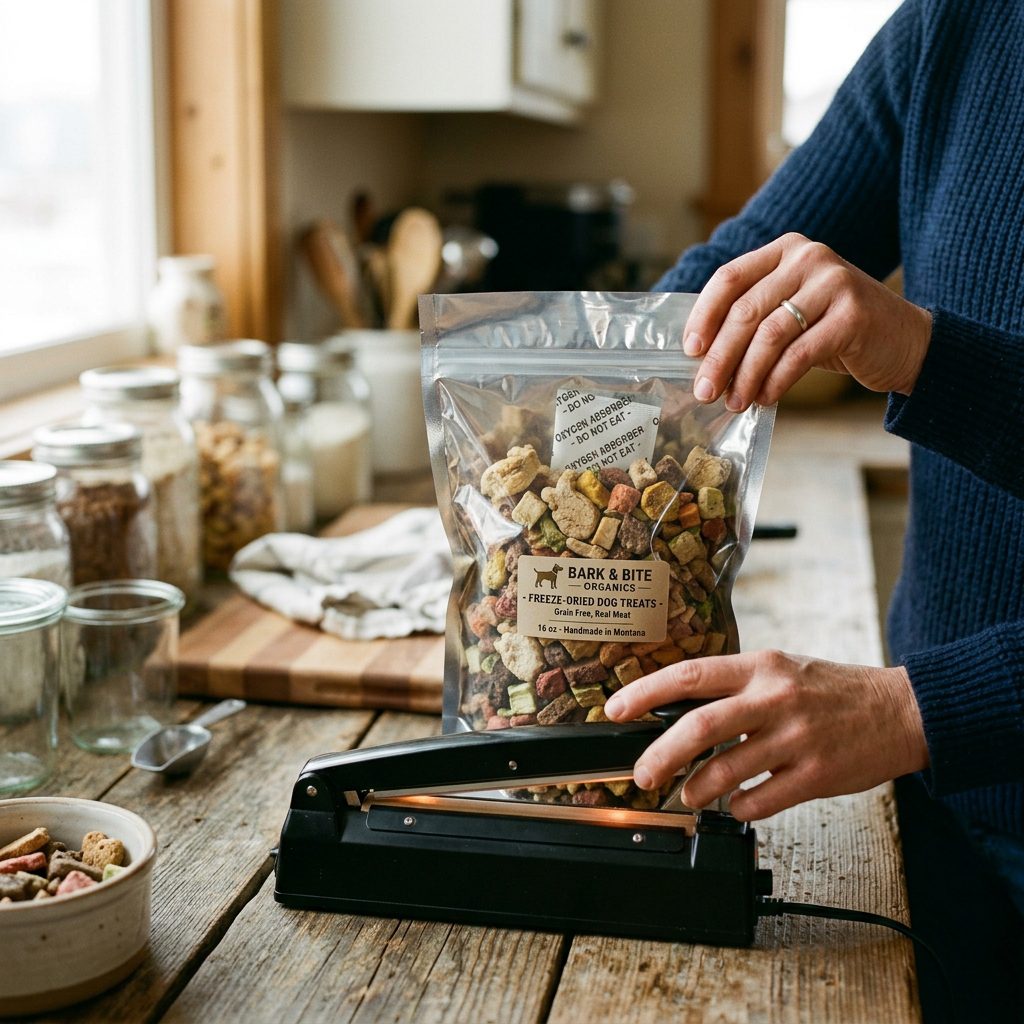
- Mylar Bags: These are thick, metallic bags that block out 100% of light and moisture. Do not use clear vacuum seal bags for long-term storage; light degrades nutrients over time.
- Oxygen Absorbers: Drop a 300cc oxygen absorber packet into the Mylar bag right before sealing. This little packet will suck out any remaining oxygen, creating a vacuum effect and preventing any fat oxidation or bacterial growth.
- Heat Sealing: Use an impulse sealer (or even a standard hair straightener in a pinch!) to melt the top of the Mylar bag shut.
By utilizing this batch-cooking and storage method, you can spend one weekend processing 20 pounds of raw meat, bag it up, and have a steady supply of ultra-premium, healthy dog treats for the next year—or the next decade! You will never have to worry about running out of treats or dealing with massive pet store markups ever again.
Conclusion
Taking control of your dog’s nutrition doesn’t have to be a full-time job, and you certainly don’t need a degree in animal nutrition to know that fresh, single-ingredient foods are better than highly processed bags of mystery dust. By investing a little time into learning how to freeze-dry your own dog treats at home, you are empowering yourself as a pet owner. You are saving your hard-earned cash, extending the shelf life of your treats to a staggering 10 years, and most importantly, you are giving your best friend the pure, healthy fuel they deserve. So skip the pet food aisle, hit up your local butcher, and start hacking your dog’s diet today. Your wallet—and your dog’s tail—will thank you!