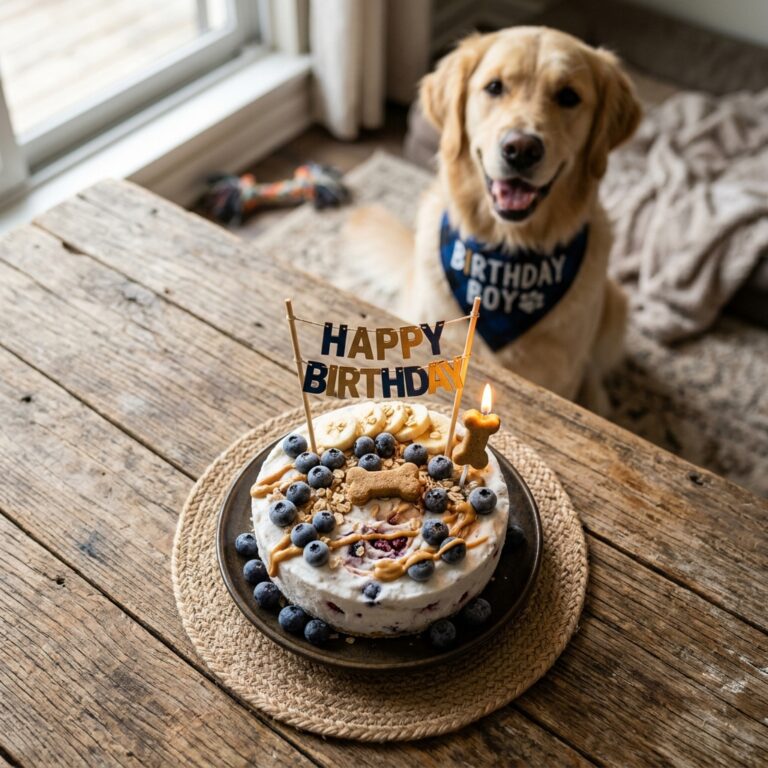
Step-by-Step Guide: How to Bake a 3-Tiered Dog Birthday Cake That Won’t Collapse
The Truth About Boutique Dog Cakes
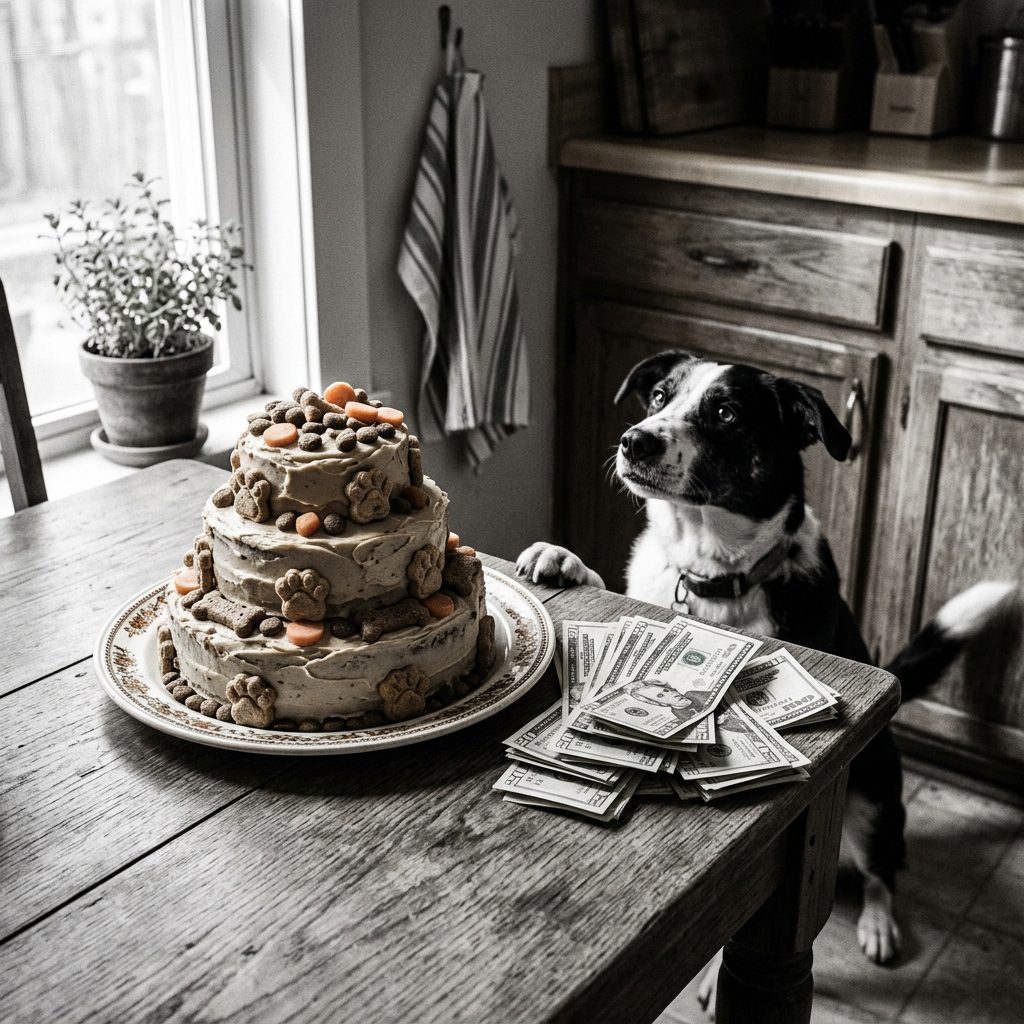
Let’s get real for a second. We’ve all seen those gorgeous, $60 dog cakes in the windows of high-end ‘barkeries.’ They look like they belong at a royal wedding, but have you ever actually performed a forensic audit on the ingredients? As a canine nutrition hacker, I have. Most of them are loaded with refined white flour, honey (which is just fancy sugar), and artificial food dyes like Red #40 or Yellow #5 to make them ‘pop’ for your Instagram feed. Your dog doesn’t care about the color; they care about the smell, the protein, and not getting a massive blood sugar spike that leads to a 3:00 AM bathroom emergency.
In this guide, I’m going to show you how to hack the system. We’re going to build a 3-tiered architectural marvel that won’t collapse under its own weight, using ingredients that actually benefit your dog’s gut health. We’re talking about high-bioavailability proteins, fiber-rich binders, and a frosting hack that will save you $50 and a trip to the vet. This isn’t just a cake; it’s a nutritional powerhouse disguised as a celebration. Put on your chef’s hat—we’re about to bake a cake that would make a structural engineer proud.
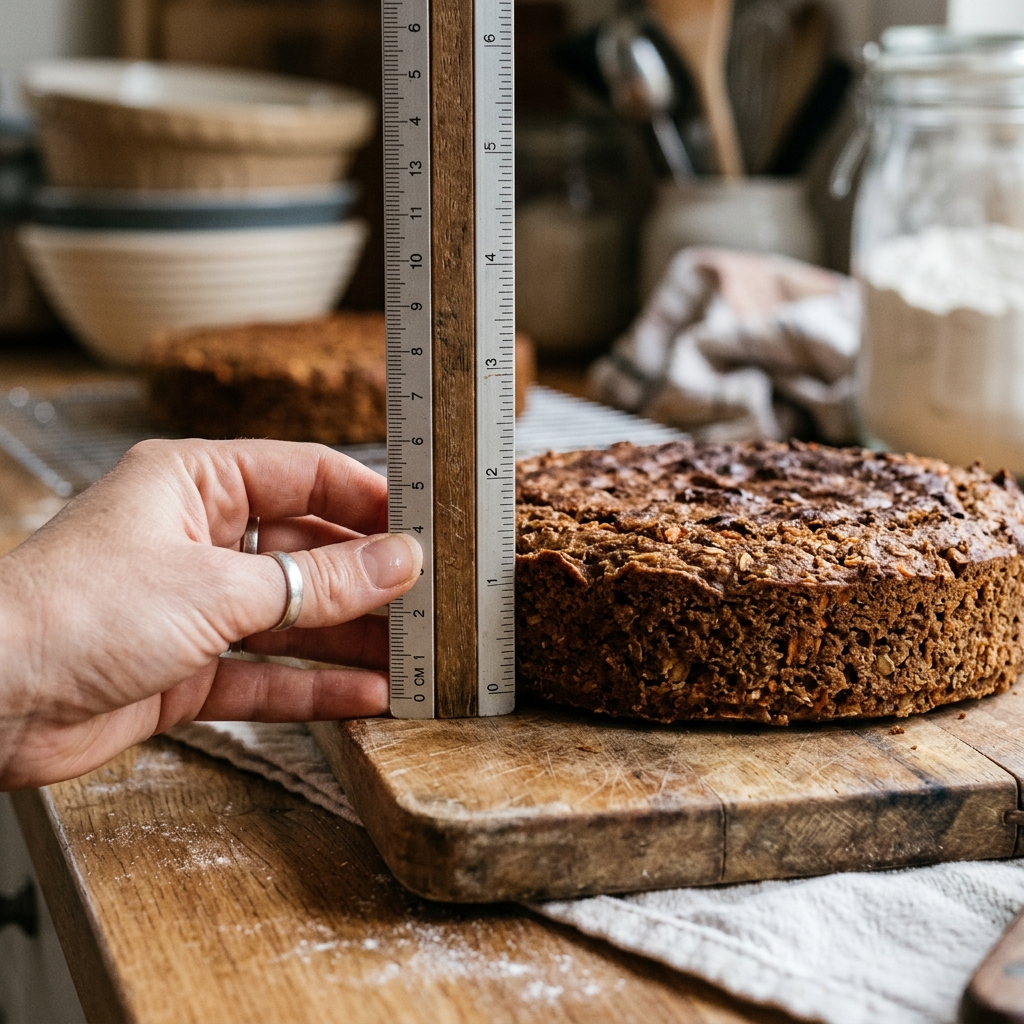
Insider Secret: The secret to a non-collapsing dog cake isn’t more flour; it’s the moisture-to-density ratio. Dog cakes need to be more like a dense muffin and less like a fluffy sponge to support the weight of multiple tiers.
The Forensic Ingredient Audit: Choosing Your Base
Exposing the Fillers
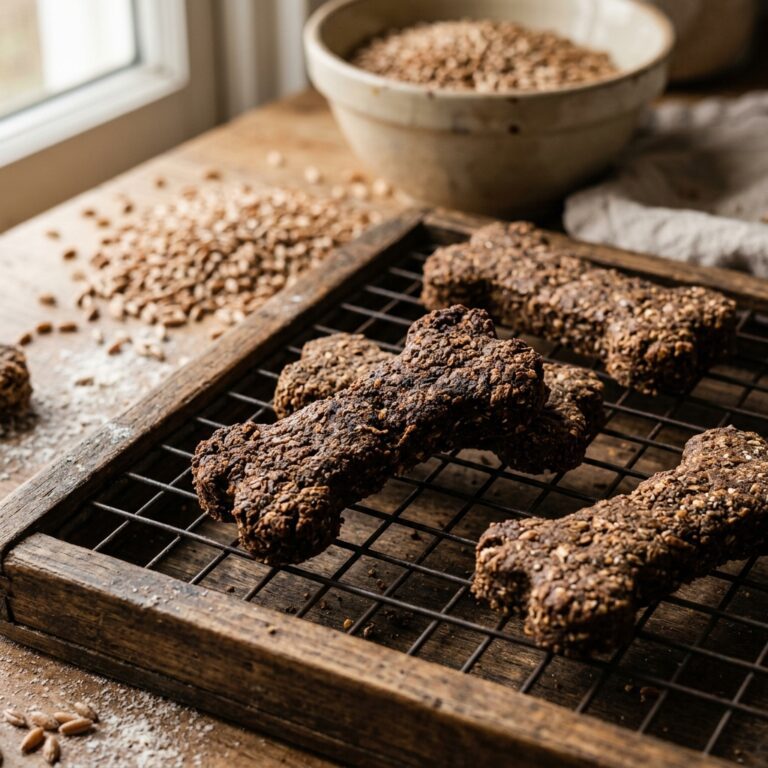
Most commercial dog cake mixes rely on wheat flour because it’s cheap and provides a consistent rise. However, many dogs struggle with gluten sensitivity, leading to itchy skin and gas. We’re swapping that out for oat flour. Oat flour is gluten-free (if certified), high in fiber, and contains more protein than traditional white flour. It provides the ‘structural concrete’ we need for a 3-tier build.
Hero Ingredients for the Win
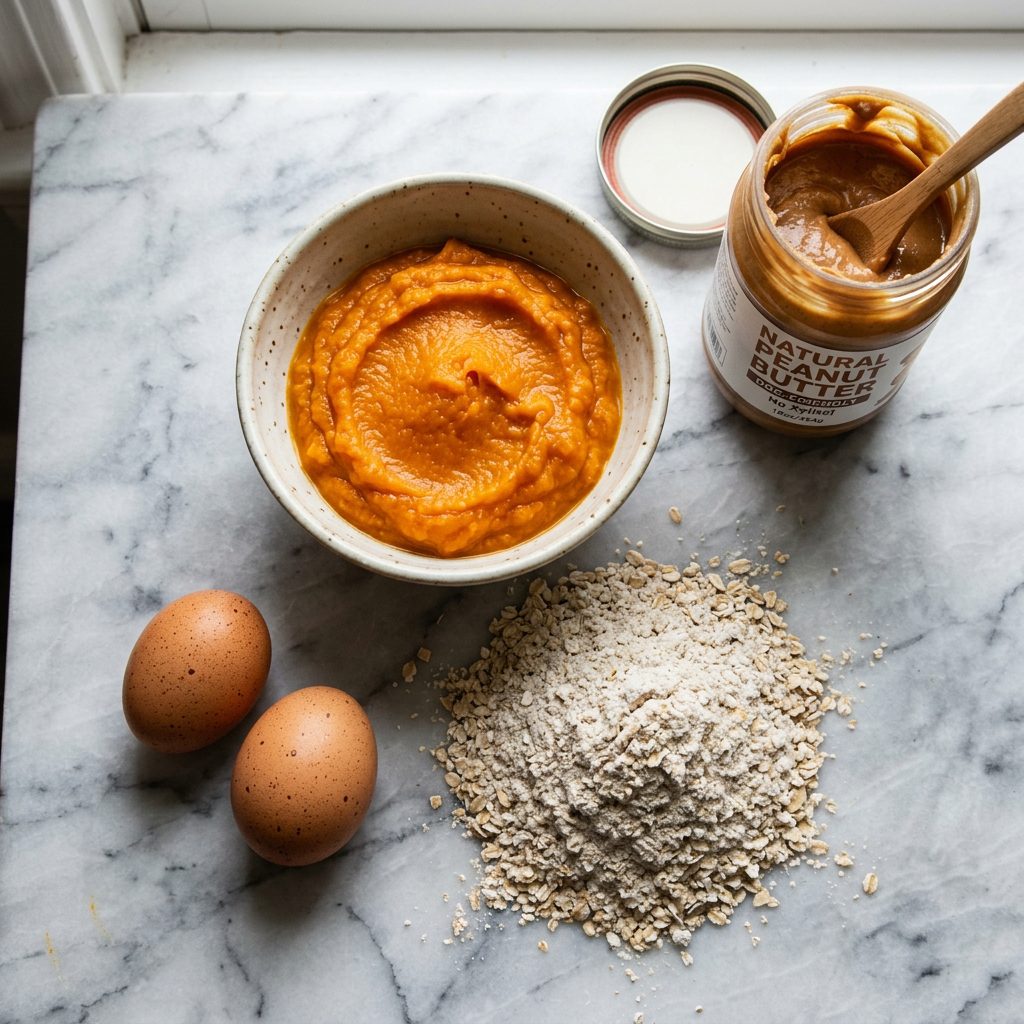
- Pureed Pumpkin: Not the pie filling! We want 100% pure pumpkin. It’s a digestive superfood that provides the moisture needed to keep the cake from becoming a dry brick.
- Xylitol-Free Peanut Butter: This is your primary fat source and flavor driver. WARNING: Always check the label for Xylitol (Birch Sugar). It is lethal to dogs even in small amounts.
- Pasture-Raised Eggs: These are the ‘glue’ of our cake. They provide essential amino acids and the structural integrity required for stacking.
By choosing these ingredients, we aren’t just making a treat; we’re providing a meal-replacement quality snack that supports a healthy coat and solid digestion.
The Engineering of the Stack: Preventing the Collapse
Why Multi-Tier Cakes Fail
The biggest mistake owners make when attempting a 3-tier cake is using the same batter consistency for every layer. Gravity is the enemy. To prevent the bottom tier from being crushed, we need to ensure it is the densest layer. We do this by slightly increasing the oat flour ratio in the bottom pan compared to the top ‘crown’ layer.
The ‘Edible Dowel’ Secret
Professional bakers use plastic or wooden dowels to support tiered cakes. We don’t want your dog choking on a stick. Instead, we use thick carrot sticks or dehydrated sweet potato chews as internal supports. These provide vertical stability while being 100% safe to eat once the cake is sliced.
Hacker Tip: Chill your layers in the refrigerator for at least 4 hours before stacking. Cold cakes are significantly more stable than room-temperature ones, allowing the fats in the peanut butter to ‘set’ and act as a structural binder.
The Blueprint: Recipe and Cost Breakdown
SAFETY DISCLAIMER
I am a canine nutrition enthusiast, not a veterinarian. This cake is intended as a supplemental treat for healthy adult dogs. If your dog has specific medical conditions like pancreatitis or kidney disease, consult your vet before introducing new high-fat or high-protein foods. Always introduce new treats in small portions to monitor for allergic reactions.
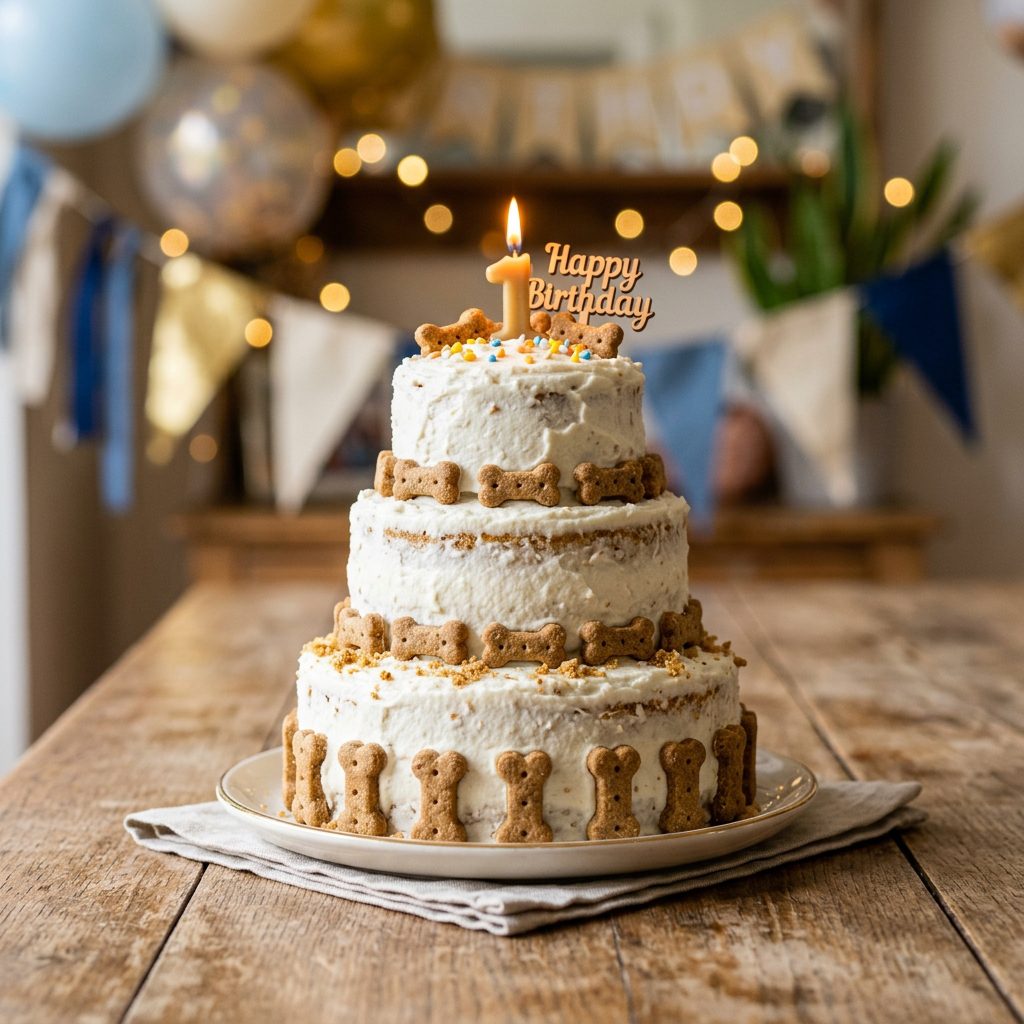
The 3-Tier Master Recipe
This recipe yields three layers: a 6-inch base, a 4-inch middle, and a 2-inch top. Use springform pans for the best results.
- Preheat your oven to 350°F (175°C).
- In a large bowl, whisk 3 large eggs with 1/2 cup natural peanut butter and 1 cup pumpkin puree.
- Fold in 2.5 cups of oat flour and 1 teaspoon of baking soda.
- Divide the batter into greased pans (use coconut oil). Bake for 25-35 minutes or until a toothpick comes out clean.
- Let cool completely before the ‘refrigerator set’ mentioned earlier.
Cost Analysis: DIY vs. Boutique
| Category | Boutique Bakery Cake | Hacker’s DIY Cake |
|---|---|---|
| Main Ingredients | Wheat Flour, Honey, Dyes | Oat Flour, Pumpkin, PB |
| Average Cost | $55.00 – $75.00 | $8.50 – $12.00 |
| Nutritional Value | Low (High Sugar) | High (Protein/Fiber) |
| Stability | Hit or Miss | Engineered for Stacking |
As you can see, you are saving roughly $50.00 per birthday while providing significantly better nutrition. That’s money you can spend on a new high-quality harness or a heavy-duty chew toy.
The Frosting Hacker’s Guide: No Sugar, All Flavor
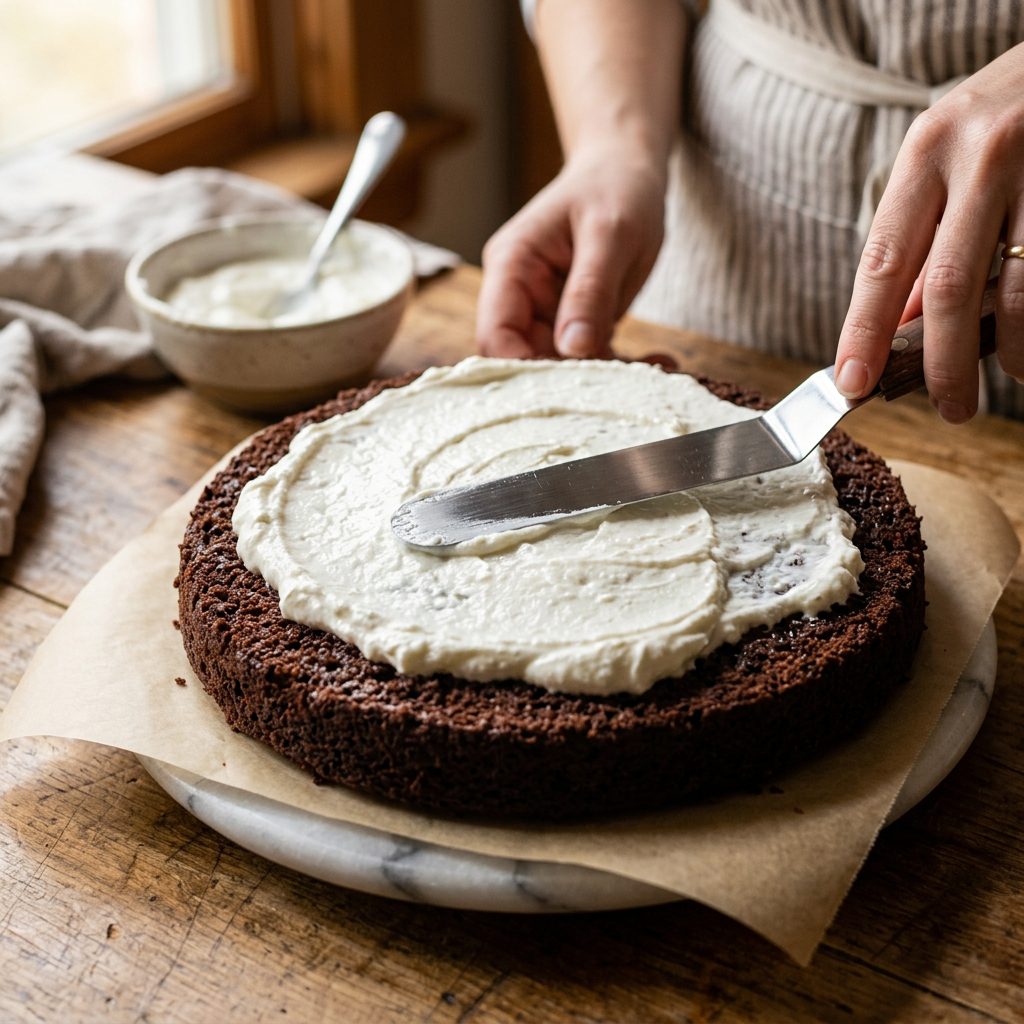
The Greek Yogurt Hack
Forget the sugary ‘dog frosting’ sold in stores. The ultimate hacker frosting is Plain Non-Fat Greek Yogurt. It’s thick, spreadable, and packed with probiotics that support your dog’s microbiome. To make it ‘pipeable’ for decorations, mix it with a small amount of tapioca starch or instant mashed potato flakes (unseasoned!). This creates a stiff peaks consistency that holds its shape even in a warm room.
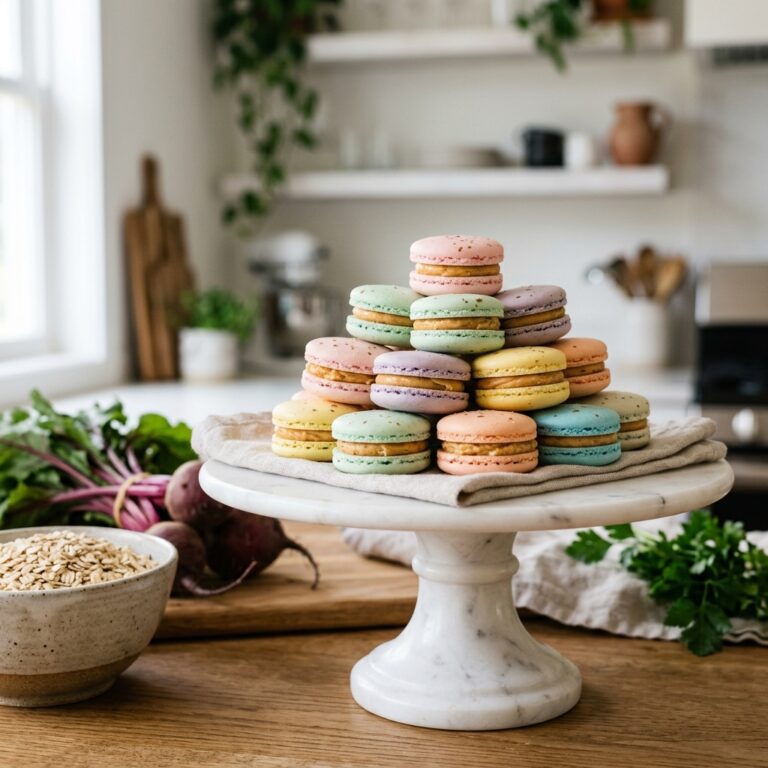
Natural Colorants
If you want color, don’t reach for the chemicals. Use the forensic power of nature:
- Pink/Red: A teaspoon of beet juice.
- Green: A pinch of spirulina or wheatgrass powder.
- Yellow: A dash of turmeric (great for joint health!).
- Blue: A few mashed blueberries.
Apply the frosting in thin layers (crumb coat first!) to keep the weight down and ensure the tiers don’t slide.
Assembly and Celebration Safety

Step-by-Step Assembly
Once your layers are chilled and your frosting is prepped, it’s time for the build. Place the 6-inch layer on a sturdy base. Apply a thin layer of ‘frosting’ as glue. Insert three carrot sticks in a triangle pattern in the center. Place the 4-inch layer on top, ensuring the carrots are flush with the top of the cake. Repeat for the final tier. This creates an internal ‘skeleton’ that prevents the dreaded leaning tower of kibble.
The Celebration Protocol
When it’s time to serve, remember that this is a dense cake. A 50lb dog should only have a small slice (about 1/8th of the cake) to avoid digestive upset. Insider Secret: Slice the cake with a warm, wet knife to get those clean, professional-looking edges without crumbling the oat flour base.
- Remove any candles before the dog gets close.
- Ensure plenty of fresh water is available.
- Store leftovers in the freezer in individual slices for up to 3 months.
Conclusion
The Verdict: You’re Now a Canine Cake Architect
Baking a 3-tiered dog birthday cake doesn’t require a culinary degree; it requires a bit of forensic ingredient knowledge and some basic engineering. By ditching the ‘barkery’ fillers and focusing on nutrient-dense staples like pumpkin, oat flour, and Greek yogurt, you’ve created a celebration that is as healthy as it is impressive. You’ve saved over $50, avoided toxic additives, and built something with your own hands for your best friend. That’s the definition of a savvy dog owner. Now, go take that photo, tag it, and then let your pup enjoy the best (and sturdiest) cake they’ve ever had. Happy hacking!