The Lazy Owner’s 5-Minute Microwave Dog Treat Recipe That Beats Store-Bought Every Time
SAFETY DISCLAIMER: I am the Canine Nutrition Hacker, not a veterinarian. This recipe is meant for supplemental feeding, training, and treating, not as a complete meal replacement. While these ingredients are generally safe and highly nutritious, always consult your vet if your dog has specific health conditions, severe allergies, or a history of pancreatitis. Remember, treats should never make up more than 10% of your dog’s daily caloric intake.
Let us get real for a second. You are standing in the pet food aisle, staring at a tiny, beautifully branded bag of premium dog treats. The packaging promises wild-caught this and farm-raised that. Then, you flip the bag over. As a savvy dog owner, you do not look at the marketing fluff; you look at the ingredient list. What do you see? Wheat flour, corn gluten meal, glycerin, meat by-products, and a chemical preservative like BHA. To add insult to injury, they are charging you fifteen dollars for eight ounces of this junk. You love your dog, and you want to give them the absolute best, but you are also busy. You do not have three hours to bake artisanal dog biscuits shaped like little bones. You need a solution that is fast, incredibly healthy, and does not drain your wallet. Welcome to the ultimate hack for the busy, savvy dog parent. Today, I am going to show you how to bypass the pet food industry’s ridiculous markups and questionable ingredients. We are going to make a batch of highly nutritious, filler-free dog treats in exactly five minutes, using nothing but your microwave and three ingredients you probably already have in your pantry. Get ready to become your dog’s absolute favorite person while keeping your hard-earned cash exactly where it belongs: in your pocket.
The Store-Bought Treat Trap: Exposing the Fillers
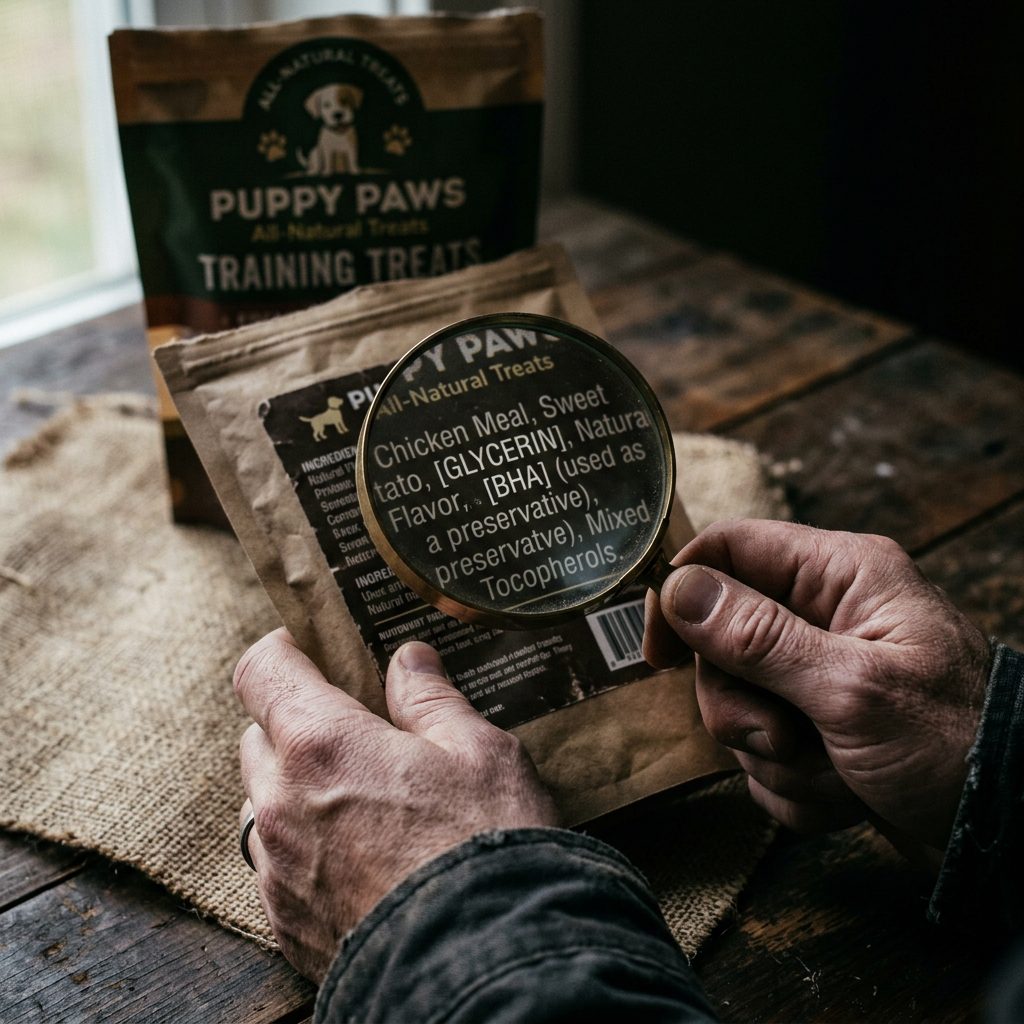
Before we dive into the microwave miracle, we need to talk about why we are doing this. The pet treat industry is a multi-billion dollar machine built largely on convenience and clever marketing. When you buy commercial dog treats, especially the soft and chewy ones, you are often paying a premium for water, cheap binders, and artificial preservatives. Let us play forensic scientist for a moment. One of the most common ingredients in soft store-bought treats is glycerin (or vegetable glycerin). While generally recognized as safe, its primary purpose is to keep the treat moist and chewy on a store shelf for two years. It provides zero nutritional value to your dog. Next on the hit list is corn gluten meal and wheat flour. These are classic cheap fillers. They bulk up the treat, making you think you are getting more bang for your buck, but they are notorious for triggering yeast infections, itchy skin, and digestive upset in sensitive dogs. And do not get me started on the artificial colors. Your dog is colorblind to red and green; they do not care if their treat looks like a piece of bacon. Those dyes are in there to appeal to you, the human buyer. By making your own treats, you eliminate 100% of these useless, potentially harmful additives. You take total control of the nutritional profile. Every single calorie your dog consumes from a homemade treat is packed with bioavailable nutrients, not empty, shelf-stabilizing junk.
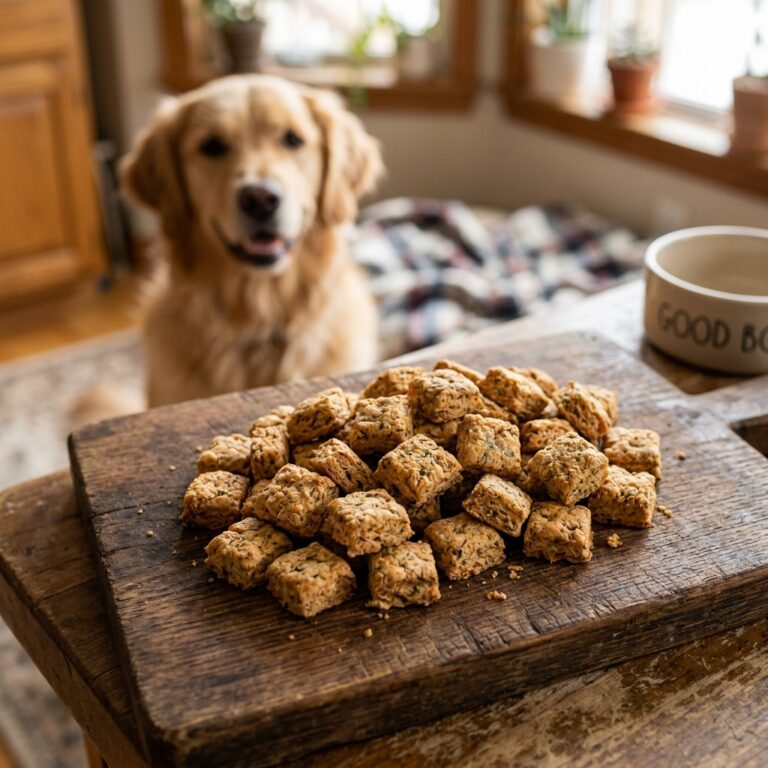
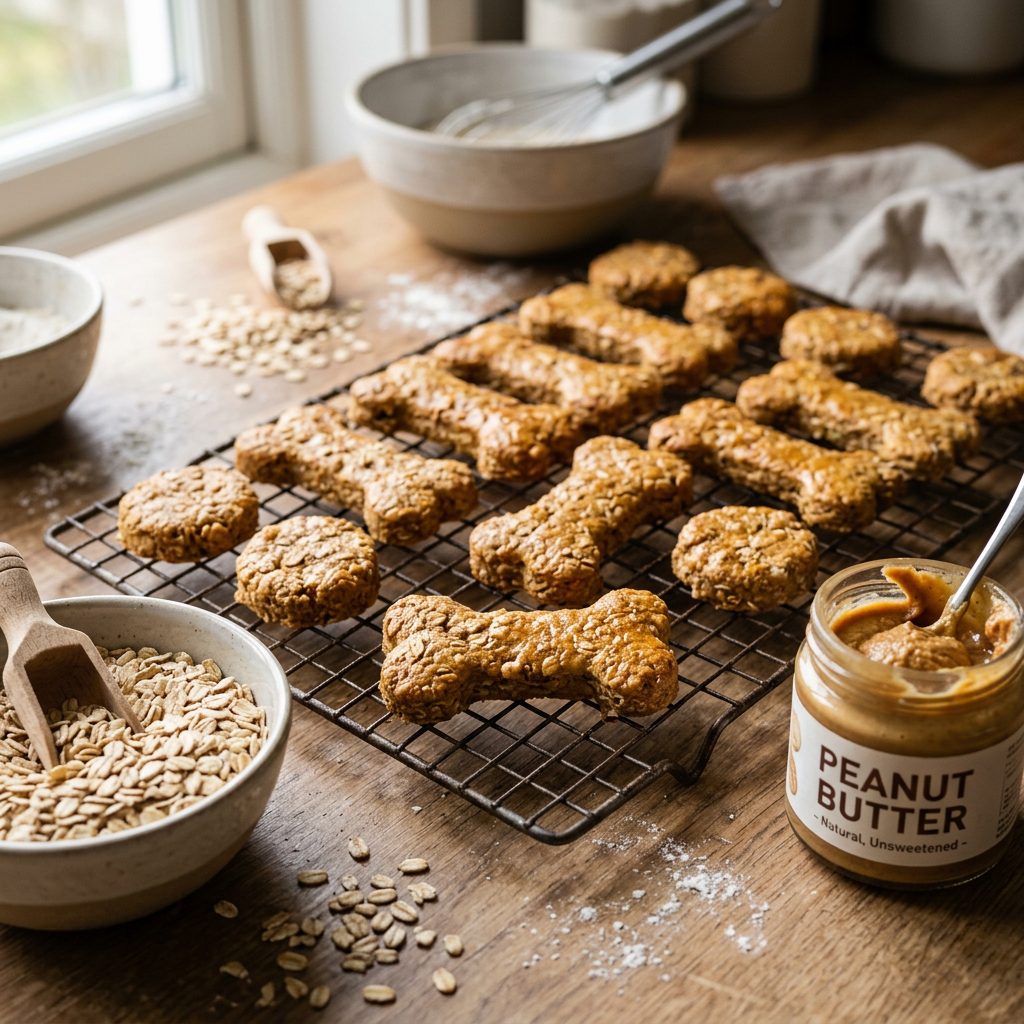
The 5-Minute Microwave Miracle Recipe: Step-by-Step
Here is where we take our power back. This recipe is virtually foolproof, requires zero baking skills, and uses just three powerhouse ingredients.
The Core Ingredients
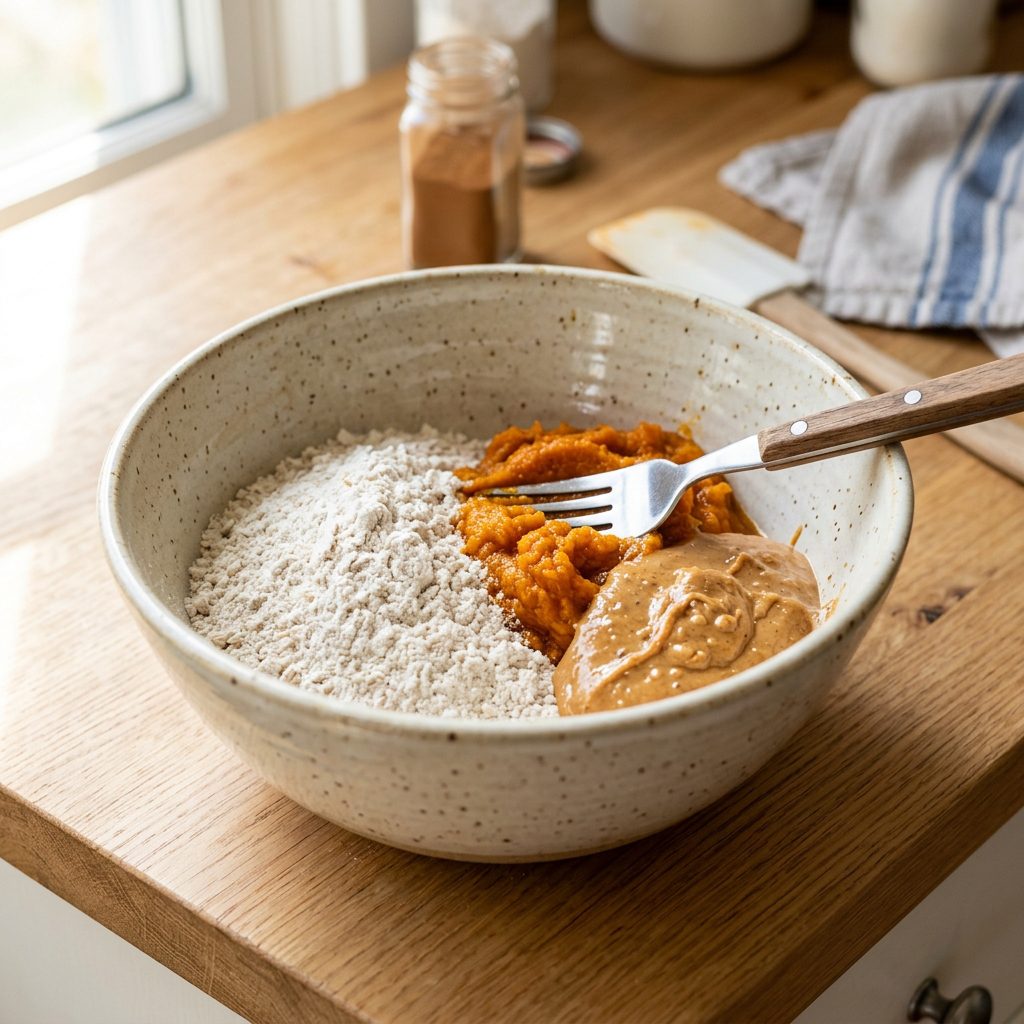
- 1 Cup of Oat Flour: Oats are a fantastic, gluten-free carbohydrate source that soothes the stomach and provides slow-burning energy.
HACKER TIP: Do not buy expensive pre-milled oat flour. Just throw regular rolled oats into your blender or food processor for 10 seconds. You just saved yourself four dollars.
- 1/2 Cup of 100% Pure Pumpkin Puree: Pumpkin is a superfood for dogs. It is loaded with soluble fiber, which regulates digestion and helps produce perfect, firm stools. CRITICAL WARNING: Ensure the can says 100% Pure Pumpkin. Never use Pumpkin Pie Filling, which contains toxic spices like nutmeg and massive amounts of sugar.
- 1/4 Cup of Natural Peanut Butter: A great source of healthy fats and protein that dogs go crazy for. CRITICAL WARNING: You must check the label to ensure it is 100% free of Xylitol (sometimes labeled as Birch Sugar). Xylitol is highly toxic and potentially fatal to dogs. The only ingredients should be peanuts and maybe a pinch of salt.
The Actionable Steps
- The Mix: In a medium mixing bowl, combine the oat flour, pumpkin puree, and peanut butter. Use a fork or your hands to mash it all together until it forms a thick, slightly sticky dough. If it is too dry, add a teaspoon of water. If it is too wet, add a sprinkle more of oat flour.
- The Prep: Take a microwave-safe plate or a silicone baking mat. Flatten the dough out onto the surface until it is about 1/4 inch thick. You do not need cookie cutters; remember, we are lazy and efficient. Just use a butter knife or a pizza cutter to score the dough into small, training-sized squares (about the size of a pea for small dogs, or a dime for large dogs).
- The Microwave Magic: Place the plate in the microwave. Cook on high for 3 to 4 minutes. Microwave wattages vary, so check them at the 3-minute mark. You want them to be firm to the touch. They will continue to harden as they cool.
- The Cool Down: Remove them from the microwave (careful, the plate will be hot). Let them sit for 10 minutes. Once cooled, snap them apart along the score lines. You now have hundreds of high-value training treats!
Real Cost Breakdown: DIY vs. Premium Store-Bought
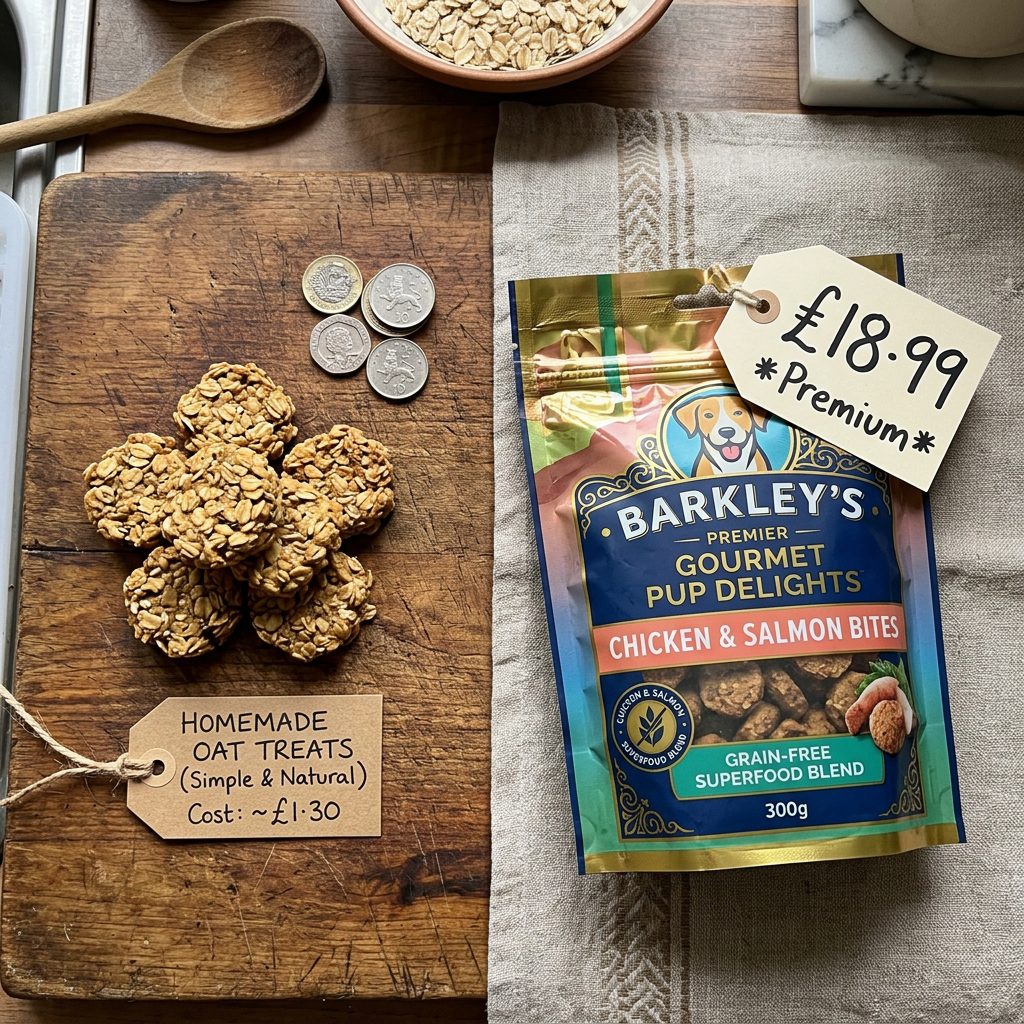
As a Canine Nutrition Hacker, I do not just care about health; I care about economics. The pet industry relies on you not doing the math. Let us break down the actual cost of our 5-minute microwave treats compared to a popular, premium store-bought training treat. We will look at the cost per pound, the prep time, and the quality of what you are actually getting.
| Metric | DIY 5-Minute Microwave Treats | Store-Bought ‘Premium’ Treats |
|---|---|---|
| Primary Ingredients | Whole Oats, Pure Pumpkin, Peanuts | Wheat Flour, Glycerin, Meat Meal, Sugar |
| Cost Per Pound | $1.85 / lb | $14.50 / lb |
| Time Investment | 5 Minutes | 30+ Minutes (Driving to store, checkout) |
| Filler & Preservative Content | 0% | Up to 35% |
| Digestibility | Extremely High (Whole Foods) | Moderate to Low (Processed Binders) |
Look at those numbers. You are saving over twelve dollars per pound by spending exactly five minutes in your kitchen.
HACKER TIP: If you are raising a new puppy and going through training treats like water, switching to this microwave recipe can easily save you $150 to $200 a month. That is money you can redirect toward high-quality dog food, puzzle toys, or your emergency vet fund. Stop paying a massive premium for water and wheat flour!
Customizing the Base: Health-Specific Swaps
The beauty of this 5-minute microwave recipe is that it acts as a blank canvas. Not every dog is the same, and as savvy owners, we need to adapt to our dogs’ unique physiological needs. Here is how you can hack this base recipe to solve specific health problems.
For the Itchy Dog (Allergy Friendly & Grain-Free)
If your dog is constantly scratching, licking their paws, or suffering from chronic ear infections, they might be reacting to grains or common proteins. The Swap: Ditch the oat flour entirely. Instead, use coconut flour or chickpea flour. Coconut flour is highly absorbent, so you will need to use less of it (about 1/3 cup) and add a splash of water or dog-safe bone broth to get the right dough consistency. Swap the peanut butter for mashed banana or unsweetened applesauce to eliminate heavy legumes.
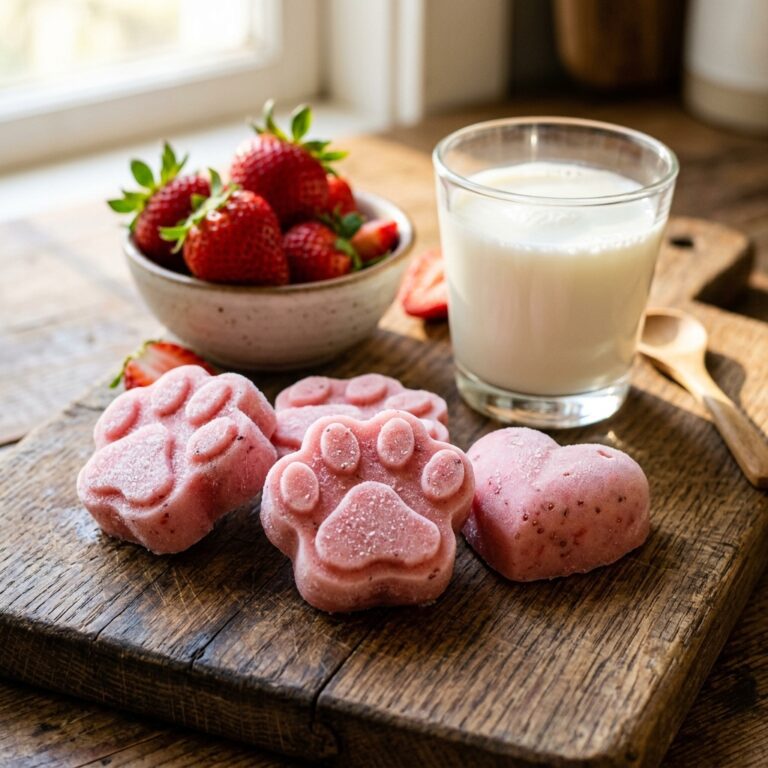
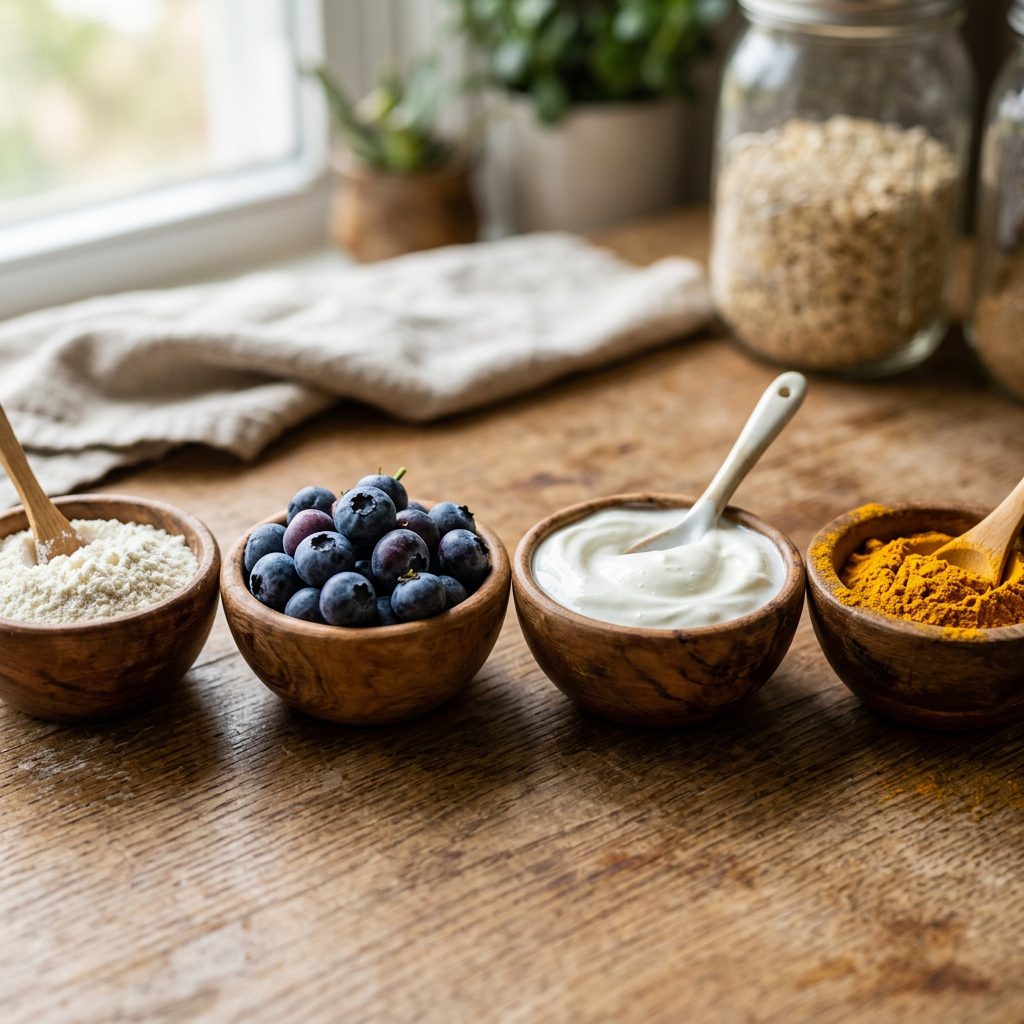
For the Sensitive Stomach (Digestion Support)
Does your dog clear the room with terrible gas, or struggle with loose stools? We need to focus on gut-soothing ingredients. The Swap: Keep the pure pumpkin (it is the ultimate gut-healer), but swap the peanut butter for a tablespoon of plain, unsweetened Greek yogurt (if they tolerate dairy) or a tablespoon of slippery elm powder mixed with water. Slippery elm coats and soothes the digestive tract, making these treats a medicinal powerhouse for upset tummies.
For the Senior Dog (Joint & Anti-Inflammatory Support)
Older dogs need treats that do not just taste good, but actively fight inflammation and support aging joints. The Swap: Add a teaspoon of high-quality, cold-pressed salmon oil to the wet mix for a massive boost of Omega-3 fatty acids. You can also sprinkle in a quarter teaspoon of ground turmeric with a tiny pinch of black pepper (which increases the bioavailability of curcumin). These treats will now actively help lubricate their joints while they snack.
Batch Cooking & Storage Hacker Tips
You are lazy, I am lazy, we all want maximum results for minimum effort. Making one batch of these treats is great, but batch cooking is where the true hacking happens. Because these treats do not contain artificial preservatives like BHA, BHT, or ethoxyquin, they will not last for two years in a hot pantry. Here is how to manage your inventory like a pro.
The Fridge and Freezer Strategy
Since these treats are essentially baked fresh food, they will last in an airtight container on the counter for about 3 to 4 days. If you put them in the refrigerator, you extend that shelf life to about two weeks. But the ultimate hack is the freezer.
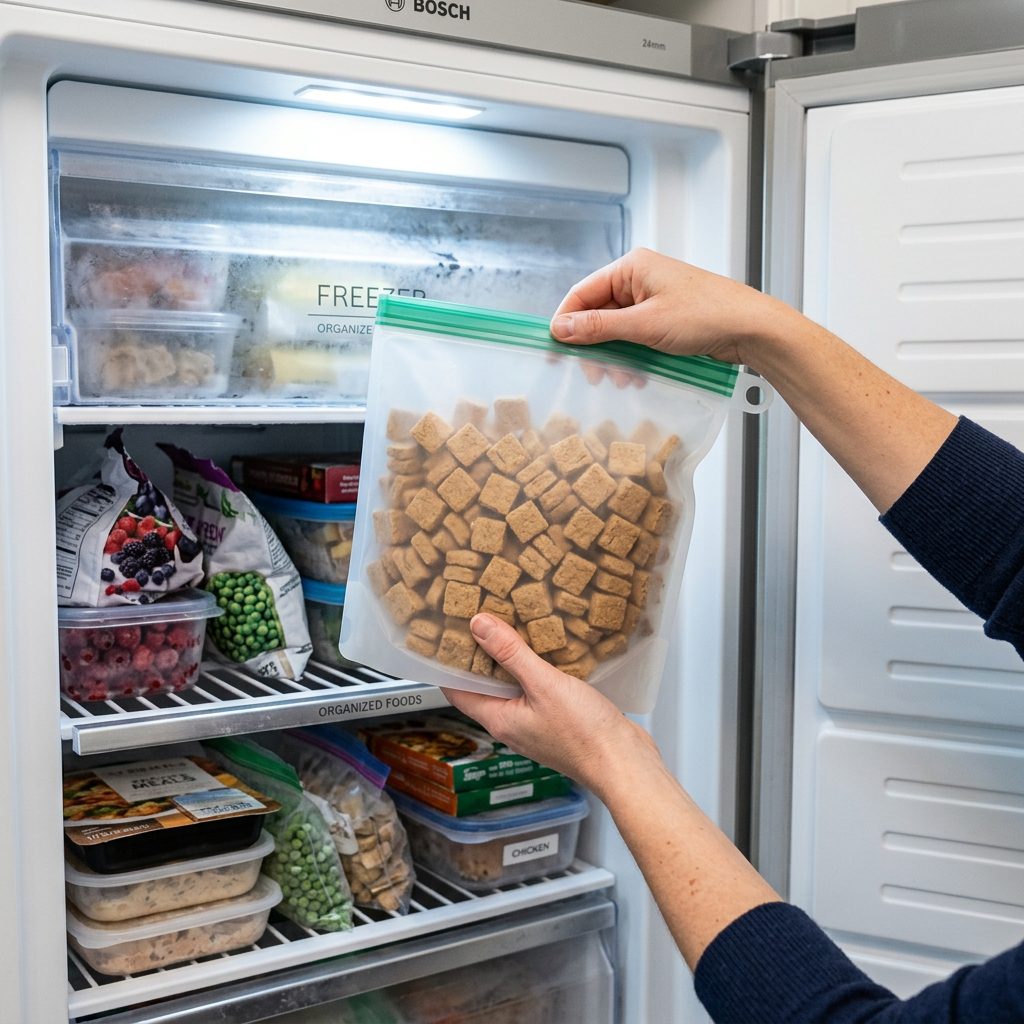
HACKER TIP: Quadruple the recipe. Make a massive batch on a Sunday. Score them, microwave them in batches, and let them cool completely. Once cool, toss them into a freezer-safe Ziploc bag. They will last in the freezer for up to 6 months!
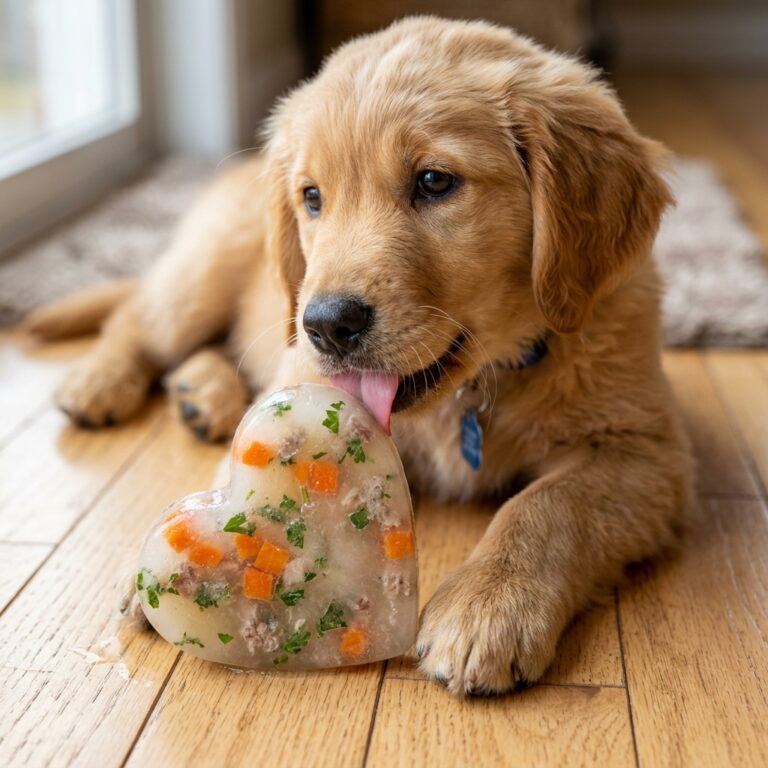
Serving Straight from the Freezer
You do not even need to thaw them! Dogs actually love the crunchy, cold texture of a frozen treat, especially teething puppies whose gums are inflamed and sore. The frozen texture also forces them to chew slightly longer, increasing their mental stimulation and satisfaction. By spending 20 minutes once a month, you can create a 30-day supply of the healthiest, cheapest, most biologically appropriate training treats your dog has ever eaten.
Conclusion
Taking control of your dog’s nutrition does not require a culinary degree, and it certainly does not require you to spend your entire weekend meal-prepping in the kitchen. The pet food industry thrives on the illusion that providing healthy food and treats is complicated and expensive. By utilizing this 5-minute microwave recipe, you are shattering that illusion. You are cutting out the toxic preservatives, eliminating the cheap fillers, and saving a massive amount of money, all while giving your dog a treat that is genuinely beneficial to their health. So, the next time you run out of training treats, do not grab your car keys to head to the pet store. Grab your oats, your pumpkin, and your peanut butter, and let your microwave do the heavy lifting. Your wallet will thank you, and your dog will absolutely love you for it. Stay savvy, keep hacking those labels, and here is to a healthier, happier life for your best friend.