DIY Squeezable High Value Treat Pouch (Save $$$ On Store Brands)
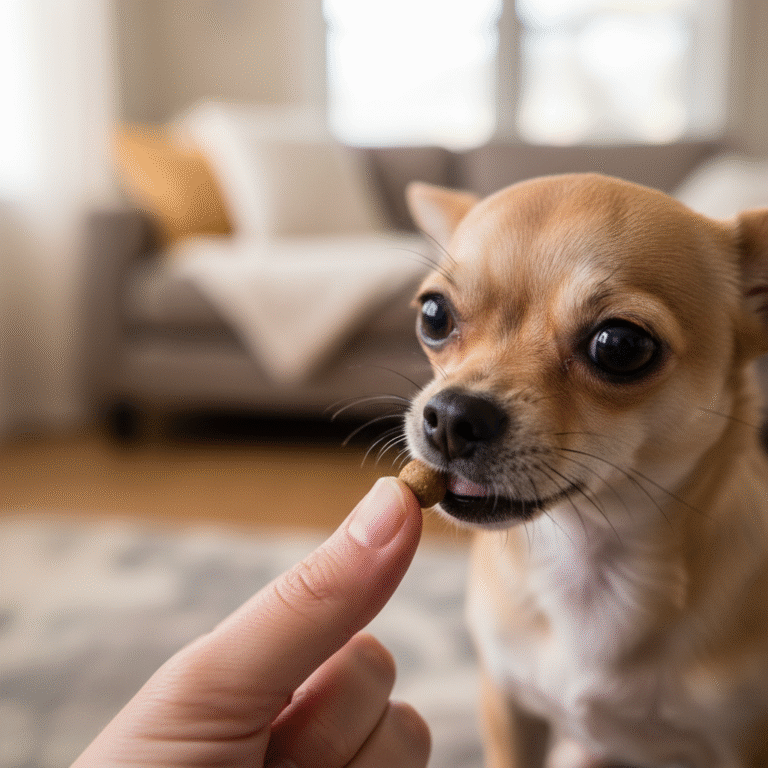
Picture this: you’re in the middle of a fantastic training session with your furry best friend. You’re working on that tricky ‘stay’ or a reliable recall, and your pup is finally getting it! You reach for that super-special, high-value reward to really mark the moment… and you realize that tiny, expensive tube of store-bought treat paste is almost empty. Again. The frustration is real, and so is the hit to your wallet.
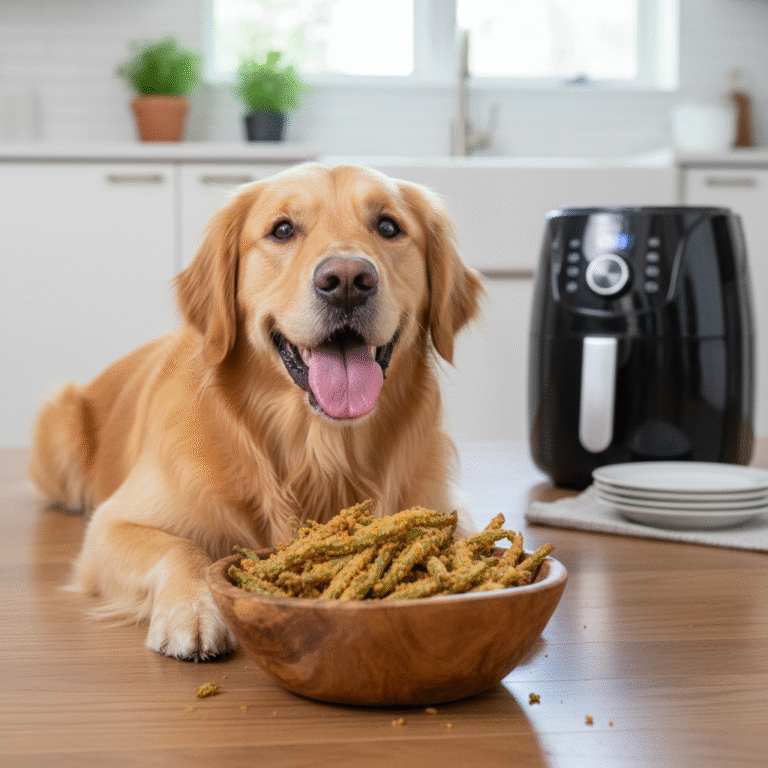
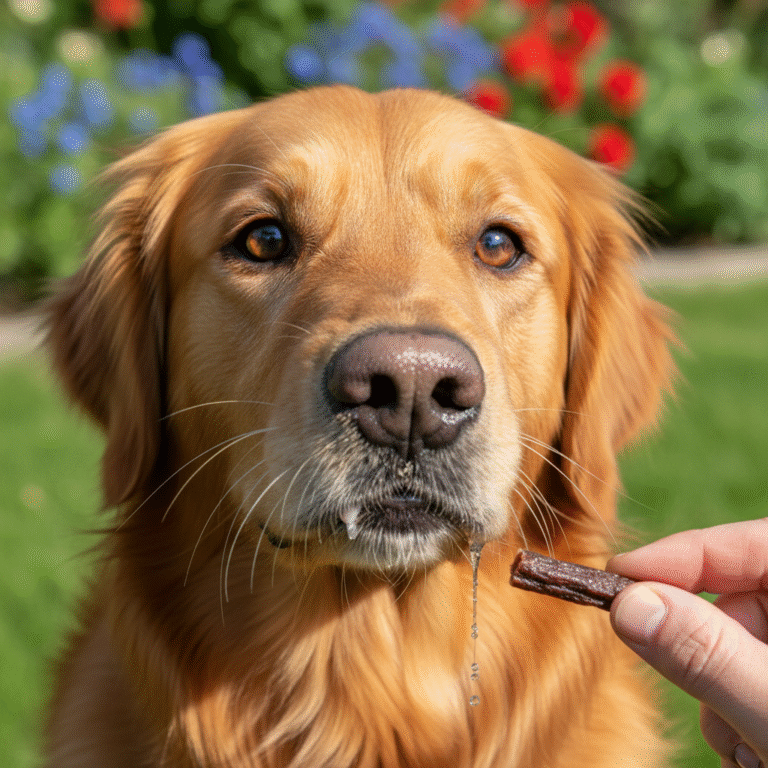
High-value treats are the secret weapon in any dog trainer’s arsenal. They’re the extra-delicious, super-motivating rewards that tell your dog, ‘YES! That’s exactly what I wanted!’ Squeezable treats are particularly brilliant because they’re portable, mess-free, and allow you to deliver a quick lick of reward without crumbling biscuits all over the floor. The only downside? The price tag. Commercial brands can be costly, and they often contain preservatives and fillers you might not want in your dog’s diet.
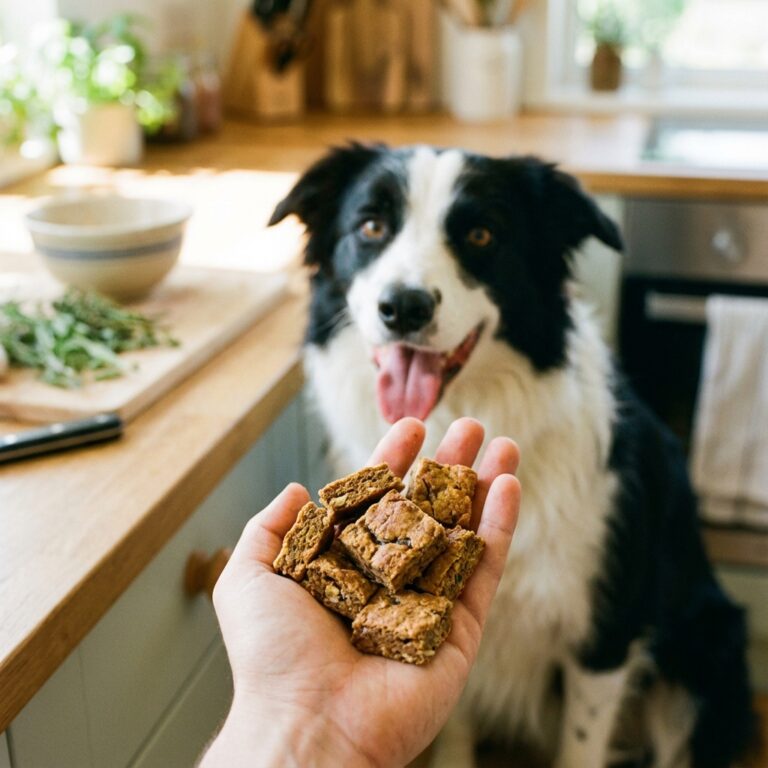
But what if we told you there’s a better way? A way to provide your dog with the most irresistible training treats they’ve ever tasted, using simple, healthy ingredients, all while saving a significant amount of money? Welcome to the world of DIY squeezable high-value treats! In this guide, we’ll walk you through everything you need to know to become a master canine chef, whipping up batches of liquid gold your dog will go bonkers for.
The ‘Why’ Behind DIY: Perks of Homemade Squeezable Treats

Before we roll up our sleeves and get blending, let’s talk about why this is such a game-changer for you and your pup. Making your own squeezable treats isn’t just a fun weekend project; it’s a smart move for any dedicated pet owner. Here are the top reasons to ditch the store-bought tubes and go homemade:
- Total Ingredient Control: Is your dog allergic to chicken? Sensitive to certain grains? You’re the head chef now! You have 100% control over what goes into the pouch. This means you can cater to your dog’s specific dietary needs, allergies, and preferences. No more squinting at ingredient labels trying to decipher mysterious additives.
- Massive Cost Savings: Let’s be honest, those pre-made tubes are not cheap. For the price of one or two small tubes, you can often buy enough fresh ingredients to make a dozen or more of your own. You’re paying for whole foods, not fancy packaging and marketing. Over a year of training, the savings can be substantial.
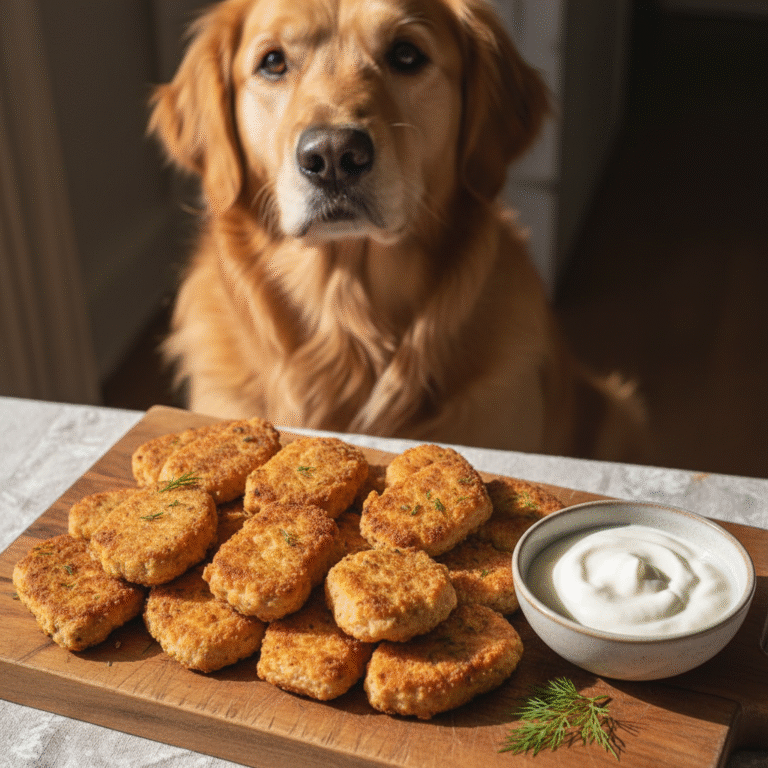
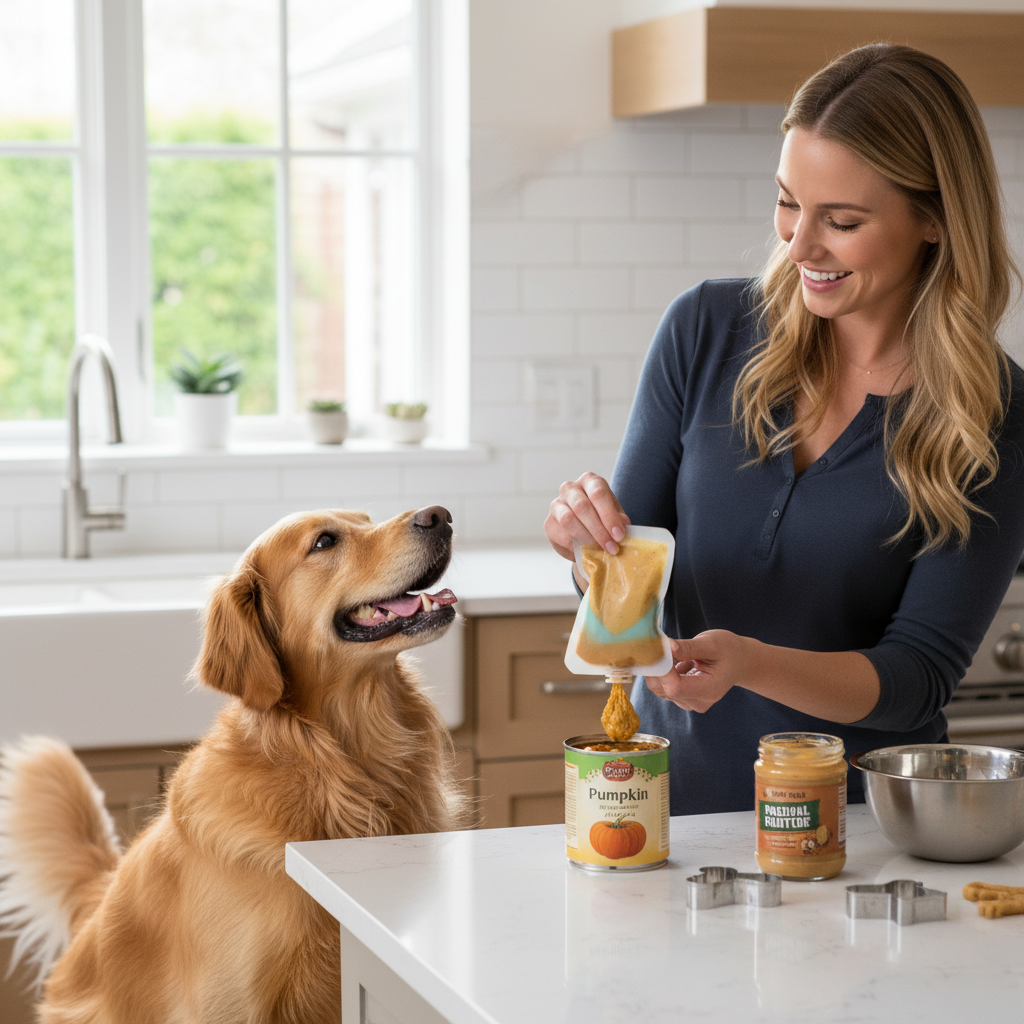
- Healthier and Tastier: You can pack your homemade treats with nutrient-rich, whole-food ingredients like pumpkin, sweet potato, lean meats, and dog-safe fruits. This means more vitamins, fiber, and goodness for your pup, and less sugar, salt, and artificial preservatives. And because you’re using fresh ingredients, the flavor is often far more enticing to your dog.
- Endless Variety to Beat Boredom: Dogs, just like us, can get tired of the same old thing. With DIY treats, you can constantly switch up the flavors to keep your dog excited and engaged during training. Liver and sweet potato one week, salmon and blueberry the next! This variety keeps the reward ‘high-value’ and prevents your pup from losing interest.
- Eco-Friendly Option: Most commercial treat tubes are single-use plastics. By using reusable silicone or BPA-free plastic pouches (the kind made for baby food are perfect!), you’re significantly reducing your household waste. It’s a win for your dog, your wallet, and the planet!
Gearing Up: Your DIY Treat-Making Toolkit
Ready to get started? The great news is you probably already have most of what you need in your kitchen. The setup is simple, and the key piece of equipment is something you can find easily and affordably online or in stores.
The Essentials: Equipment
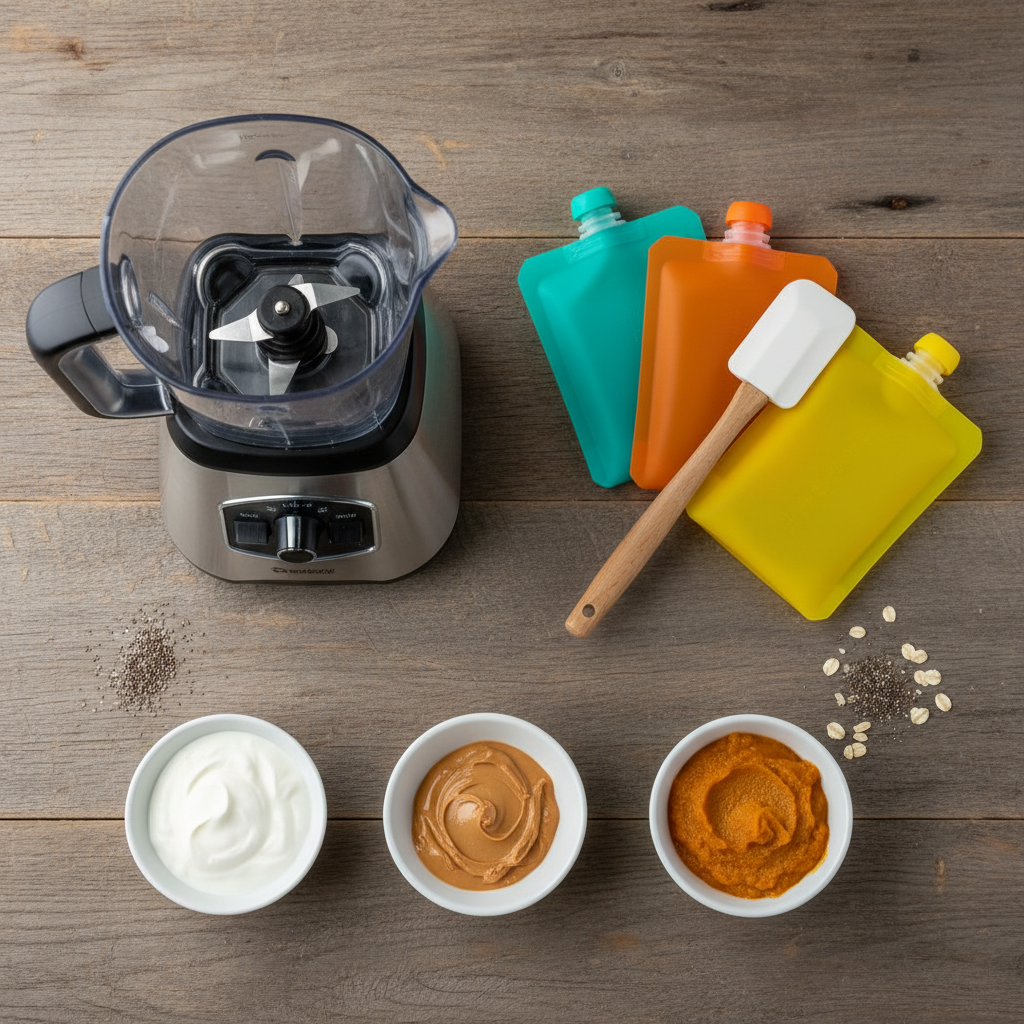
- A Good Blender or Food Processor: This is your most important tool. You need something powerful enough to blend your ingredients into a super-smooth, lump-free purée that can be easily squeezed through a small opening. A high-powered blender like a Vitamix or Ninja is fantastic, but a standard food processor or even a good quality immersion blender can also work well.
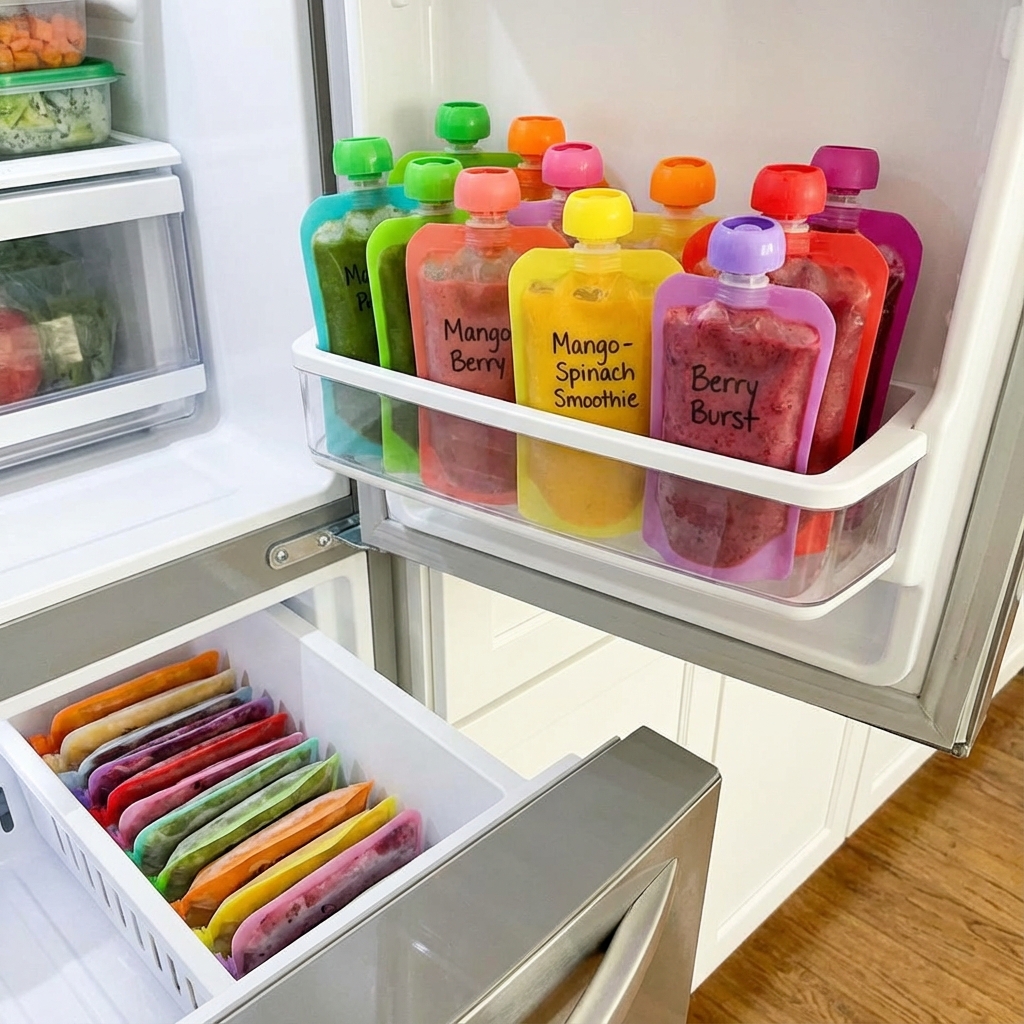
- Reusable Food Pouches: This is the magic that makes it all happen! Look for reusable baby food pouches. They are designed to be food-safe, durable, easy to fill through a wide opening at the bottom or top, and simple to clean (most are dishwasher-safe). They come in various sizes, so you can pick what works best for your training needs.
- Mixing Bowls, Spatulas, and Measuring Cups: Standard kitchen fare. A silicone spatula is particularly helpful for scraping every last bit of delicious purée out of the blender.
Stocking the Pantry: Core Ingredients
The beauty of these recipes is their flexibility. You can mix and match based on what your dog loves and what you have on hand. Here are some fantastic base ingredients to start with:
- Protein Powerhouses (Cooked & Unseasoned): Chicken breast, lean ground turkey, beef liver, salmon (canned in water, no salt), sardines in water.
- Veggies & Fruits (Cooked or Canned): Plain pumpkin purée (NOT pie filling), cooked and mashed sweet potato or carrots, steamed green beans, applesauce (unsweetened), bananas, blueberries.
- Creamy Binders: Plain Greek yogurt (ensure it contains no xylitol), low-fat cottage cheese, xylitol-free peanut butter, or even just a splash of water or low-sodium chicken broth to get the right consistency.
Expert Tip: When using any new food, always introduce it to your dog in small quantities first to ensure it agrees with their digestive system. And always double-check that every ingredient you use is safe for canine consumption. When in doubt, a quick search or a call to your vet is the best course of action.
The Fun Part: Our Favorite Squeezable Treat Recipes
This is where your inner canine culinary artist gets to shine! These recipes are tried-and-true favorites, but feel free to use them as a starting point for your own creations. The key is to aim for a smooth, thick-but-not-too-thick consistency, similar to a smoothie or applesauce.
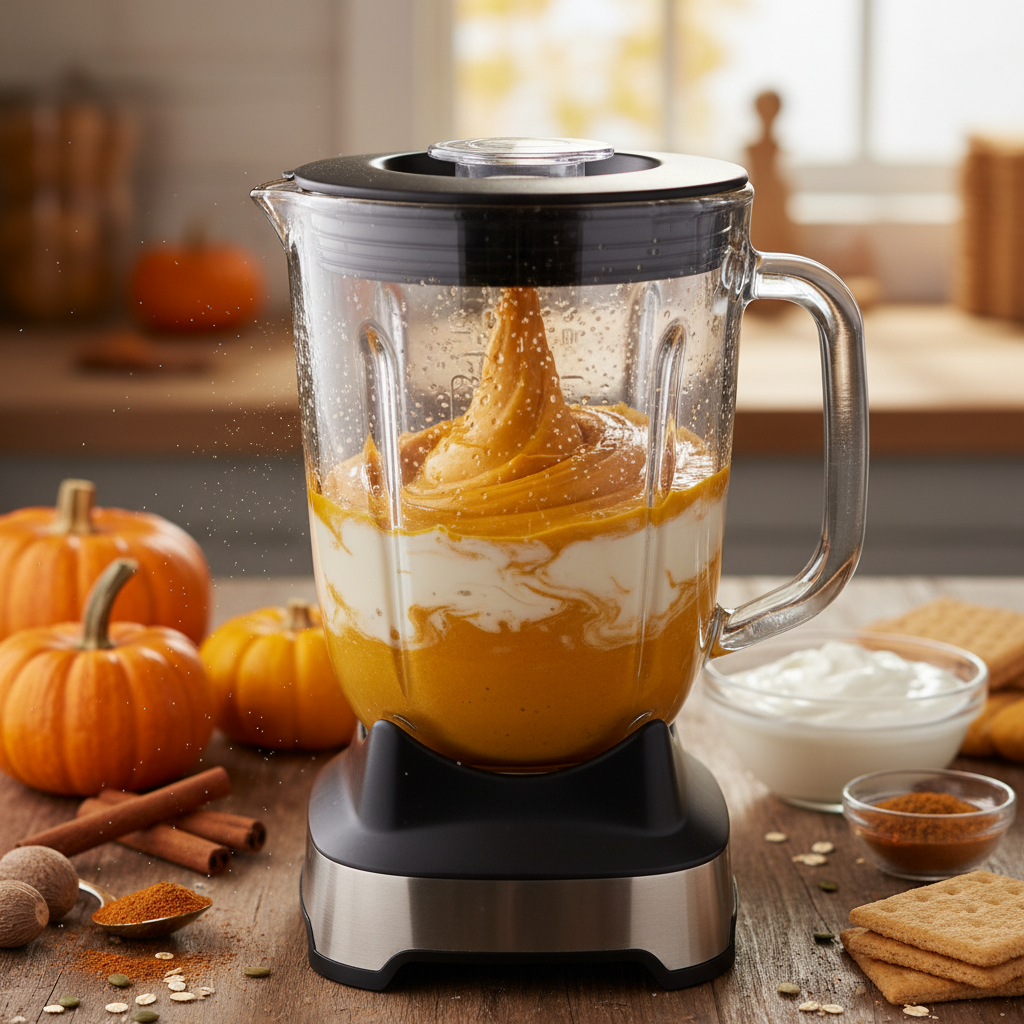
Recipe 1: The ‘Pumpkin Power’ Gut-Friendly Blend
This recipe is not only delicious but also fantastic for digestive health thanks to the fiber in pumpkin.
- Ingredients: 1 cup plain pumpkin purée, 1/2 cup plain Greek yogurt, 1 tablespoon xylitol-free peanut butter.
- Instructions:
- Combine all ingredients in your blender.
- Blend on high until completely smooth and creamy. If the mixture is too thick, add a tablespoon of water or yogurt at a time until it reaches the desired consistency.
- Use a spatula to fill your reusable pouches, seal them tightly, and you’re ready to go!
Recipe 2: The ‘Liver Lover’s’ Ultimate High-Value Paste
For the dog that needs extra motivation, the scent and flavor of liver is often irresistible. This is a top-tier reward!
- Ingredients: 4 oz cooked beef or chicken liver, 1/2 cup cooked and mashed sweet potato, 2-4 tablespoons of water or low-sodium bone broth.
- Instructions:
- Ensure the liver is fully cooked (boiled or pan-fried with no seasoning) and roughly chopped.
- Add the cooked liver and mashed sweet potato to your food processor or blender.
- Begin to blend, slowly adding the water or broth until you achieve a smooth, pipeable paste. Liver can be dense, so you might need a bit more liquid than other recipes.
- Fill your pouches and prepare for some serious focus from your dog!
- Ingredients: 1 can of sardines in water (no salt added), 1/2 cup low-fat cottage cheese, 1/4 cup cooked and mashed carrots.
- Instructions:
- Drain the water from the can of sardines.
- Place the sardines, cottage cheese, and mashed carrots into the blender.
- Blend until very smooth. The cottage cheese helps create a wonderful creamy texture that masks the sometimes-flaky texture of the fish.
- Carefully fill your pouches. It’s a good idea to label this one so you don’t accidentally grab it for your own snack!
Pro Tip: Liver is very rich. Use this treat for your most important training sessions, and always in moderation to avoid an upset stomach.
Recipe 3: The ‘Sardine Supreme’ Omega-3 Boost
A bit stinky for us humans, but a five-star gourmet meal for dogs! The omega-3 fatty acids are amazing for skin and coat health.
Pro Tips for Storage, Use, and Cleaning
You’ve created your delicious concoctions, and the pouches are filled. Now what? Proper storage and use will ensure your treats stay fresh and effective, and that cleanup is a breeze.
Storing Your Liquid Gold
Because you’re using fresh ingredients with no preservatives, proper storage is key.
- Refrigerator: For immediate use, your homemade treats will last for 3-5 days in a sealed pouch in the refrigerator. We recommend making a batch that you know you’ll use within this timeframe.
- Freezer: This is the best method for long-term storage! The purées freeze beautifully. They’ll last for up to 3 months in the freezer. Simply pull one out and let it thaw in the fridge overnight or in a bowl of warm water for a few minutes before a training session.
Expert Tip: Use a permanent marker to label each pouch with the flavor and the date it was made before you freeze it. This helps you rotate your stock and know exactly what you’re grabbing.
Tips for Training Success
- Keep it Special: Reserve these squeezable treats for high-distraction environments or for practicing your most challenging cues. This keeps them ‘high-value’ and prevents your dog from becoming desensitized to them.
- Quick Lick, Not a Meal: The goal is a quick, 1-2 second lick of the treat. This delivers the reward without breaking the flow of your training. Don’t let your dog chew on the spout or carry the pouch around.
- Pouch Away!: After delivering the reward, put the pouch back in your pocket or treat bag. If you keep it out, your dog may become fixated on the pouch itself rather than on you and the training task.
Easy Peasy Cleanup
This is where choosing the right pouches makes a difference. Most are designed for easy cleaning.
- Rinse First: As soon as you get home, open the pouch and give it a good rinse with warm water to get the majority of the residue out.
- Use a Bottle Brush: A simple baby bottle brush is perfect for getting into the corners and ensuring the pouch is completely clean.
- Dishwasher Safe: Most high-quality reusable pouches are top-rack dishwasher safe. Just prop them open over the prongs to ensure water gets inside for a thorough cleaning.
- Air Dry Completely: Make sure the pouches are 100% dry on the inside before sealing and storing them to prevent any mildew growth.
Troubleshooting Common DIY Treat Mishaps
Even the best chefs have an occasional kitchen hiccup. Don’t worry if your first batch isn’t perfect! Here’s how to solve some common issues you might encounter.
‘Help! My Mixture is Too Thick and Won’t Squeeze Out!’
This is the most common problem. The solution is simple: you just need more liquid. Add a tablespoon at a time of water, low-sodium broth, or plain yogurt and blend again. Keep testing until you reach a consistency that flows easily but isn’t watery.
‘My Purée is Too Thin and Runs Everywhere!’
The opposite problem! You need to add a thickener. A spoonful of plain pumpkin purée, mashed sweet potato, or even a bit of plain Greek yogurt can help thicken things up. You can also try adding a small amount of dog-safe oat flour, blending thoroughly until you get the right texture.
‘My Dog Turned Their Nose Up at My Creation!’
It happens! Some dogs are pickier than others. Don’t be discouraged. First, try a different protein source. If you used chicken, maybe your dog is a secret fish fanatic. Liver is often a huge hit with even the fussiest of eaters. Also, consider the temperature. Some dogs prefer their treats slightly warmed (not hot!) or straight from the fridge. Experiment with different combinations to find your pup’s personal five-star recipe.
‘My Pouches are Leaking!’
This usually comes down to one of two things. First, you may have overfilled the pouch. Be sure to leave a little space at the top before sealing. Second, double-check that the seal (usually a zip-lock style closure) is completely and securely closed. Run your fingers firmly along the seal a couple of times to ensure it’s locked tight before putting it in your pocket.
Conclusion
And there you have it! You are now fully equipped to become the master of homemade, high-value squeezable treats. By investing a little bit of time in your kitchen, you can create an endless supply of healthy, affordable, and utterly irresistible rewards that will take your training sessions to the next level. You get the satisfaction of providing the very best for your dog, strengthening your bond, and saving money all at the same time.
So go ahead, raid your fridge, fire up that blender, and have fun with it! Experiment with new flavor combinations and watch your dog’s eyes light up with excitement. Happy training, and happy treat-making!