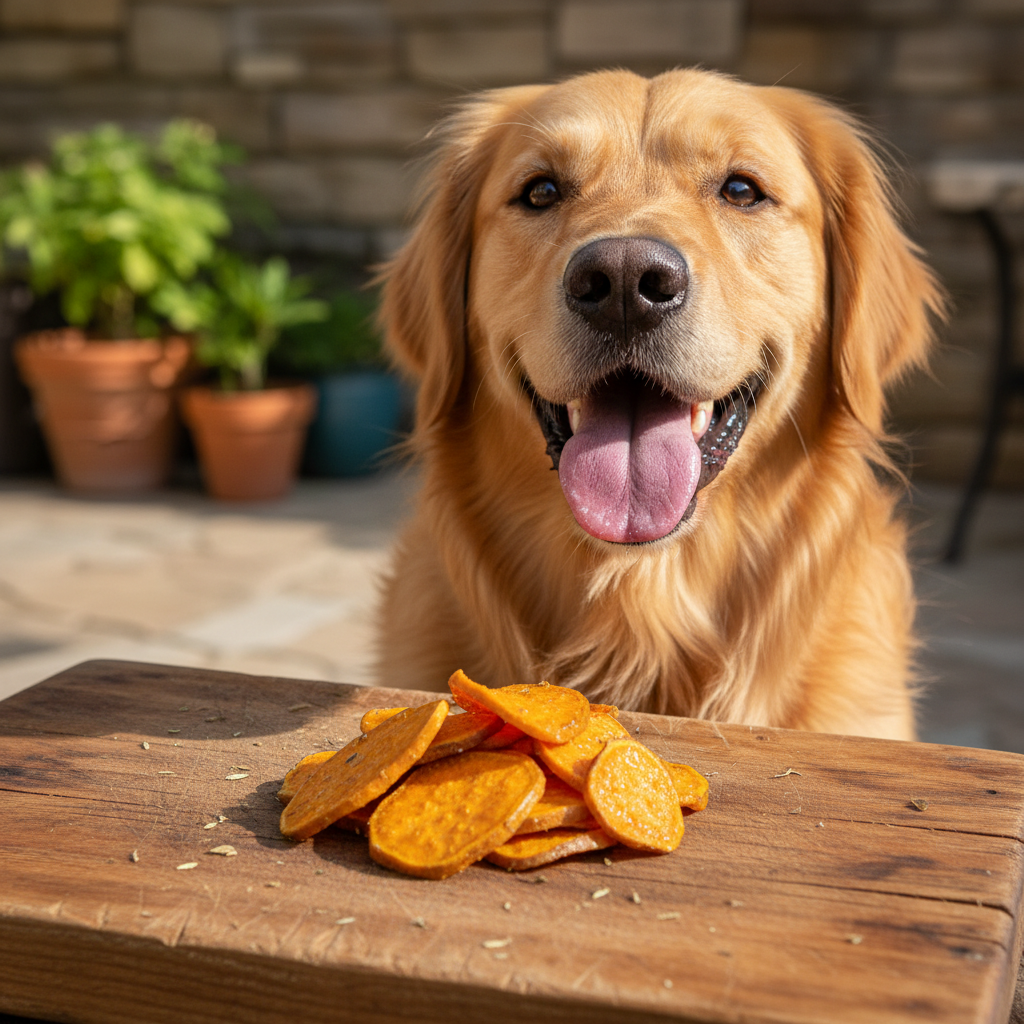
5 Minute Microwave Sweet Potato Chews Your Dog Will Beg For
We all love spoiling our furry best friends, right? But a quick glance at the ingredient list on many store-bought dog treats can be a little scary—full of words we can’t pronounce and preservatives we’d rather avoid. Plus, the good stuff can get pretty expensive! What if I told you that you could make a delicious, healthy, and ridiculously easy treat for your dog with just one ingredient and a microwave? Welcome to the magic of 5-minute microwave sweet potato chews! These vibrant, chewy little bites are packed with nutrients and are so simple to whip up, you’ll wonder why you haven’t been making them all along. Get ready to become your dog’s personal chef and number one hero!
Why Sweet Potatoes are a Superfood for Your Pup
Before we jump into the kitchen, let’s talk about why sweet potatoes are such a fantastic choice for our canine companions. They aren’t just a tasty treat; they’re a nutritional powerhouse! Think of them as a vibrant, orange vitamin boost for your dog.
Key Health Benefits:
- Rich in Vitamins: Sweet potatoes are loaded with Vitamin A, which is crucial for your dog’s vision, muscle strength, and nerve function. They also contain plenty of Vitamin C for a healthy immune system and Vitamin B6, which is vital for many bodily functions.
- Excellent Source of Fiber: The dietary fiber in sweet potatoes is a game-changer for digestive health. It helps maintain regularity and can lead to firmer, healthier stools. A happy gut means a happy pup!
- Packed with Antioxidants: These powerful compounds help protect your dog’s body from damage caused by free radicals, supporting their overall long-term health.
- Low in Fat: Unlike many commercial treats that can be high in fat and calories, sweet potatoes are naturally low in fat, making them a healthier option for managing your dog’s weight.
Expert Tip: While sweet potatoes are amazing, they should always be served cooked and plain. Raw sweet potato can be difficult for dogs to digest, and you should never add sugar, salt, or other human seasonings.
Gather Your Gear: What You’ll Need
The beauty of this recipe is its sheer simplicity. You don’t need a fancy dehydrator or a list of complicated ingredients. In fact, you probably have everything you need in your kitchen right now. It really doesn’t get easier than this!
The Ultra-Short Shopping List:
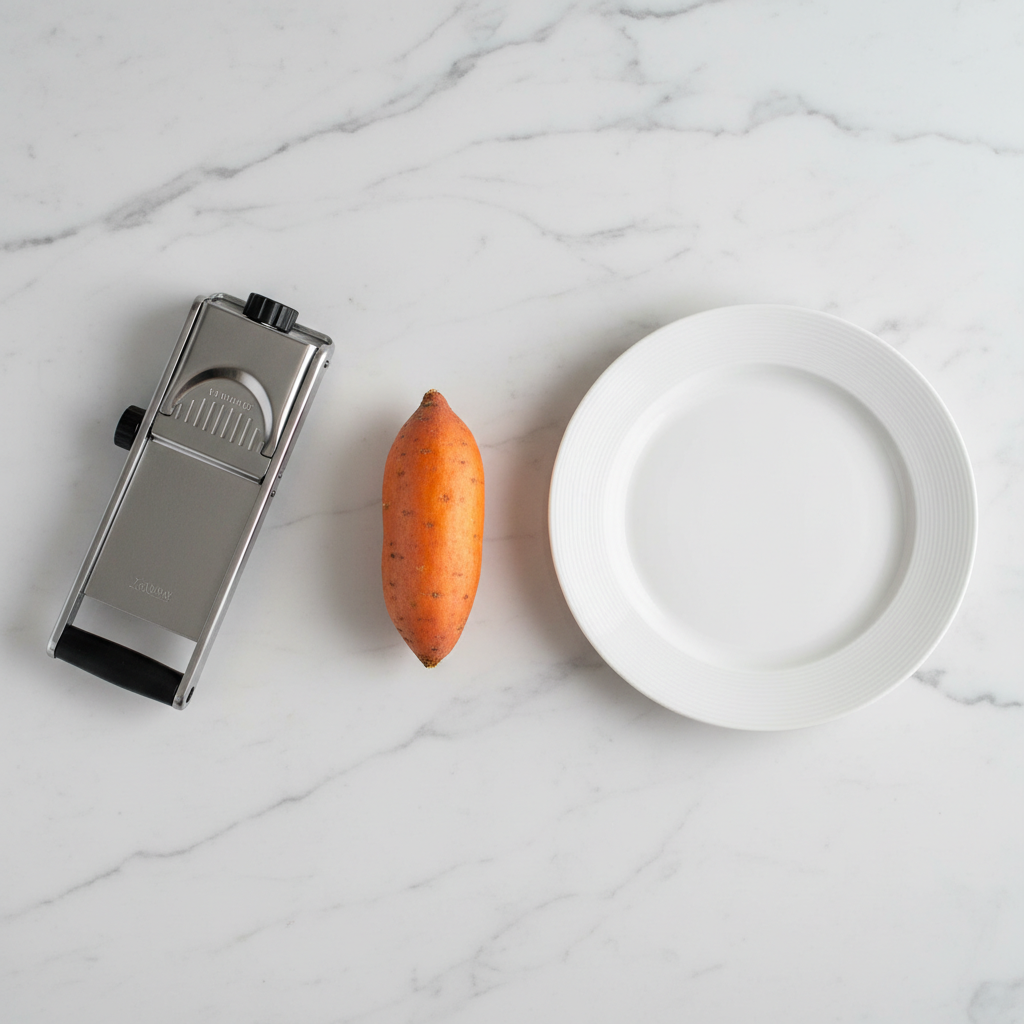
- One Medium Sweet Potato: Look for one that is firm and doesn’t have any soft spots or blemishes. Any variety will work, but the classic orange ones give that beautiful, vibrant color.
- A Microwave-Safe Plate: A large, flat dinner plate works perfectly.
- A Sharp Knife or Mandoline Slicer: This is the key to success! A mandoline is highly recommended because it allows you to get consistently thin slices, which is crucial for even cooking. If using a knife, just be extra careful and take your time.
That’s it! No oils, no spices, no extra anything. Just pure, simple sweet potato goodness for your best friend.
The 5-Minute Magic: Step-by-Step Instructions
Alright, it’s time to make some magic happen! This process is so fast, your dog will barely have time to get excited before their new favorite treat is ready. Just follow these simple steps.
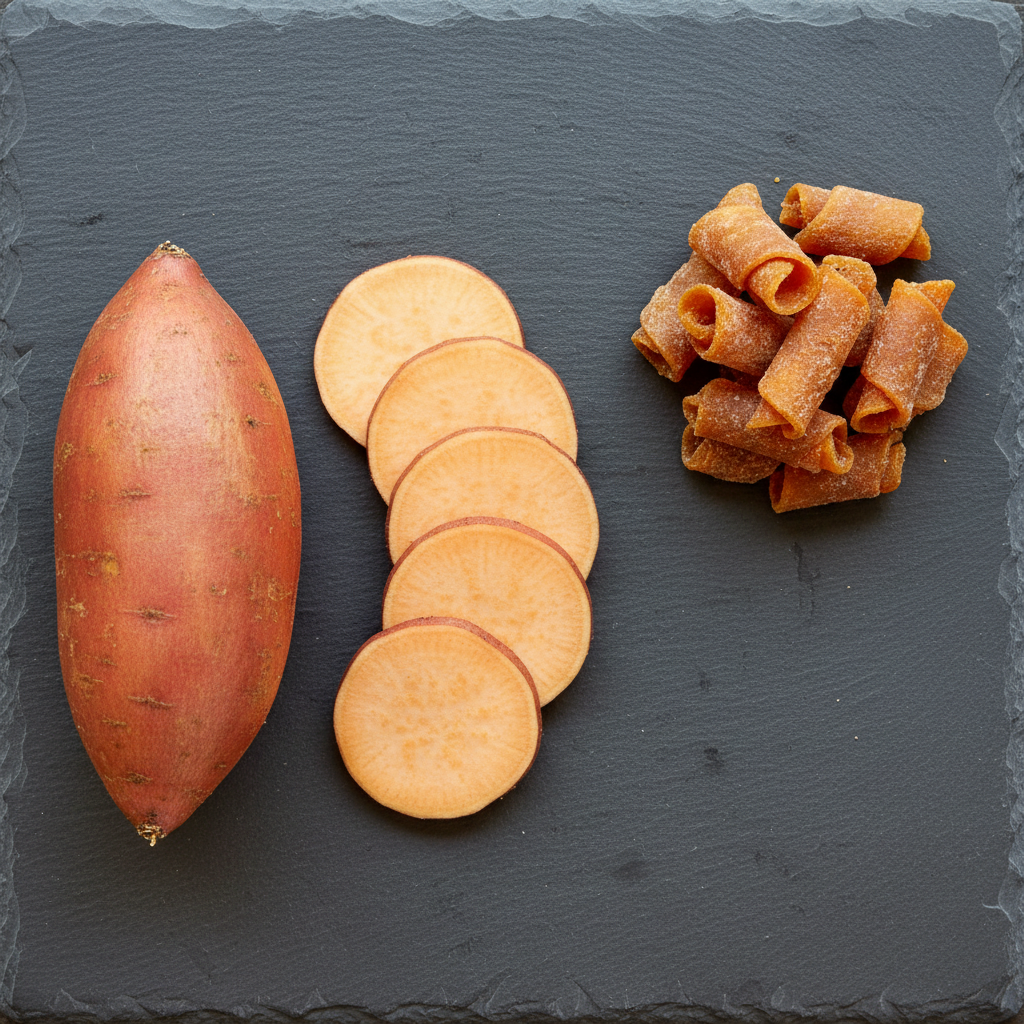
- Prep Your Potato: First things first, give that sweet potato a good wash and scrub under running water to remove any dirt. There’s no need to peel it—the skin contains extra fiber and nutrients! Just pat it dry with a paper towel.
- Slice it Thin: This is the most important step! You want to slice the sweet potato into rounds that are about 1/8-inch thick. Think of the thickness of a sturdy potato chip. If the slices are too thick, they won’t become chewy; if they’re too thin, they’ll burn and turn into crisps. Consistency is key! A mandoline slicer is your best friend here.
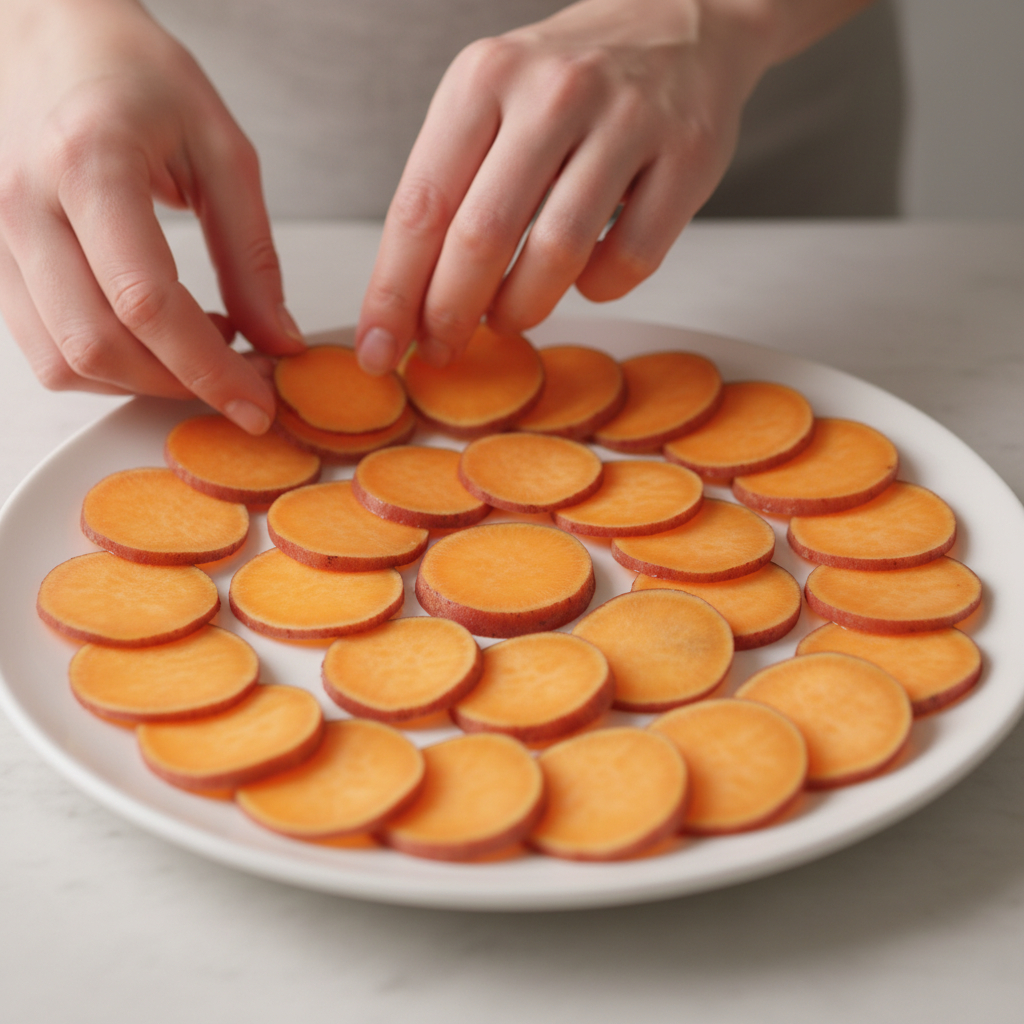
- Arrange on the Plate: Place the sweet potato slices in a single layer on your microwave-safe plate. Make sure they aren’t overlapping, as this will cause them to steam instead of dehydrate, and they’ll end up soggy. You’ll likely need to work in a couple of batches.
- Let the Microwave Work: The exact time will vary depending on your microwave’s power and the thickness of your slices. A good starting point is to microwave on high for 2.5 minutes.
- Flip and Finish: Carefully remove the hot plate. The slices might look a little soft, but that’s okay. Flip each slice over, then pop them back in the microwave for another 2 to 2.5 minutes. Keep a close eye on them during this last stretch to prevent burning.
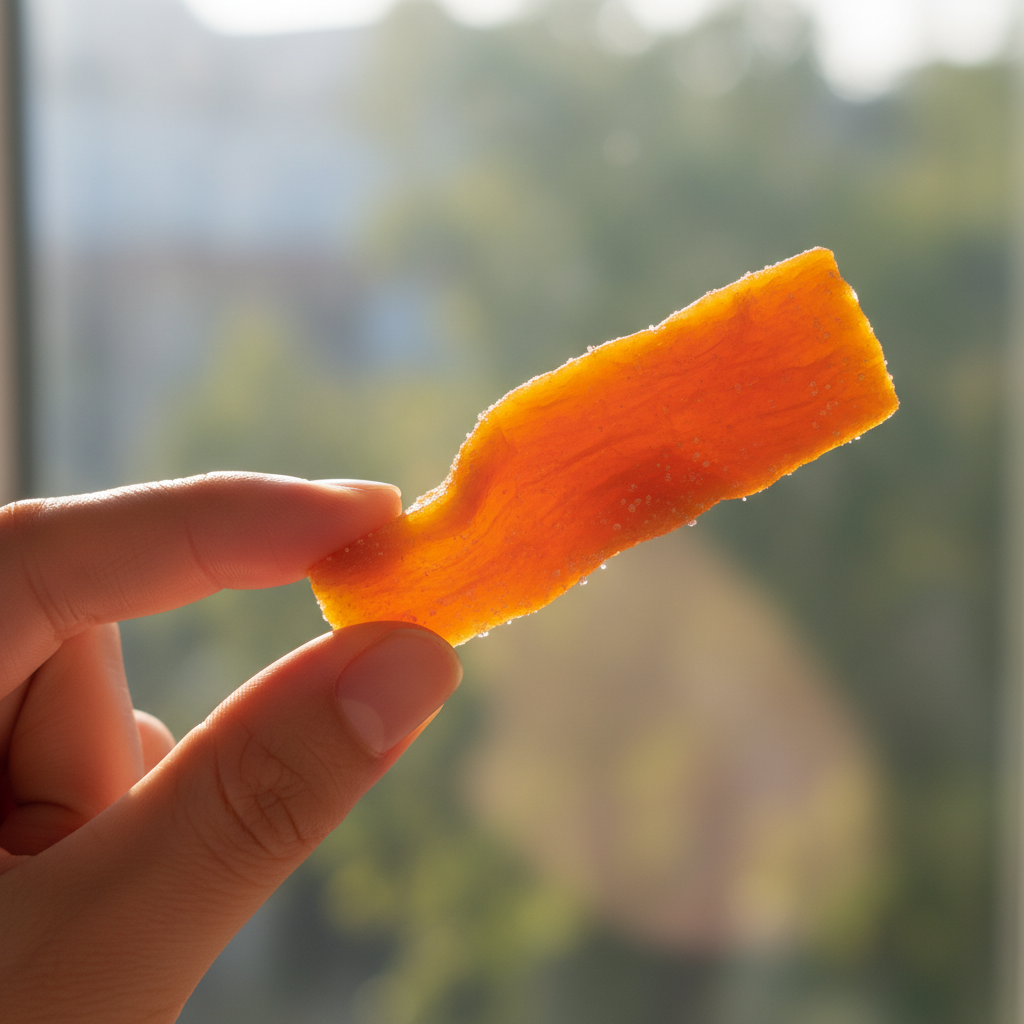
- Cool Down: The slices will be soft when they first come out, but they will firm up and become chewy as they cool. Let them cool completely on the plate or a wire rack for a few minutes. The final texture should be leathery and pliable, not brittle or mushy.
Tips for Perfect Chews & Safe Treating
While this recipe is super simple, a few little tips can help you nail the perfect texture and ensure you’re treating your dog safely.
Getting the Texture Just Right:
- Too Soft? If your chews are still soft after cooling, they were likely sliced too thick or needed a bit more time in the microwave. Try adding another 30 seconds to the cooking time.
- Too Crispy? If they turned into chips, your slices were probably too thin, or they were in the microwave for too long. Next time, reduce the cooking time or slice them a tiny bit thicker.
Serving Safely:
Remember, even healthy treats should be given in moderation. These chews are meant to be a special snack, not a meal replacement. A couple of chews a day is plenty for most dogs. As with any new food, introduce them to your dog slowly to make sure their tummy agrees with them.
Important Takeaway: Always supervise your dog when they are eating any chew or treat to prevent choking. Ensure they have access to fresh water.
Storing Your Homemade Goodies
One of the best parts about making a batch of these chews is having them on hand for rewarding good behavior or for a simple ‘I love you’ snack. Proper storage is key to keeping them fresh and delicious.
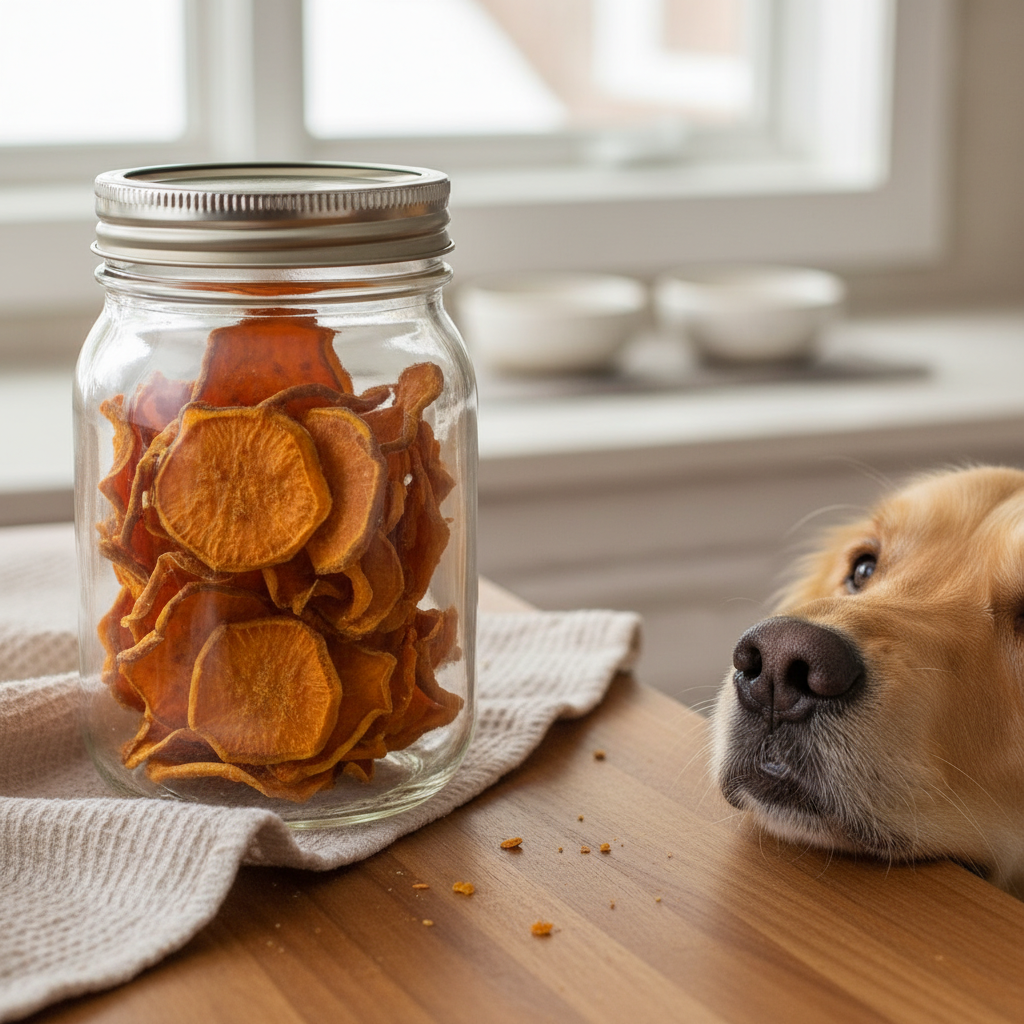
Once the chews are completely cool, you can store them in an airtight container. It’s very important that they are fully cooled and dehydrated; any residual moisture can lead to mold.
- At Room Temperature: If your chews are nice and dry, they can be stored in an airtight container on the counter for up to a week.
- In the Refrigerator: For a longer shelf life, pop the container in the fridge. They’ll stay fresh and chewy for 2-3 weeks this way.
- In the Freezer: You can also freeze them! They’ll last for several months in a freezer-safe bag or container. Your dog might even enjoy them as a cool, crunchy treat straight from the freezer on a hot day.
Now you have a stash of healthy, homemade treats ready to go whenever your pup flashes you those irresistible puppy-dog eyes!
Conclusion
And there you have it! In just a few minutes, you’ve transformed a simple sweet potato into a batch of drool-worthy dog treats that are not only delicious but also incredibly healthy. You get the peace of mind of knowing exactly what your dog is eating, and your furry friend gets a special snack made with love. Say goodbye to expensive, mysterious store-bought treats and hello to your new go-to recipe. Go ahead, give it a try—we guarantee your dog’s tail will be wagging in appreciation!