DIY Beef Tongue Jerky: The Chewy Single-Ingredient Treat Better Than Store Bought
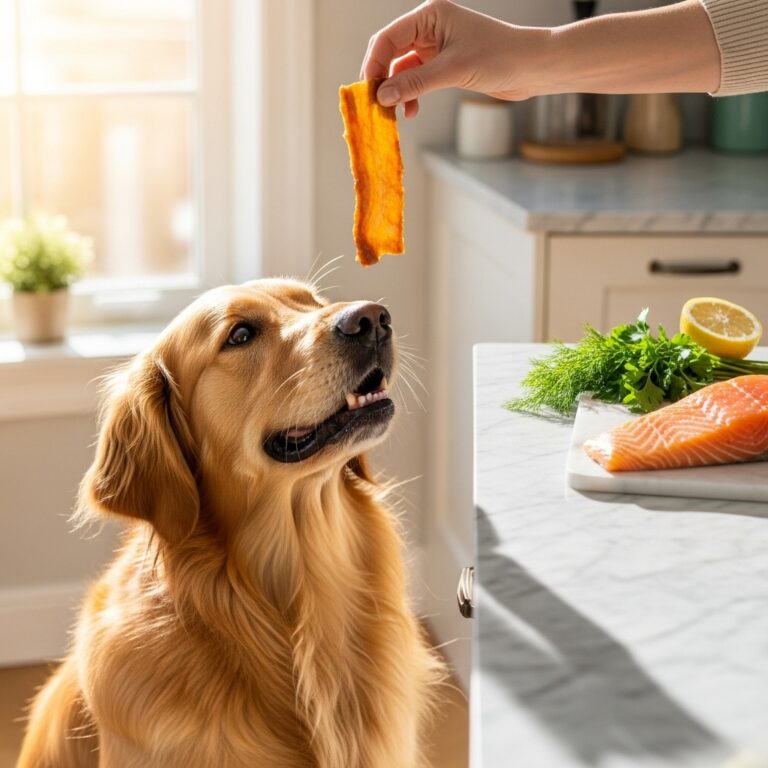
Hey there, fellow dog lover! If you’re anything like me, you’re constantly reading ingredient labels, trying to find the healthiest, most wholesome snacks for your furry best friend. It can be a real challenge, right? So many store-bought treats are packed with fillers, preservatives, and things we can’t even pronounce. But what if I told you that you could make a premium, single-ingredient treat that’s not only healthier but also more affordable? Enter the wonderful world of DIY beef tongue jerky. It might sound a little unusual, but trust me, this chewy, protein-packed snack will quickly become your dog’s absolute favorite. Let’s walk through just how easy it is to make this amazing treat right in your own kitchen!
Why Beef Tongue is a Canine Super-Treat
Before we roll up our sleeves and get to cooking, let’s talk about why beef tongue is such a fantastic choice for our dogs. It’s not just a random cut of meat; it’s a nutritional powerhouse that offers some unique benefits.
- Rich in Protein: Beef tongue is a muscle, which means it’s loaded with high-quality protein essential for building and maintaining your dog’s muscles, repairing tissues, and supporting their overall energy levels.
- Packed with Nutrients: It’s a fantastic source of vital nutrients like iron (for healthy blood), zinc (for immune function), and B vitamins, especially B12, which is crucial for brain and nervous system function.
- Incredible Texture for Dental Health: The real magic of beef tongue jerky is its texture. It’s tough and chewy, which means as your dog gnaws on it, the jerky helps scrape away plaque and tartar from their teeth. It’s like a delicious, all-natural toothbrush!
- Perfect for Sensitive Tummies: As a single-ingredient treat with no additives, it’s an excellent option for dogs with food sensitivities or allergies. You control exactly what goes into it—which, in this case, is nothing but beef!
Expert Tip: The chewy nature of beef tongue jerky provides excellent mental stimulation for dogs, helping to bust boredom and satisfy their natural urge to chew.
Gearing Up: What You’ll Need
The beauty of this recipe is its simplicity. You don’t need a pantry full of ingredients or a chef’s kitchen full of gadgets. Here’s the short and sweet list of what you’ll need to get started.
The Ingredient:
- One Beef Tongue: That’s it! You can usually find these at your local butcher shop, an international market, or even in the freezer section of some larger grocery stores. Aim for one that’s around 2-3 pounds.
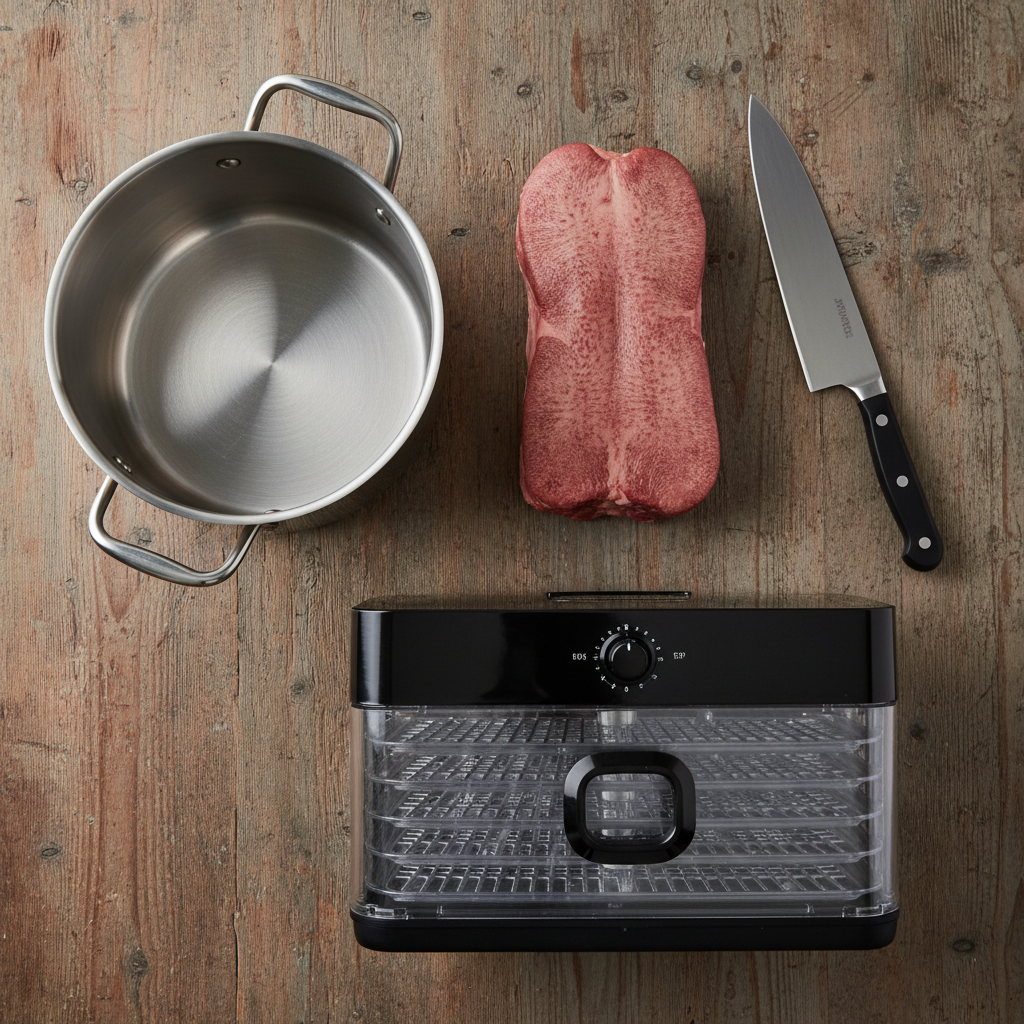
The Tools:
- A Large Stockpot: Big enough to fully submerge the tongue in water.
- A Sharp Knife: A good chef’s knife or carving knife will make slicing much easier.
- A Cutting Board: A large, stable surface for prepping and slicing.
- A Food Dehydrator OR an Oven: Either will work perfectly for drying out the jerky. If using an oven, you’ll also need baking sheets and wire racks.
- Tongs: For handling the hot tongue.
The Step-by-Step Guide to Perfect Beef Tongue Jerky
Ready to make some magic? Follow these simple steps, and you’ll have a jar full of delicious jerky in no time. The process is mostly hands-off, so don’t be intimidated!
- Rinse and Boil: First, give the beef tongue a good rinse under cold water. Place it in your large stockpot and cover it completely with water. Bring the water to a boil, then reduce the heat to a steady simmer. Let it simmer for about 2-3 hours. This step does two things: it cooks the meat and makes the tough outer skin incredibly easy to remove.
- Peel the Skin: Once it’s done simmering, carefully remove the tongue from the pot using tongs (it will be hot!). Let it cool just enough so you can handle it. The thick, bumpy outer layer of skin should now peel off easily. If it sticks, you can use a small knife to help it along. Discard the skin.
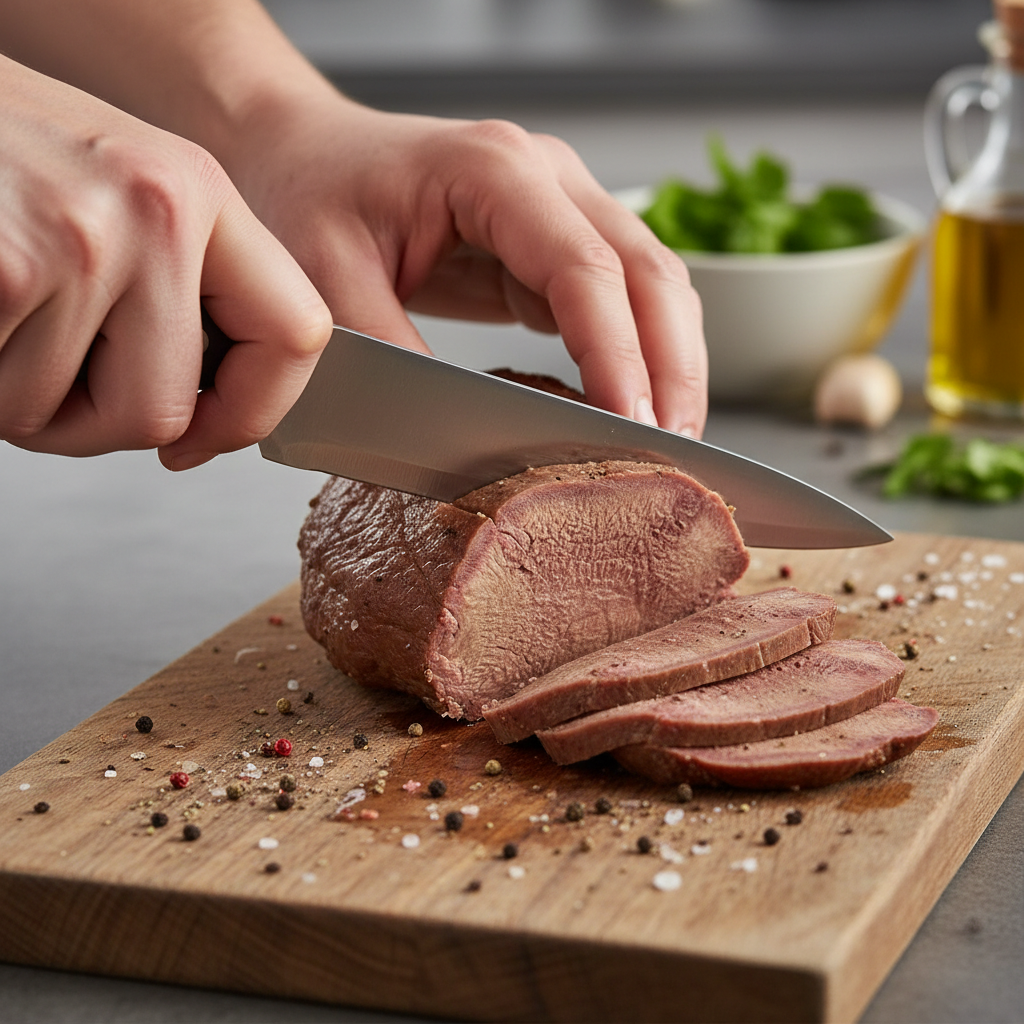
- Slice for Success: Now you have a large piece of tender meat. Let it cool completely—popping it in the fridge for an hour can make slicing even easier. Once cooled, slice the tongue against the grain into thin, uniform strips. Aim for about 1/4 inch thickness. The thinner the slice, the quicker it will dehydrate and the crispier it will be.
- Dehydration Time: This is where the magic happens.
Using a Dehydrator (Recommended):
Arrange the strips in a single layer on your dehydrator trays, making sure they don’t overlap. Set your dehydrator to around 160°F (71°C) and let it run for 6-12 hours. The time will vary based on your dehydrator and the thickness of your slices.
Using an Oven:
Preheat your oven to its lowest temperature, usually around 170-180°F (75-82°C). Place the strips on wire racks set over baking sheets. This allows air to circulate all around the meat. Prop the oven door open slightly with a wooden spoon to let moisture escape. Bake for 4-8 hours.
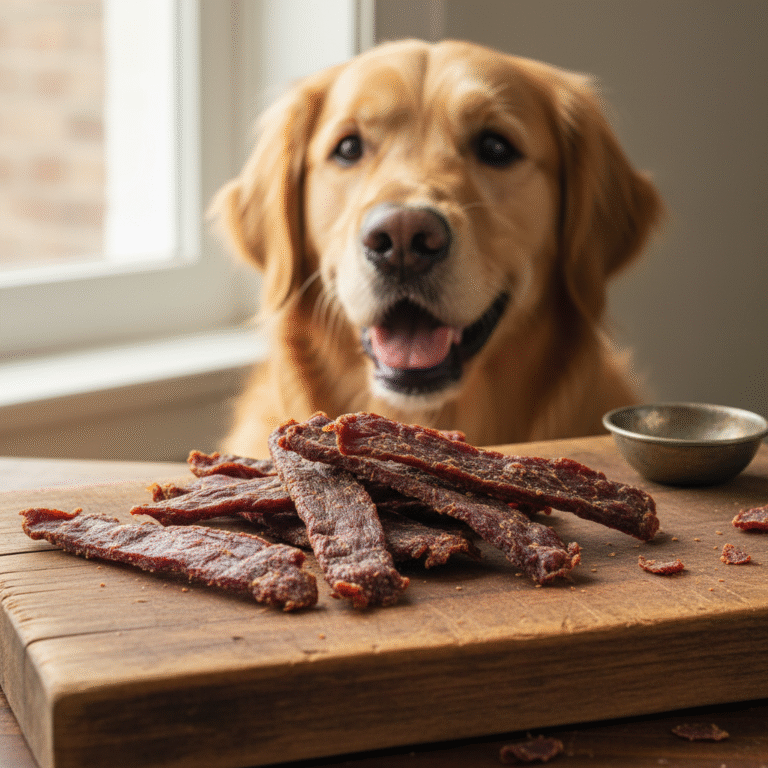
- Check for Doneness: The jerky is ready when it’s dry and tough. It should bend and crack but not snap in half like a potato chip. It shouldn’t feel squishy or moist at all. Let a piece cool completely to test its final texture.
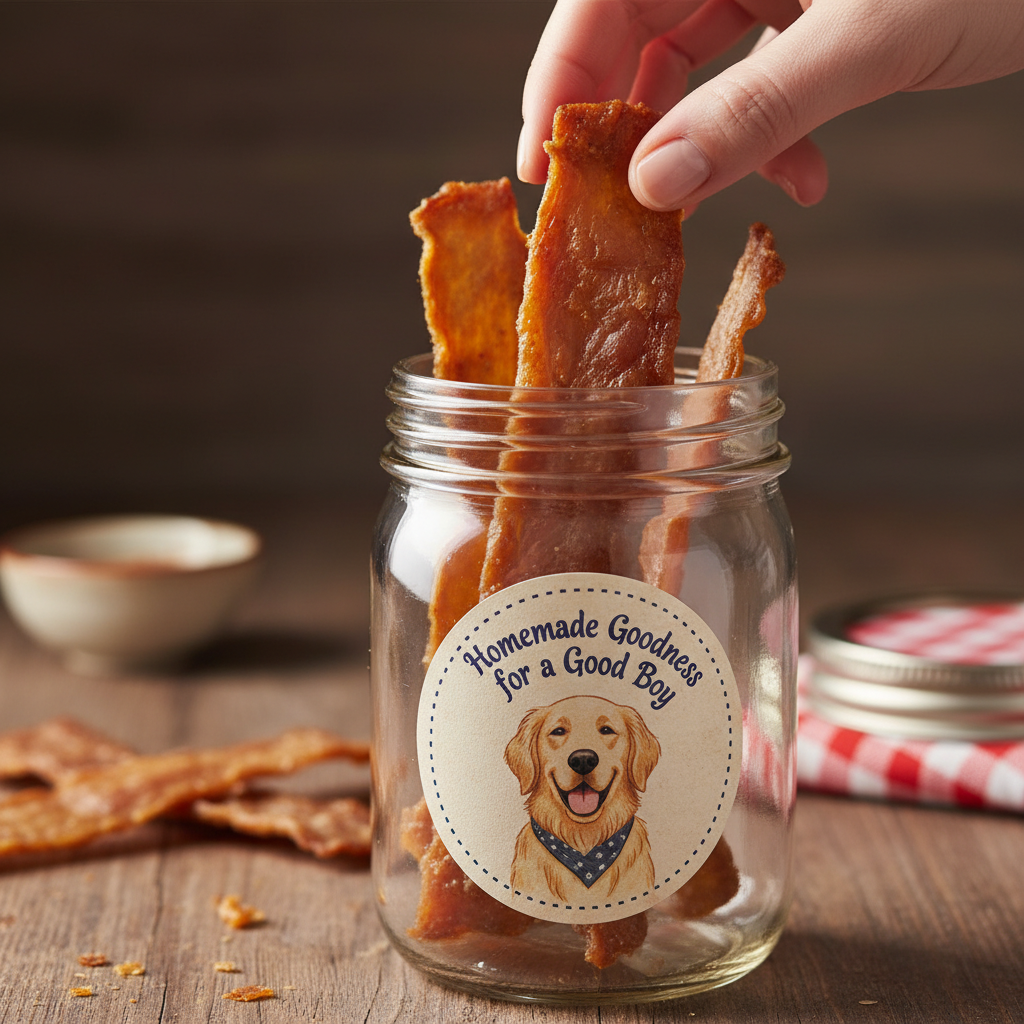
Storing Your Homemade Goodness & Serving Safely
Congratulations, you did it! Now you have a batch of high-value dog treats. Proper storage is key to making them last.
- Cool Completely: Before you store the jerky, let it cool completely to room temperature. Storing it while warm will create condensation, which leads to mold.
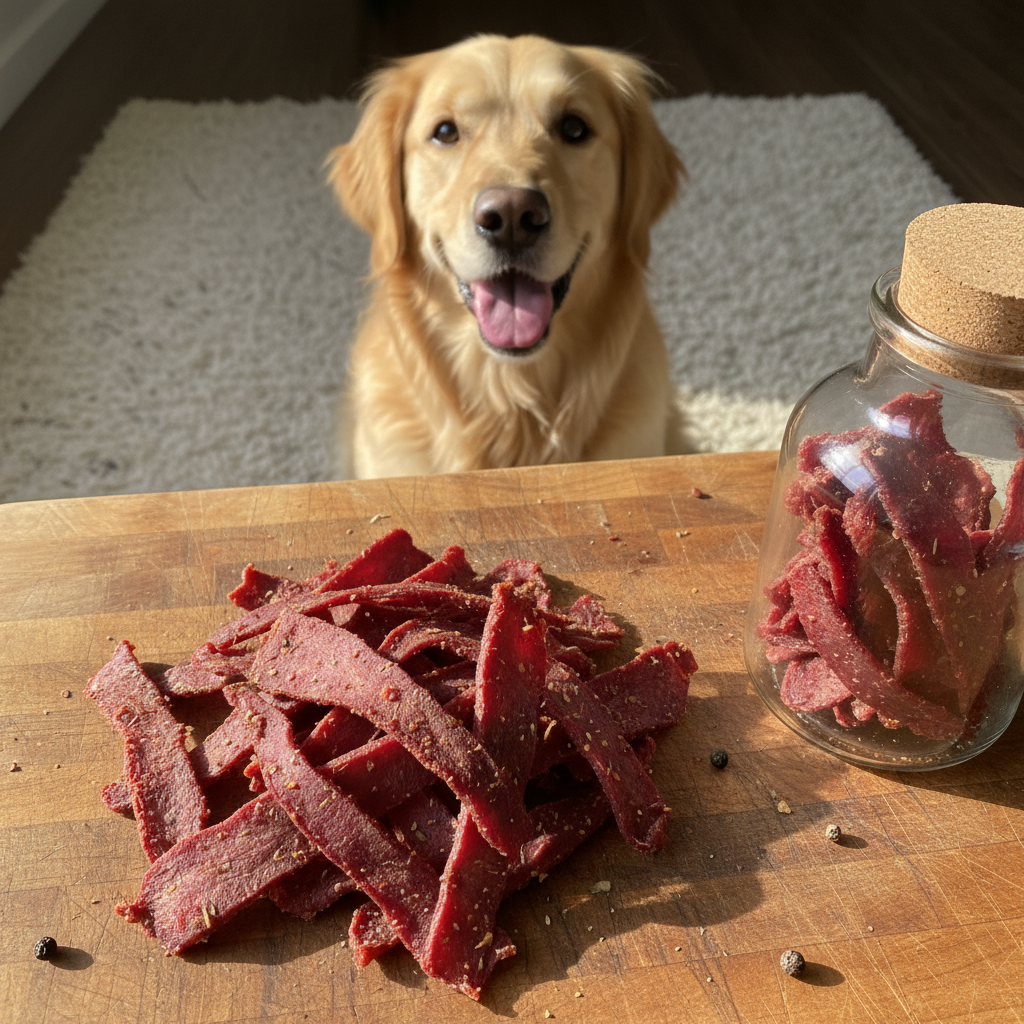
- Airtight is Right: Store the finished jerky in an airtight container. A glass mason jar or a zip-top bag works great.
- Location, Location, Location: Keep the container in a cool, dark place like a pantry. It should last for 2-3 weeks. For longer storage, you can refrigerate it for a few months or freeze it for even longer.
A Note on Serving
Like any new food, introduce beef tongue jerky to your dog slowly. Give them one piece and see how they do. It’s a rich, protein-dense treat, so it should be given in moderation. It’s a treat, not a meal replacement! Always supervise your dog when they’re enjoying a chewy treat to prevent any choking hazards.
Store-Bought vs. Homemade: Why DIY Wins
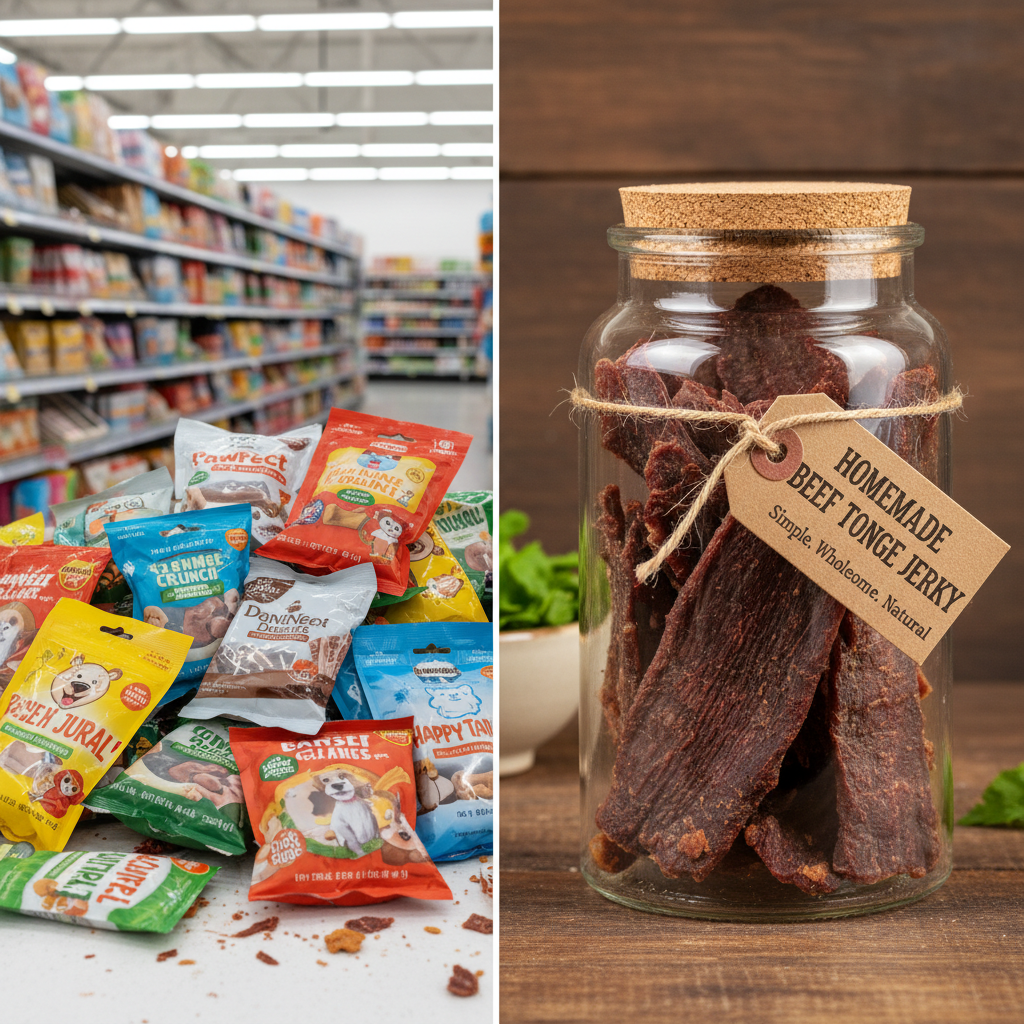
Still on the fence? Let’s break down why taking a few hours to make your own jerky is a massive win for both you and your dog. A quick comparison shows there’s really no contest.
| Feature | Store-Bought Jerky | DIY Beef Tongue Jerky |
|---|---|---|
| Ingredients | Often contains preservatives, fillers (like grain or soy), artificial flavors, and salt. | One single ingredient: 100% beef tongue. No additives. |
| Cost | Premium, single-ingredient treats can be very expensive per ounce. | Significantly more cost-effective. One tongue yields a large batch of treats for a fraction of the retail price. |
| Quality Control | You’re trusting the manufacturer regarding sourcing and processing. Product recalls are not uncommon. | You are in complete control. You choose the meat and oversee the entire process from start to finish. |
| Customization | What you see is what you get. Limited options for thickness or texture. | You can slice it thick for a long-lasting chew or thin for a crispy treat. Perfect for suiting your specific dog’s preference. |
Conclusion
Making your own dog treats is one of the most rewarding things you can do as a pet parent. With this simple beef tongue jerky recipe, you’re not just saving money—you’re providing your dog with a delicious, healthy, and safe snack that you can feel truly good about. You’re giving them the gift of pure, unadulterated flavor and nutrition. So next time you’re at the butcher, grab a beef tongue and give it a try. Your dog’s happy tail wags will be all the thanks you need!