Stop Buying Treats: How To Make High-Value Beef Liver Training Bits for Pennies
Let’s be honest, we all love to spoil our dogs. But a quick trip down the pet store aisle can leave your wallet feeling a lot lighter. Those little bags of training treats add up, and when you flip them over to read the ingredients, you might find a long list of fillers, preservatives, and words you can’t even pronounce. What if I told you that you could make a treat that’s healthier, more effective for training, and costs just a fraction of the price?
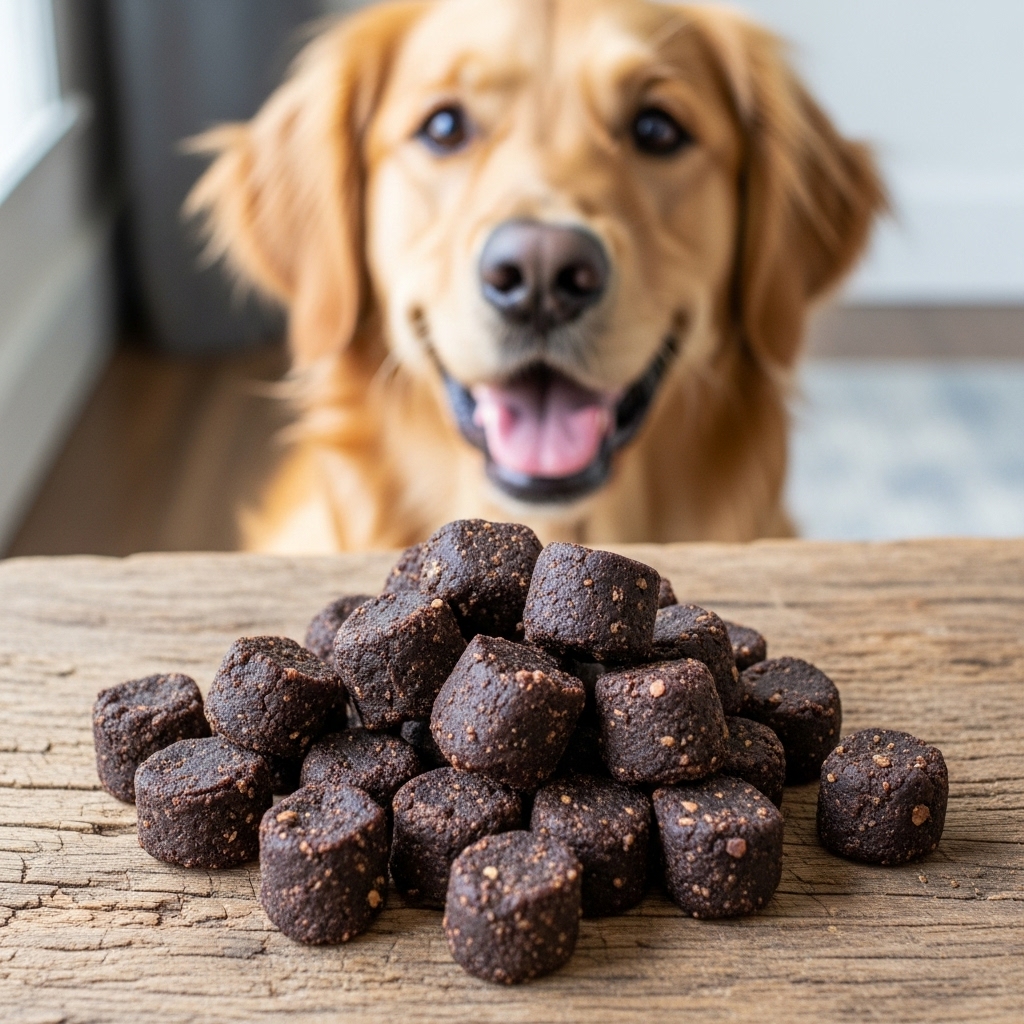
Welcome to the wonderful world of homemade beef liver treats! Beef liver is like a superfood for dogs. It’s packed with nutrients and has an irresistible aroma that can capture the attention of even the most distracted pup. In this guide, we’ll walk you through every simple step to turn a single, inexpensive ingredient into a jar full of high-value training gold. Get ready to become your dog’s favorite chef!
Why Your Dog Will Go Bonkers for Beef Liver (And Why You’ll Love It Too!)
Before we roll up our sleeves and get to cooking, let’s talk about why beef liver is the undisputed champion of training treats. It’s not just about taste; it’s about nutrition and training psychology.
From your dog’s perspective, beef liver is pure magic. Its rich, meaty smell is incredibly potent, making it a ‘high-value’ reward. In training terms, this means it’s special enough to make your dog really want to work for it. Need to practice a difficult ‘stay’ or a reliable ‘come’ when called at the park? A piece of kibble might not cut it, but a whiff of beef liver will have your dog’s undivided attention.
Nutritional Powerhouse
From your perspective as a loving pet parent, the benefits are even better. You’re not just giving a treat; you’re providing a nutrient-dense supplement. Beef liver is loaded with:
- Vitamin A: Essential for vision, immune function, and skin health.
- B Vitamins (especially B12): Crucial for brain function and energy levels.
- Iron: Vital for oxygen transport in the blood and preventing anemia.
- Protein: The fundamental building block for strong muscles.
- Copper and Zinc: Important minerals for bone health and enzyme function.
Best of all, you have 100% control over the ingredients. There are no grains, no artificial colors, no mystery meats—just pure, simple beef liver. And the cost? You can often buy a whole pound of beef liver for the price of one small bag of premium commercial treats. That pound will yield hundreds of tiny training bits, saving you a significant amount of money in the long run.
Gathering Your Gear: Simplicity is Key
Don’t be intimidated! You don’t need any fancy kitchen gadgets or culinary school training for this recipe. In fact, you probably have everything you need already. The beauty of this process is its simplicity.
Ingredients:
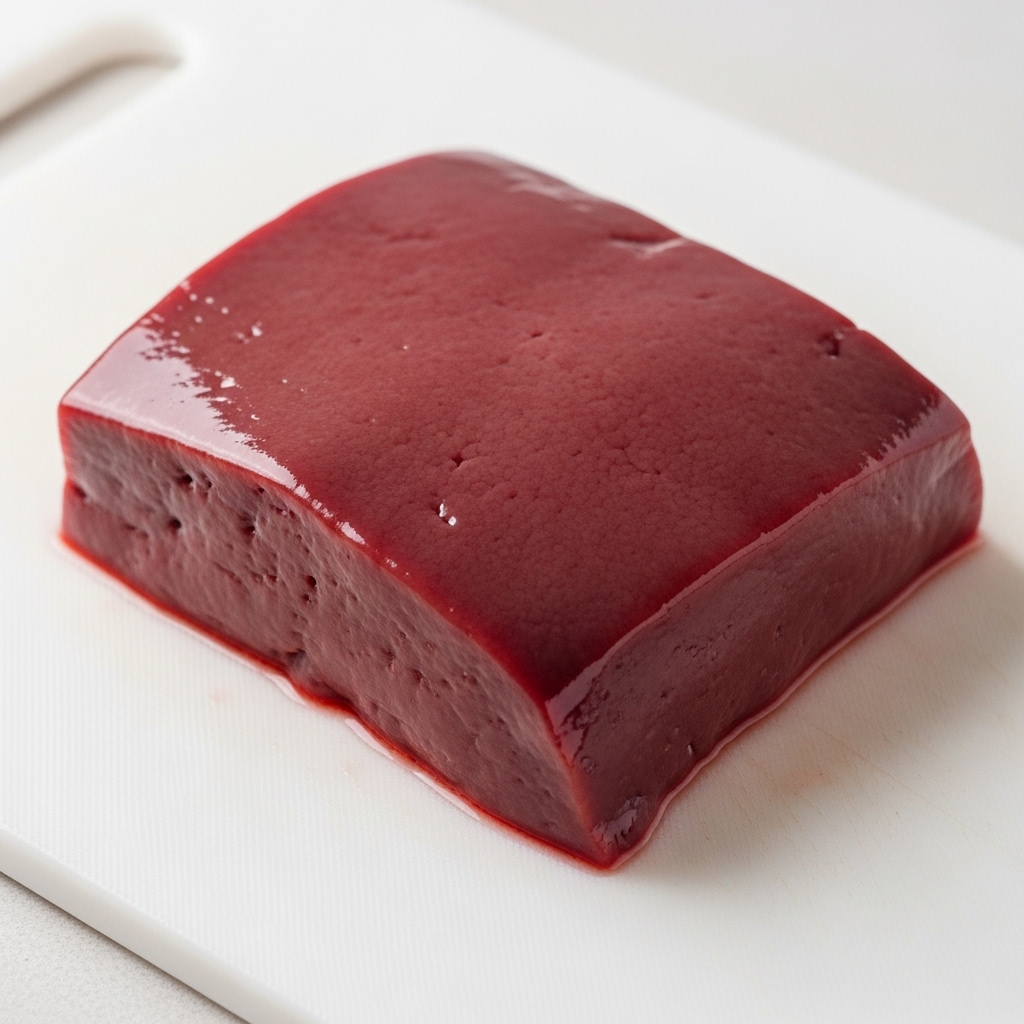
- 1 lb Beef Liver: You can usually find this at your local grocery store’s butcher counter or in the meat section. It’s surprisingly affordable!
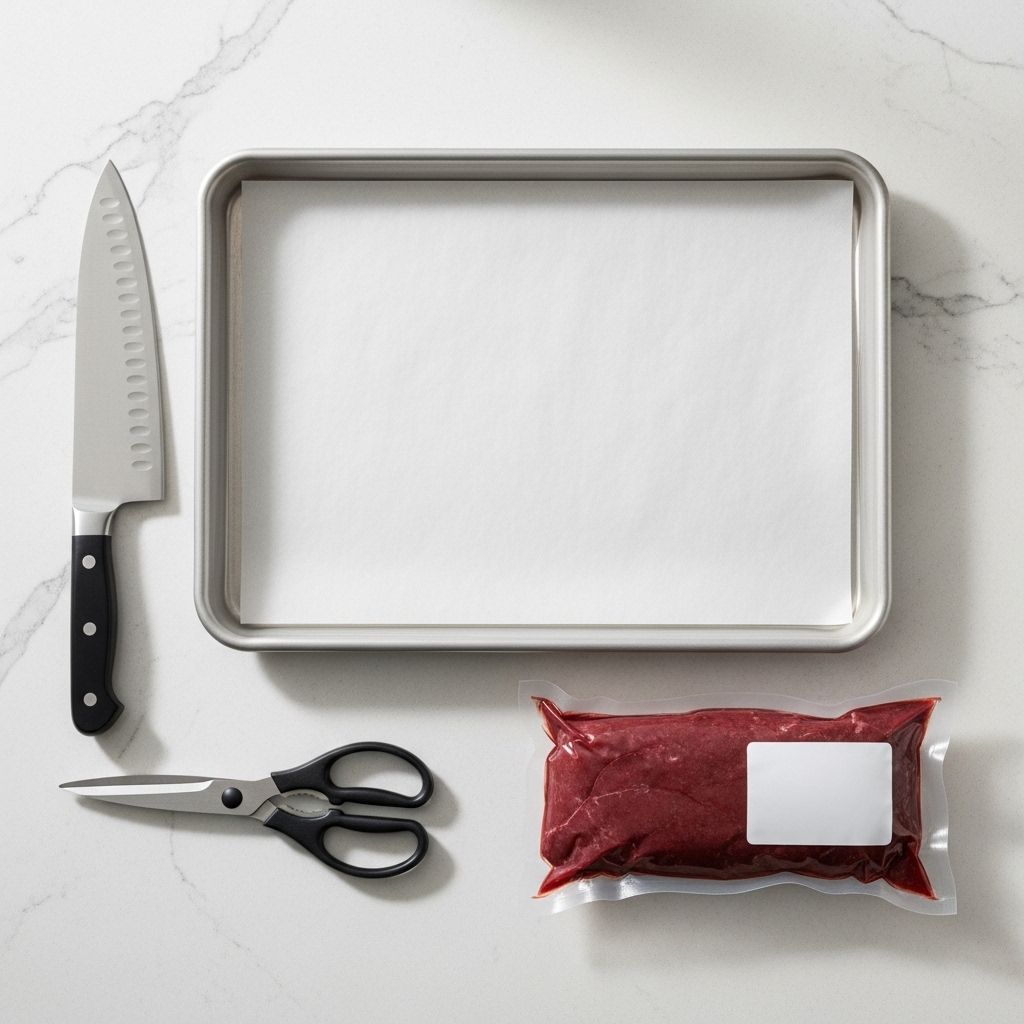
Equipment:
- A Sharp Knife or Kitchen Shears: A knife works well, but many people find that a sturdy pair of kitchen shears makes cutting the liver into tiny pieces much easier.
- A Large Baking Sheet: Any standard cookie sheet will do.
- Parchment Paper: This is non-negotiable! It prevents the liver from sticking to the pan and makes cleanup an absolute breeze.
- An Oven: The key is low and slow heat.
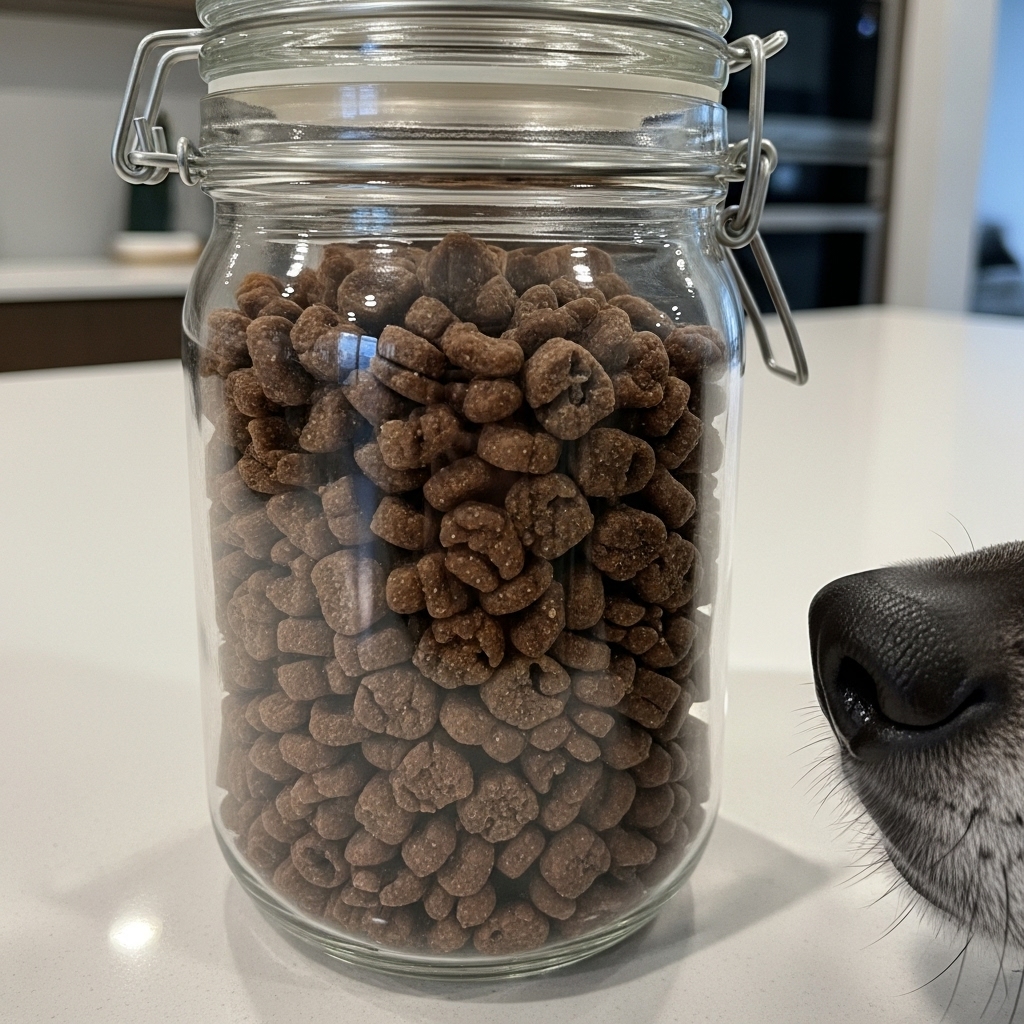
- Airtight Container: For storing your finished treats. A glass jar or Tupperware container works perfectly.
That’s it! No mixers, no special dehydrators, no complicated list of ingredients. Just you, some liver, and your oven. Now, let’s get to the fun part.
The Step-by-Step Recipe: From Raw to Reward
Ready to create some canine magic? Follow these simple steps to transform that slab of liver into irresistible training morsels. I recommend opening a window or turning on your kitchen fan, as liver has a… distinct aroma while it cooks!
- Prep the Liver: Start by rinsing the beef liver under cool water and patting it thoroughly dry with paper towels. A drier surface will make it easier to handle. Now for the secret weapon: place the liver flat on a plate or small tray and pop it in the freezer for 30-60 minutes. You don’t want it frozen solid, just firm to the touch. This step is a game-changer and makes slicing it cleanly so much easier.
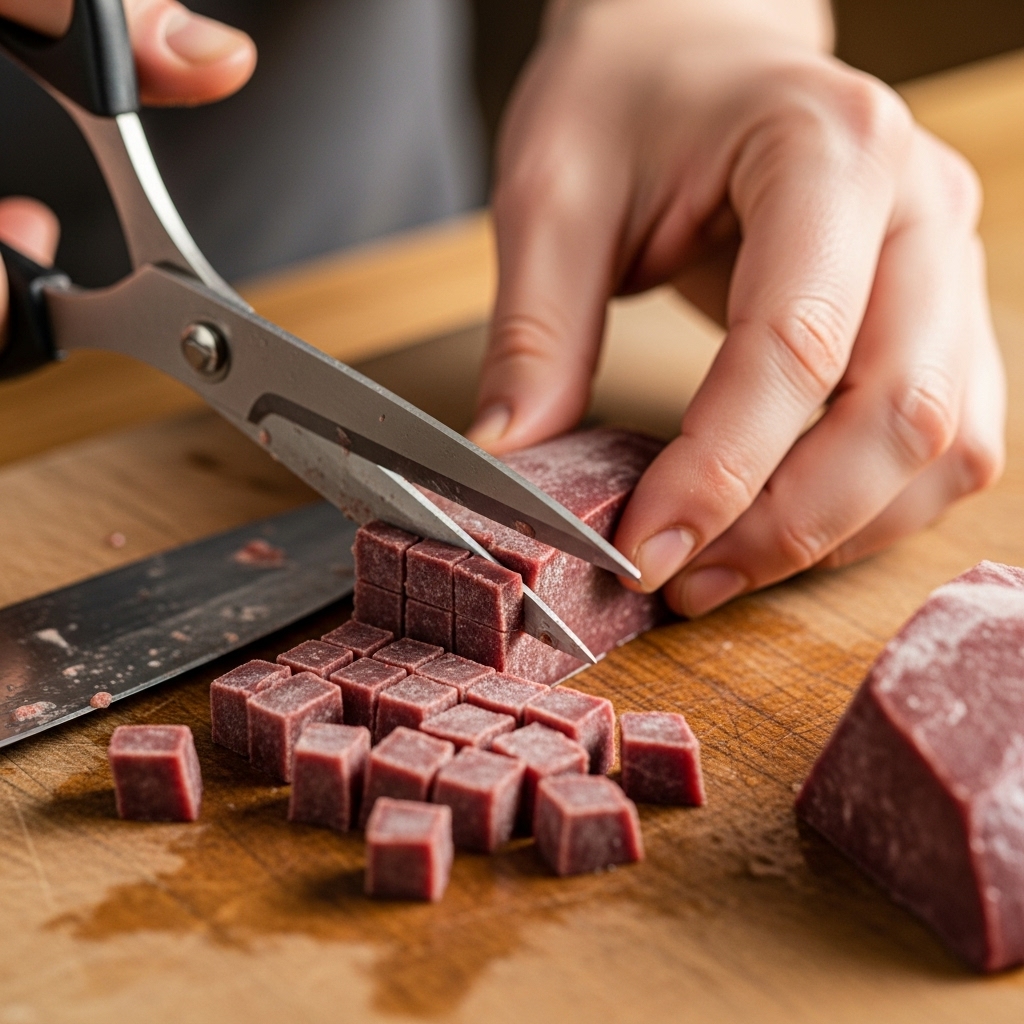
- Slice and Dice: Once the liver is firm, place it on your cutting board. Using your sharp knife or kitchen shears, slice it into thin strips. Then, dice those strips into tiny, pea-sized pieces. Remember, these are for training, not a meal. Small, quick-to-eat treats work best so you can keep the training session moving.
- Arrange on the Baking Sheet: Spread your tiny liver bits in a single layer across the parchment-lined baking sheet. Make sure they aren’t touching. Giving them space allows the air to circulate, which helps them dry out evenly and get that perfect jerky-like texture.
- Bake Low and Slow: Preheat your oven to its lowest temperature, typically between 180-200°F (about 80-95°C). We’re not trying to cook the liver, but rather to dehydrate it. Place the baking sheet in the oven and let it bake for 1.5 to 2 hours. The time can vary based on your oven and the size of your bits. They’re done when they are dry and slightly shrunken, not soft or squishy.
- Cool Completely: Once they’re done, turn off the oven and you can even leave the door cracked to let them cool down slowly. It’s crucial that they cool completely before you store them. Any residual warmth can create condensation in your storage container, leading to mold.
Expert Tip: Don’t throw away the parchment paper with all the baked-on juices! Let it cool, then crumble it up and sprinkle the flavorful ‘dust’ over your dog’s regular kibble for a special meal-time topper.
Storage and Usage: Keeping Your Treats Fresh and Effective
Congratulations, you did it! You now have a batch of premium, homemade training treats. Storing them correctly is key to making them last and keeping them safe for your pup.
How to Store Your Liver Bits:
- Refrigerator: Once completely cool, place the treats in an airtight container and store them in the refrigerator. They will stay fresh for up to two weeks. This is the best option for your ‘working’ stash.
- Freezer: These treats freeze beautifully! For long-term storage, put them in a freezer-safe bag or container. They can last for up to three months in the freezer. You can pull out a week’s worth at a time to keep in the fridge.
A Note on Portion Control
While beef liver is incredibly healthy, it’s also very rich, especially in Vitamin A. It should be treated as a supplement, not a primary food source. Remember the 10% rule: treats should make up no more than 10% of your dog’s daily caloric intake. Because these are so small, you can give quite a few during a training session without overdoing it.
If your dog has never had organ meat before, introduce it slowly to make sure their tummy agrees with it. A few bits are all you need to start. But be prepared—once they get a taste, you’ll have the most motivated training partner on the block!
Conclusion
And there you have it! For just a few dollars and a little bit of your time, you’ve created a huge batch of healthy, single-ingredient treats that will supercharge your training sessions. You’ve ditched the expensive, processed options and replaced them with pure, nutritious goodness. You’re not just saving money; you’re taking an active role in your dog’s health and strengthening the incredible bond you share. So go ahead, give this recipe a try. Your dog—and your wallet—will thank you!