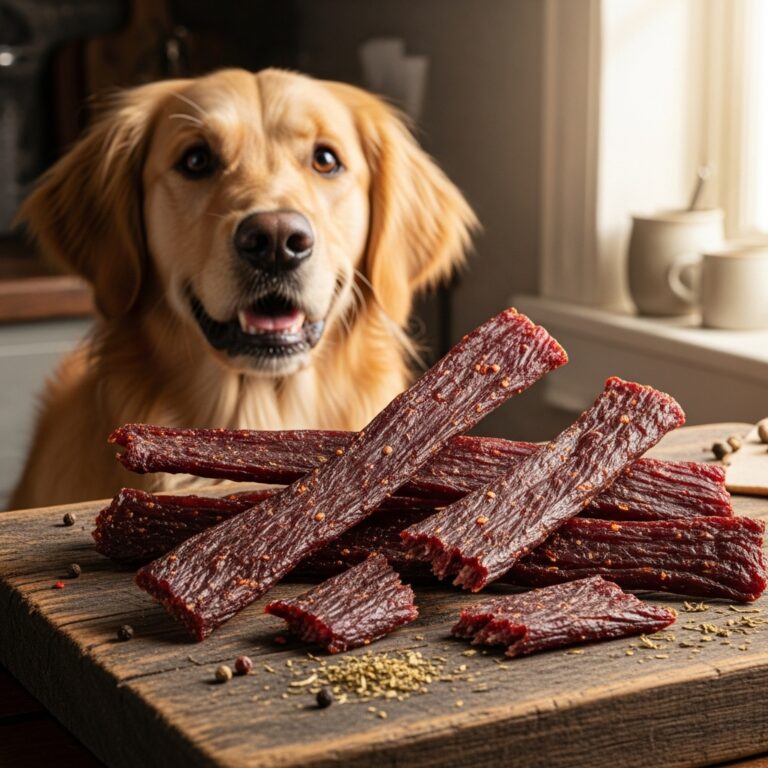
Save $$$ Making Your Own Chicken Jerky (Safe & Easy Method)
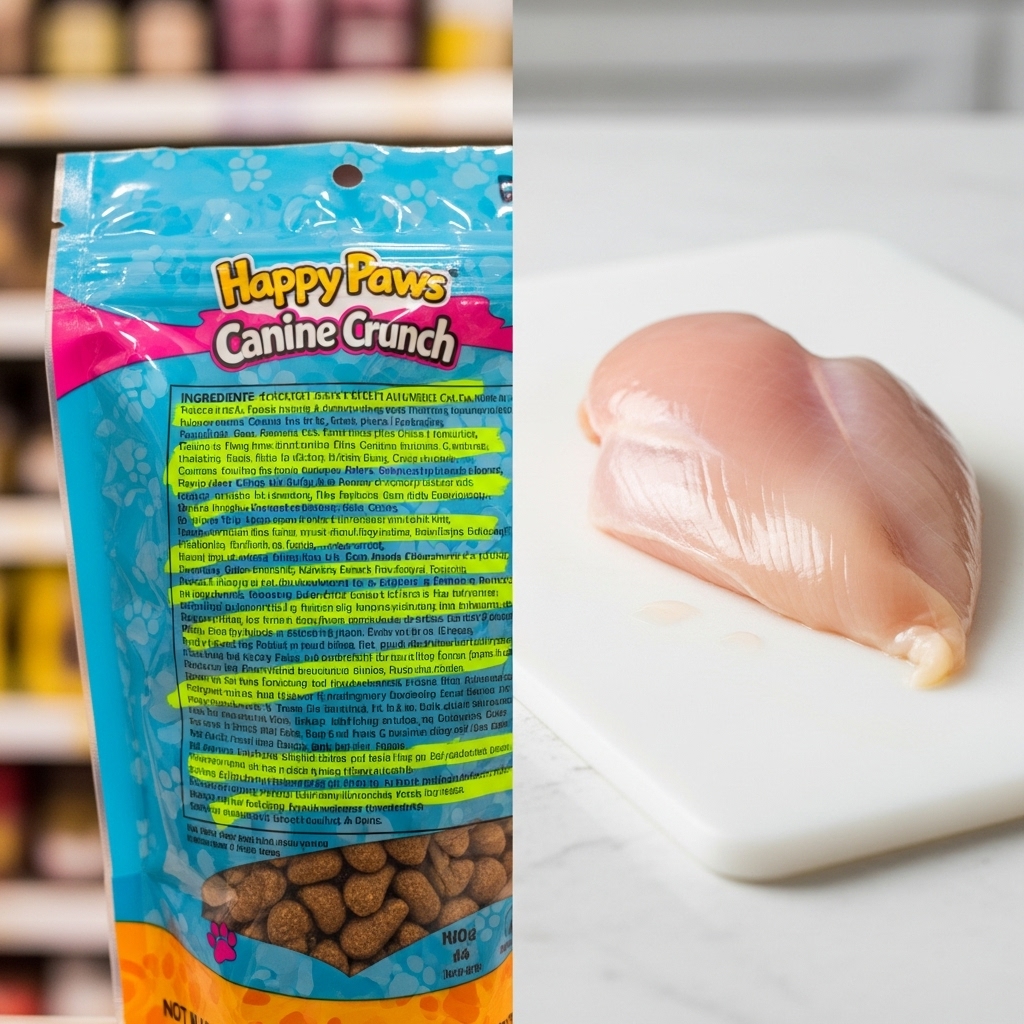
Walk down any pet store aisle, and you’ll see them: bags of chicken jerky treats with hefty price tags and ingredient lists a mile long. You want to give your best friend the best, but it’s hard to feel good about preservatives you can’t pronounce or the mystery of where those ingredients came from. What if we told you that you could make a tastier, healthier, and way cheaper version right in your own kitchen? Well, you can!
Making your own chicken jerky for your dog is one of the easiest and most rewarding things you can do. You’re in complete control, it costs a fraction of the store-bought stuff, and the best part? It only requires one simple ingredient. Get ready to save some cash and become your dog’s personal five-star chef. Let’s dive into this simple and safe method.
Why Bother Making Your Own Dog Treats?
Before we roll up our sleeves, let’s talk about the ‘why.’ Is it really worth the effort? Absolutely, and here’s why:
- Total Ingredient Control: This is the biggest win. When you make it yourself, you know exactly what’s going into the treat. No more worrying about fillers, artificial colors, preservatives, or questionable sourcing from other countries. It’s just pure, simple chicken. This is especially crucial for dogs with allergies or sensitive stomachs.
- Huge Cost Savings: A premium bag of chicken jerky can cost upwards of $20-$30. You can buy a family-pack of chicken breasts for less than that and make two or three times the amount of jerky. The savings add up incredibly fast, leaving more room in the budget for toys and belly rubs.
- Irresistible Flavor: Dogs can taste the difference. The fresh, intense flavor of pure, dehydrated chicken is a high-value treat that will have your pup’s undivided attention. It’s perfect for training or just for a special ‘I love you’ snack.
- It’s Incredibly Easy: Don’t let the idea of ‘making’ something from scratch intimidate you. If you can slice and turn on an oven, you can make this jerky. There’s very little hands-on time required.
Gearing Up: What You’ll Need
You probably already have everything you need for this simple recipe. No fancy equipment is required, though a dehydrator does make it a bit more energy-efficient.
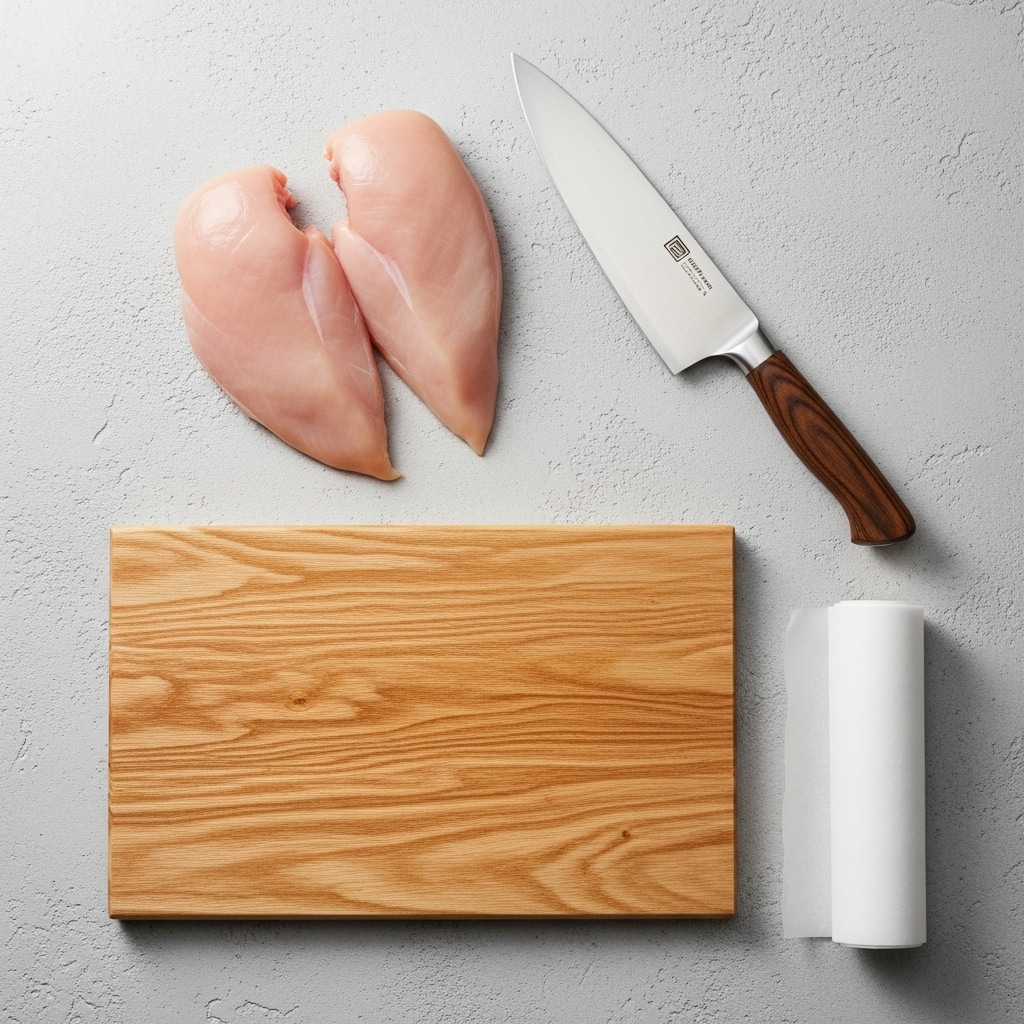
The Tools:
- An Oven or a Food Dehydrator: Either one works perfectly. The oven is great because everyone has one. A dehydrator is fantastic for making large batches and uses less electricity.
- A Sharp Knife: This is key to getting nice, thin, even slices.
- Cutting Board: A large, stable surface for slicing.
- Baking Sheets & Parchment Paper (for oven method): To keep the chicken from sticking.
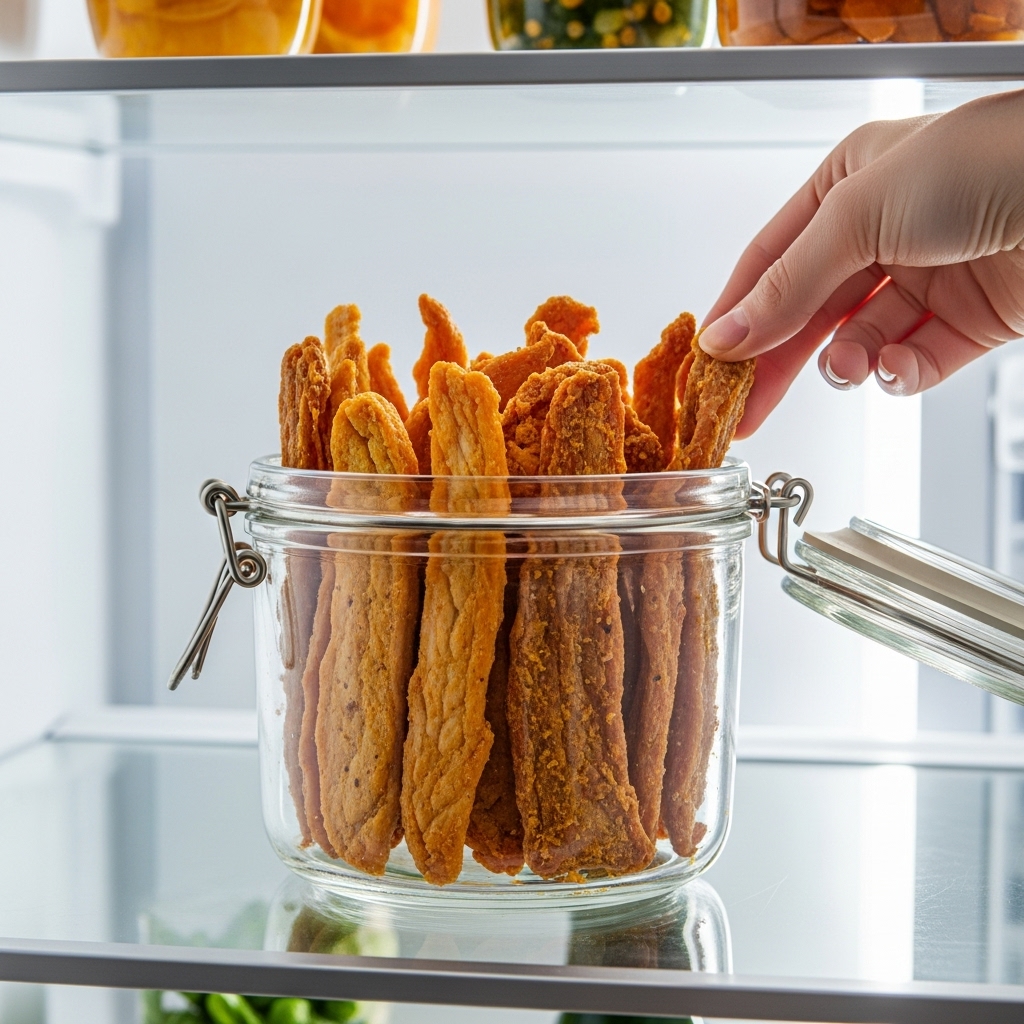
- Airtight Container: For safe storage after your jerky is done. Glass jars or Tupperware work great.
The One and Only Ingredient:
- Boneless, Skinless Chicken Breasts: That’s it! Look for fresh, high-quality chicken. This lean cut is perfect because the low fat content helps the jerky last longer without going rancid.
Important Tip: NEVER add any seasonings. Many common spices, especially garlic and onion powder, are toxic to dogs. Keep it pure and simple for your pup’s safety.
The Step-by-Step Guide to Perfect Chicken Jerky
Ready to get started? Here’s the foolproof process from start to finish. Follow these steps, and you’ll have perfect jerky every time.
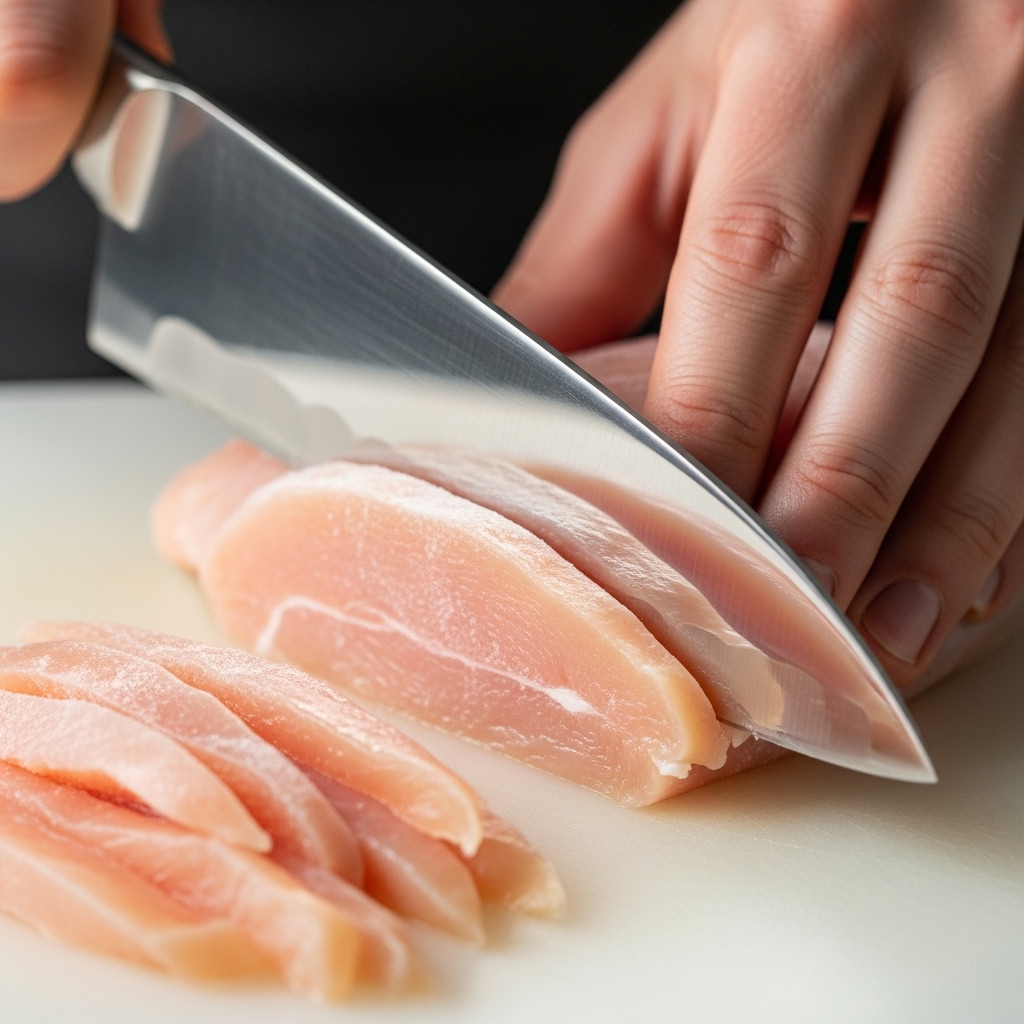
- Prep the Chicken: Trimming is the first step. Cut away any visible fat, as fat can cause the jerky to spoil more quickly. For super easy slicing, place the chicken breasts in the freezer for about 1-2 hours. You want them to be firm but not frozen solid. This simple trick makes getting thin, even slices a breeze!
- Slice it Right: Slice the chicken into strips about 1/8 to 1/4 inch thick. The thinner the slice, the faster it will dry. Try to keep the thickness as uniform as possible so all the pieces finish at the same time. You can slice with the grain for a chewier, tougher jerky or against the grain for a more brittle, easier-to-chew treat.
- Arrange for Drying: Now, it’s time to set up your appliance.
For the Oven Method:
Preheat your oven to its lowest temperature, typically between 170-200°F (about 75-95°C). Line a baking sheet with parchment paper. Arrange the chicken strips in a single layer, making sure none of the pieces are touching. This allows for good air circulation. Prop the oven door open just a crack with a wooden spoon to allow moisture to escape.
For the Dehydrator Method:
Arrange the chicken strips on the dehydrator trays in a single layer, leaving space between each piece. Set your dehydrator to the ‘meat’ setting, which is usually around 160°F (70°C).
- The Low and Slow Dehydration: This is where the magic happens. The drying time will vary based on your oven/dehydrator and the thickness of your slices.
- In an oven, it will likely take 2-4 hours.
- In a dehydrator, it can take 4-8 hours.
Start checking the jerky around the 2-hour mark (for ovens) or 4-hour mark (for dehydrators).
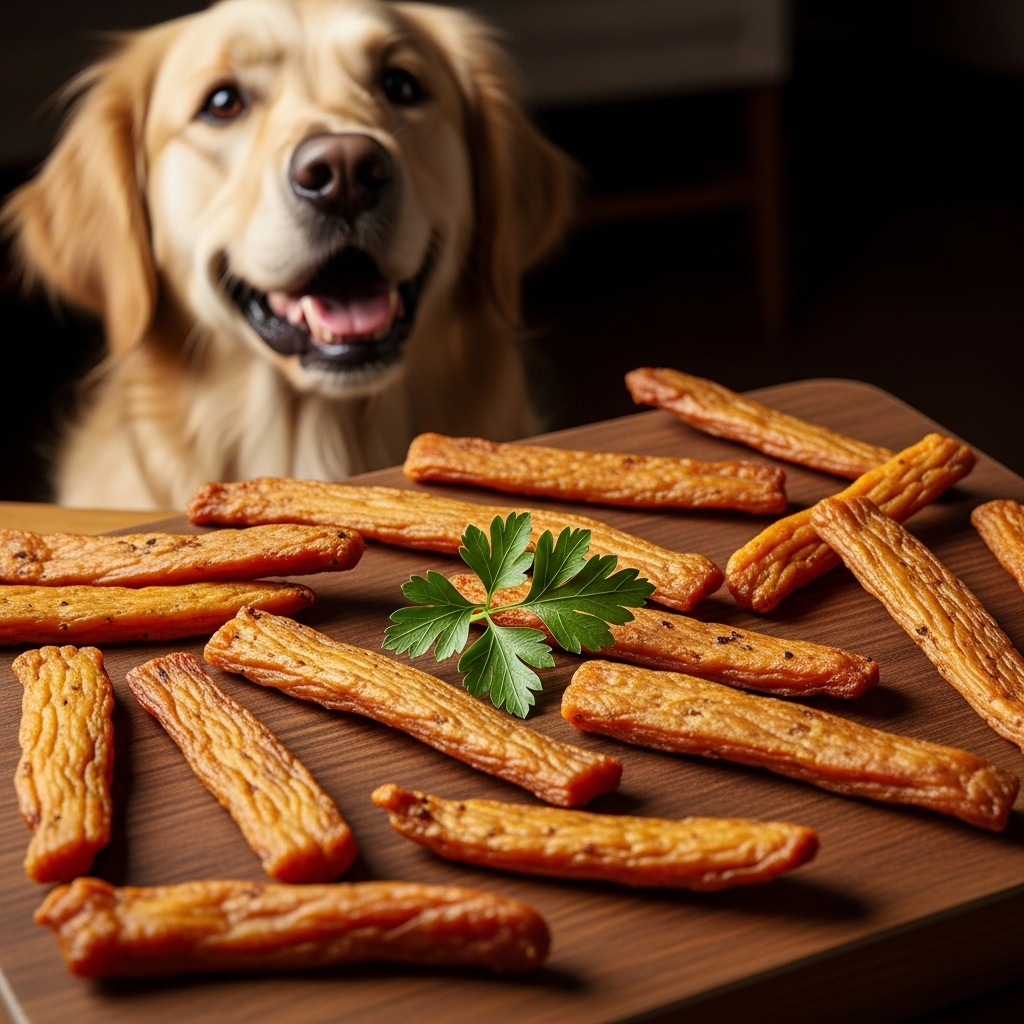
- Check for Doneness: So how do you know when it’s ready? Perfect jerky should be dry and leathery. It should bend and tear, but it shouldn’t snap like a cracker (that’s overdone) or feel soft and squishy (that’s underdone). There should be no moist spots.
Safety First! Storing Your Homemade Jerky
You’ve made a beautiful batch of jerky! Now, let’s make sure it stays fresh and safe for your pup. Proper storage is non-negotiable to prevent the growth of mold or bacteria.
First, let the jerky cool completely on a wire rack for at least an hour after it comes out of the oven or dehydrator. Trapping any heat or condensation will lead to spoilage.
Once it’s totally cool, here’s how to store it:
- For Short-Term Storage (up to 2 weeks): Place the jerky in an airtight container and store it in the refrigerator. The cool temperature is your best defense against spoilage.
- For Long-Term Storage (up to 3 months): If you made a big batch, the freezer is your best friend. Use a freezer-safe bag or container. You can pull out a few pieces at a time to thaw in the fridge.
Expert Tip: Always give the jerky a quick check before serving. It should look and smell like dried chicken. If you notice any signs of mold, an ‘off’ smell, or a slimy texture, throw it out immediately. When in doubt, toss it out.
Conclusion
And there you have it! A simple, safe, and incredibly satisfying way to spoil your dog without breaking the bank. By taking just a little bit of time, you’ve created a premium, single-ingredient treat that you can feel genuinely good about giving them. You’ve ditched the preservatives, saved money, and created a snack that will make you the ultimate hero in your dog’s eyes. So go ahead, give it a try—your pup (and your wallet) will thank you!