The Ultimate DIY Barkcuterie Board Guide That Will Wow Your Guests
Have you seen those gorgeous charcuterie boards all over social media? The ones overflowing with artisanal cheeses, cured meats, and colorful fruits? Well, the trend has officially gone to the dogs—in the best way possible! Welcome to the world of barkcuterie boards, a delightful and creative way to treat your four-legged best friend. It’s more than just a pile of treats; it’s an experience for your dog and a fun project for you.
But before you start raiding your pantry, it’s crucial to remember that our pups have different dietary needs than we do. This guide is your ultimate resource for creating a barkcuterie board that is not only Instagram-worthy but also completely safe, healthy, and tail-waggingly delicious for your furry companion. Let’s get building!
What is a Barkcuterie Board (And Why Your Dog Will Love It!)
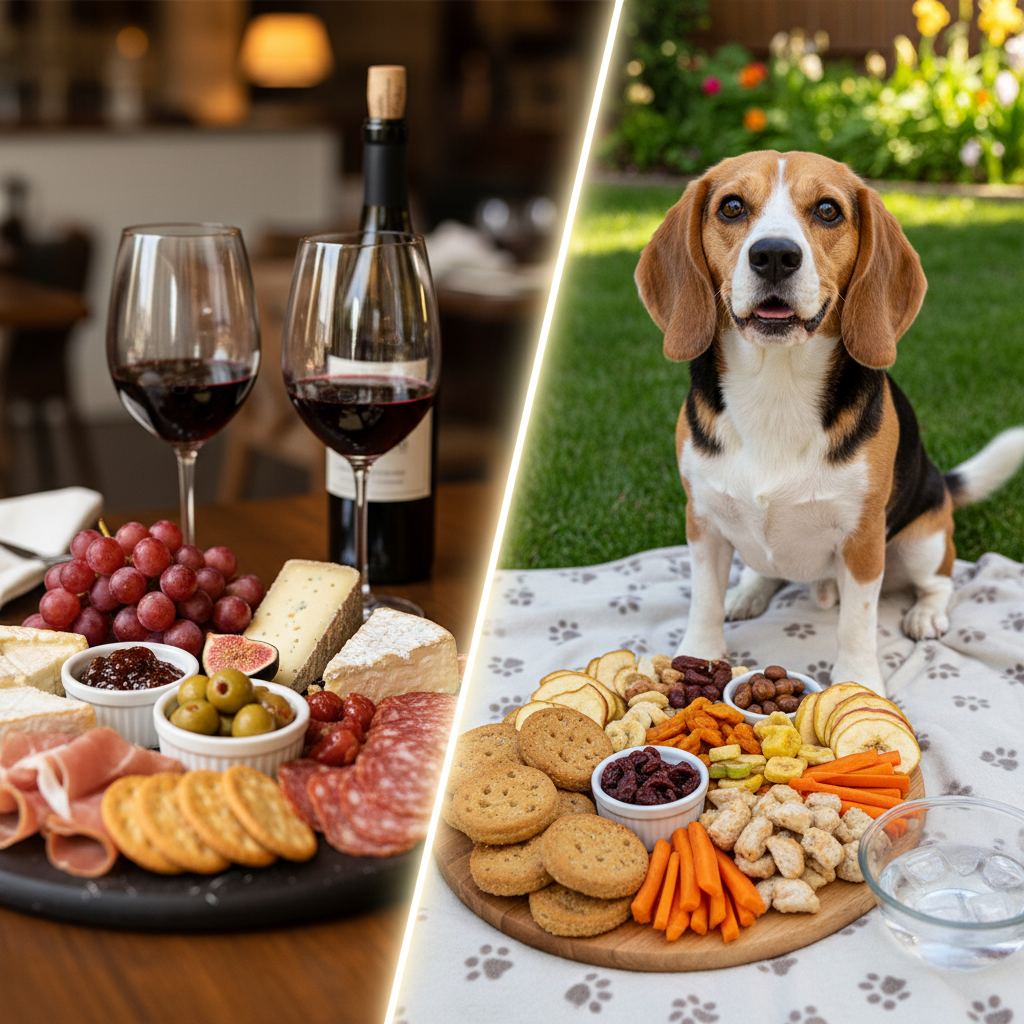
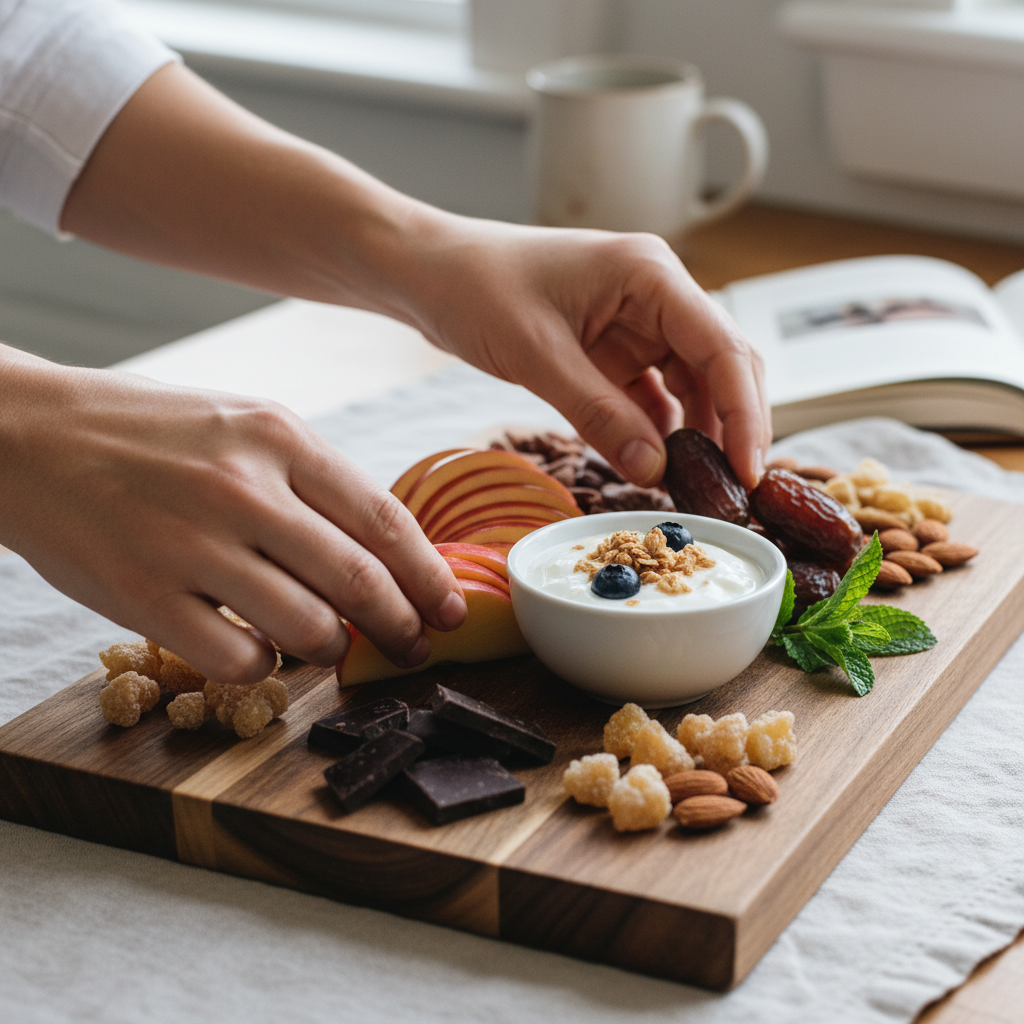
So, what exactly is a barkcuterie board? Simply put, it’s a dog-friendly version of a human charcuterie board. Instead of salami and brie, you’ll find an artful arrangement of dog-safe meats, fruits, veggies, and treats. It’s a fantastic way to offer your dog a variety of flavors and textures, turning snack time into a special occasion.
But the benefits go beyond just being a fun treat. A barkcuterie board can be a wonderful form of canine enrichment. The different smells, textures, and tastes engage your dog’s senses, providing mental stimulation that can be just as tiring and satisfying as a long walk. It encourages them to explore and make choices, which builds confidence. Whether you’re celebrating your dog’s birthday, hosting a puppy playdate, or just want to show some extra love, a barkcuterie board is a guaranteed hit.
The Building Blocks: Choosing Safe and Delicious Goodies
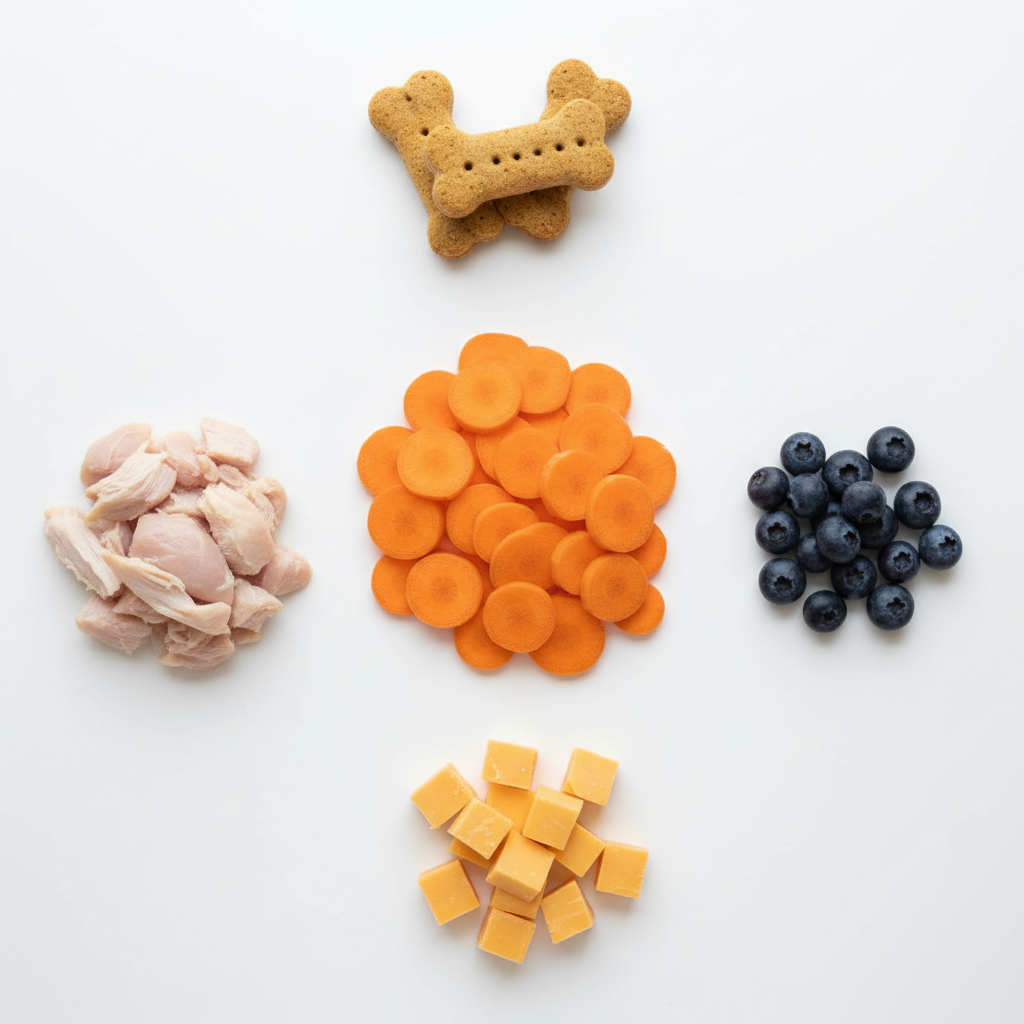
This is where the real fun begins! The key to a successful barkcuterie board is variety and safety. Think about different food groups to create a balanced and exciting platter. Here are some fantastic, pup-approved options to get you started:
The Meaty Centerpieces (Proteins)
These are often the star of the show. Always use plain, cooked meats without any seasoning, salt, or oil.
- Small pieces of cooked chicken or turkey (no skin or bones)
- Lean ground beef, cooked and crumbled
- Bite-sized pieces of salmon (cooked, no bones)
- Dehydrated meat jerkies made specifically for dogs
Crunchy Veggies & Fruits (Produce)
Fruits and veggies add color, crunch, and valuable nutrients. Just be sure to serve them in bite-sized pieces to prevent choking.
- Veggies: Baby carrots, green beans, cucumber slices, sweet potato (cooked and cooled), bell pepper slices.
- Fruits: Blueberries, strawberries, apple slices (no core or seeds), watermelon (no rind or seeds), banana slices.
Cheesy Delights & Dairy (In Moderation!)
Many dogs love cheese, but it should be given in small amounts due to its fat content. Opt for low-fat varieties.
- Small cubes of cheddar or mozzarella cheese
- A spoonful of plain, unsweetened Greek yogurt
- A dollop of cottage cheese
Store-Bought Stars (Treats & Chews)
Incorporate some of your dog’s favorite store-bought treats to add familiar flavors and interesting shapes.
- Small training treats or biscuits
- Dental chews or sticks
- Single-ingredient jerky or freeze-dried treats
Garnishes & Spreads (The Finishing Touches)
These are perfect for filling small bowls or for smearing on the board for your dog to lick up.
- A smear of dog-safe peanut butter (check the label to ensure it does not contain xylitol)
- Plain pumpkin purée (great for digestion)
- A sprinkle of parsley for a touch of green (and fresh breath!)
Expert Tip: Always double-check the ingredients list on any human food, especially peanut butter and yogurt. The artificial sweetener xylitol is extremely toxic to dogs. When in doubt, stick to products made specifically for pets.
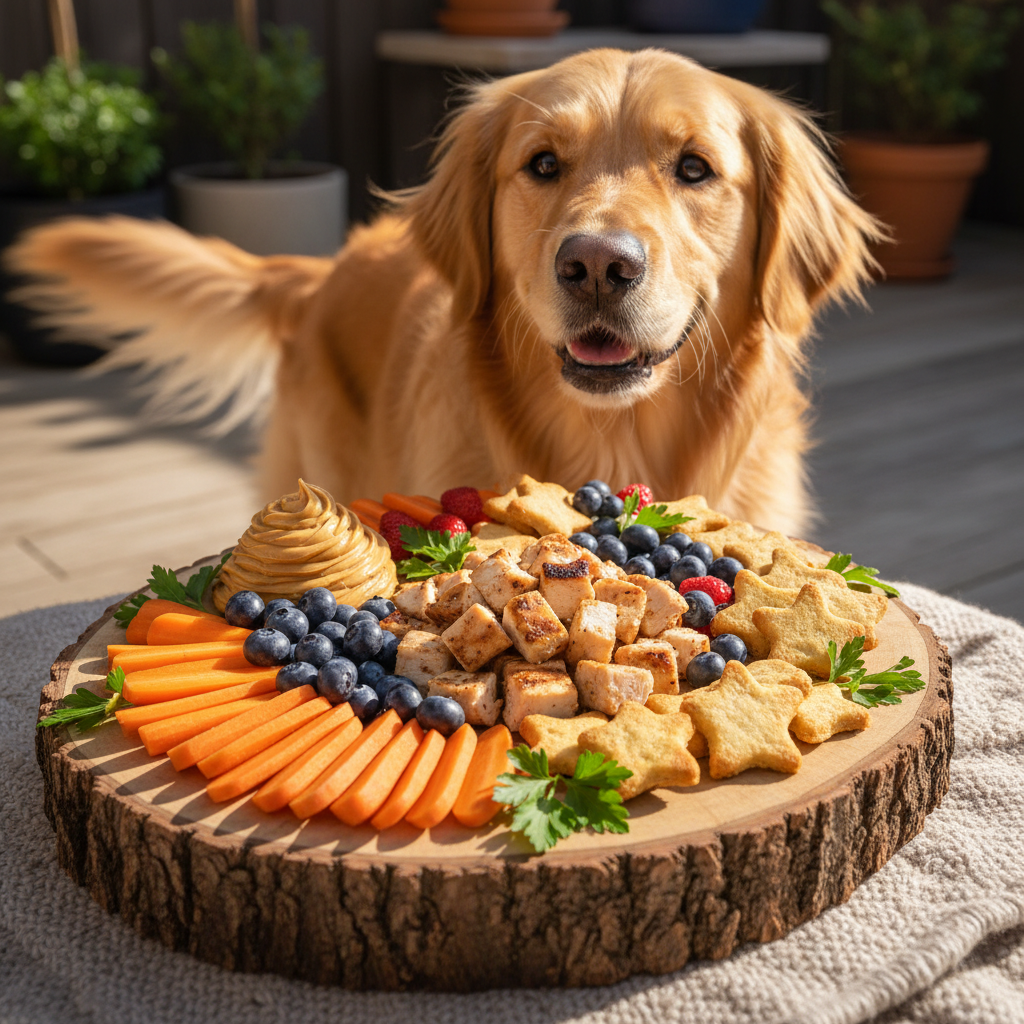
Step-by-Step: Assembling Your Masterpiece
Now that you have your ingredients, it’s time to channel your inner artist. There are no hard rules, but here’s a simple, step-by-step process to create a visually stunning board:
- Choose Your Canvas: Start with a dog-safe board. A wooden cutting board, a large ceramic platter, or even a dedicated slow-feeder tray works great. Make sure it’s clean and won’t slide around.
- Place Your Anchors: If you’re using any spreads or wet foods like yogurt or pumpkin purée, put them in small, sturdy bowls or ramekins first. Place these on the board to act as anchor points for your design.
- Fan Out the Large Items: Arrange your larger items next. Create a flowing line with jerky sticks, fan out apple slices like a deck of cards, or group larger biscuits together. This creates structure.
- Fill in the Gaps: Use your smaller ingredients to fill in the empty spaces. Create little piles of blueberries, scatter training treats, and tuck carrot sticks between the meats and cheeses. The goal is to make the board look full and abundant.
- Add the Final Flourish: Finish with a drizzle of pet-safe bone broth over some of the dry items or a sprinkle of chopped parsley for a pop of color. Step back and admire your work!
Foods to AVOID: The No-Go List for Pups

This is the most important section of all. While we want our boards to be beautiful, safety is the number one priority. Never include any of the following foods, as they are toxic or harmful to dogs:
- Grapes and Raisins: Can cause acute kidney failure.
- Onions, Garlic, and Chives: Can damage red blood cells, leading to anemia.
- Chocolate: Contains theobromine, which is highly toxic to dogs.
- Macadamia Nuts: Can cause weakness, vomiting, and tremors.
- Avocado: Contains persin, which can cause vomiting and diarrhea.
- Alcohol: Should never be given to pets.
- Xylitol: An artificial sweetener found in many sugar-free products (including some peanut butters) that is extremely poisonous to dogs.
- Cooked Bones: Can splinter and cause choking or internal damage.
Always introduce new foods to your dog one at a time in small amounts to check for any allergies or digestive upset before adding them to a board.
Party Time! Serving Tips and Portion Control
Your masterpiece is complete! Now for the best part: watching your dog enjoy it. Here are a few final tips for serving:
- Mind Your Portions: A barkcuterie board is a special treat, not a meal replacement. Keep the total amount of food reasonable for your dog’s size and daily caloric needs. Treats should only make up about 10% of their daily diet.
- Supervise, Supervise, Supervise: Always watch your dog while they’re enjoying the board, especially if they are a fast eater. This helps prevent choking.
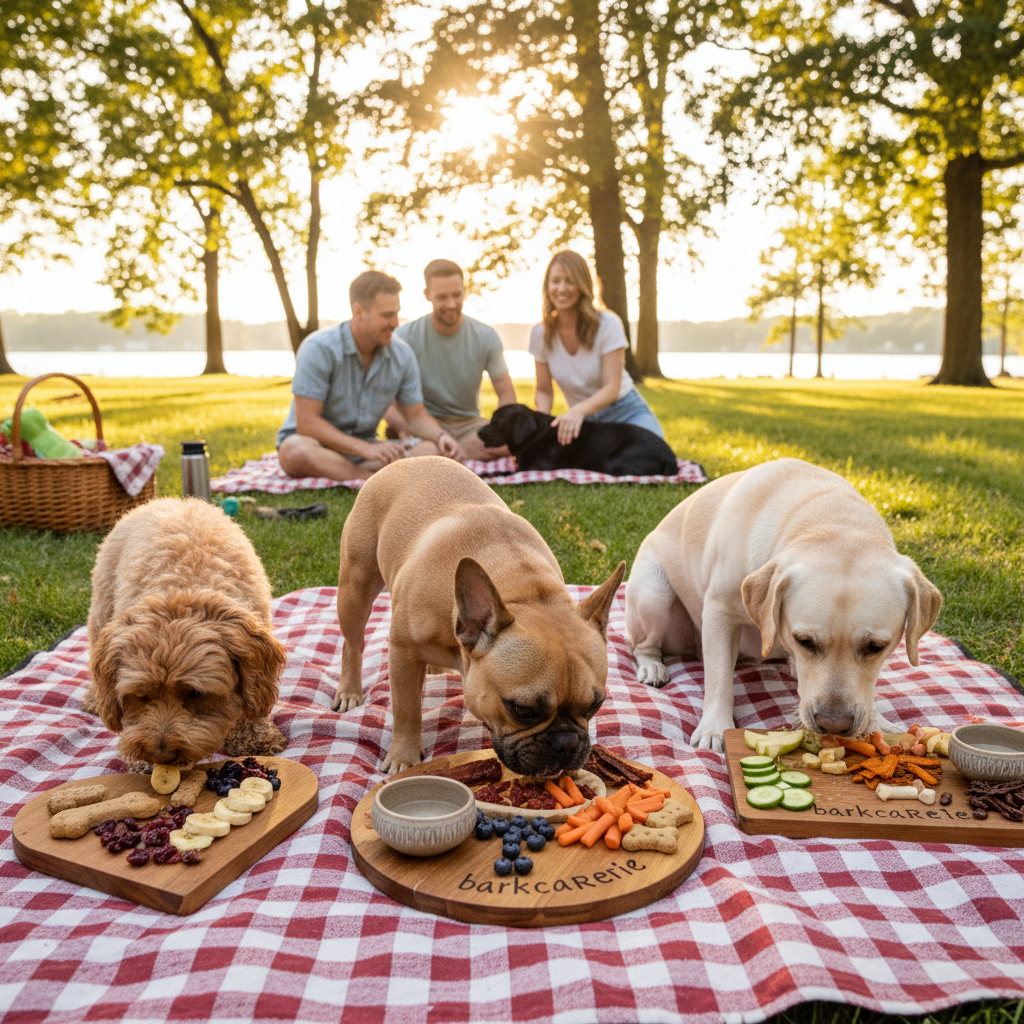
- Sharing with Friends: If you’re hosting a puppy playdate, it’s best to make individual, smaller boards for each dog or to serve them one at a time. This prevents resource guarding or squabbles over high-value treats.
- Know Your Dog: If your dog has a sensitive stomach, be extra cautious with new or rich foods like cheese. Stick to what you know they can handle.
Conclusion
Creating a DIY barkcuterie board is a wonderfully creative way to bond with your dog and provide them with an enriching, delicious experience. It’s a chance to play with food, learn more about canine nutrition, and see pure joy on your pup’s face. By focusing on safe ingredients, practicing portion control, and having fun with the assembly, you can craft a treat that will not only wow your guests (both human and canine!) but also show your best friend just how much you love them. Now go ahead and build a board that gets all the tails wagging!