These 3-Ingredient Peanut Butter Dog Treats Are Going Viral!
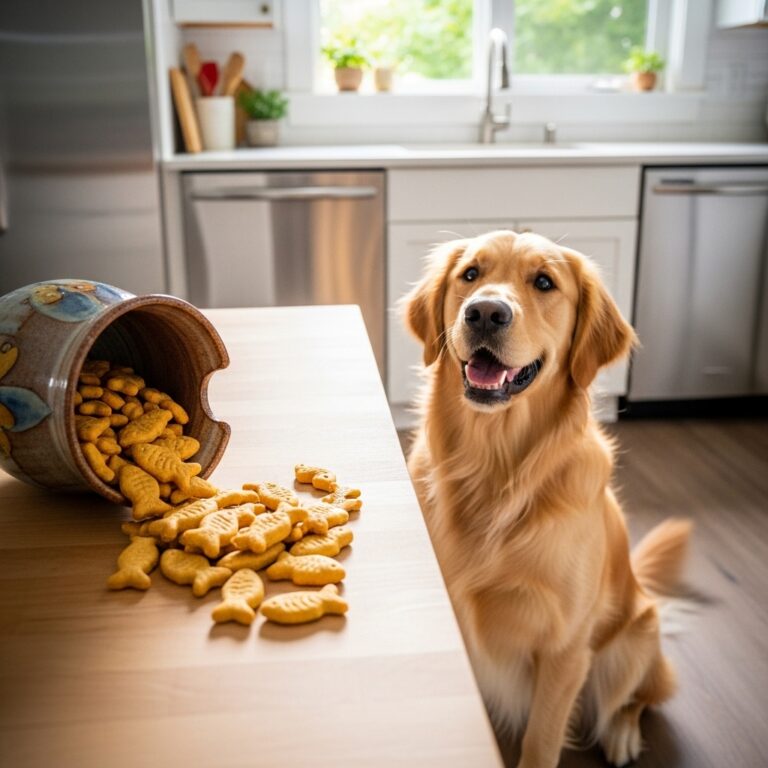
Have you seen them? All over social media, dog lovers are sharing photos and videos of the most adorable, simple, and apparently delicious homemade dog treats. The best part? They only require three simple ingredients! It’s no wonder this recipe is going viral. It’s a fun, affordable, and loving way to spoil your furry best friend.
Making treats for your dog at home means you know exactly what’s going into their snack. No weird preservatives, no mystery ingredients—just pure, simple goodness. In this guide, we’ll walk you through everything you need to know about these viral peanut butter goodies. We’ll cover the super-simple recipe, discuss the one major safety check you MUST do, and even offer some fun variations to customize the treats for your pup’s palate. Let’s get baking!
First, Is Peanut Butter Actually Safe for Dogs?
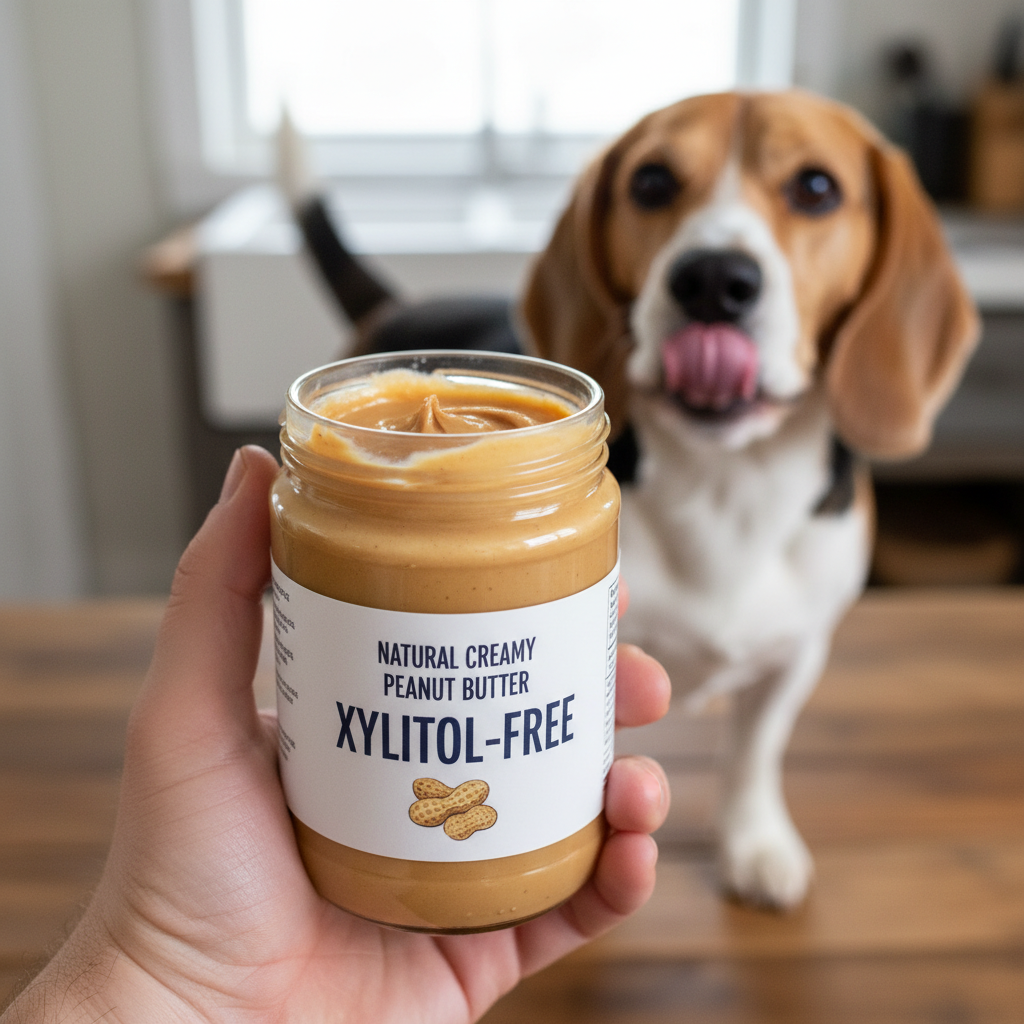
This is the most important question, so let’s tackle it right away. The answer is a resounding YES, peanut butter can be a fantastic treat for most dogs… with one huge exception. You absolutely, positively must check the ingredients list for an artificial sweetener called Xylitol.
Xylitol is incredibly toxic to dogs, even in small amounts. It can cause a rapid drop in blood sugar (hypoglycemia), seizures, liver failure, and can even be fatal. It’s often found in ‘sugar-free’ or ‘low-sugar’ peanut butters and other products.
Expert Tip: Always choose a natural peanut butter where the only ingredients are peanuts (and maybe a little salt). Avoid any brands that list ‘Xylitol’ or ‘birch sugar’ in the ingredients. When in doubt, stick to a brand made specifically for dogs or one that is simply 100% ground peanuts.
Once you’ve got your Xylitol-free peanut butter, you can feel great about giving it to your pup in moderation. It’s a good source of protein and healthy fats, which are great for energy and a shiny coat. Now, on to the fun part!
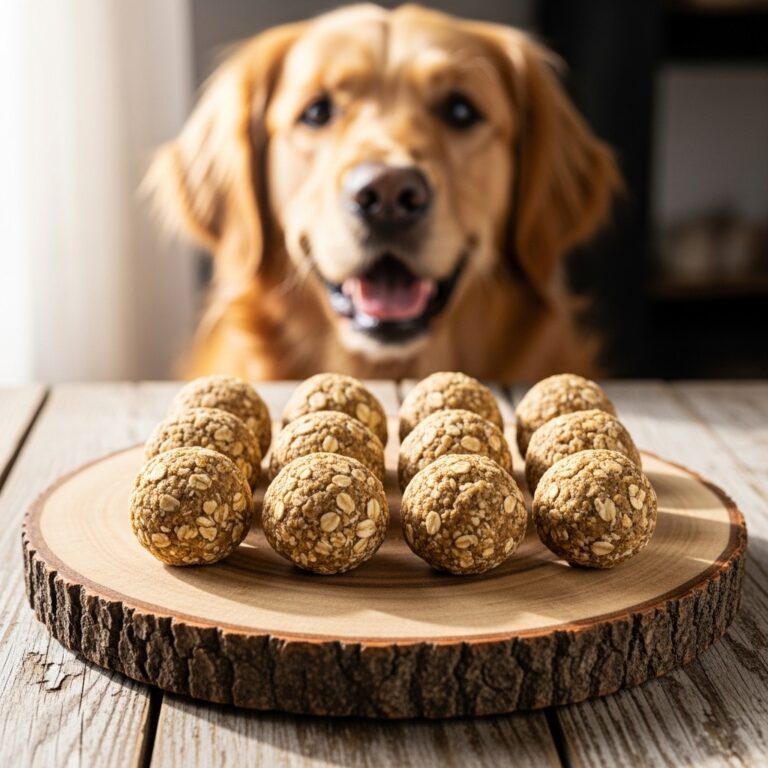
The Viral 3-Ingredient Recipe: Let’s Get Baking!
Ready to see just how easy this is? You’re going to be amazed. This recipe is perfect for beginner bakers and busy pet parents. It takes just a few minutes to prep and results in a batch of treats your dog will go wild for.
What You’ll Need
- 2 cups whole wheat flour (see notes below for alternatives)
- 1/2 cup creamy, unsalted, Xylitol-free peanut butter
- 2 large eggs
- 4-6 tablespoons of water, as needed
Equipment
- A large mixing bowl
- A rolling pin
- Cookie cutters (bone shapes are classic, but any small shape works!)
- A baking sheet lined with parchment paper
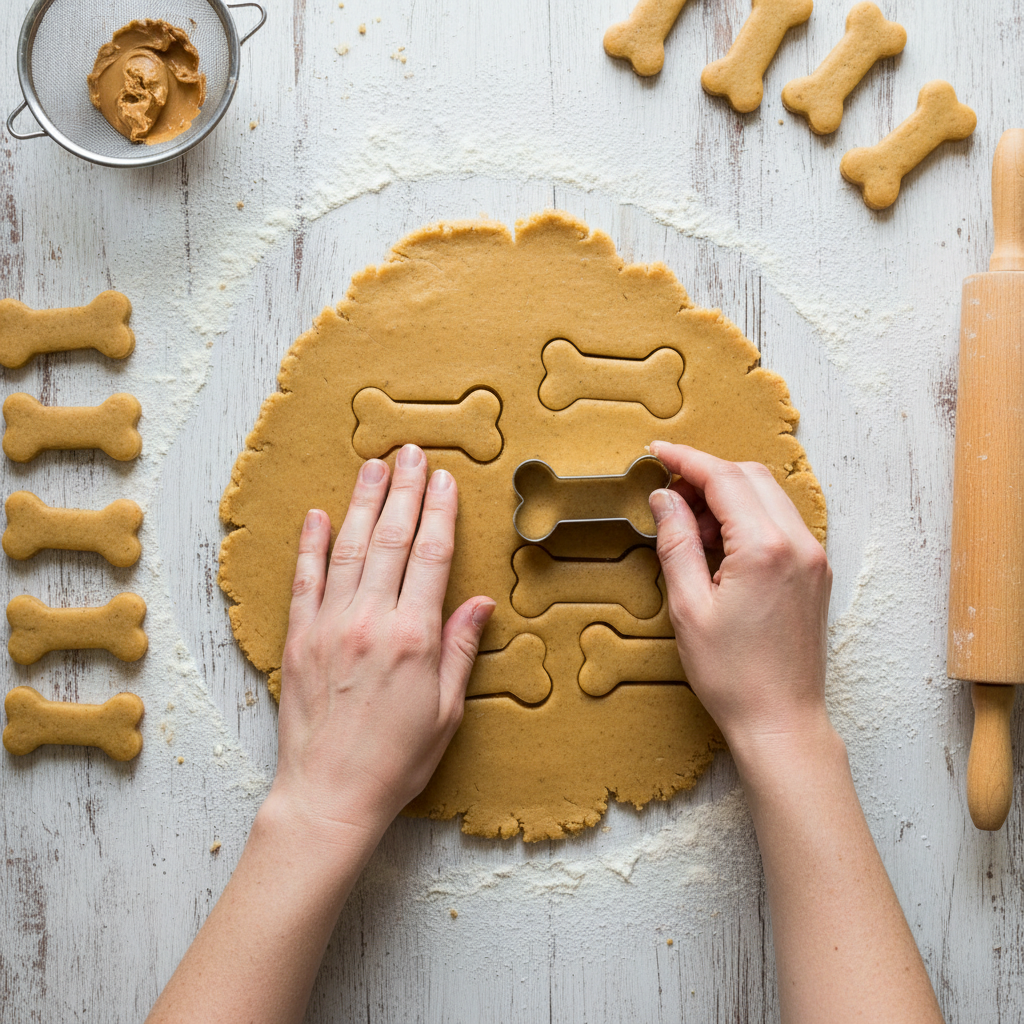
Step-by-Step Instructions
- Preheat Your Oven: Get your oven preheating to 350°F (175°C). Line a large baking sheet with parchment paper to prevent sticking.
- Mix It Up: In your large bowl, combine the whole wheat flour, peanut butter, and eggs. Start mixing with a spoon or spatula. It will be crumbly at first, which is totally normal.
- Add Water & Knead: Add the water one tablespoon at a time, mixing after each addition. Once it starts coming together, use your hands to knead the mixture in the bowl until a stiff, firm dough forms. You might not need all the water, so add it slowly!
- Roll and Cut: Lightly flour a clean surface (like a countertop or cutting board). Roll the dough out to about 1/4-inch thickness. Now for the fun part! Use your cookie cutters to cut out shapes and place them on your prepared baking sheet.
- Bake to Perfection: Bake for about 15-20 minutes, or until the edges are golden brown. The baking time will vary slightly depending on the size and thickness of your treats.
- Cool Down: Let the treats cool completely on the baking sheet or a wire rack before giving one to your eager assistant. They will get crunchier as they cool.
Fun Variations and Healthy Mix-ins
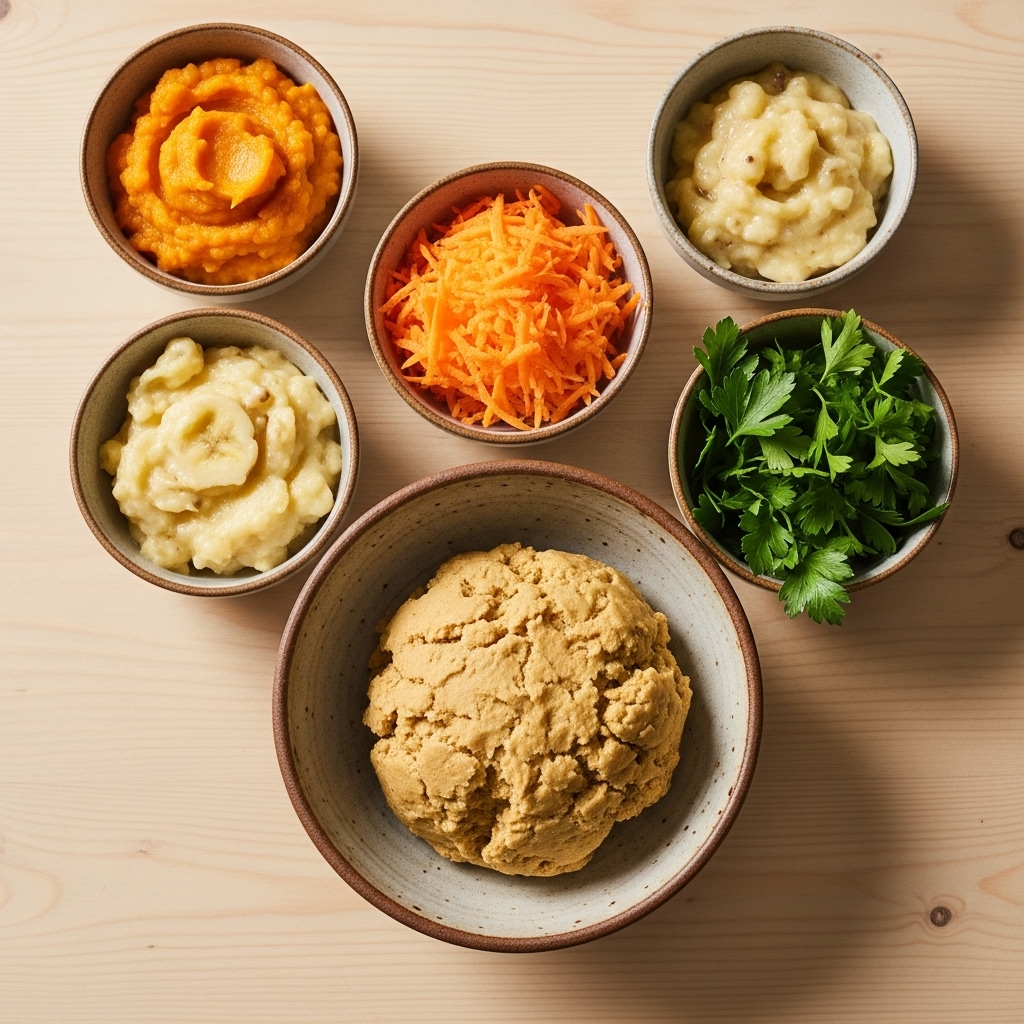
While the classic 3-ingredient recipe is a winner, why not get creative? You can easily customize these treats to add extra nutrients or cater to your dog’s favorite flavors. Just be sure any ingredients you add are safe for canine consumption!
Easy & Healthy Add-in Ideas
You can add about 1/4 to 1/3 cup of one of the following to the main recipe. You may need to adjust the flour or water slightly to get the right dough consistency.
- Pumpkin Purée: Great for digestion! Make sure it’s 100% pure pumpkin, not pie filling.
- Mashed Banana: Adds a little natural sweetness and potassium.
- Unsweetened Applesauce: Another great source of fiber.
- Finely Shredded Carrots or Zucchini: A sneaky way to add some veggies.
Flour Alternatives
If your dog has a sensitivity to wheat, you can easily swap the flour. Good alternatives include oat flour (you can make your own by blending rolled oats), brown rice flour, or chickpea flour. Avoid almond flour as it can be high in fat.
Safe Customizations Table
| Add-In | Benefit | Amount to Add |
|---|---|---|
| Pumpkin Purée | Digestive Health | 1/4 cup |
| Mashed Banana | Potassium & Fiber | 1/2 of a medium banana |
| Fresh Parsley (chopped) | Freshens Breath | 1 tablespoon |
| Ground Flaxseed | Omega-3 Fatty Acids | 1 tablespoon |
How to Store Your Homemade Goodies
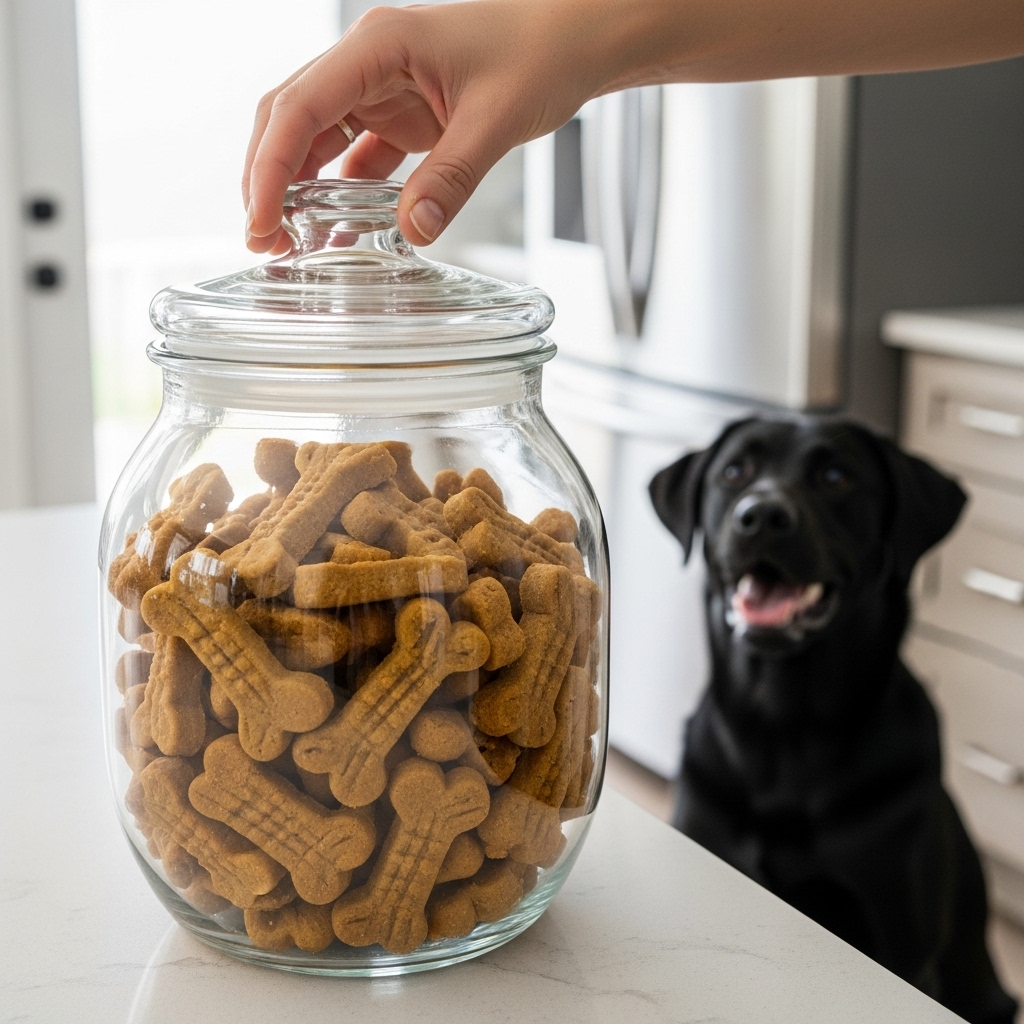
You’ve baked a beautiful batch of treats, and your dog is in heaven. Now, how do you keep them fresh? Because these treats don’t have any preservatives, their shelf life is different from store-bought snacks.
For maximum crunch, make sure the treats are completely cool before you store them. Any residual warmth will create steam in the container, making them soft.
- At Room Temperature: Store the treats in an airtight container or a cookie jar. They will stay fresh for about 7-10 days. If your home is particularly warm or humid, they may soften a bit over time.
- In the Refrigerator: If you want them to last a bit longer, you can store them in an airtight container in the fridge for up to 3 weeks.
- In the Freezer: This is the best option for long-term storage! Place the cooled treats in a freezer-safe bag or container. They can be frozen for up to 3 months. Your dog might even enjoy them as a crunchy, frozen snack on a hot day!
Conclusion
And there you have it! The secret behind the viral 3-ingredient peanut butter dog treats isn’t a secret at all—it’s just a simple, wholesome, and loving way to show your pup you care. It’s a fantastic activity for a quiet afternoon, and the reward is seeing your dog’s tail wag with pure joy. Remember the golden rule: always use Xylitol-free peanut butter, and you’re all set. Happy baking, and give your furry friend a scratch behind the ears from us!