The Ultimate Cute Trick: Teach Your Dog To Cross Their Paws In 3 Steps
There’s something undeniably charming about a dog politely crossing its paws. It’s a pose that screams sophistication, intelligence, and pure, unadulterated cuteness. Whether you want to capture the perfect photo for social media or just add another fun command to your dog’s repertoire, teaching the ‘cross paws’ trick is a wonderful bonding experience. You might think a trick this adorable requires a master trainer, but the truth is, it’s surprisingly easy!
With a little patience, a handful of tasty treats, and a positive attitude, you can teach your furry friend this delightful skill. In this guide, we’ll break it down into three simple, manageable steps. So, grab your clicker (or just your cheerful voice) and let’s get ready to transform your pup into the poshest pooch on the block!
Setting the Stage for Success: What You’ll Need
Before you jump into training, a little preparation goes a long way. Creating the right environment ensures your dog is comfortable, focused, and ready to learn. You don’t need a lot of fancy equipment, just a few key items and the right mindset.
Essential Supplies:
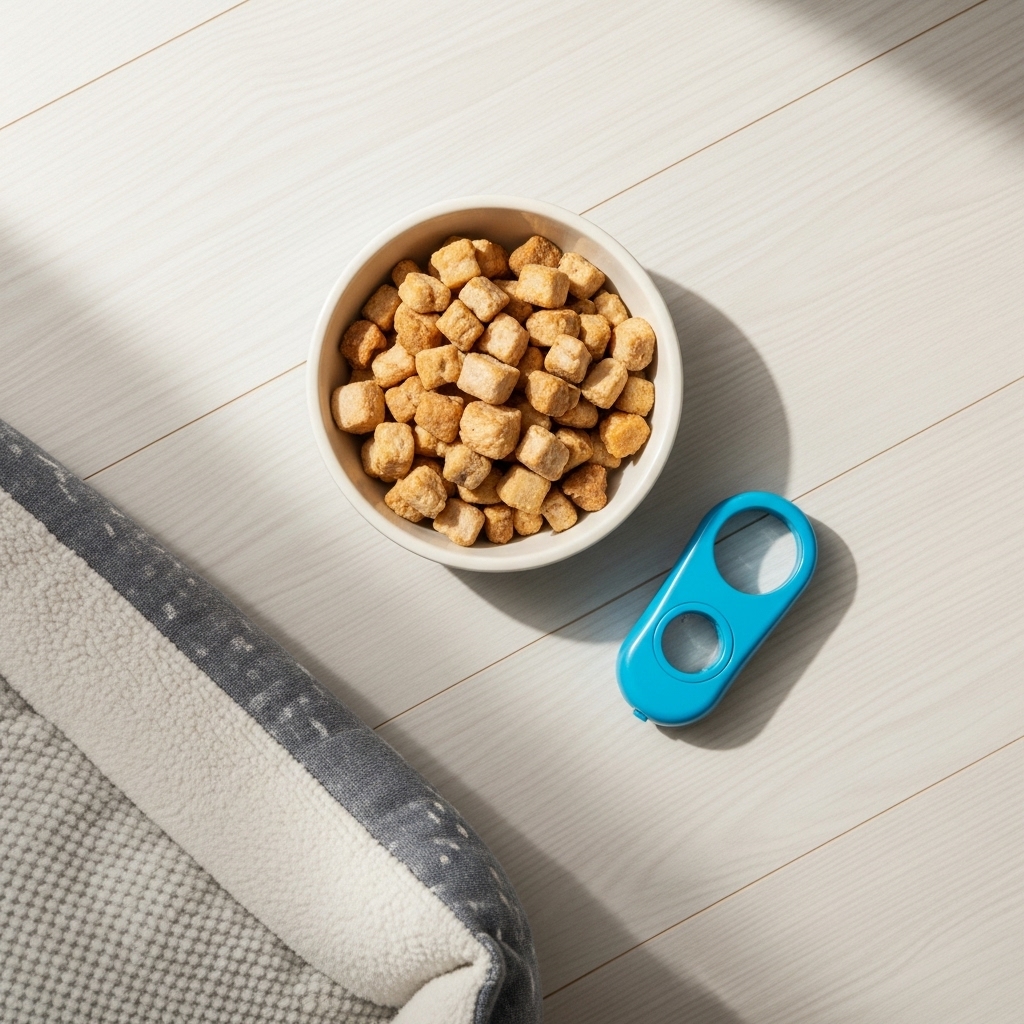
- High-Value Treats: These are the special, extra-yummy treats your dog absolutely loves but doesn’t get every day. Think small pieces of chicken, cheese, or store-bought soft training treats. The goal is to make the reward so enticing that your dog is motivated to work for it.
- A Comfortable Spot: Choose a quiet area free from distractions where your dog can lie down comfortably. A soft rug or their favorite bed is perfect. A relaxed dog is a receptive dog.
- A Clicker (Optional): A clicker is a fantastic tool for marking the exact moment your dog does the right thing. If you’re not familiar with clicker training, you can use a simple, consistent verbal marker like a happy “Yes!” instead.
- Patience and a Positive Attitude: This is the most important tool of all! Training should be fun for both of you. Keep sessions short (5-10 minutes is ideal) to prevent your dog from getting frustrated or bored.
Expert Tip: Start your training session when your dog is calm but not sleepy. A session after a walk (once they’ve had a chance to settle) is often a great time, as they’ve burned off excess energy and are more likely to focus.
The Main Event: Teaching the Paw Cross in 3 Simple Steps
Alright, let’s get to the fun part! This method builds on behaviors your dog might already know and guides them gently toward the final, adorable pose. Remember to praise enthusiastically for every small success!
Step 1: The ‘Paw’ Foundation
The first step is to get your dog to target your hand with their paw while they are lying down. If your dog already knows ‘shake’ or ‘paw,’ you’re ahead of the game!
- Have your dog lie down in a ‘down’ position.
- Hold your hand flat on the floor near one of their paws.
- When they show any interest in your hand (sniffing, touching it with their nose), click (or say “Yes!”) and give them a treat.
- Continue this until they understand that interacting with your hand gets a reward. Soon, they will start touching it with their paw. The moment their paw touches your hand, click and treat. This is the core foundation. Practice with both paws!
Step 2: The Crossover Movement
Now we’ll encourage the crossover motion. This is the trickiest part, so be patient!
- With your dog in the ‘down’ position, place your flat hand on the floor next to their left paw.
- Once they are reliably touching your hand with their left paw, start moving your hand. Place your hand on the other side of their body, just over their right paw.
- Your dog will have to reach across their body and over their other leg to touch your hand. The very first time they make even a slight lean or movement across, click and treat!
- Gradually, you’ll only reward them when their left paw actually crosses over and touches their right paw (or your hand on the other side). This takes time, so celebrate the small wins.
Step 3: Fading the Lure and Adding the Cue
Once your dog is consistently crossing one paw over the other to touch your hand, it’s time to remove your hand lure and add the verbal cue.
- Start making your hand flatter and lower to the ground until it’s barely there. Your dog should start offering the behavior without the hand target.
- When you are confident they will offer the paw-cross, start adding your verbal cue. Just as they begin to move their paw, say your chosen cue, such as “Cross ’em,” “Paws cross,” or “Pretty paws.”
- After they complete the action, click and reward them with a treat and lots of praise.
- Practice, practice, practice! With repetition, your dog will associate the verbal cue with the action, and you’ll have a picture-perfect paw cross on command.
Oops! Troubleshooting Common Paw-blems

Even the best students have off days. If you hit a snag in your training, don’t worry! It’s completely normal. Here are some common issues and how to solve them.
My dog just lifts their paw but won’t cross it.
This usually means the leap to the full crossover was too big. Go back to Step 2. Place your hand closer to the starting paw and only gradually move it across their body, rewarding tiny movements in the right direction. Think baby steps!
My dog gets up from the ‘down’ position.
If your dog keeps breaking their ‘down,’ the session might be too long, or the treats might be too exciting. Keep your sessions short and use smaller, less distracting treats. You can also practice reinforcing their ‘down-stay’ separately to make it stronger.
My dog gets frustrated and starts barking or nibbling.
Frustration is a sign that it’s time for a break. End the session on a positive note. Ask for a simple trick they know well (like ‘sit’), reward them for it, and then end the training session with some playtime or cuddles. Always leave them wanting more!
Remember: Every dog learns at a different pace. The key is to keep it light, fun, and positive. If something isn’t working, take a step back and make it easier for your dog to succeed. Your relationship with your dog is more important than any single trick.
Conclusion
Congratulations! You now have all the tools and steps needed to teach your dog one of the most charming tricks around. By following the three main steps—building the paw foundation, encouraging the crossover, and then adding a cue—you’re well on your way. Remember to keep sessions short, your energy positive, and your treat pouch full.
Training new tricks is more than just about the end result; it’s a fantastic way to stimulate your dog’s mind, build their confidence, and strengthen the incredible bond you share. So have fun with it, cherish the process, and get your camera ready. You’re about to have the most photogenic pup on the block!