Teach Your Dog To Climb A Ladder In 5 Safe Steps (Video Guide)
Have you ever seen a search-and-rescue dog skillfully navigate an obstacle course and wondered, ‘Could my dog do that?’ While your pup might not be destined for disaster relief, teaching them to climb a ladder can be an incredible bonding experience, a great confidence booster, and a seriously impressive party trick! It’s also a practical skill for dogs who join their owners on work sites or boats.
However, this is one trick where safety is non-negotiable. It requires patience, trust, and a clear, step-by-step plan. Rushing the process can lead to fear or injury, undoing all your hard work. In this guide, we’ll walk you through five safe and effective steps to teach your dog to climb a ladder. Ready to take your training to the next level? Let’s get started!
Before You Begin: Safety First and Gearing Up
Before You Begin: Safety First and Gearing Up
Before you even bring your dog near a ladder, we need to set the stage for success. Think of this as your pre-flight check. Proper preparation ensures your dog feels secure and minimizes any risk of accidents. First, let’s talk about the star of the show: the ladder.
Choosing the Right Ladder
Not all ladders are created equal, especially from a dog’s perspective. You’ll want one that is:
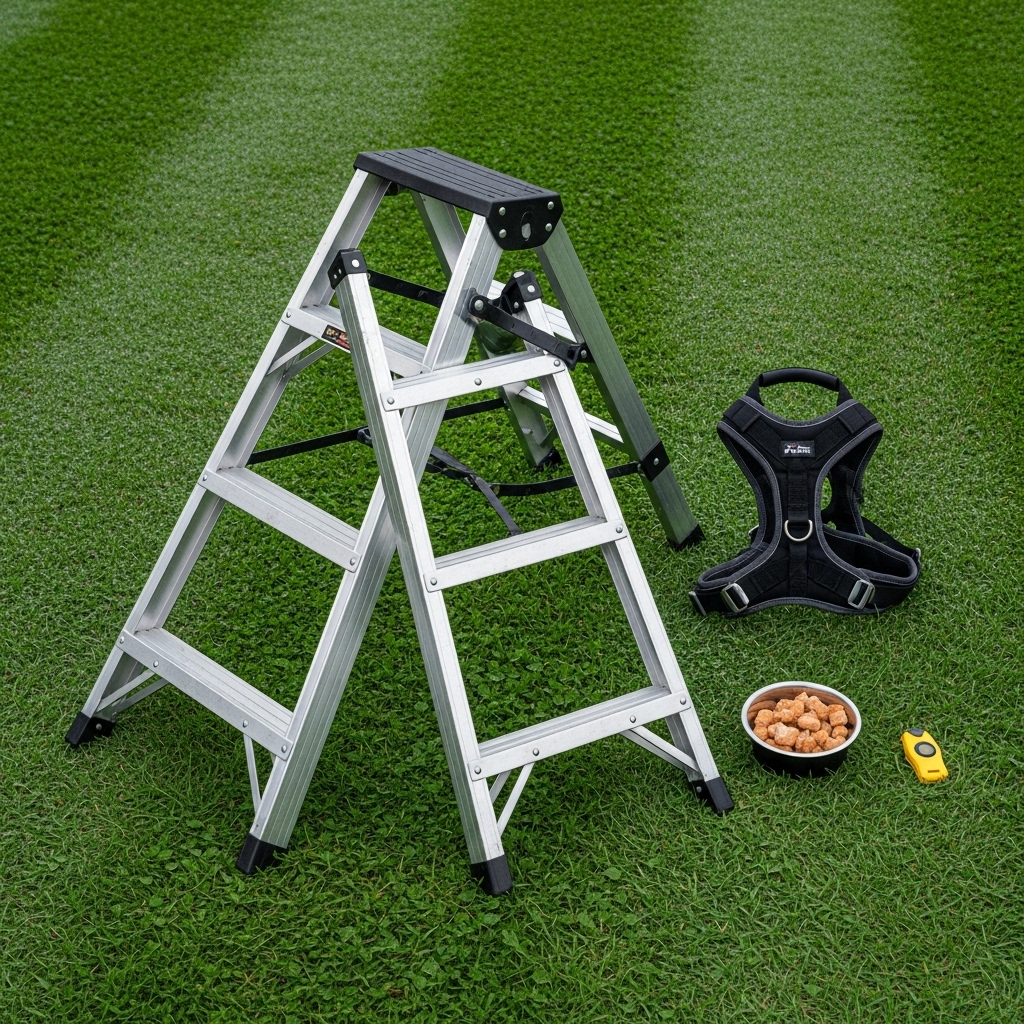
- Sturdy and Stable: An A-frame ladder is often the best choice because it’s self-supporting and less likely to wobble than an extension ladder leaned against a wall.
- Wide Rungs: Look for ladders with flat, wide rungs rather than thin, round ones. This gives your dog a more stable surface for their paws.
- Low Angle: You need to be able to set it at a low, gentle angle to start. A step stool or a very short ladder can be a great starting point.
Essential Gear Checklist
Having the right equipment on hand makes the training process smoother and safer for everyone involved.
- A Well-Fitting Harness: A harness is crucial. It gives you a safe way to guide and support your dog’s weight without putting any pressure on their neck. Choose a sturdy harness with a handle on the back for easy spotting.
- High-Value Treats: This is a big ask for your dog, so you’ll need to break out the good stuff! Think small pieces of cooked chicken, cheese, or their absolute favorite store-bought treats.
- A Non-Slip Surface: Set up your training area on grass, a rug, or non-slip mats. Avoid slick surfaces like tile or hardwood floors where the ladder could slide.
- A Spotter (Optional but Recommended): Especially as your dog starts climbing higher, having a second person to help spot and reward can be incredibly helpful.
Expert Tip: Always perform a safety check on the ladder before each session. Make sure all locks are engaged and it’s placed on level, stable ground. Your dog’s confidence is built on their trust in you and the equipment.
Step 1: Making Friends with the Ladder
Step 1: Making Friends with the Ladder
Your dog’s first interaction with the ladder must be 100% positive. To them, this is a strange, new object. Our goal in this step is to transform the ladder from a weird metal thing into a fun treat dispenser.
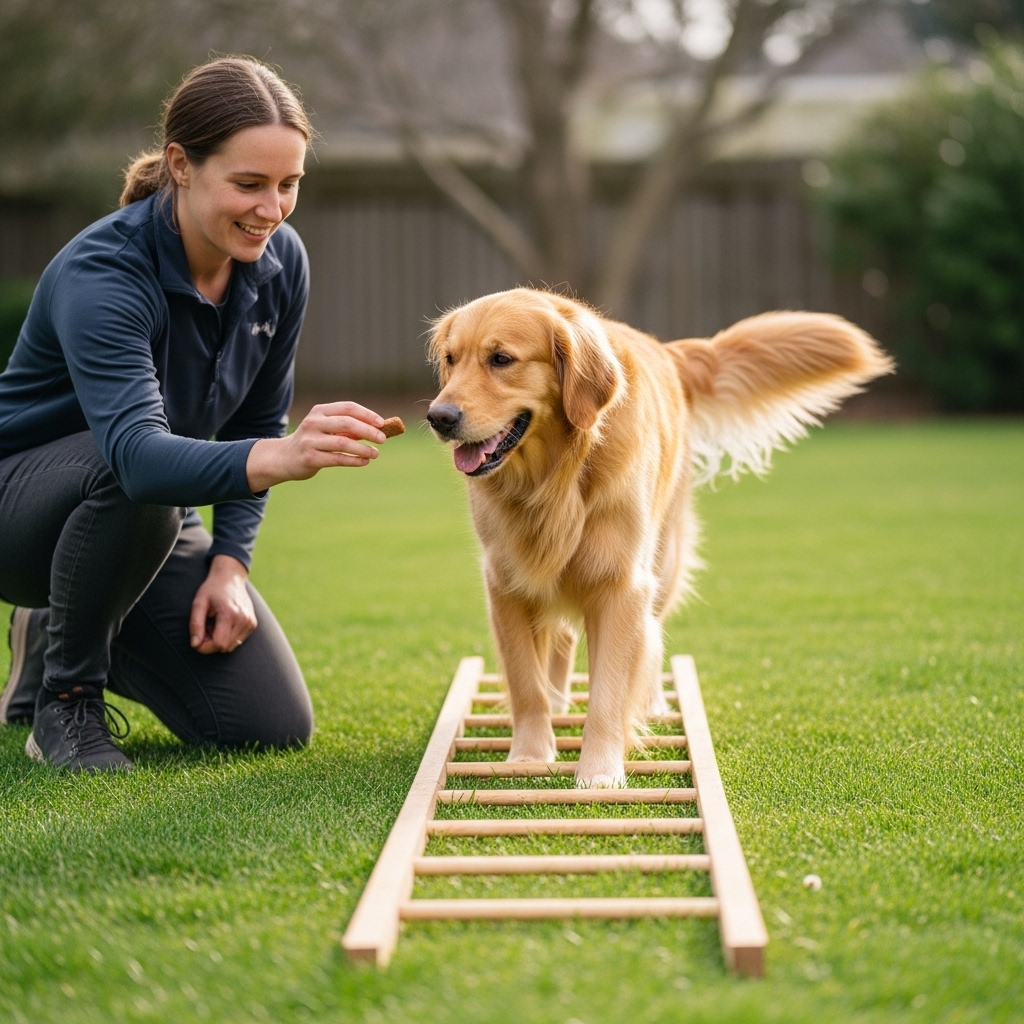
Start by laying the ladder flat on the ground. Don’t ask your dog to do anything yet. Simply let them explore it at their own pace. When they sniff it, praise them and give them a treat. If they ignore it, that’s okay too. Toss a few treats on and around the ladder to encourage them to get close.
Once your dog is comfortable being near the ladder, use a treat to lure them to walk across the rungs while it’s still flat on the ground. Most dogs will happily follow the treat. As they step on the rungs, say ‘Yes!’ or click your clicker and reward them. Repeat this a few times until they are confidently walking back and forth across the flat ladder. Keep the session short and fun—no more than a few minutes. We’re building a foundation of positive association!
Step 2: Conquering the First Rung

Step 2: Conquering the First Rung
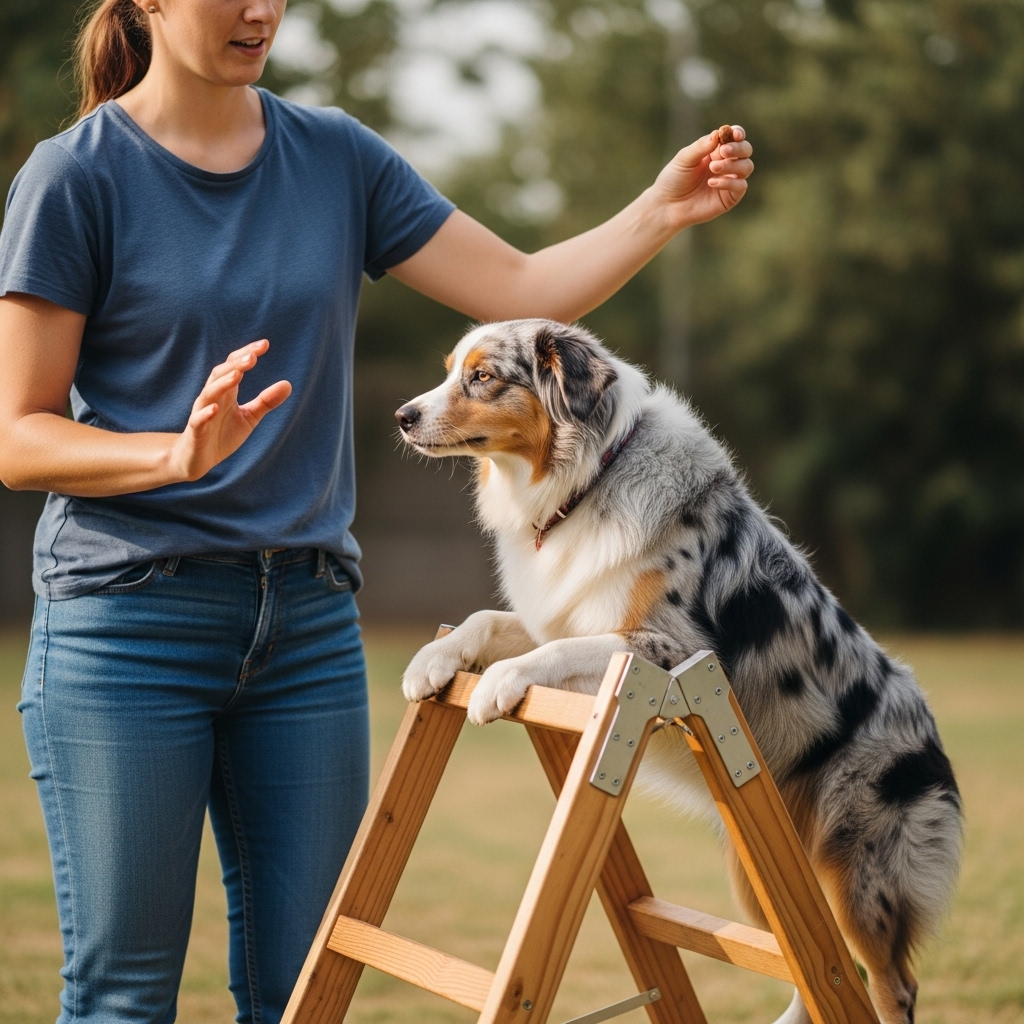
Now that the ladder is a ‘friend,’ it’s time for a tiny bit of elevation. Prop the ladder against something very stable, like a wall or a sturdy piece of furniture, at the lowest possible angle. You could even rest the top rung on a single stair or a curb. The incline should be so slight that it’s barely a climb at all.
Kneel beside the ladder and use a high-value treat to lure your dog’s head up towards the first rung. The goal is to get them to place just one paw on the rung to reach the treat. The moment that paw touches the rung, mark the behavior (‘Yes!’ or a click) and give them the treat. Don’t push for more. Let them take their paw off, and then repeat the process.
After a few successful repetitions with one paw, see if you can lure them into placing two front paws on the first rung. This is a big step! Reward them generously. Your job here is to be the cheerleader. Keep your energy positive and encouraging. If your dog seems hesitant, that’s a sign to go back to the previous step or simply end the session for the day on a positive note.
Step 3: Building Confidence with Ascent
Step 3: Building Confidence with Ascent
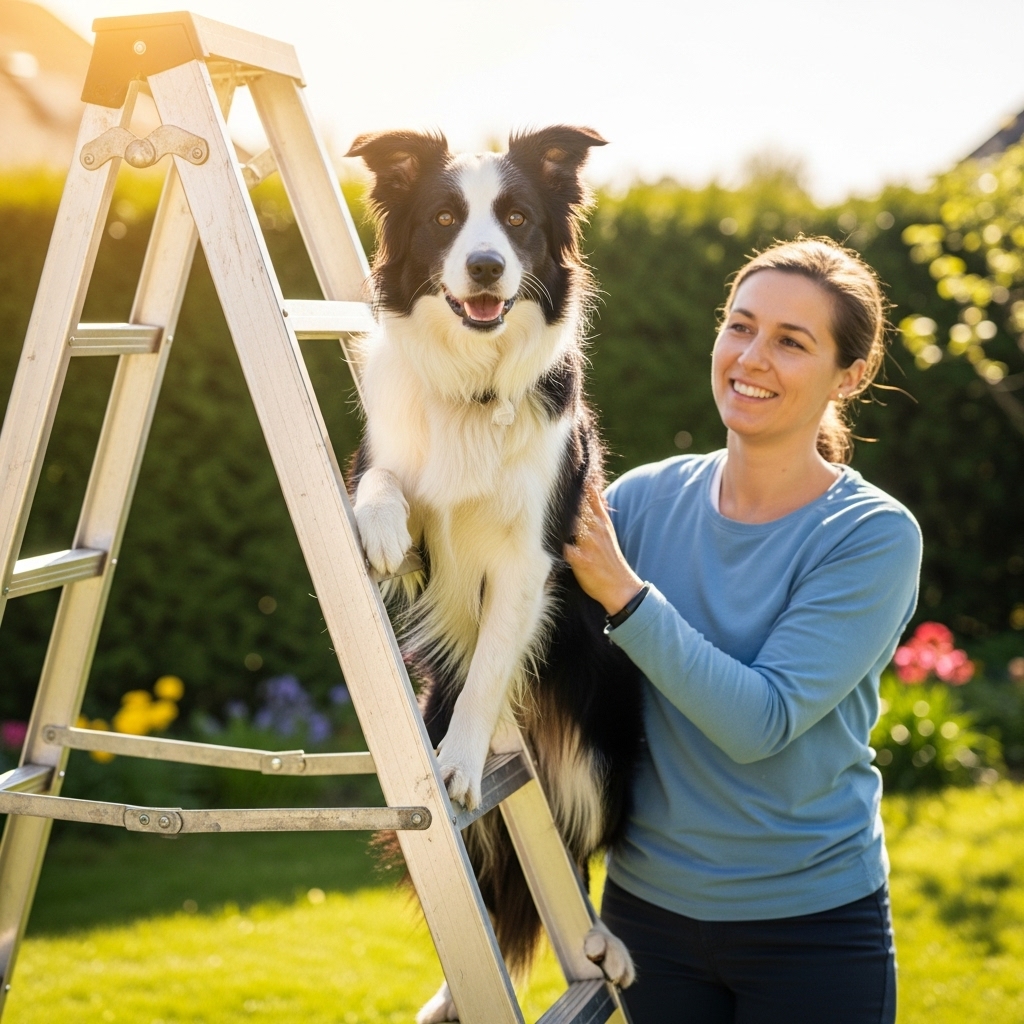
This is where the real climbing begins! Once your dog is confidently putting their front paws on the first rung, it’s time to encourage them to move up. Keep the ladder at a low angle. Use a treat to lure them from the first rung to the second. As they move their front paws up, they will naturally need to bring their back paws onto the first rung.
This is a critical moment. Praise them enthusiastically! Use your hand (or the handle on their harness) to provide gentle, reassuring support under their belly or on their back. Don’t lift them, just let them feel your steadying presence. This builds their trust and confidence.
Gradually, over many short training sessions, you can start to increase the angle of the ladder. Go slowly! A few degrees at a time is plenty. The goal is for your dog to remain comfortable and confident. If they show any signs of fear—like hesitation, trembling, or trying to bail—you’ve increased the difficulty too quickly. Lower the angle back to where they were last successful and practice a few more times there before trying to increase it again. Always end on a successful climb, even if it’s just one rung.
Step 4: Mastering the Descent (What Goes Up Must Come Down)
Step 4: Mastering the Descent (What Goes Up Must Come Down)
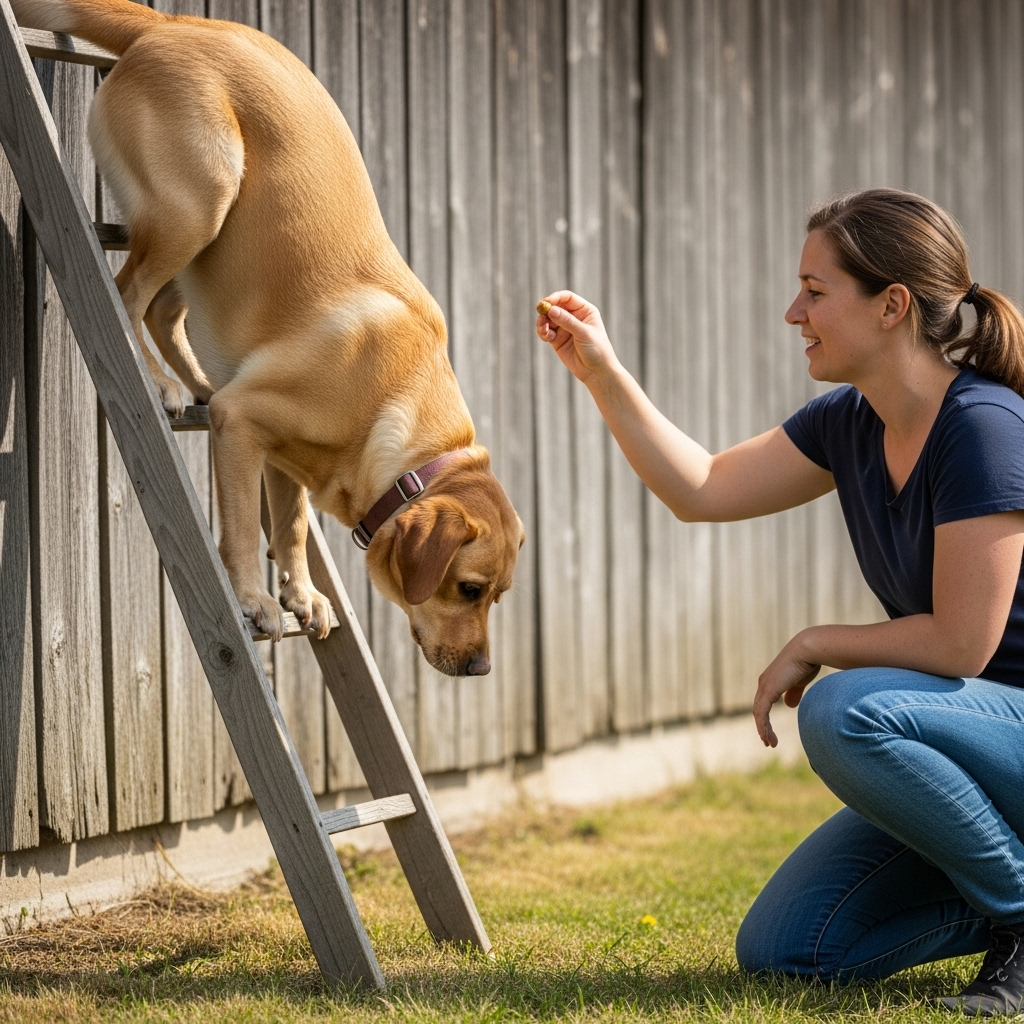
Climbing up is only half the battle; climbing down is a completely different skill that requires coordination and body awareness. Never let your dog jump down from a ladder, as this can cause serious injury.
The safest way for most dogs to descend is by backing down. From the second or third rung, hold a treat near their nose and slowly lure their head downwards and back. This will encourage them to take a step backward with a rear paw to the rung below. This is tricky and feels unnatural to many dogs, so be incredibly patient.
Reward any small backward movement. You may need to gently guide their hips or paws to help them understand the motion. Keep your hand on their harness for support. Practice descending from a low height over and over until they get the hang of it. For platform-style ladders, you can teach your dog to turn around on the platform and walk down, which is often easier. But for a standard ladder, backing down is the essential skill to master. This step can often take longer than teaching the ascent, so be patient and keep it positive.
Conclusion
You Did It! Now, Keep Practicing.
Congratulations! By following these steps with patience and positivity, you’ve taught your dog an amazing and complex new skill. You’ve also strengthened your bond and communication in the process. Remember to keep practice sessions short, fun, and always end on a high note.
Not every dog will be a natural climber, and that’s perfectly okay. Pay attention to your dog’s body language and never force them to do something they are truly afraid of. The goal is to build confidence, not create fear. With continued safe practice, your pup will be scrambling up ladders like a pro in no time. Now go show off that incredible new trick!