Hollywood Dog Secrets: How to Teach Your Dog to Fake a Limp for Fun
Have you ever watched a movie and thought, ‘Wow, how did they get that dog to do that?’ From playing dead to fetching a specific item, Hollywood dogs are true professionals. Well, it’s time to bring a little bit of that movie magic into your own home! Teaching your dog fun tricks is more than just a cute party piece; it’s a fantastic way to strengthen your bond, boost their confidence, and provide essential mental stimulation.
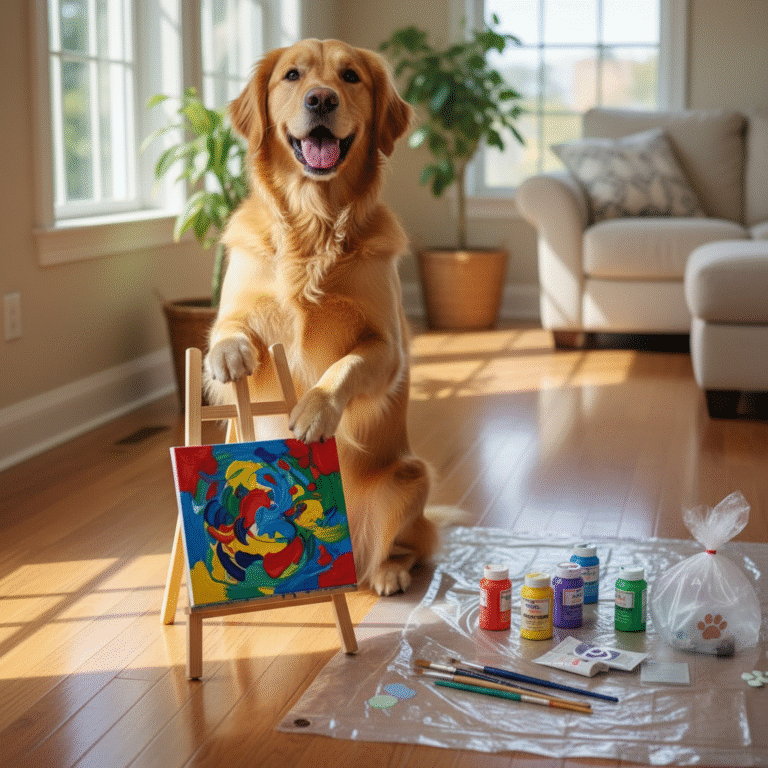
One of the most classic ‘performance’ tricks is the fake limp. It’s adorable, funny, and surprisingly easy to teach with a little patience and a lot of positive reinforcement. In this guide, we’ll walk you through the exact steps to turn your canine companion into a little actor, all while having a great time together. So grab some treats, and let’s get ready for your dog’s big debut!
Gathering Your Props: What You’ll Need for Stardom
Before you can yell ‘Action!’, you need to get your set ready. The good news is that you don’t need any fancy or expensive equipment for this trick. In fact, you probably have everything you need right at home. Here’s your simple checklist:
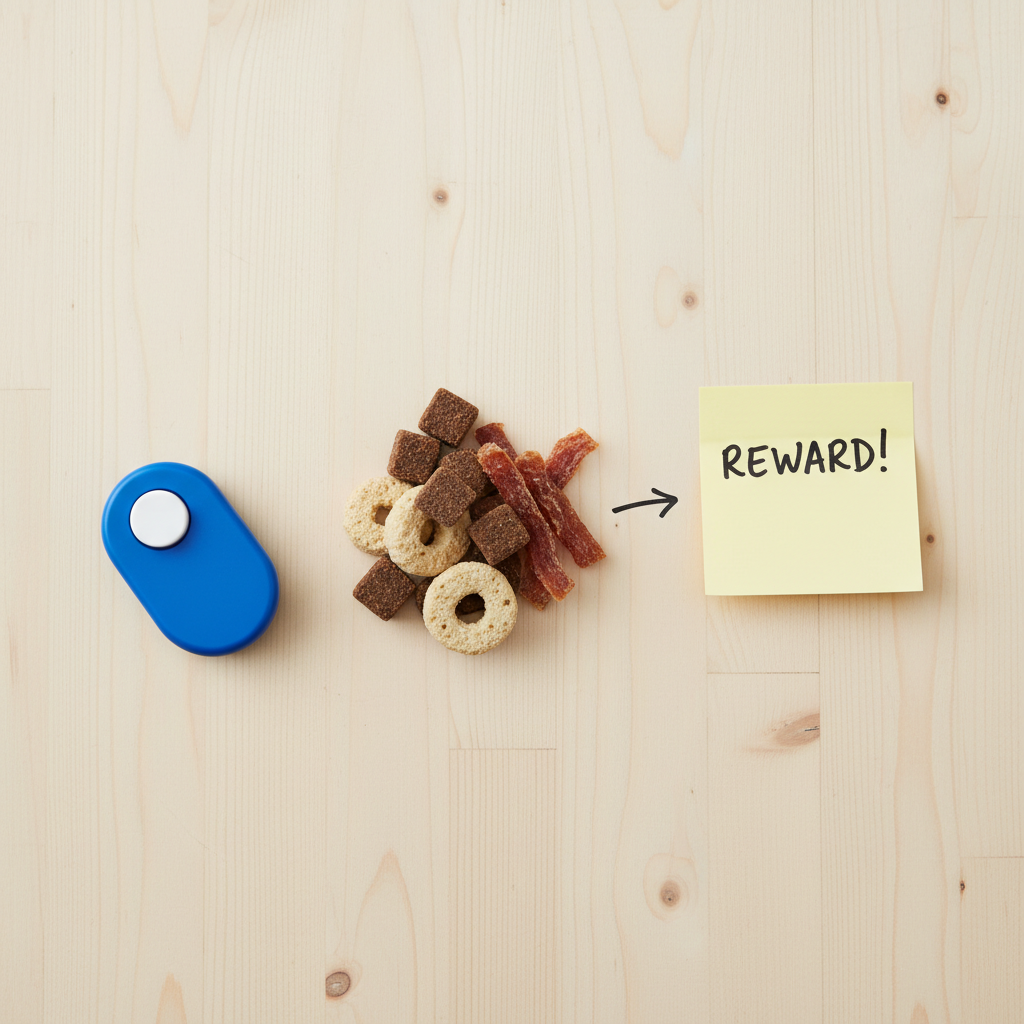
- High-Value Treats: We’re not talking about their everyday kibble. For a performance this special, you need the good stuff! Think small pieces of chicken, cheese, freeze-dried liver, or their absolute favorite store-bought training treats. The goal is to make the reward so exciting that your dog is super motivated to work with you.
- A Clicker (Optional): If you’re familiar with clicker training, this is a perfect time to use it. A clicker is a tool that makes a distinct ‘click’ sound to mark the exact moment your dog does the right thing. It provides clear communication, but if you don’t have one, a consistent verbal marker like a sharp ‘Yes!’ works just as well.
- A Sticky Note or a Small Piece of Tape: This is our secret Hollywood prop! A standard, small Post-it note or a piece of low-tack painter’s tape is perfect. It needs to be just sticky enough to cling to their fur for a second but not so sticky that it pulls or causes any discomfort.
- A Quiet, Comfortable Training Space: Choose a room with minimal distractions where your dog feels relaxed. A soft rug or carpet is ideal, as you don’t want them slipping while trying to balance on three legs.
- Patience and a Positive Attitude: This is the most important tool of all! Every dog learns at a different pace. Keep sessions short (5-10 minutes max), fun, and always end on a positive note.
The Director’s Cut: A Step-by-Step Guide to the Limp
Alright, it’s time for the main event! We’re going to break this down into small, easy-to-manage steps. Remember to give lots of praise and rewards at every stage. Let’s get started!
-
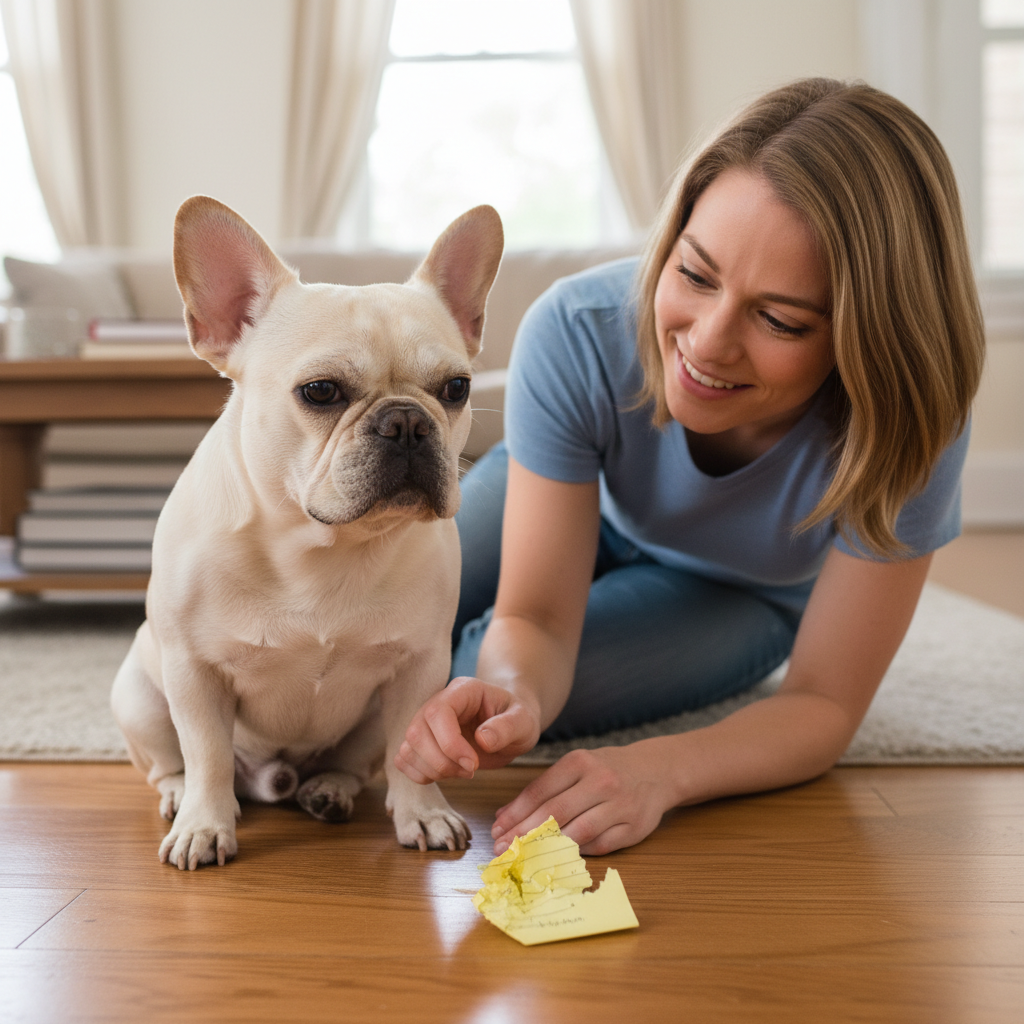
Step 1: Introduce the Prop
First, we need to make sure the sticky note isn’t scary. Let your dog sniff it. The moment they touch it with their nose, click (or say ‘Yes!’) and give them a treat. Do this a few times until they see the sticky note and think, ‘Oh, that thing brings me snacks!’
-
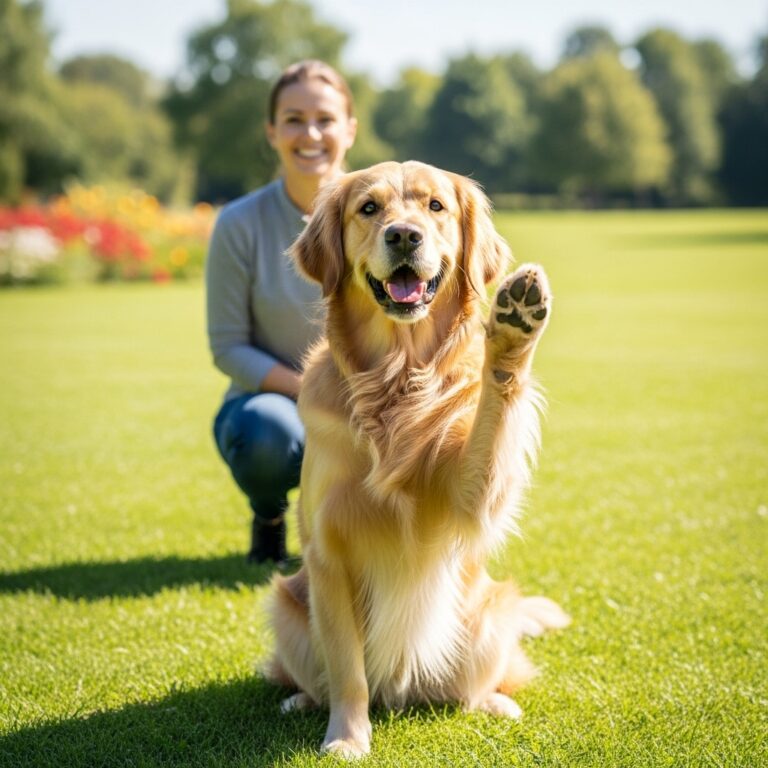
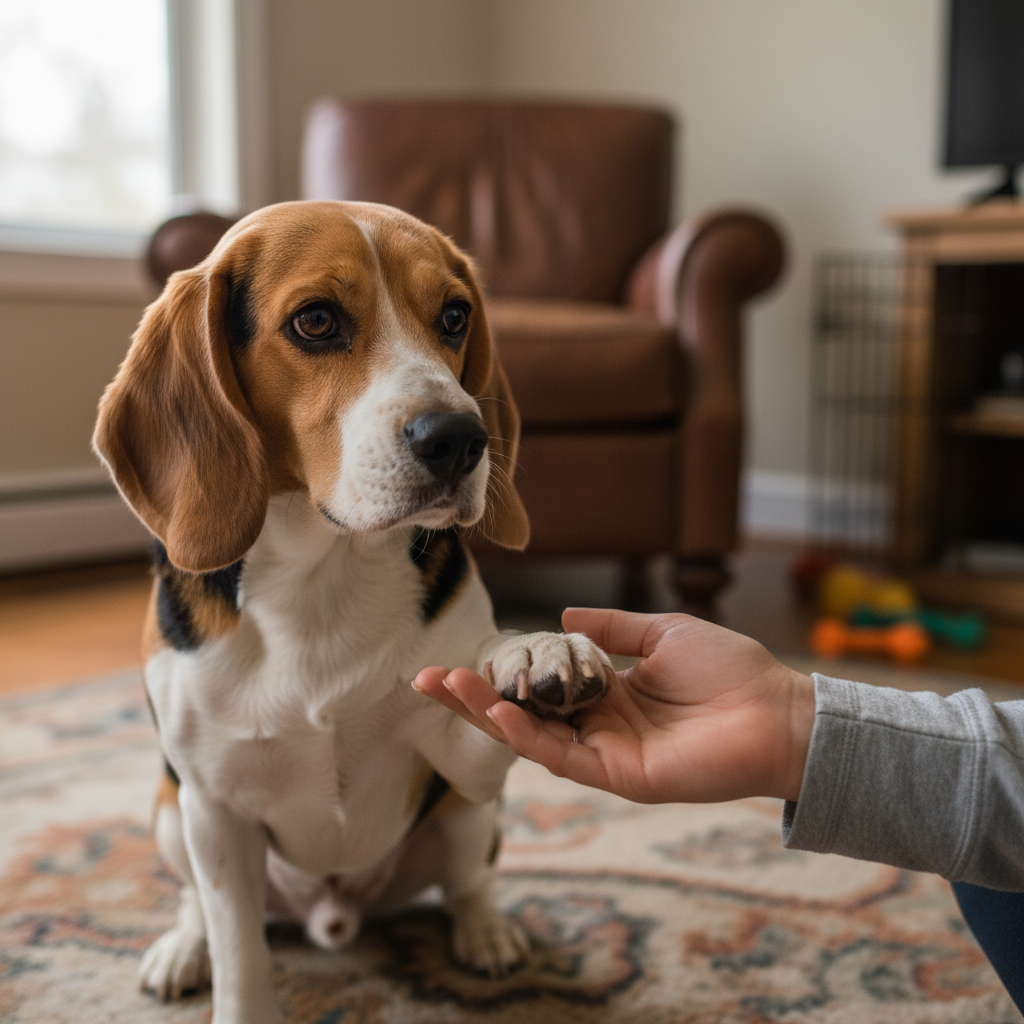
Step 2: The Paw Lift
Now for the key moment. While your dog is standing or sitting, gently and quickly press the sticky part of the note onto the top of one of their front paws. Don’t press hard; just enough for it to stick. Most dogs will feel this strange new sensation and instinctively lift their paw to investigate or shake it off. The instant their paw comes off the ground, click/say ‘Yes!’ and give them a jackpot of treats. This is a big win! Repeat this step several times, always rewarding the lift. If the note falls off, no big deal, just grab it and try again.
-
Step 3: Fading the Prop
Once your dog is reliably lifting their paw as soon as the note touches it, it’s time to start ‘fading’ the prop. Pretend to put the note on their paw, but just touch their paw with your fingers instead. When they lift their paw in anticipation, have a party! Click, treat, and praise them. Gradually, you’ll move from a full touch to just gesturing towards their paw.
-
Step 4: Adding the Verbal Cue
Now that your dog understands the gesture, we can add a verbal cue. Right before you give your hand signal, say your chosen cue word clearly. Fun options include ‘Ouchie!’, ‘Gimme a limp!’, or simply ‘Limp!’. As soon as they lift their paw after hearing the word and seeing the gesture, reward them. Over time, they will associate the word itself with the action, and you can begin to phase out the hand signal.
-
Step 5: Adding Movement
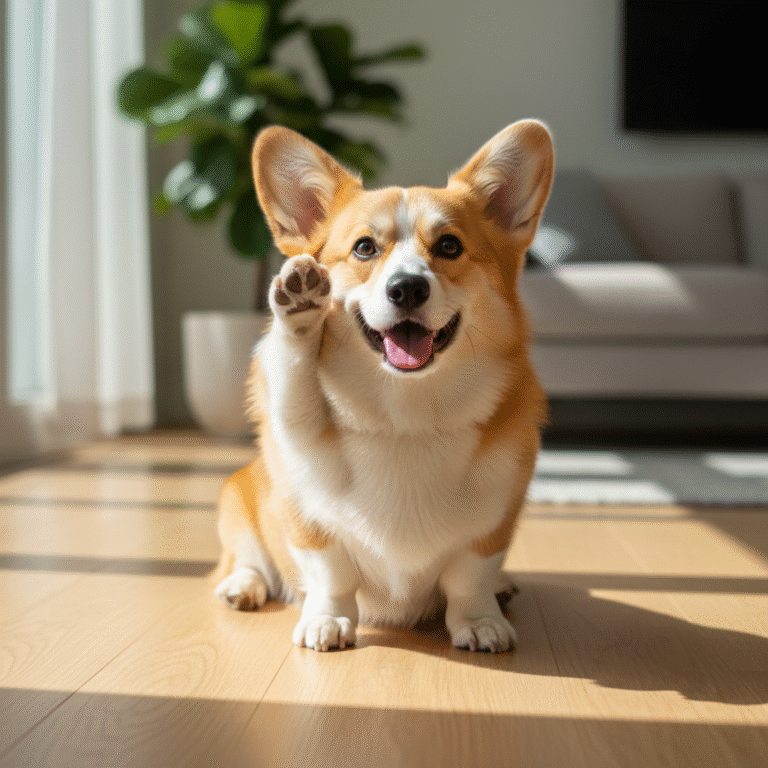
This is where the ‘limp’ really comes to life. With your dog holding their paw up, take one step backward and encourage them to follow you. They will naturally hop or ‘limp’ on three legs to come toward you. The moment they take that first limping step, reward them enthusiastically. Start with just one step, then gradually ask for two or three before giving the reward. This builds duration and turns the paw lift into a convincing performance.
Expert Tip: Keep your training sessions short and sweet! A few 5-minute sessions throughout the day are far more effective than one long, frustrating 30-minute session. Always end with a successful repetition so your dog feels like a winner.
Troubleshooting: When Your Star Isn’t Ready for Their Close-Up
Even the best actors flub their lines sometimes. If you hit a snag in your training, don’t worry! It’s completely normal. Here are some common issues and how to solve them:
- ‘My dog just tries to eat the sticky note!’
This is a common one! If your dog is more interested in eating the prop than reacting to it, try using a less-tasty alternative like low-tack painter’s tape. Also, make sure your rewards are way more exciting than the note. The goal is to teach them that ignoring the note and lifting their paw is what gets them the good stuff.
- ‘My dog isn’t lifting their paw at all.’
If your dog is unfazed by the sticky note, you may need to go back a step. You can gently tickle the hair on their paw or tap it lightly to encourage a lift. The second you see any weight shift or a tiny lift, reward it! This is called ‘shaping,’ where you reward small approximations of the final behavior until you get the full action.
- ‘They put their paw down immediately.’
This is a duration issue. Your dog knows the action but doesn’t know you want them to hold it. Delay your click/reward by just a single second. They’ll likely keep their paw up, wondering where the treat is. Click and reward for that extra second of hold. Slowly increase the duration over many repetitions.
- ‘My dog seems stressed or frustrated.’
This is a clear signal to end the session. Training should always be fun. If your dog is yawning, licking their lips excessively, or avoiding eye contact, they’re feeling pressured. Take a break, play a game of fetch, and try again later with an easier step they can succeed at. It’s all about building confidence!
A Note from the Producer: The Ethics of Faking It
The Important ‘Do Nots’ of the Limp Trick
Now that you have this amazing new trick in your repertoire, we need to have a serious chat. This trick is for fun, entertainment, and bonding only. It is a performance piece, not a tool for deception.
NEVER Use This Trick to Deceive Anyone
It might seem funny to trick a friend or a stranger on the street, but it’s crucial that you never, ever use this trick in a situation where it could be mistaken for a real injury. Most importantly, do not perform this trick at a veterinarian’s office or a groomer’s. These professionals need to be able to trust what they see to provide the best care for your animal. Causing a false alarm wastes their time and could lead to unnecessary and stressful tests for your dog.
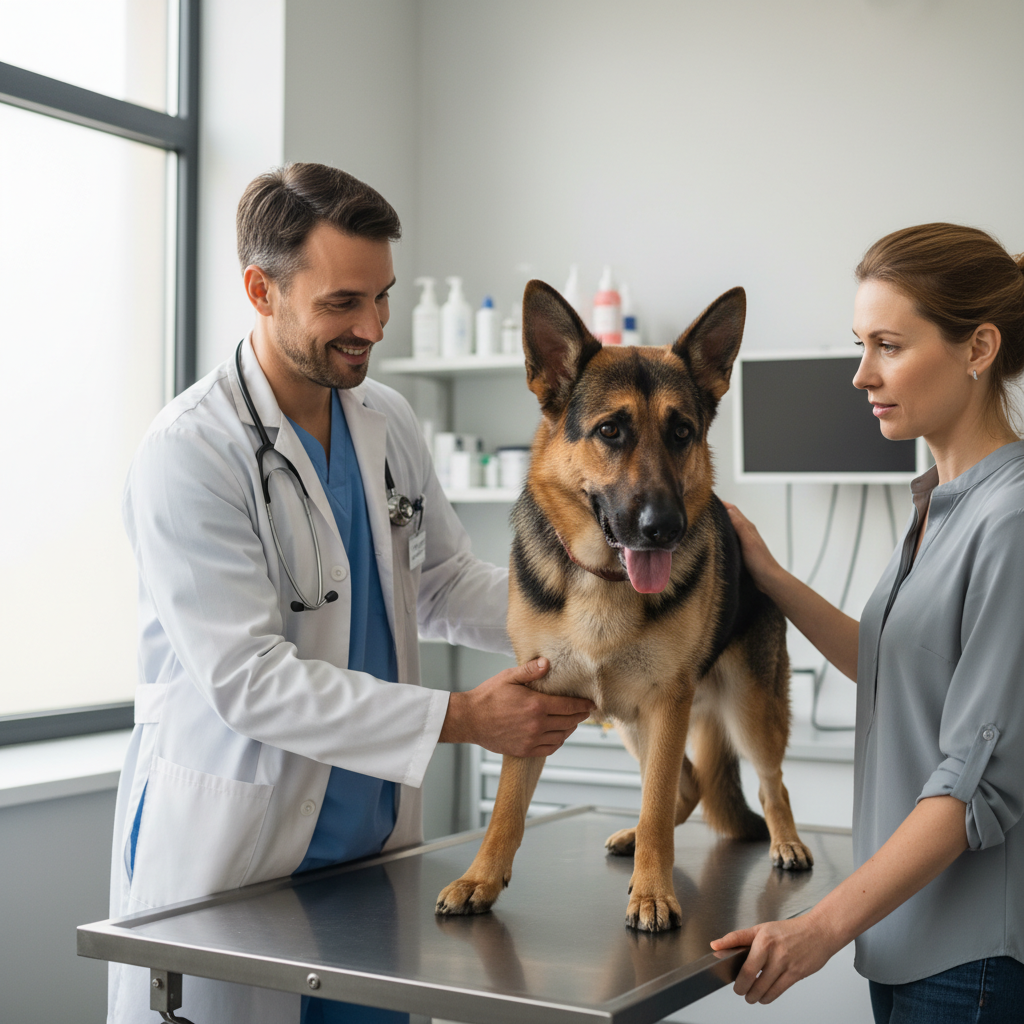
Always Rule Out a Real Injury First
Before you even begin training this trick, and any time you see your dog limping, your first thought should always be to check for a real injury. A limp is a primary sign of pain in dogs. Gently examine their paw, pads, and leg for any cuts, thorns, swelling, or sensitive spots. If your dog is limping when you haven’t cued them to do so, it’s time to call the vet, not the casting director. Your dog’s health and well-being must always be the number one priority.
A Final Word: This trick is a testament to your dog’s intelligence and your amazing partnership. Use it to bring smiles to people’s faces and to celebrate the incredible bond you share. Keep it positive, keep it fun, and keep it honest.
Conclusion
Congratulations, you’ve officially taught your dog a piece of Hollywood magic! You’ve not only added an impressive trick to their skill set but have also spent quality time engaging their brain and strengthening your incredible bond. Remember that the process of training is just as important as the final result. Every treat, every bit of praise, and every successful step builds your dog’s confidence and deepens their trust in you.
So go ahead, show off your clever pup’s new talent to friends and family. Let them have their moment in the spotlight! Just remember to always keep it fun and positive. Now, what trick will you teach them next? The possibilities are endless!