Skater Pup 101: How to Safely Teach Your Dog to Ride a Skateboard
Seeing a dog confidently gliding on a skateboard is one of those things that just makes you smile. It looks cool, it’s impressive, and it seems like the ultimate trick. But is it just for a few naturally gifted pups we see on the internet? Absolutely not! With the right approach, a whole lot of patience, and a focus on fun, you can teach your dog the basics of skateboarding. It’s an incredible bonding experience and a fantastic way to provide mental and physical stimulation.
Before we get rolling, it’s important to remember that safety is the number one priority. This guide is all about positive, force-free training. We’ll break down the entire process into easy-to-follow steps, from picking the right gear to mastering the first push. Ready to turn your canine companion into the coolest pup on the block? Let’s do this!
Is Your Dog a Good Candidate for Skateboarding?
Before you even buy a skateboard, let’s talk about the most important part of the equation: your dog! Not every dog is built for or interested in becoming a skater. Here’s what to consider:
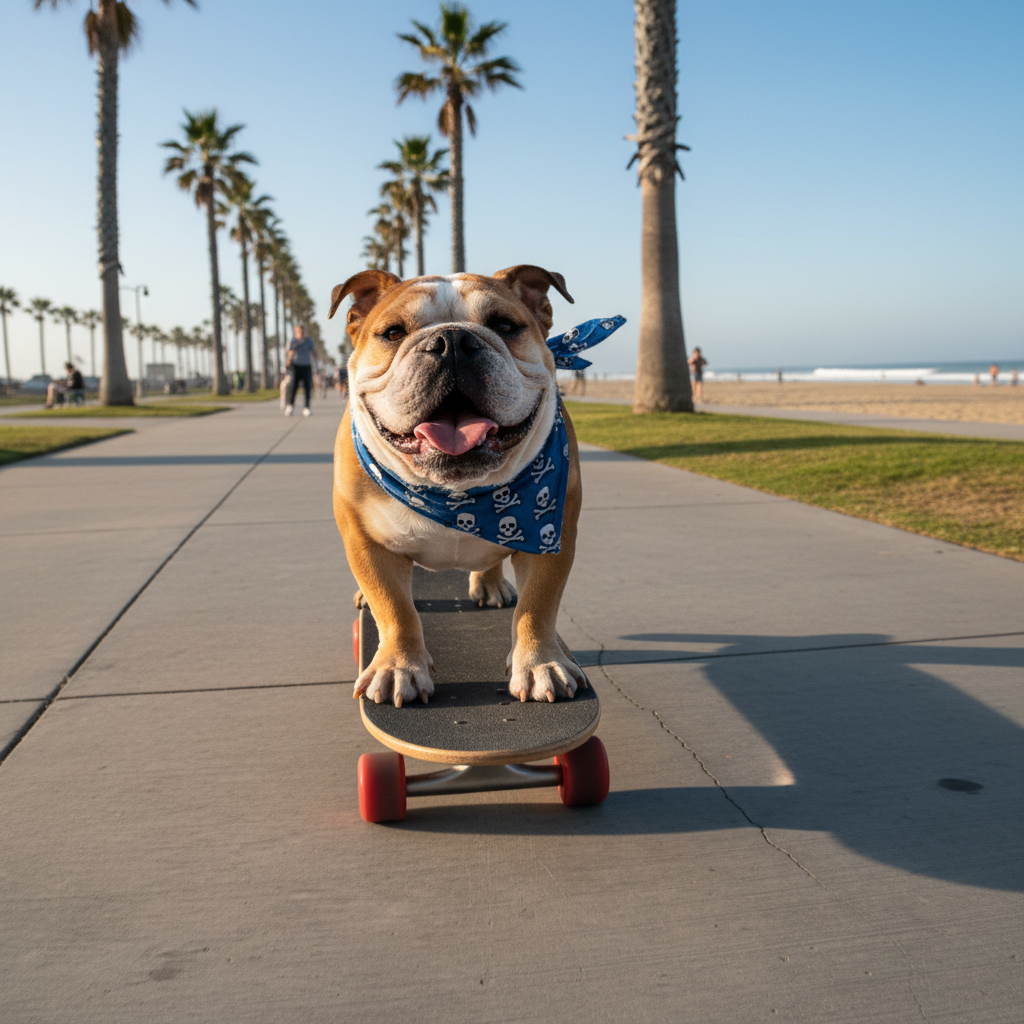
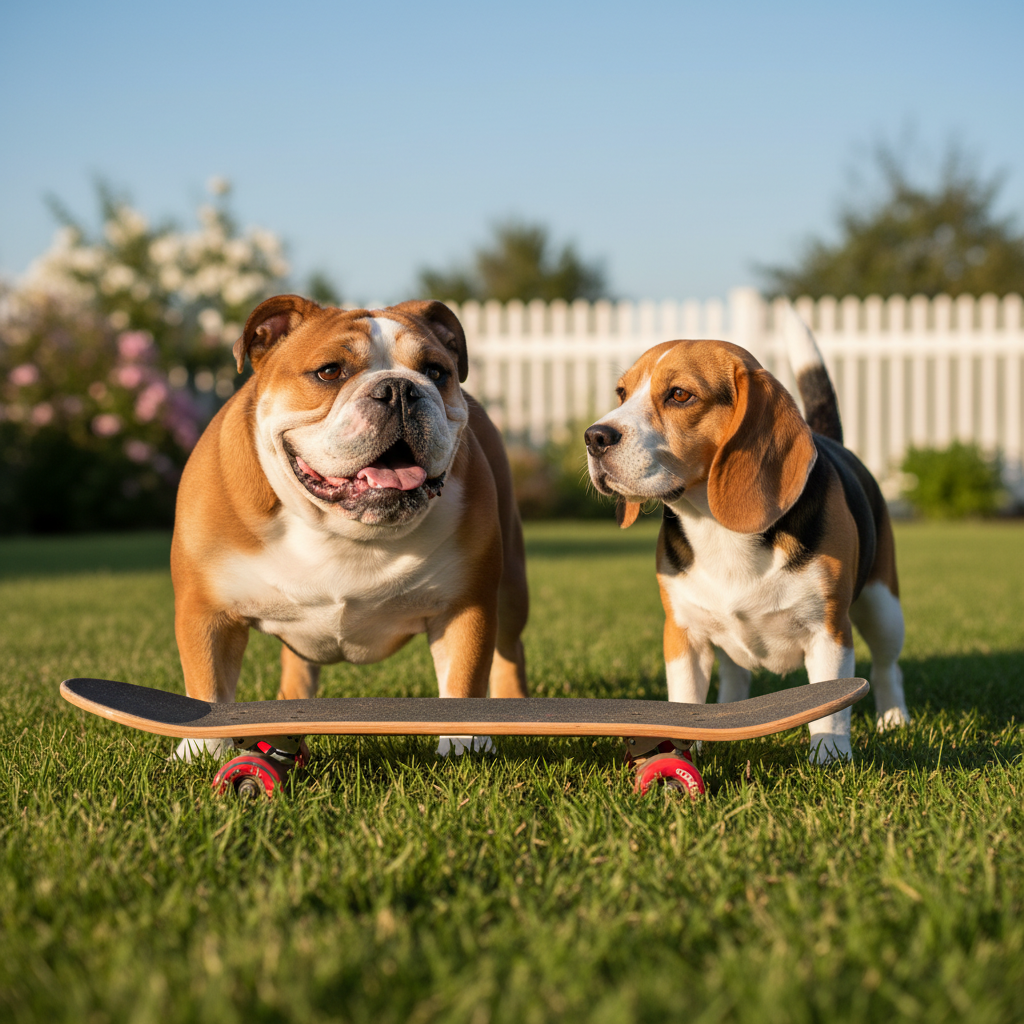
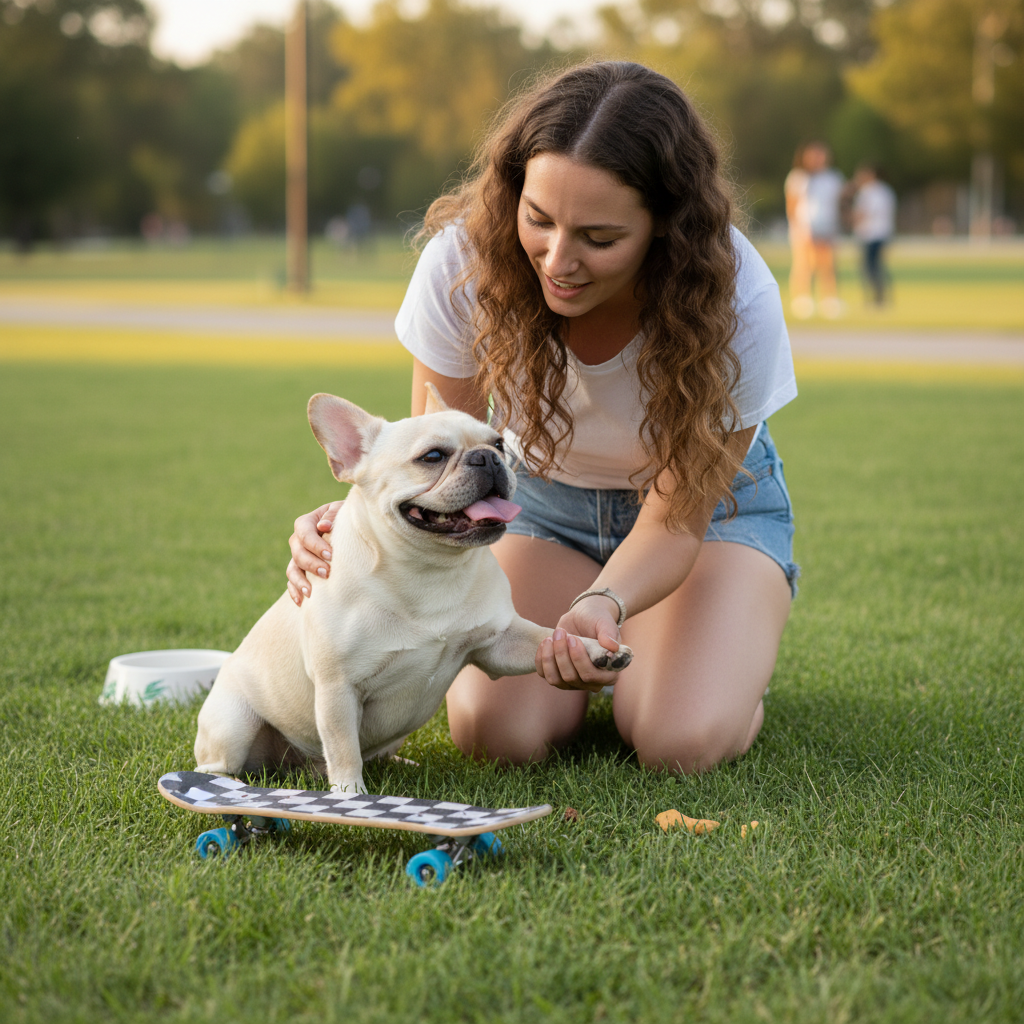
- Breed and Build: Dogs with a low center of gravity, like Bulldogs, Basset Hounds, and some terriers, often take to skateboarding more naturally. Their stout bodies provide better stability. That doesn’t mean other breeds can’t learn, but their body shape might make it more challenging.
- Personality: A confident, curious, and playful dog is an ideal student. If your dog is generally anxious, fearful of new objects, or noise-sensitive, skateboarding might be too stressful for them. The goal is fun, not fear.
- Physical Health: Skateboarding is a physical activity. Your dog should be in good health, with no joint issues like hip dysplasia or arthritis. If you have any doubts, a quick check-up with your vet is a great idea. Just mention you’re considering this new activity and get their professional opinion.
- Age: While you can teach an old dog new tricks, it’s best to avoid this activity with senior dogs who may have unseen aches and pains. Puppies whose growth plates haven’t closed should also wait until they are fully grown to prevent injury.
Expert Tip: Don’t force it. If your dog shows persistent signs of stress or disinterest after a few short, positive sessions, it’s okay to accept that this just isn’t their sport. There are plenty of other fun activities you can do together!
Gathering Your Gear: The Skater Pup Starter Kit
Having the right equipment is crucial for both safety and success. You don’t need to break the bank, but investing in a few key items will make the learning process smoother and safer for your pup.
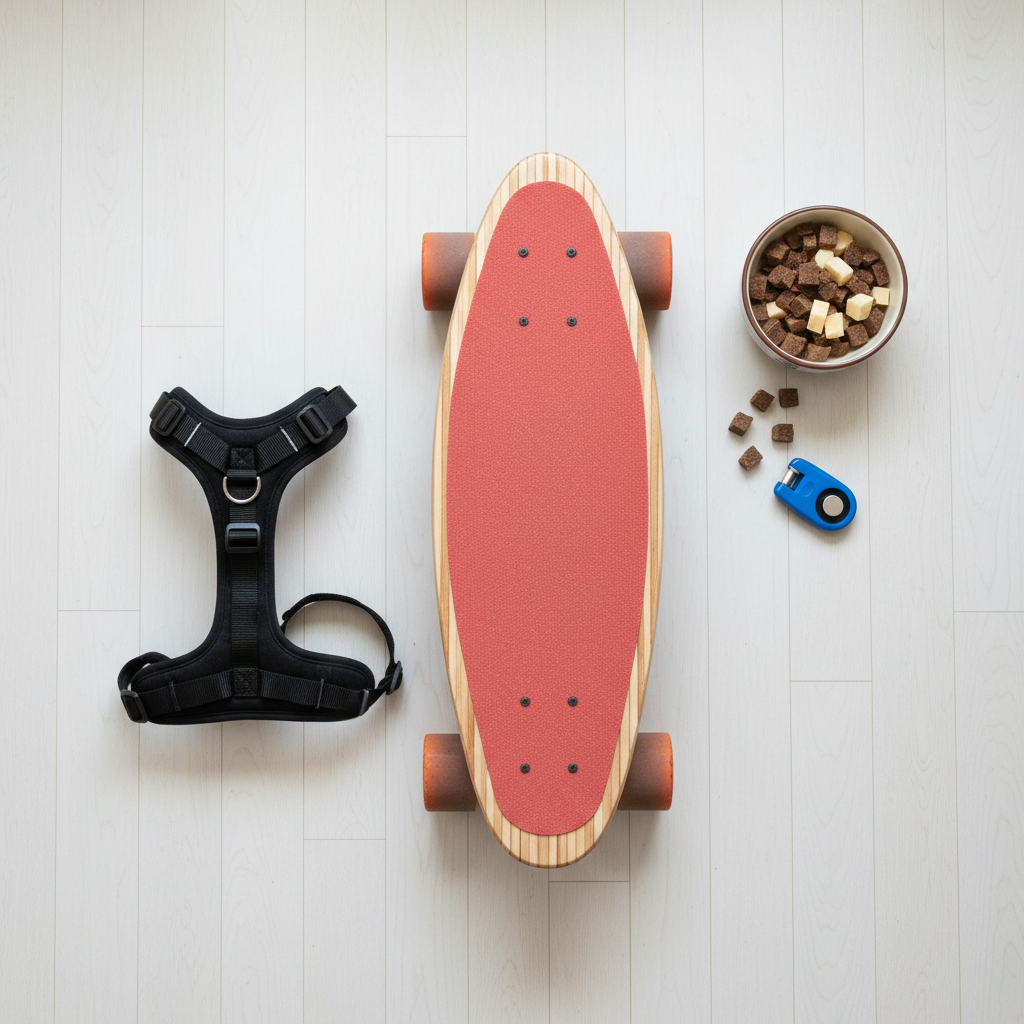
- The Right Skateboard: Look for a board with a wide, long deck. This provides more surface area and stability for your dog. Avoid narrow trick boards and cheap, plastic toy boards. A standard longboard or an old-school cruiser is often a perfect choice.
- A Non-Slip Surface: Most skateboards come with grip tape, which is great for shoes but can be abrasive on paw pads. You might consider adding a layer of rubber matting or a yoga mat cut to size on top of the deck to provide grip without irritation.
- A Comfortable Harness: Never attach a leash to your dog’s collar for this activity. A well-fitting back-clip harness gives you better control without putting any pressure on your dog’s neck if they decide to bail.
- High-Value Treats: This is the time to break out the good stuff! Small, tasty treats that your dog absolutely loves will be your primary tool for motivation. Think tiny pieces of cheese, chicken, or their favorite soft treat.
- A Safe Training Space: Find a large, flat, and smooth surface that is free from traffic and major distractions. An empty tennis court, a smooth patio, or a quiet, empty parking lot are all great options. Avoid areas with cracks, rocks, or hills.
The Step-by-Step Training Plan: From Stand to Glide
Patience is your best friend here. These steps might take days, or even weeks. Keep your training sessions short (5-10 minutes max) and always end on a positive note. Let’s get started!
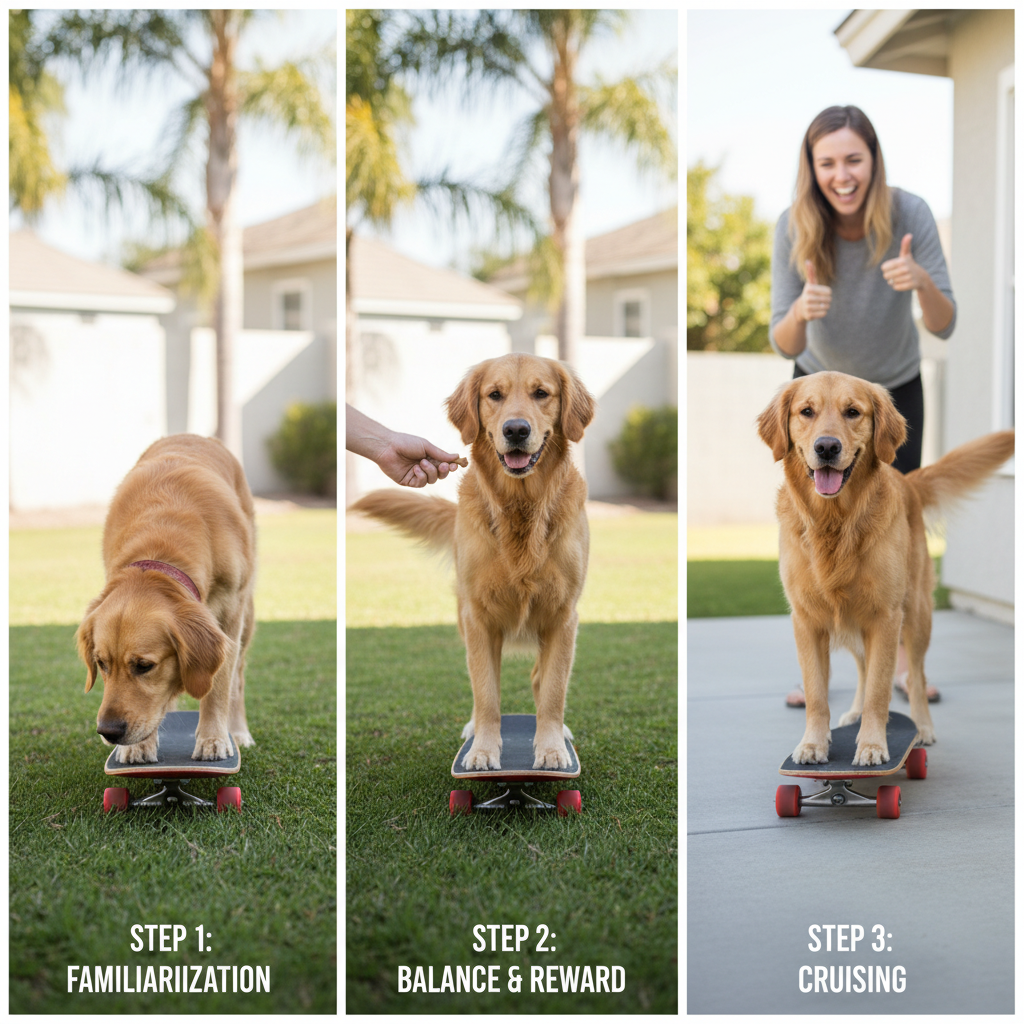
Step 1: Get Acquainted with the Board
Place the skateboard on a soft surface like grass or a rug to keep it from rolling. Let your dog approach it on their own terms. Click and treat for any interaction: sniffing it, touching it with their nose, or placing a paw on it. The goal is to build a positive association. The board is not scary; it’s a treat machine!
Step 2: Paws on Deck
Once your dog is comfortable around the stationary board, it’s time to encourage them to get on. Use a treat to lure them into placing one paw, then two paws on the deck. Reward each step. Work up to luring them to stand with all four paws on the board. Shower them with praise and treats when they do! Don’t ask for a long stay; just a second or two is a huge win at first.
Step 3: Introduce a Little Wiggle
With your dog standing on the board (still on the grass or rug), gently rock it from side to side. Just a tiny bit of movement. Give them a treat for staying on. This helps them get used to the sensation of the board being unstable under their feet. If they jump off, that’s okay! Just lure them back on and try again with even less movement.
Step 4: The First Ride
Move to your smooth, hard training surface. With your dog on the board, give it a very, very gentle push for just a foot or two. As soon as it stops, give them a treat and lots of praise. You are now their chauffeur! Keep these first rides short and slow, gradually increasing the distance as their confidence grows.
Step 5: Encouraging the Push
This is the most advanced step and not all dogs will get here. The goal is to teach them to propel themselves. You can start by placing a treat on the ground just in front of the board. To get it, they’ll likely keep their back paws on the board and step off with their front paws. When they step back on, their motion might accidentally push the board. Mark and reward this! Alternatively, you can try jogging alongside them and luring them to ‘paw’ at the ground, which can translate into a push. This step requires the most patience and creativity!
Safety First! Essential Rules for the Road
Fun should never come at the expense of safety. Keeping your dog safe is your most important job as their trainer and best friend. Follow these rules without exception.
- Always Supervise: Never let your dog skateboard without you right there next to them.
- Choose Safe Locations: Stick to flat, smooth, enclosed areas away from cars, crowds, and other potential hazards. Never let your dog skate in the street.
- Check Their Paws: After every session, check your dog’s paw pads for any scrapes, cuts, or irritation from the ground or the board.
- Know When to Quit: Keep sessions short and sweet. If your dog seems tired, frustrated, or is panting heavily, it’s time to stop. Always end on a high note before they get overwhelmed.
- Never Force or Pull: Do not pull your dog on the skateboard with a leash. This is incredibly dangerous and can lead to serious injury. The dog must be in control of getting on and off the board at all times.
- Watch Out for Hills: A small incline can quickly turn into a high-speed danger. Stick to level ground until your dog is an absolute pro, and even then, use extreme caution.
Conclusion
Teaching your dog to skateboard is a marathon, not a sprint. It’s a journey filled with tiny victories, happy tail wags, and maybe a few clumsy (but safe!) tumbles. The real prize isn’t a viral video, but the incredible trust and communication you build along the way. By focusing on safety, using positive reinforcement, and celebrating every small step of progress, you can give your dog a fun, confidence-boosting hobby. So grab your treats, find a smooth patch of pavement, and get ready to have some four-wheeled fun with your best friend!